I made the decision again to do the deck in real wood, planked as the original, like some of the other ships I have done – to me it really is worth the trouble. I still had some very thin veneer of the right sort and set about cutting strips about 0.7mm wide in preparation for the bow-deck. Here the deck is started, a sharp scalpel and ruler for cutting and placing the planks. A razor was used to cut the strips, the scalpel is used to cut them to length as I glue them to the reference base – a scan of the original checked for size (VERY important, as scanners and printers do the strangest things to proportions!) and printed out on very thin typewriter-copy-paper.
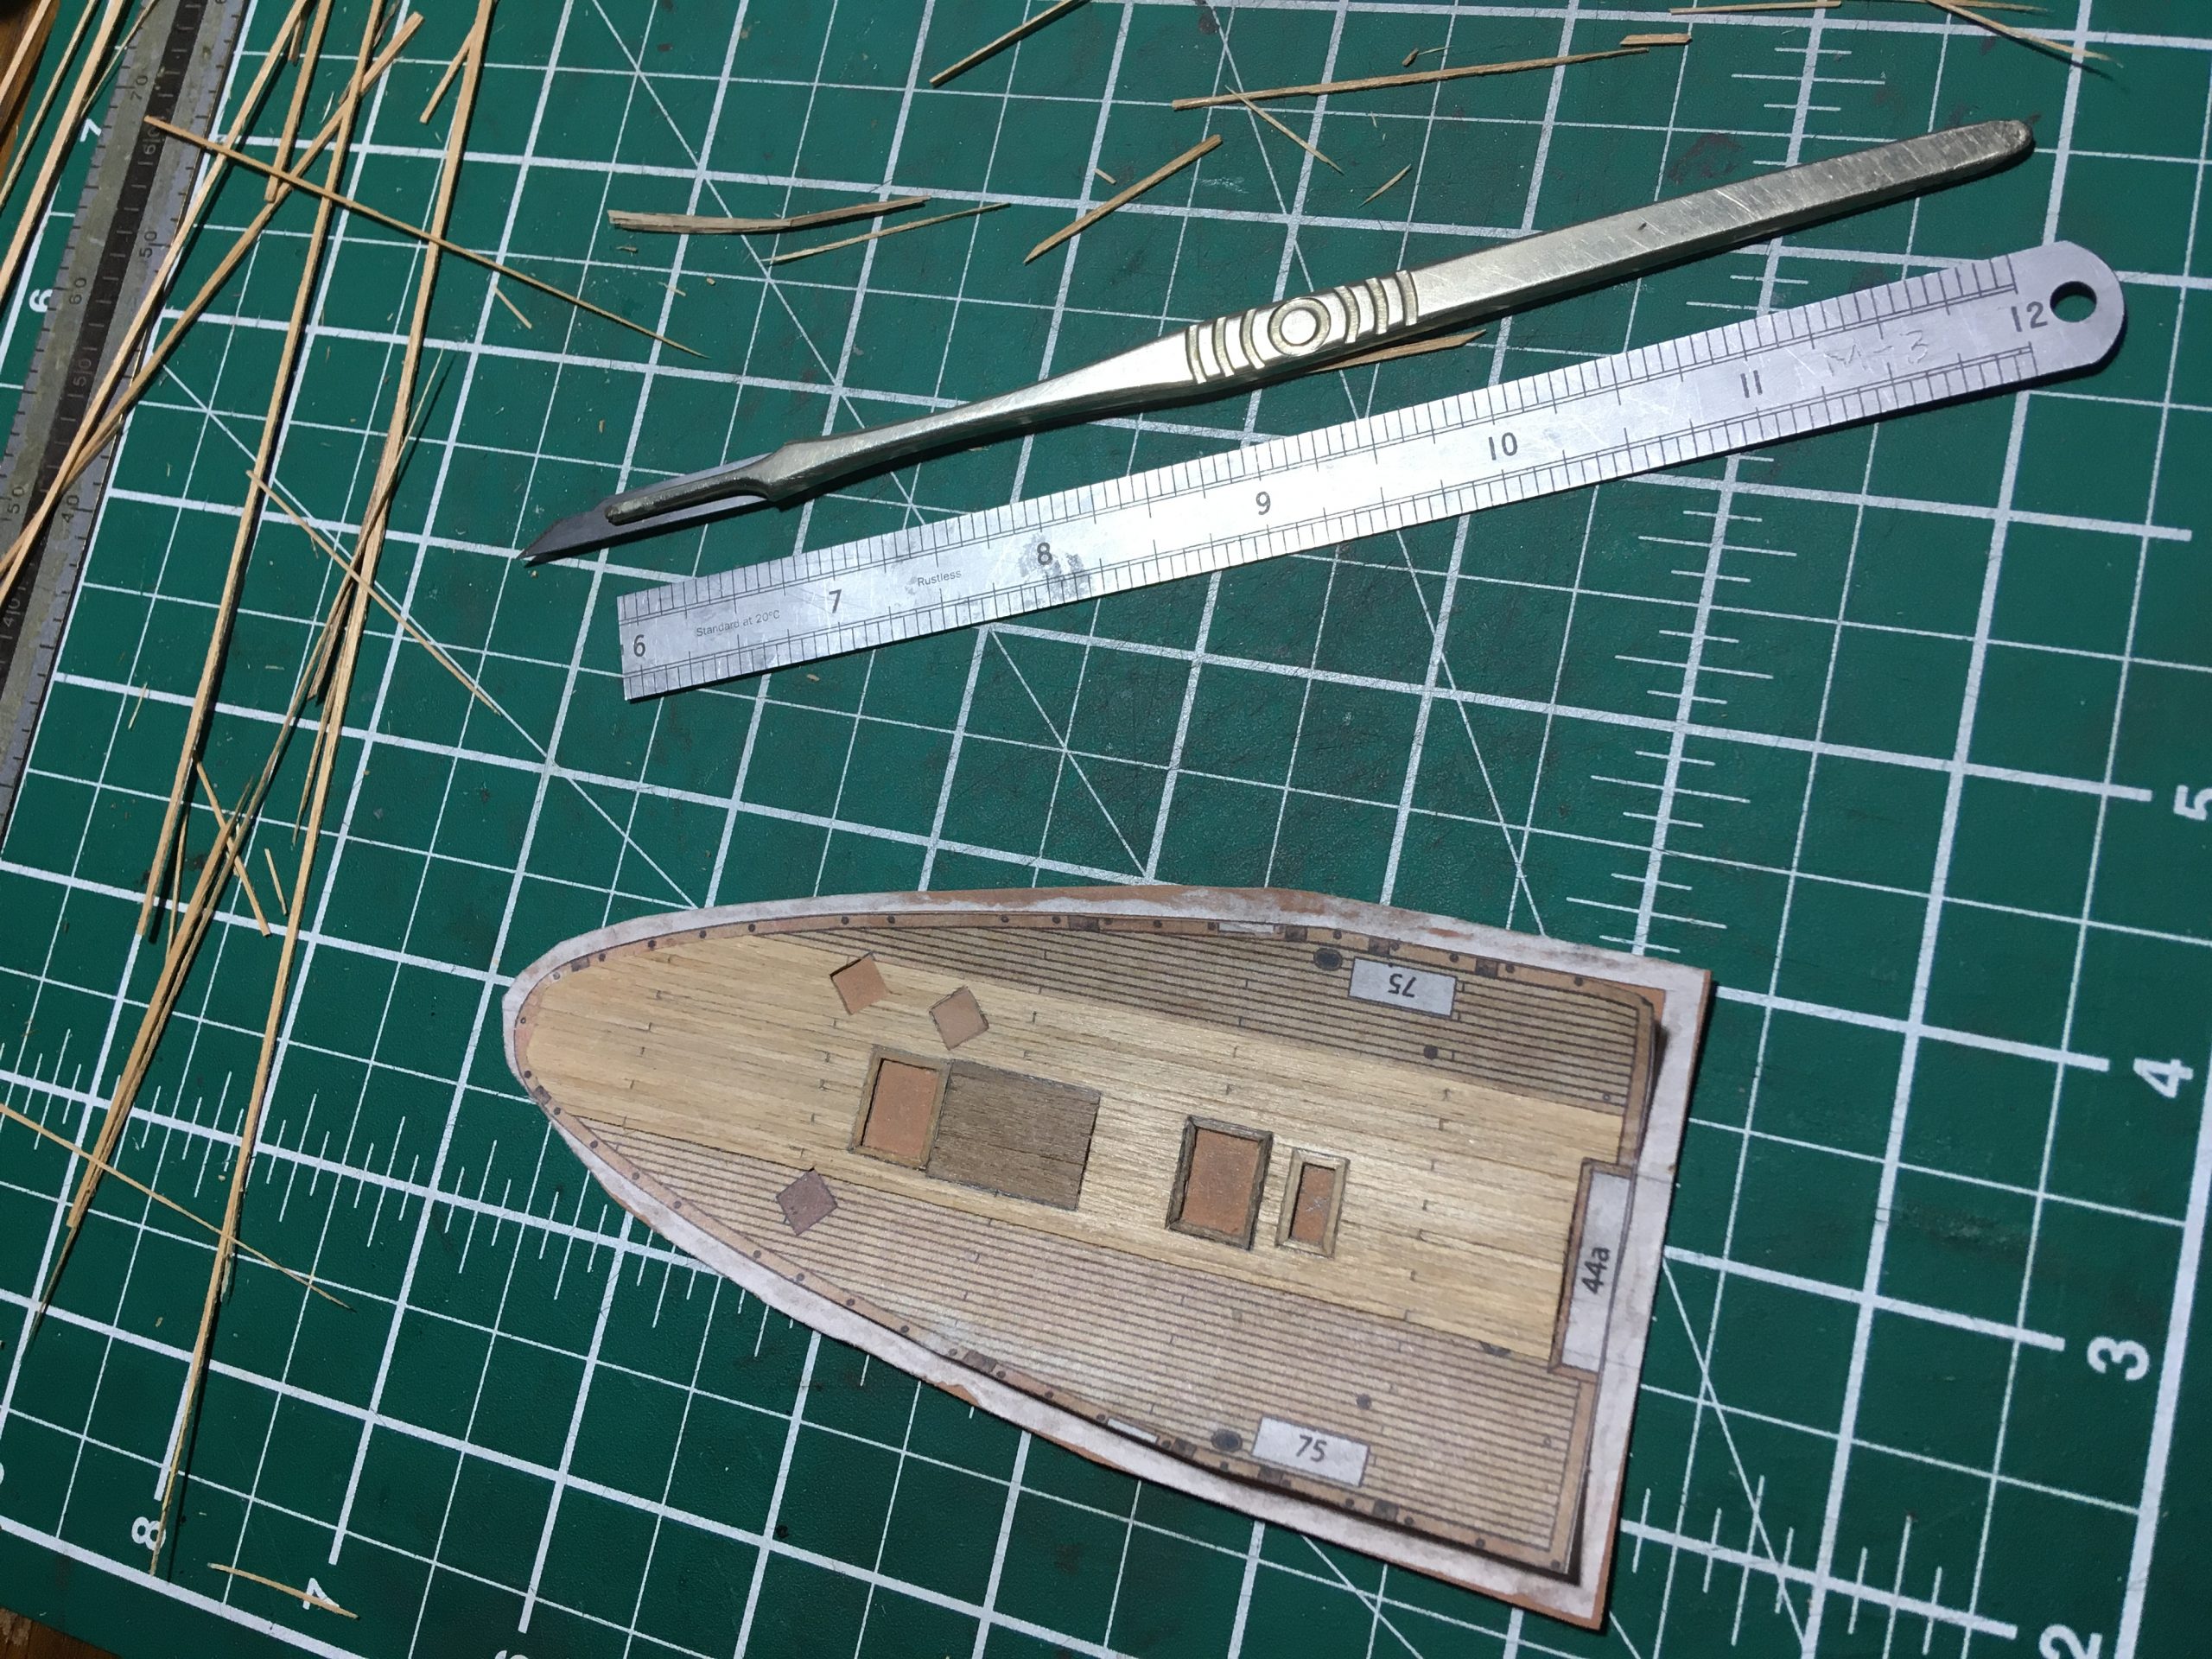
Cutting is a lengthy process and requires an extremely sharp and thin blade and a good straight-edge. As a straight-edge I prefer to use a scraper, as it is sharpened to cut on the edge. Very usefully, the mushroomed edge grips the paper or wood under it, which is ideal to stop creep while you are cutting. If you don’t have one or know how to sharpen it, any carpenter or furniture-maker will lend a hand, I’m sure. Any metal ruler will do, of course, too.
As a blade, use a safety-razor-blade, an old cut-throat razor (my favourite), a scalpel or a ‘Stanley’-knife, whichever is more comfortable. I actually use all of those, depending on the job, though for the decks, both the razors are more accurate for the strips, cutting a proper 90 degrees as the blade is so thin and doesn’t ‘cut and wedge’ like the thicker scalpel and Stanley tend to do, leaving the cut edges in a ‘v’ shape. Any tendency to wedge can be nasty when combined with a slightly angled grain, too, pulling the knife along it. A thin blade is paramount when ‘correcting’ the width of the planks, since realy minute amounts are shaved off to get them ‘just right’. What you cannot see, is that I actually sand the edges of some of the planks to get them at right angles and to be the right width 🙂
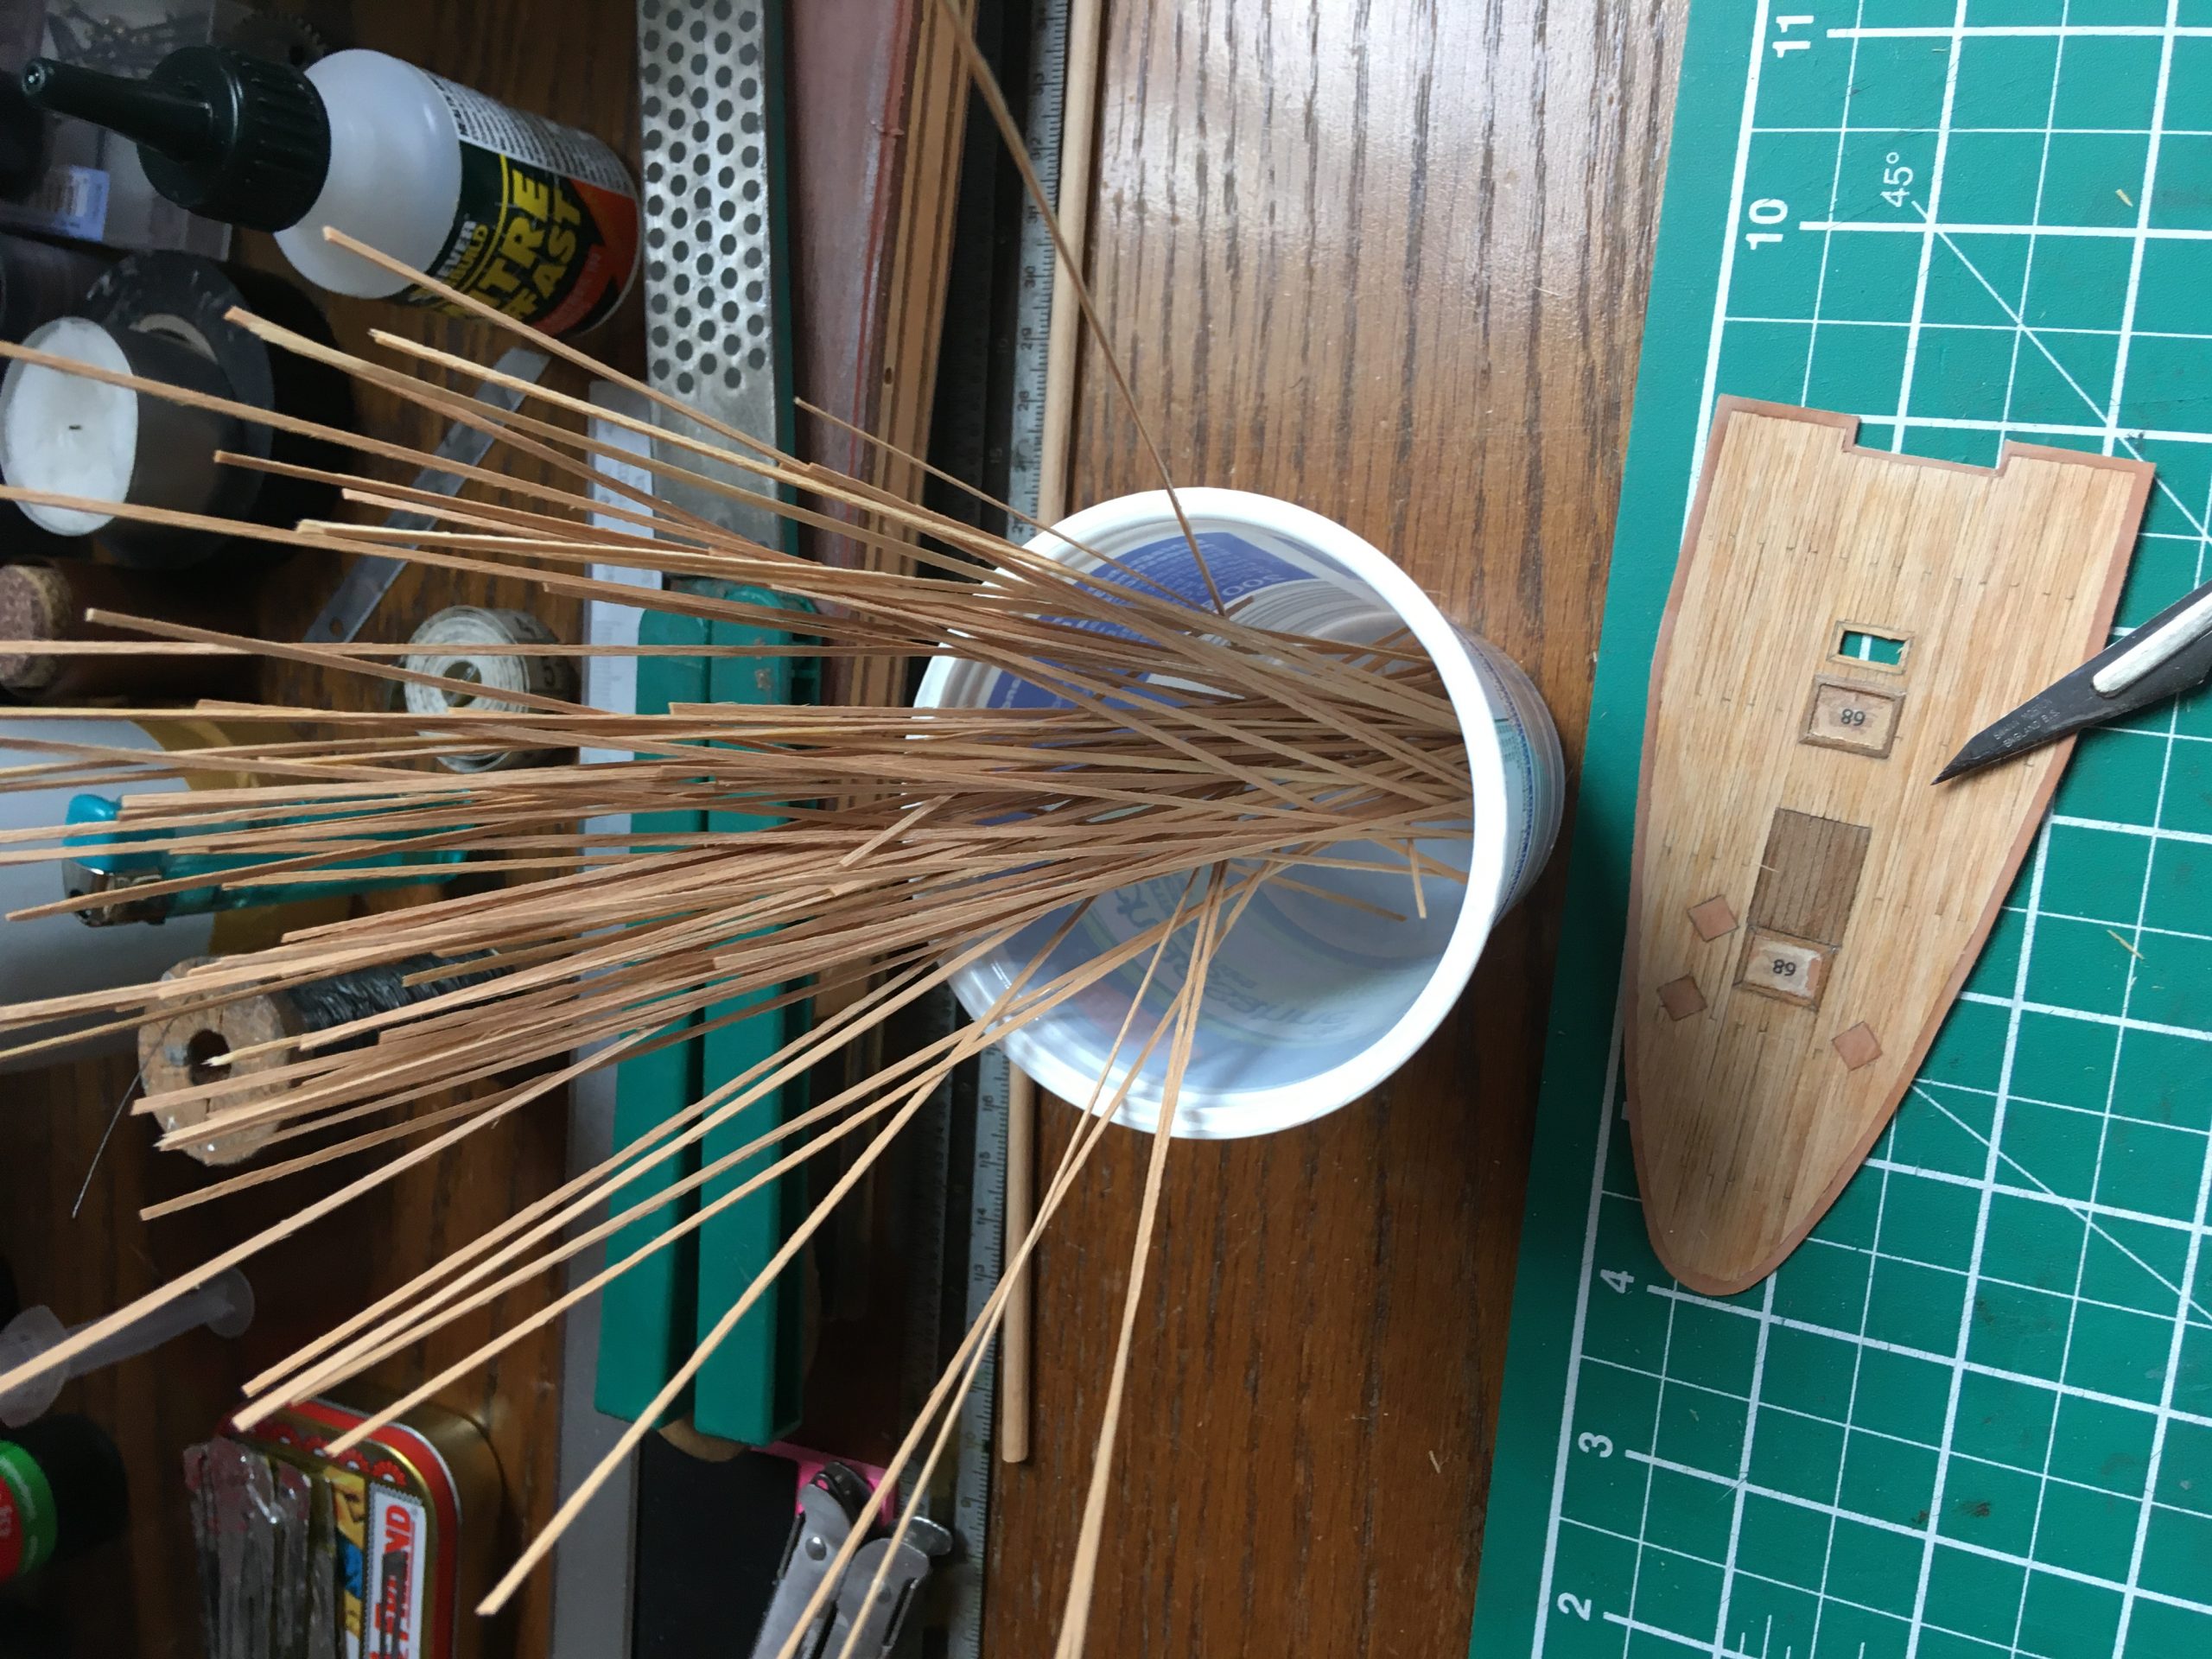
The forward deck is planked and there are some more planks ready for the aft portion of the deck, which comes next. Here are a few pics at the beginning of the planking process and the started work.
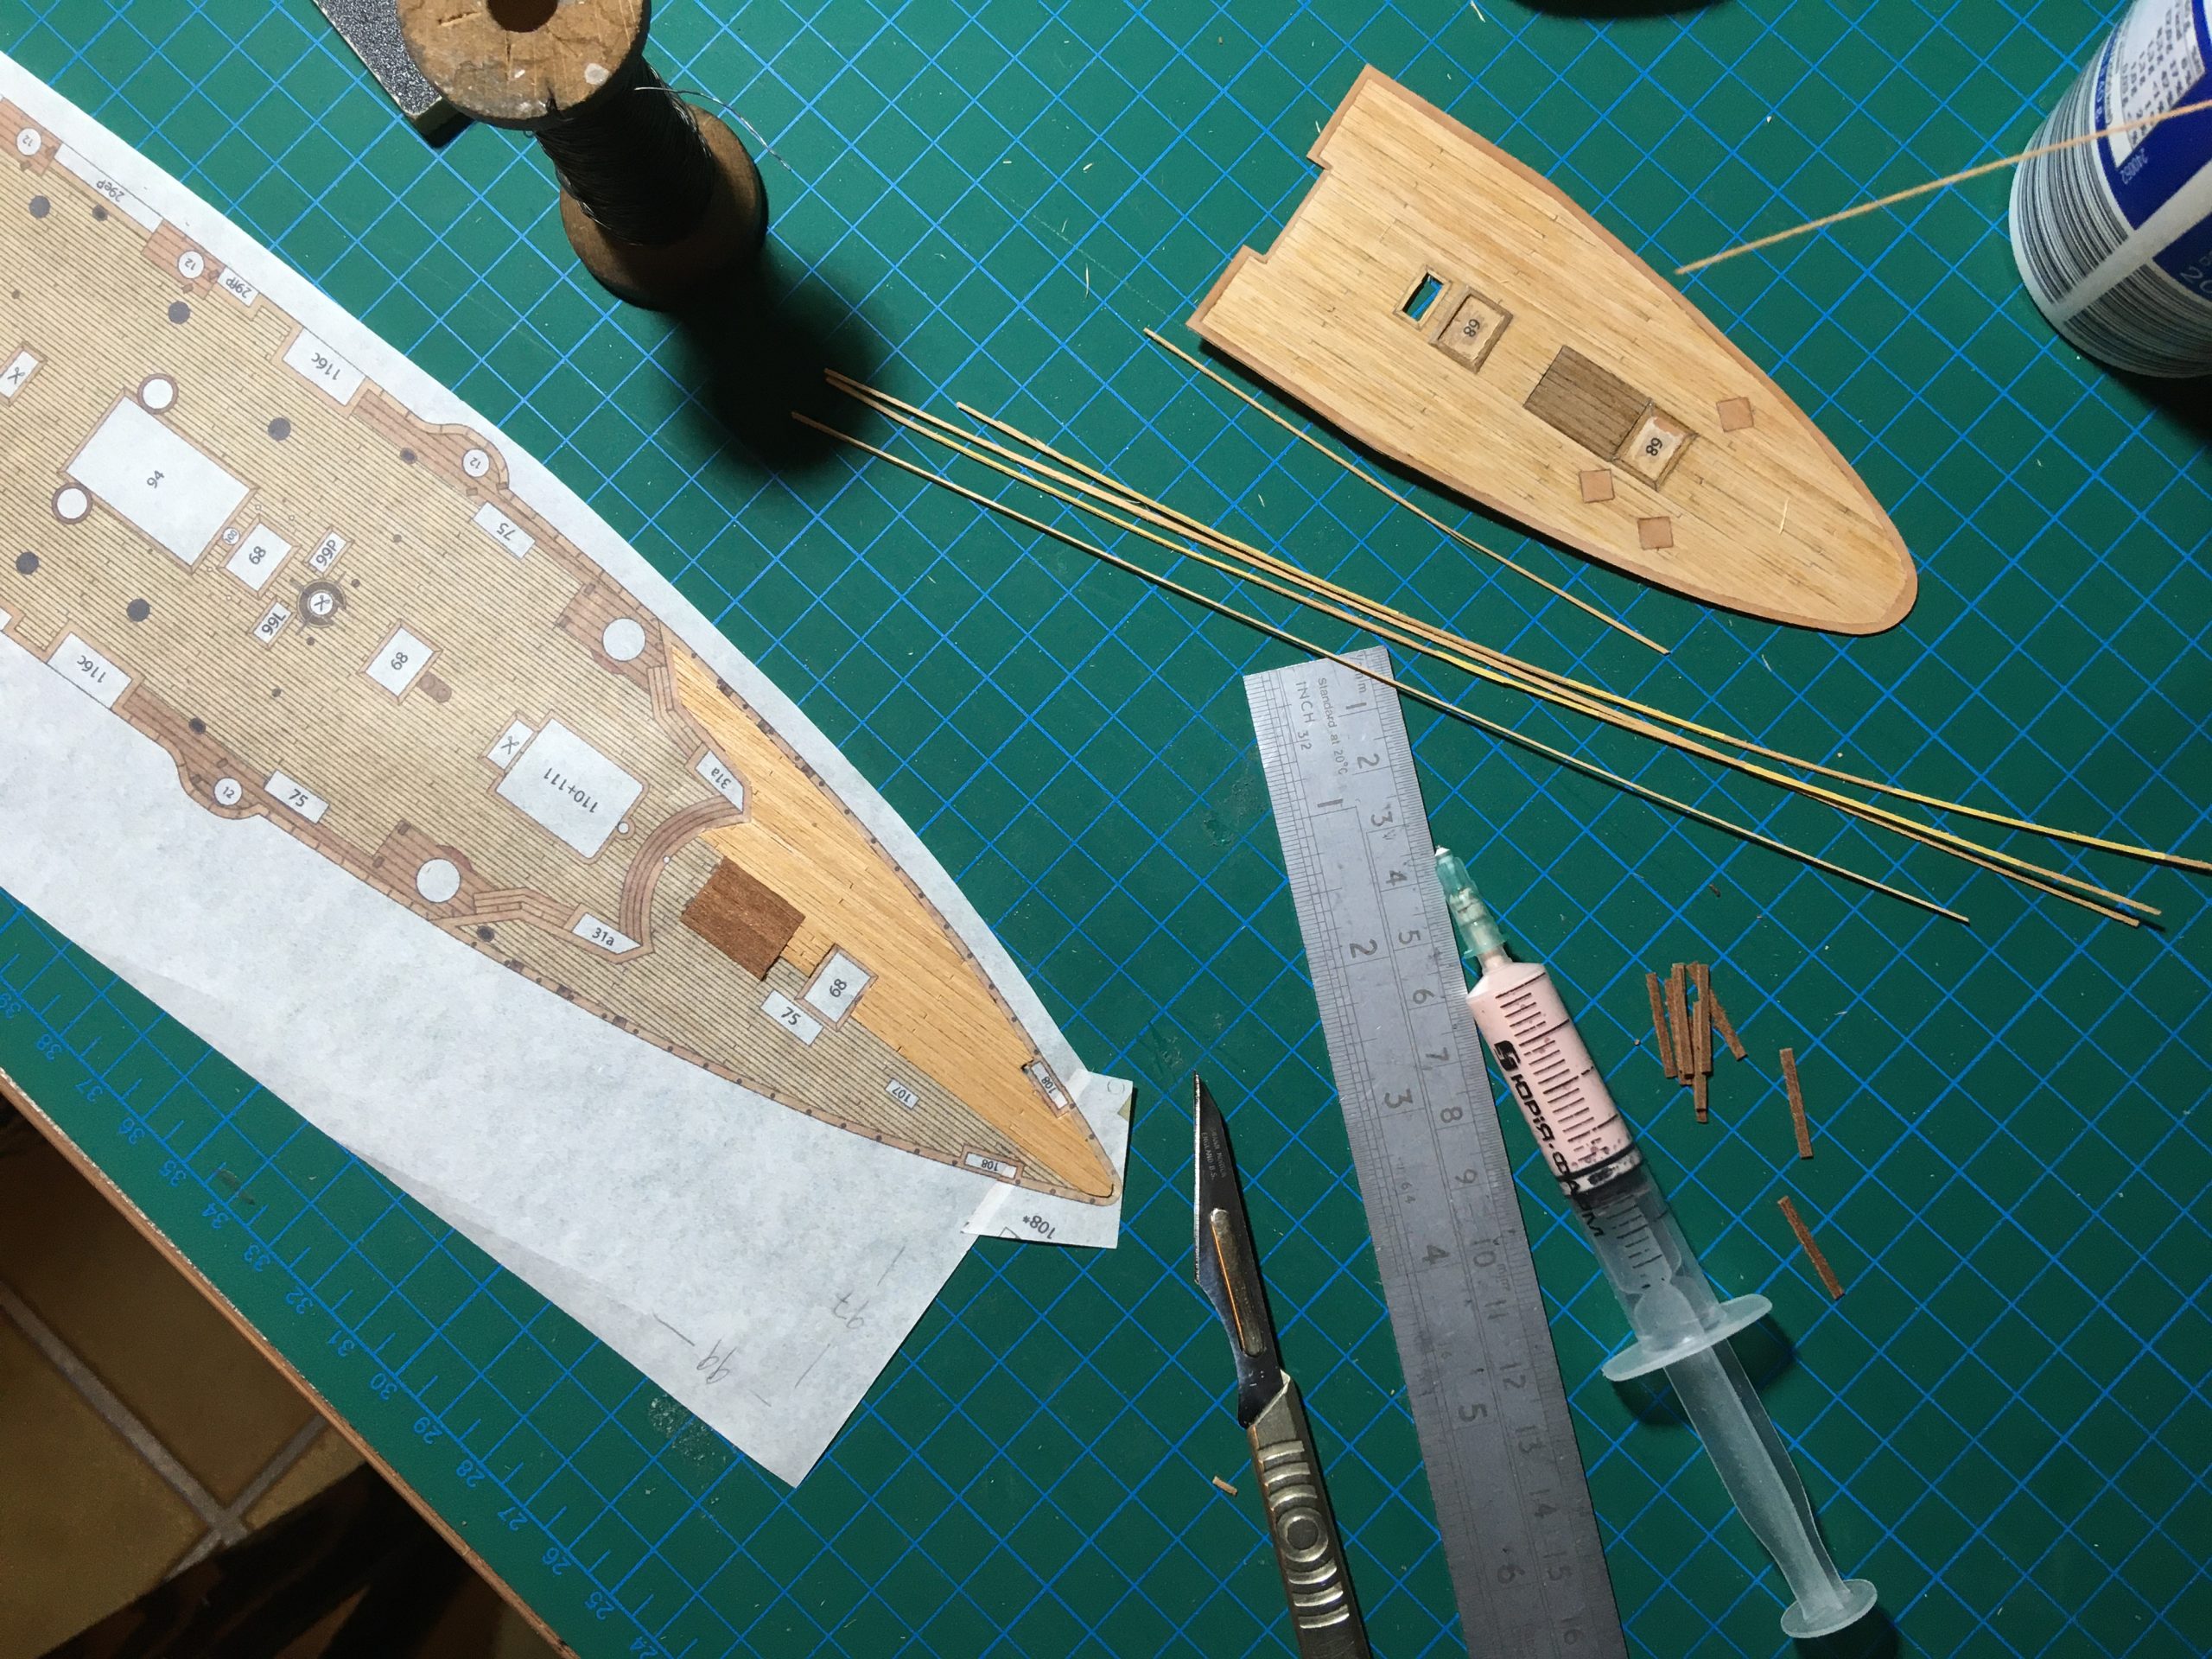

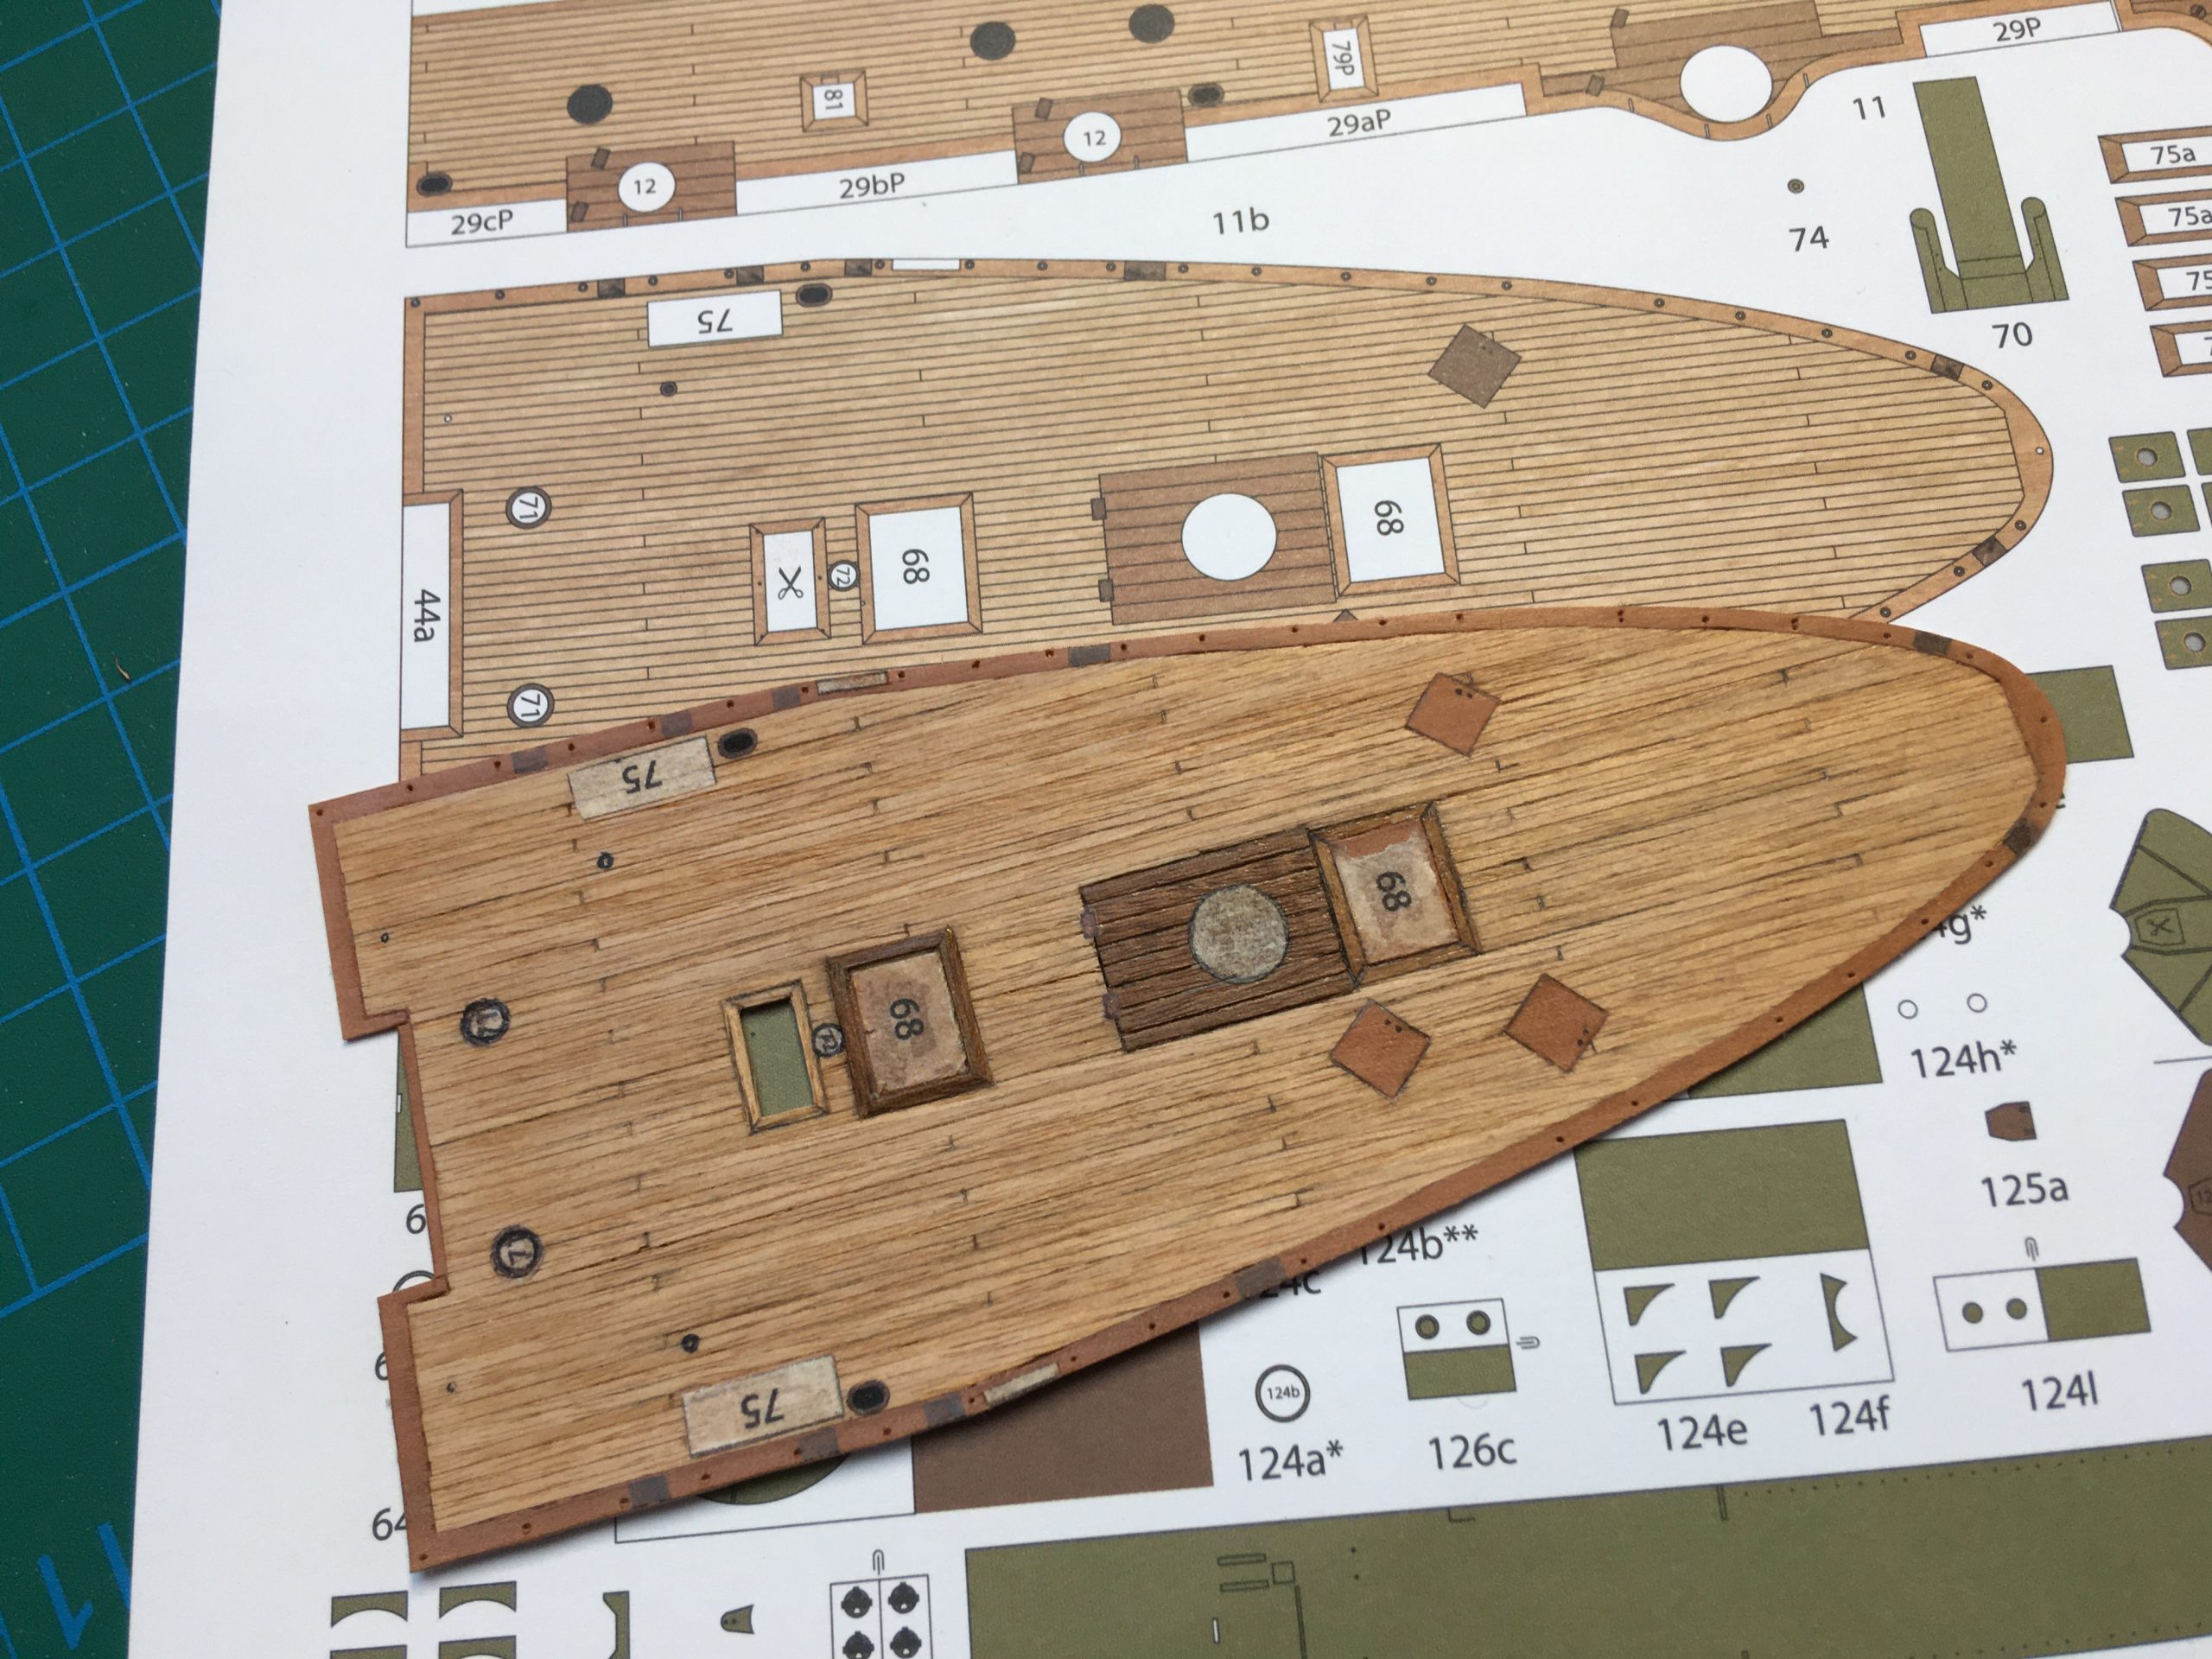
Here we see the finished aft deck planked in various woods placed over the original printed sheet from the model. A nice weathered look achieved with Schellack and elbow-grease. Hopefully not over the top when it’s finished. The individual planks are never cut from the same strip when they are laid, I always mix them up, otherwise I could take any piece of veneer and draw the plank lines on it. My rather more complicated method gives a little more of an ‘authentic’ look and feel to it, I hope.
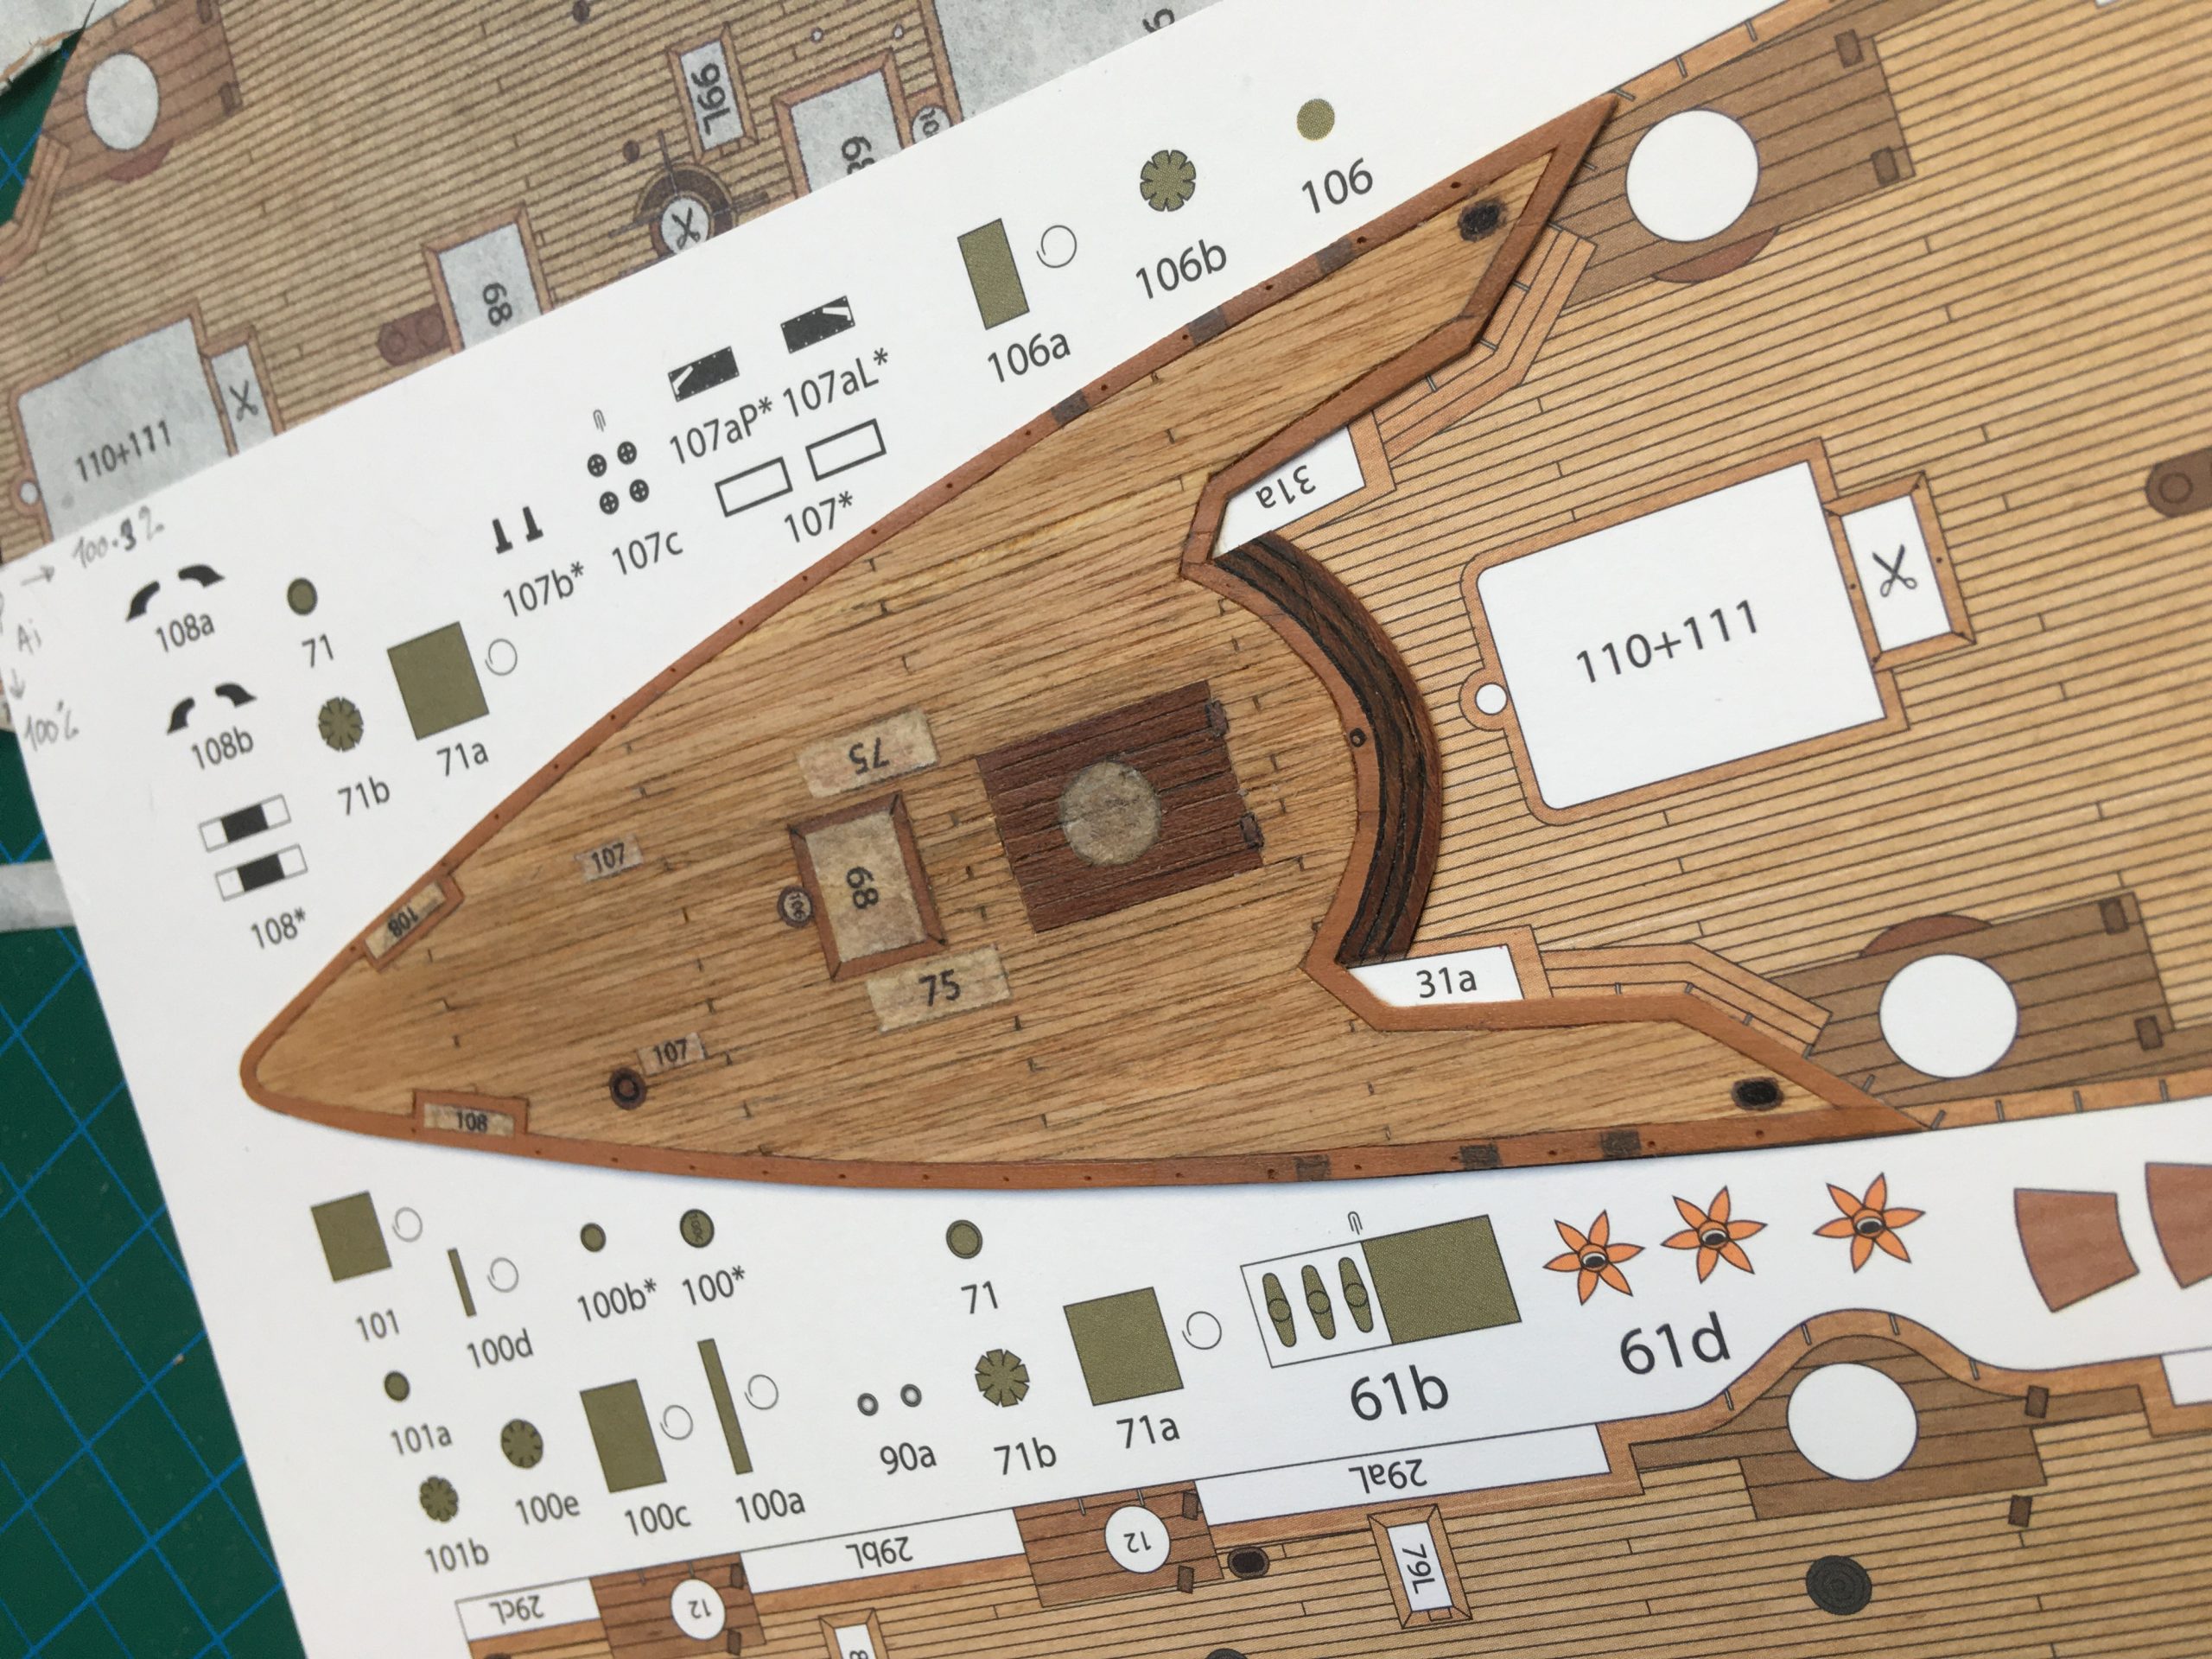
And here the fore-deck in the same manner.
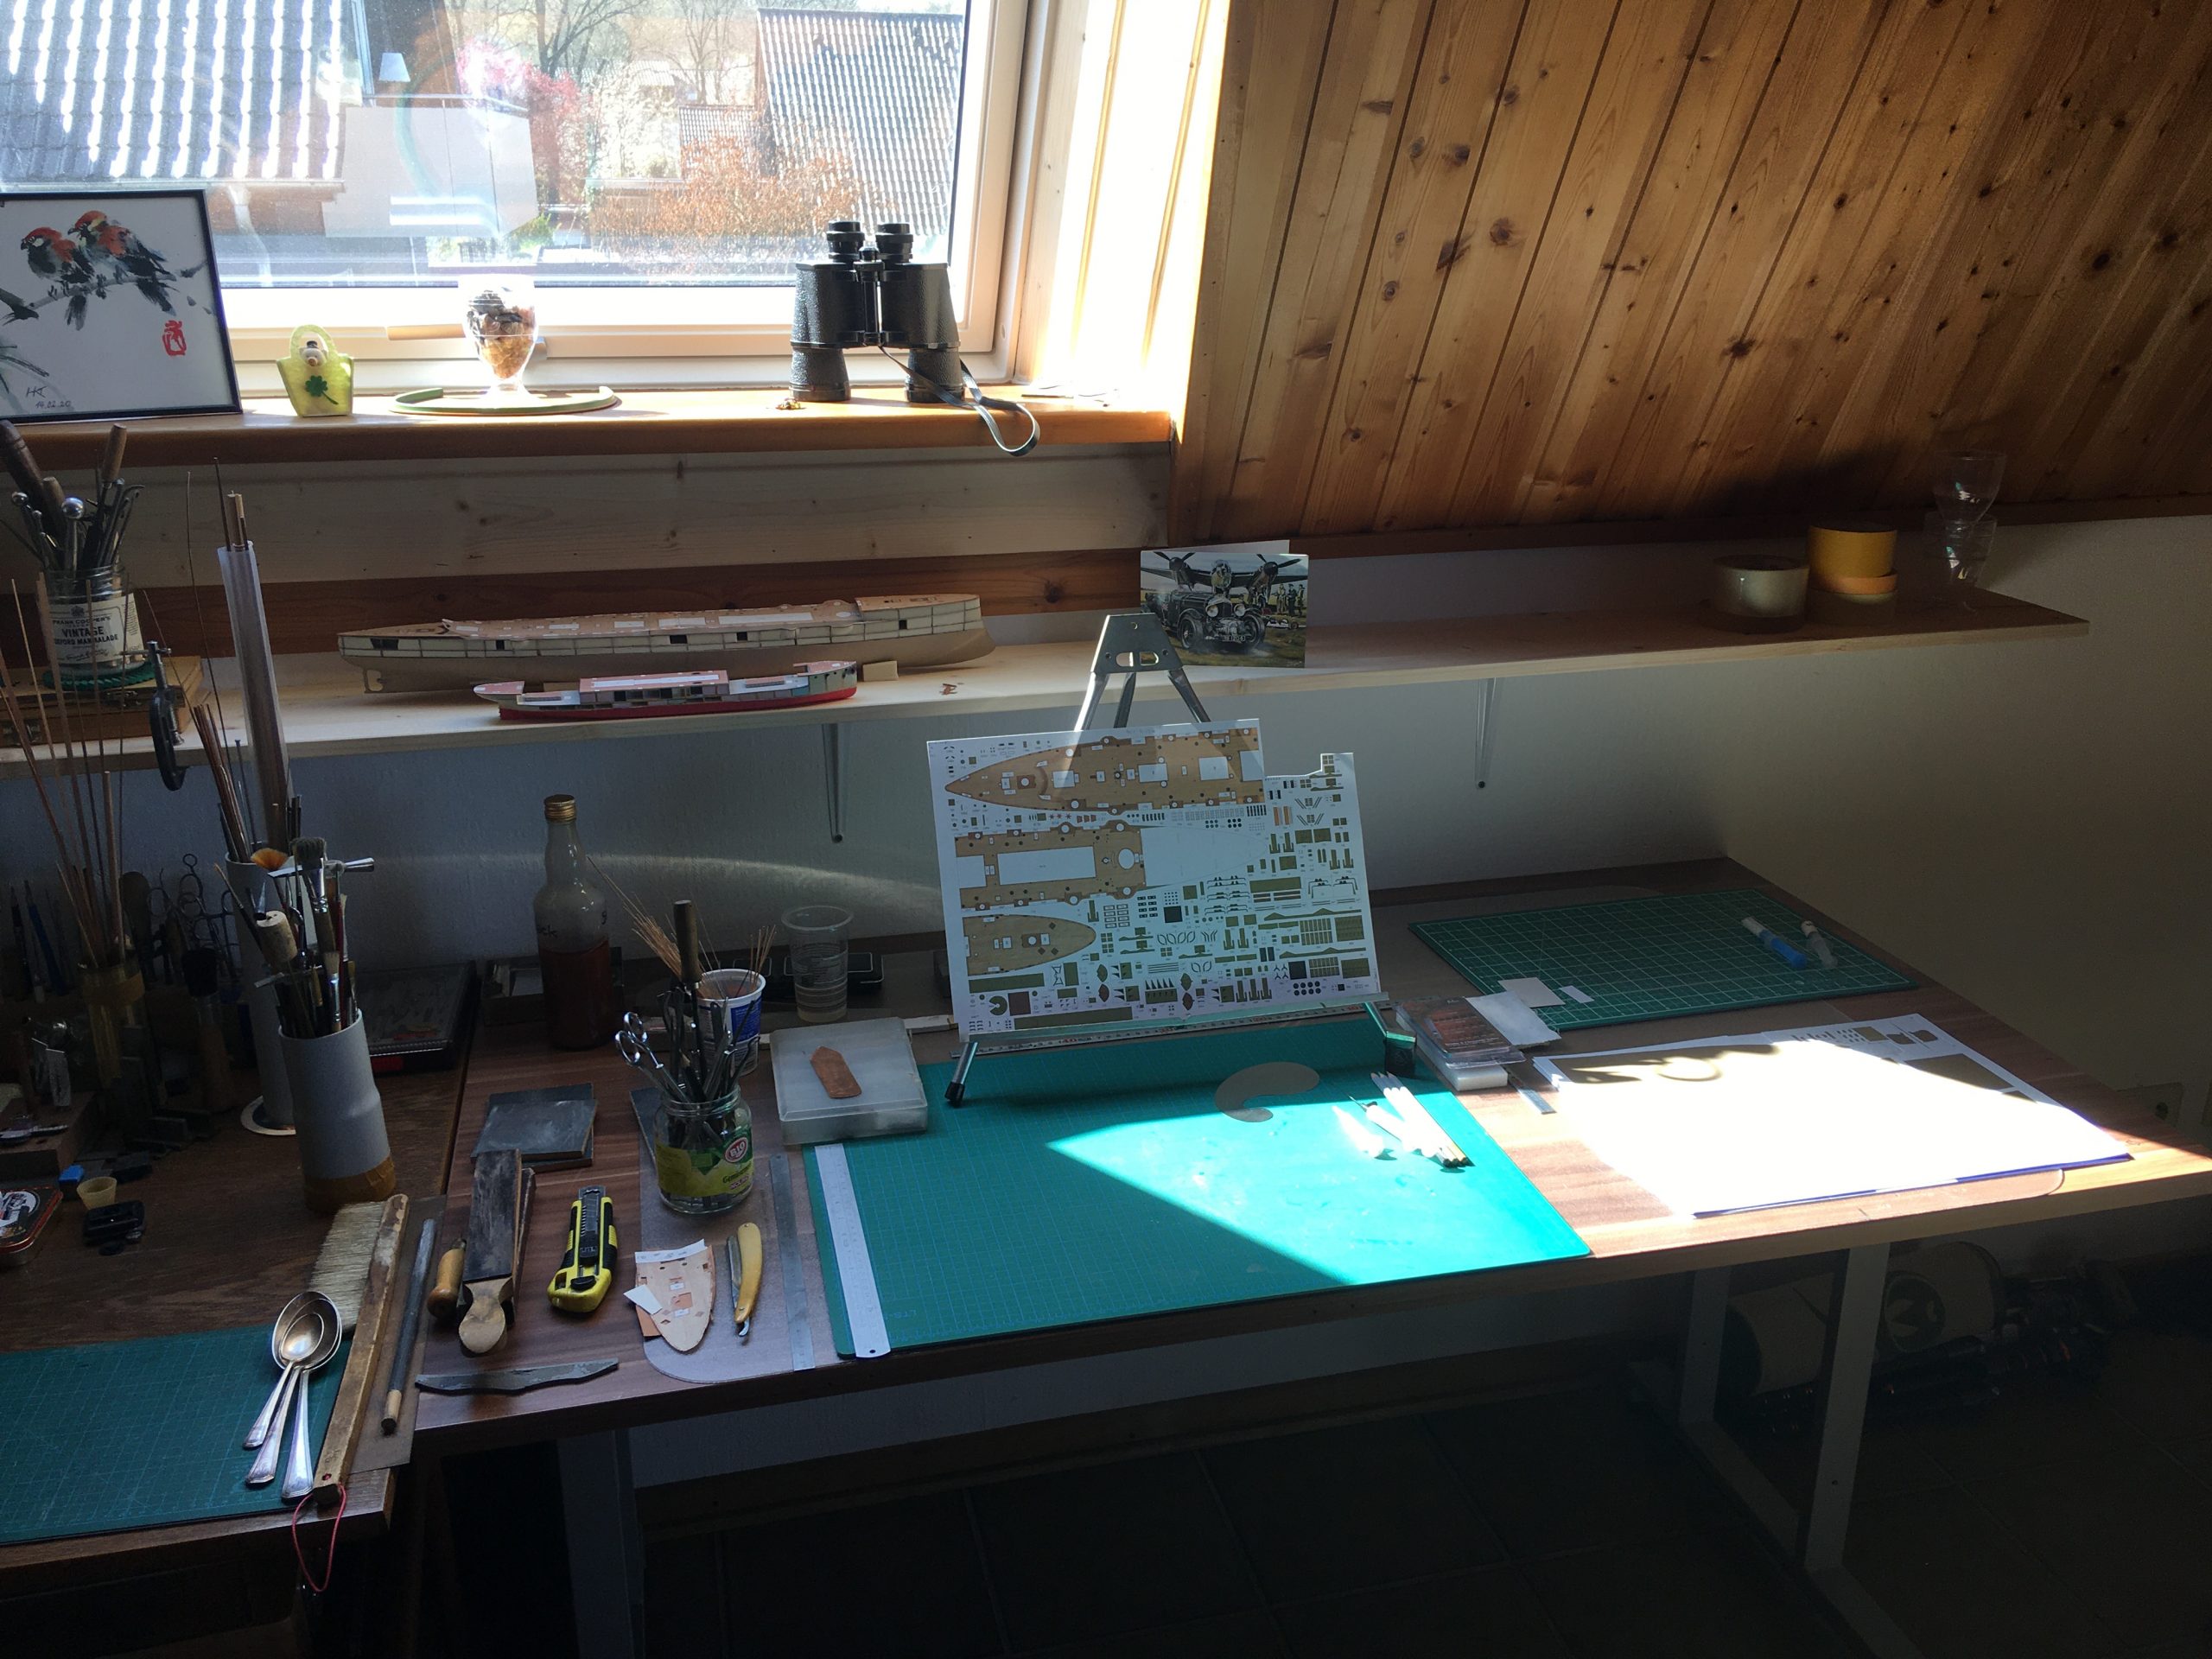
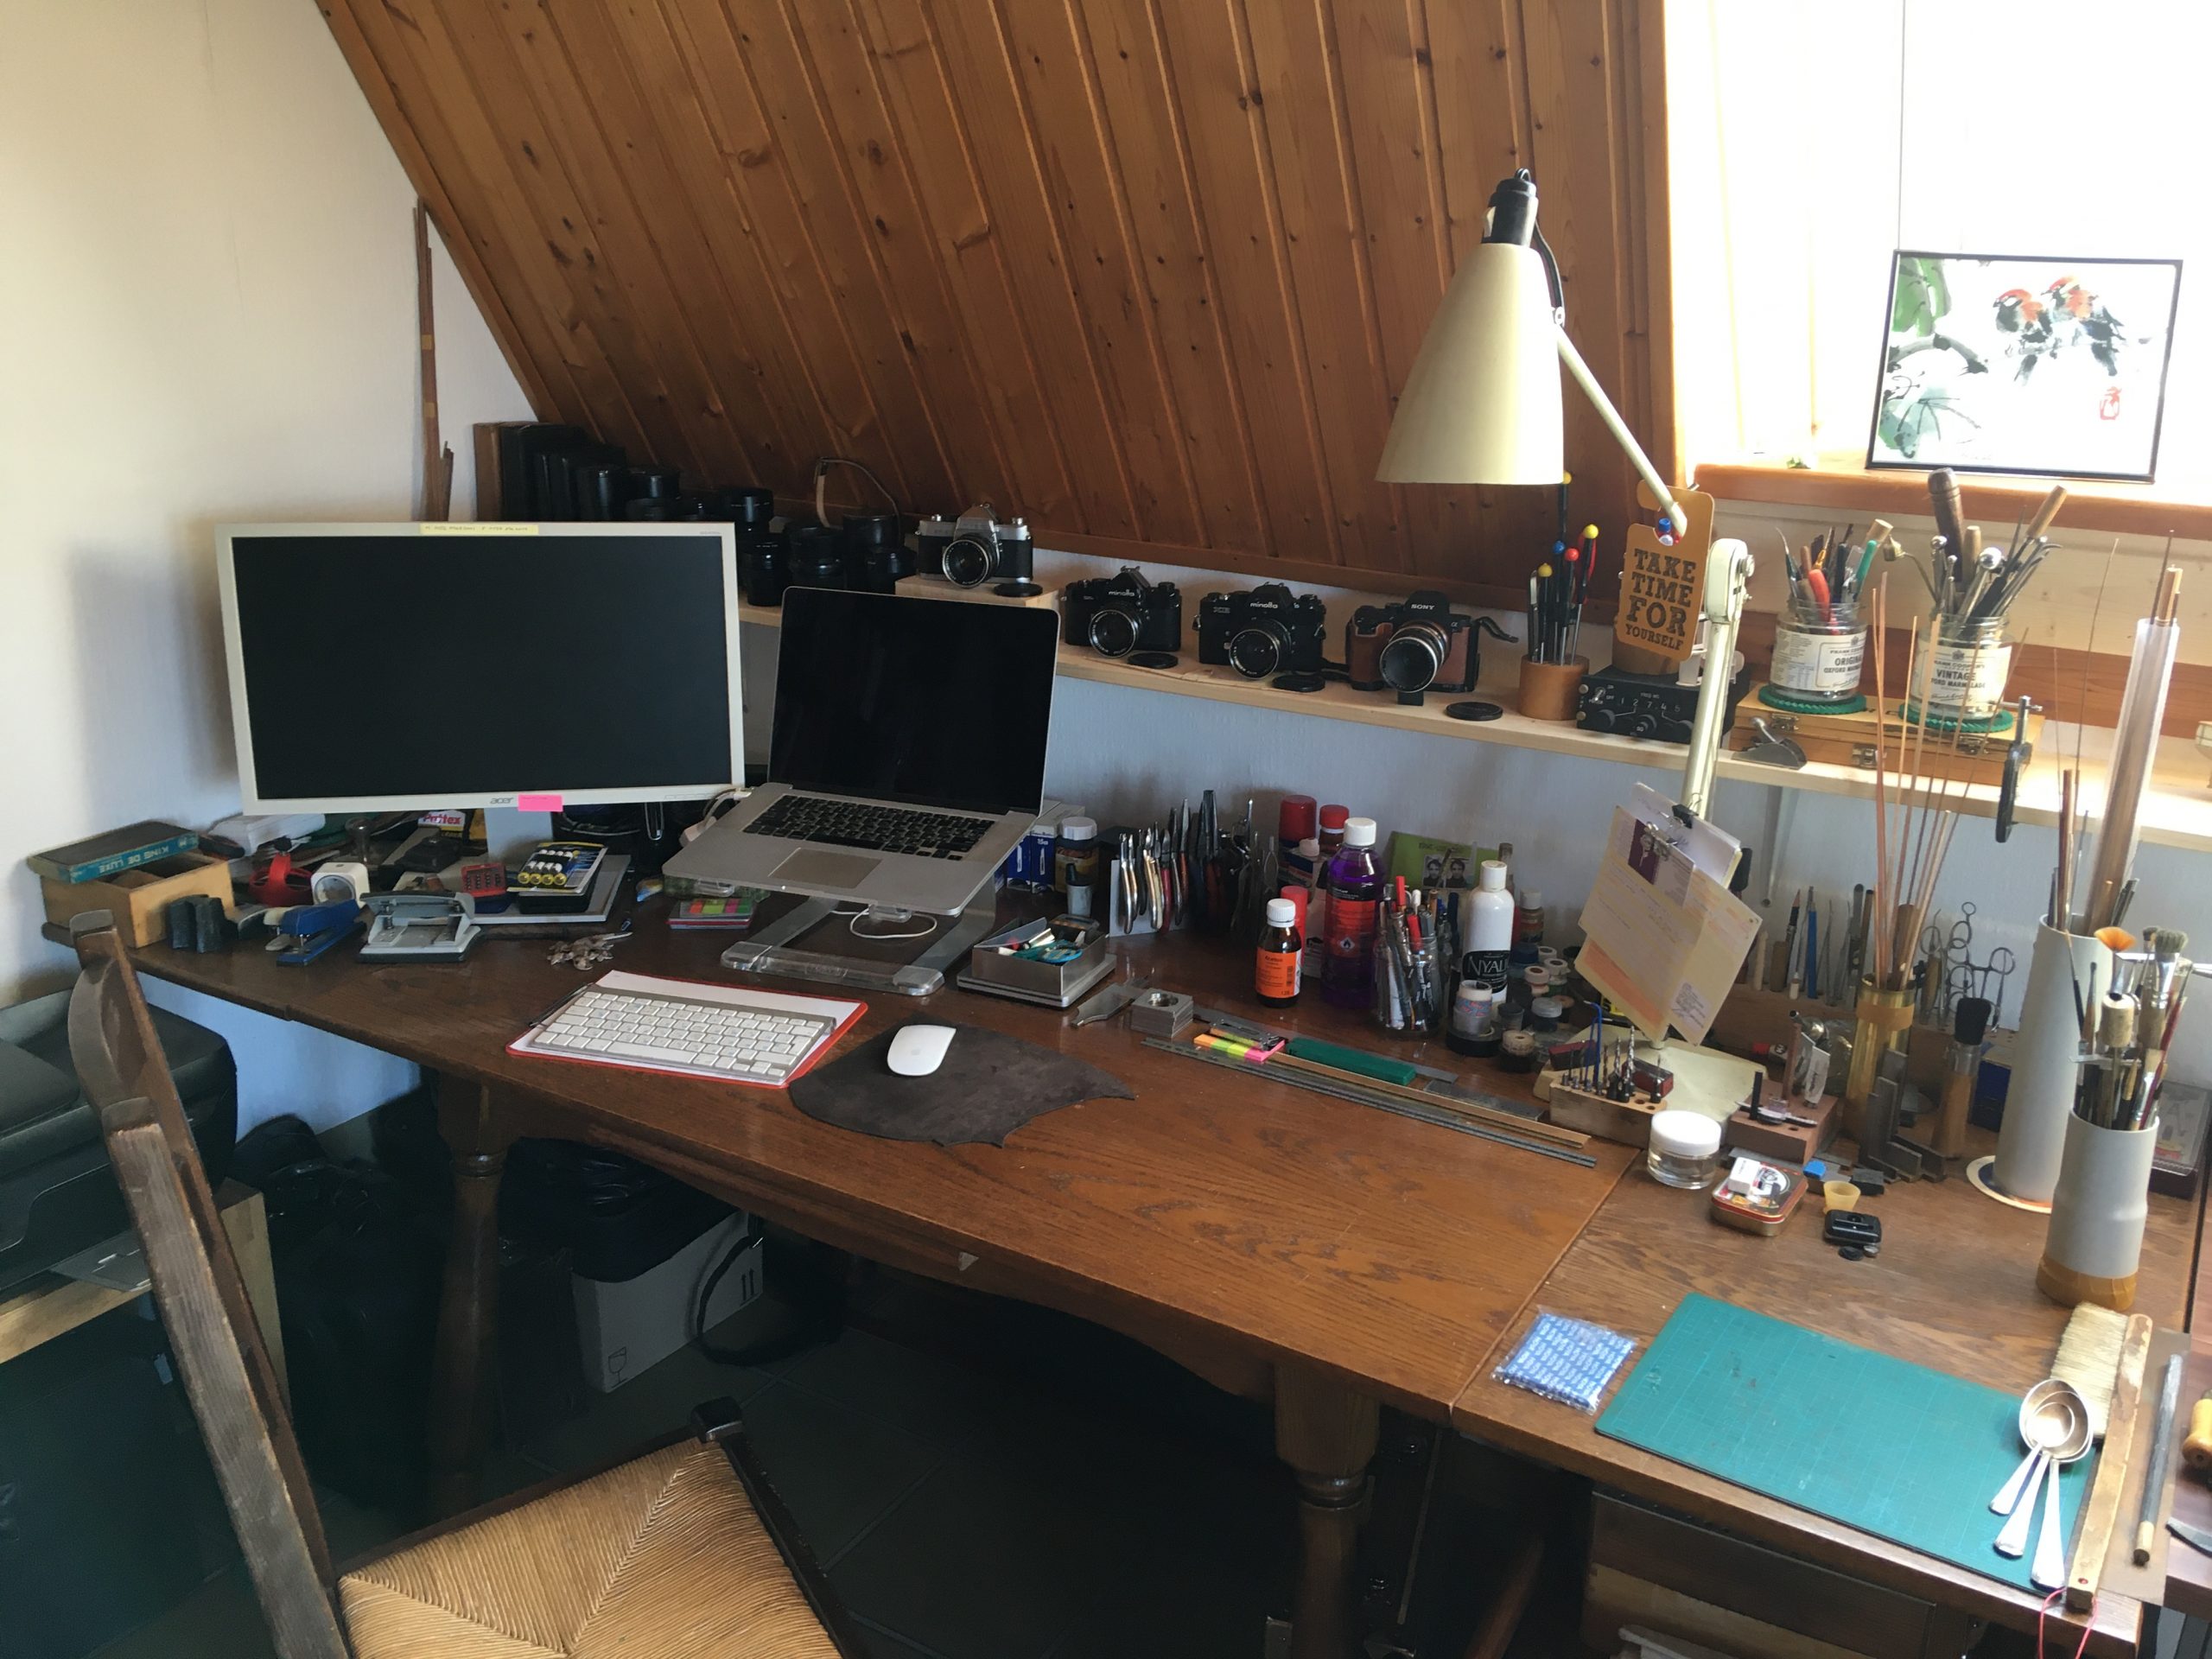
You may even spot the array of tools and useful bits and pieces in the background now and then. Here is a view of my workspace in the ‘living-room’, where Maryna does her art (mostly painting) and I do my various tinkering. Looks nice and tidy here, doesn’t it!
While the deck was drying, in between I finished most of the hull below the waterline, as shown earlier. Before I can even think of attaching the hull-section above the waterline, the below-decks 75mm Canet guns have to be made and installed in the hull and the deck has to be completely finished.
The finished deck now looks fine glued in place:
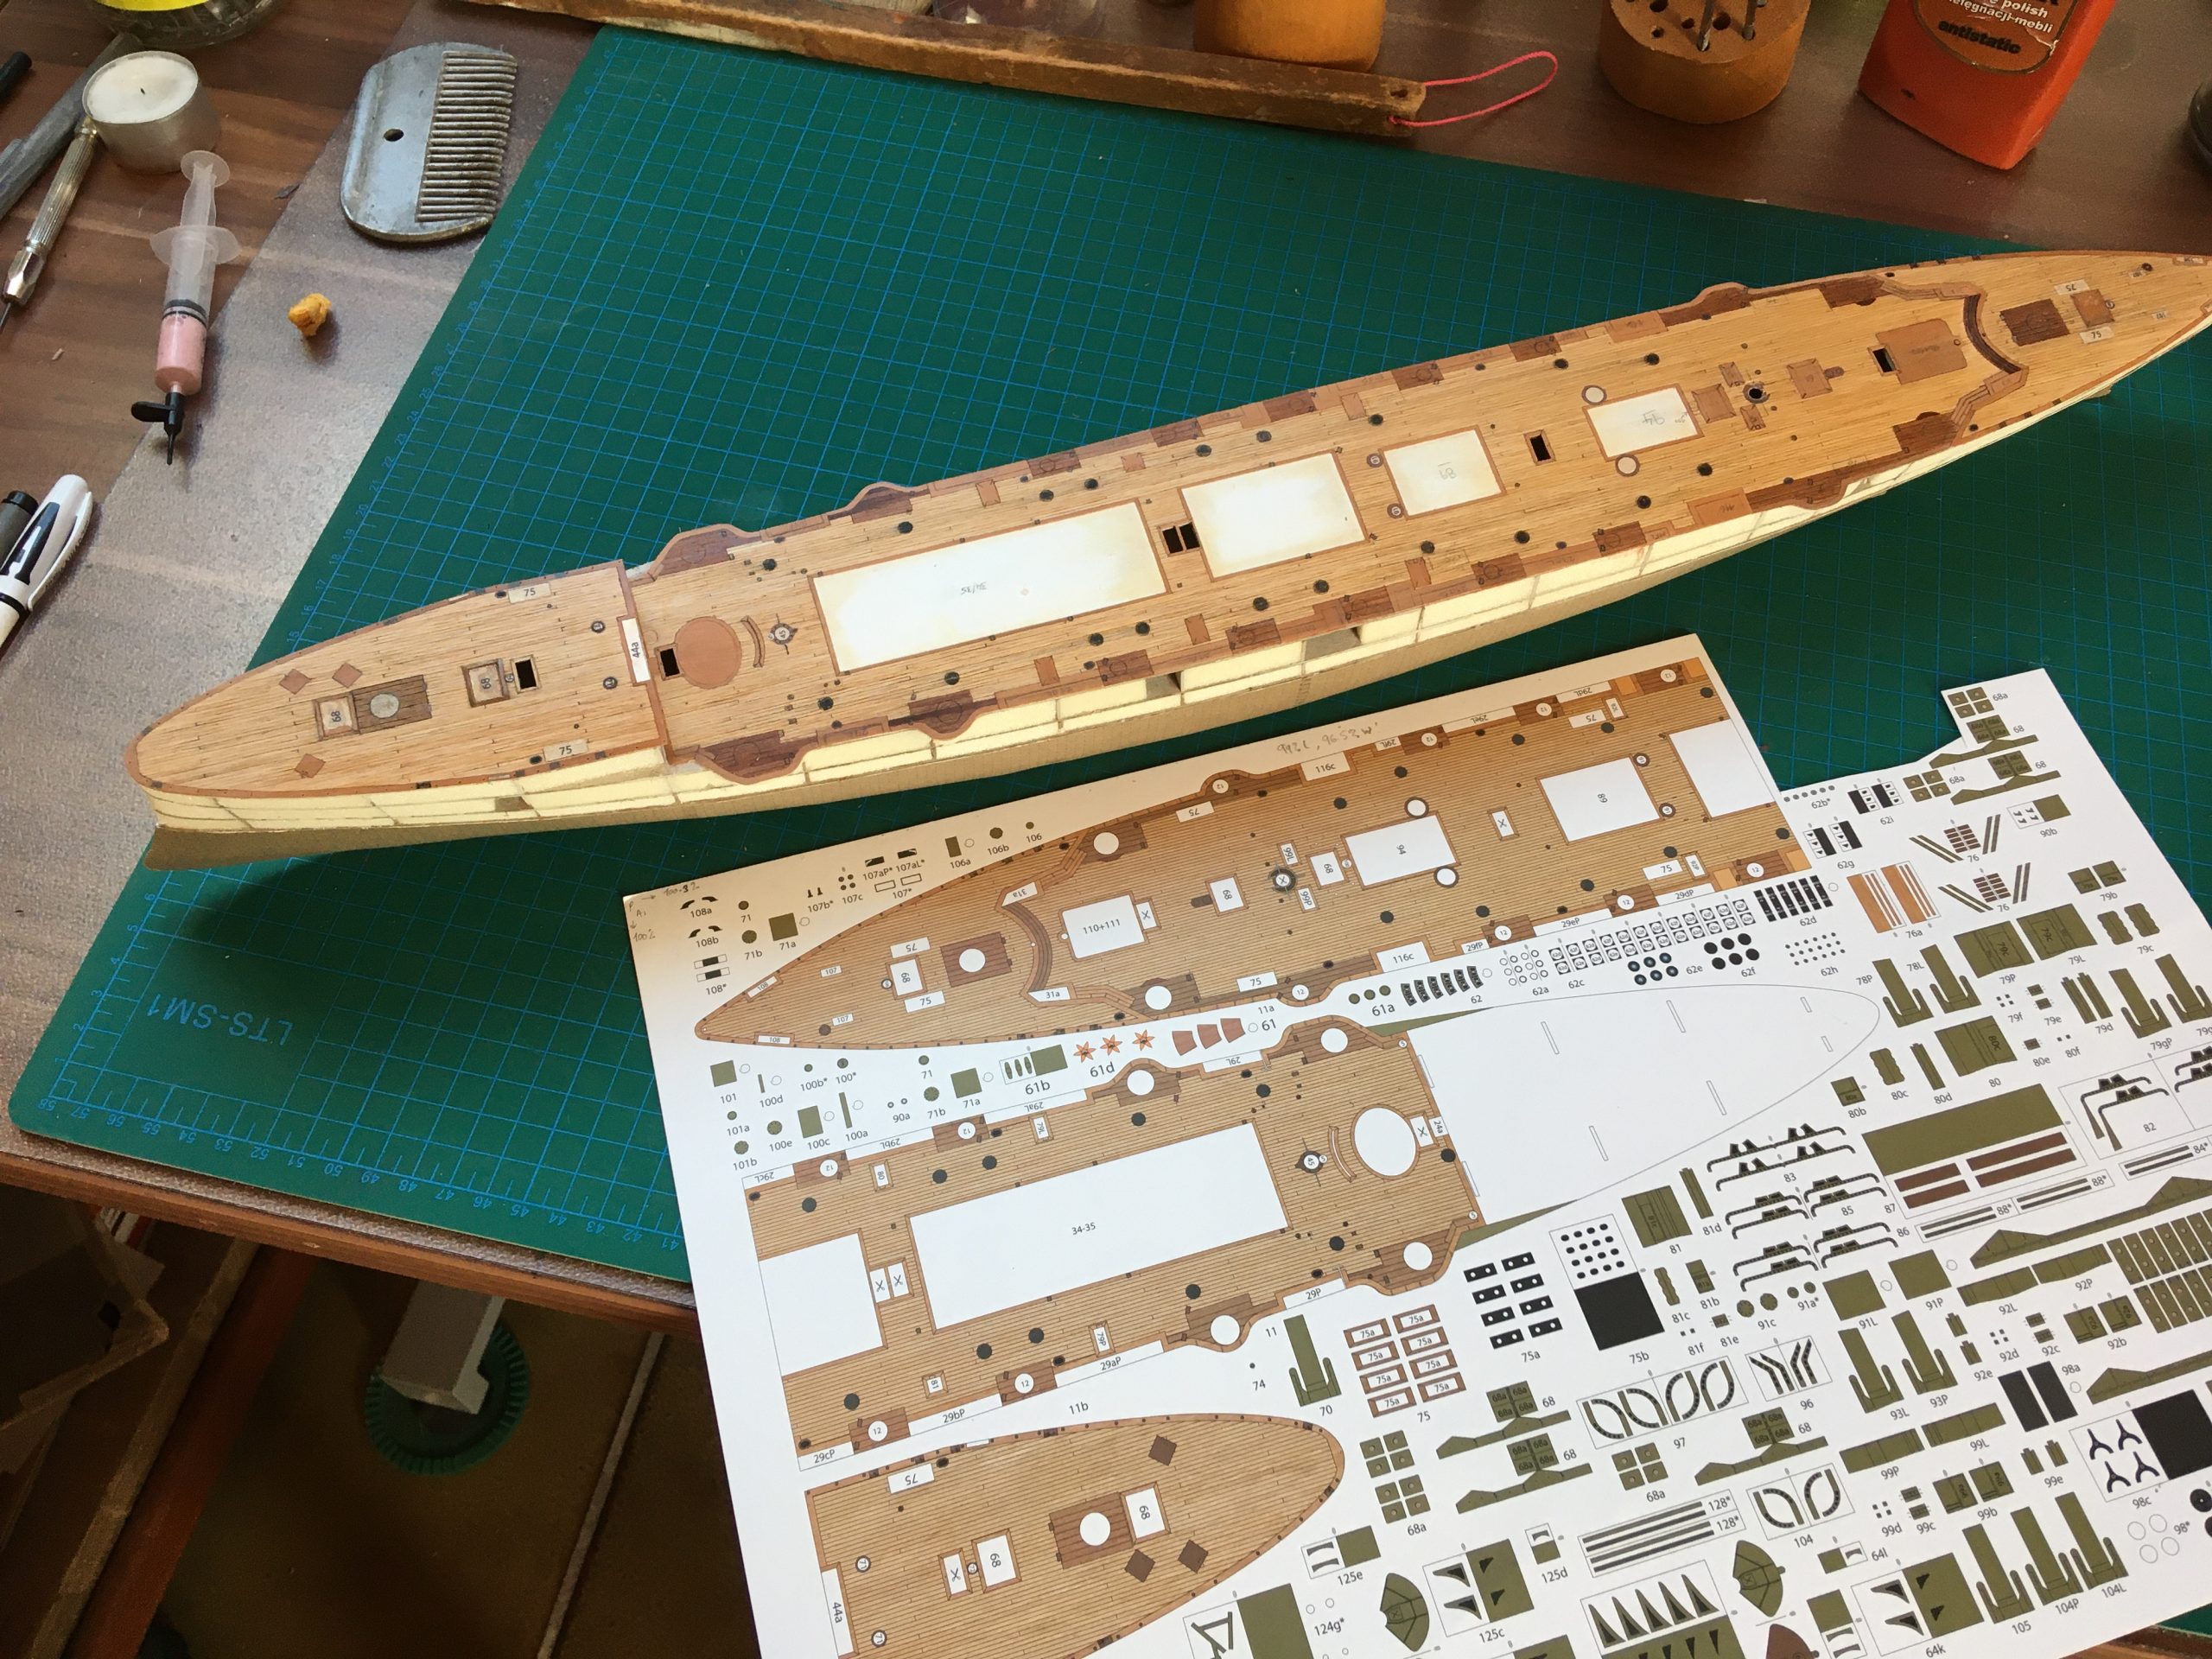
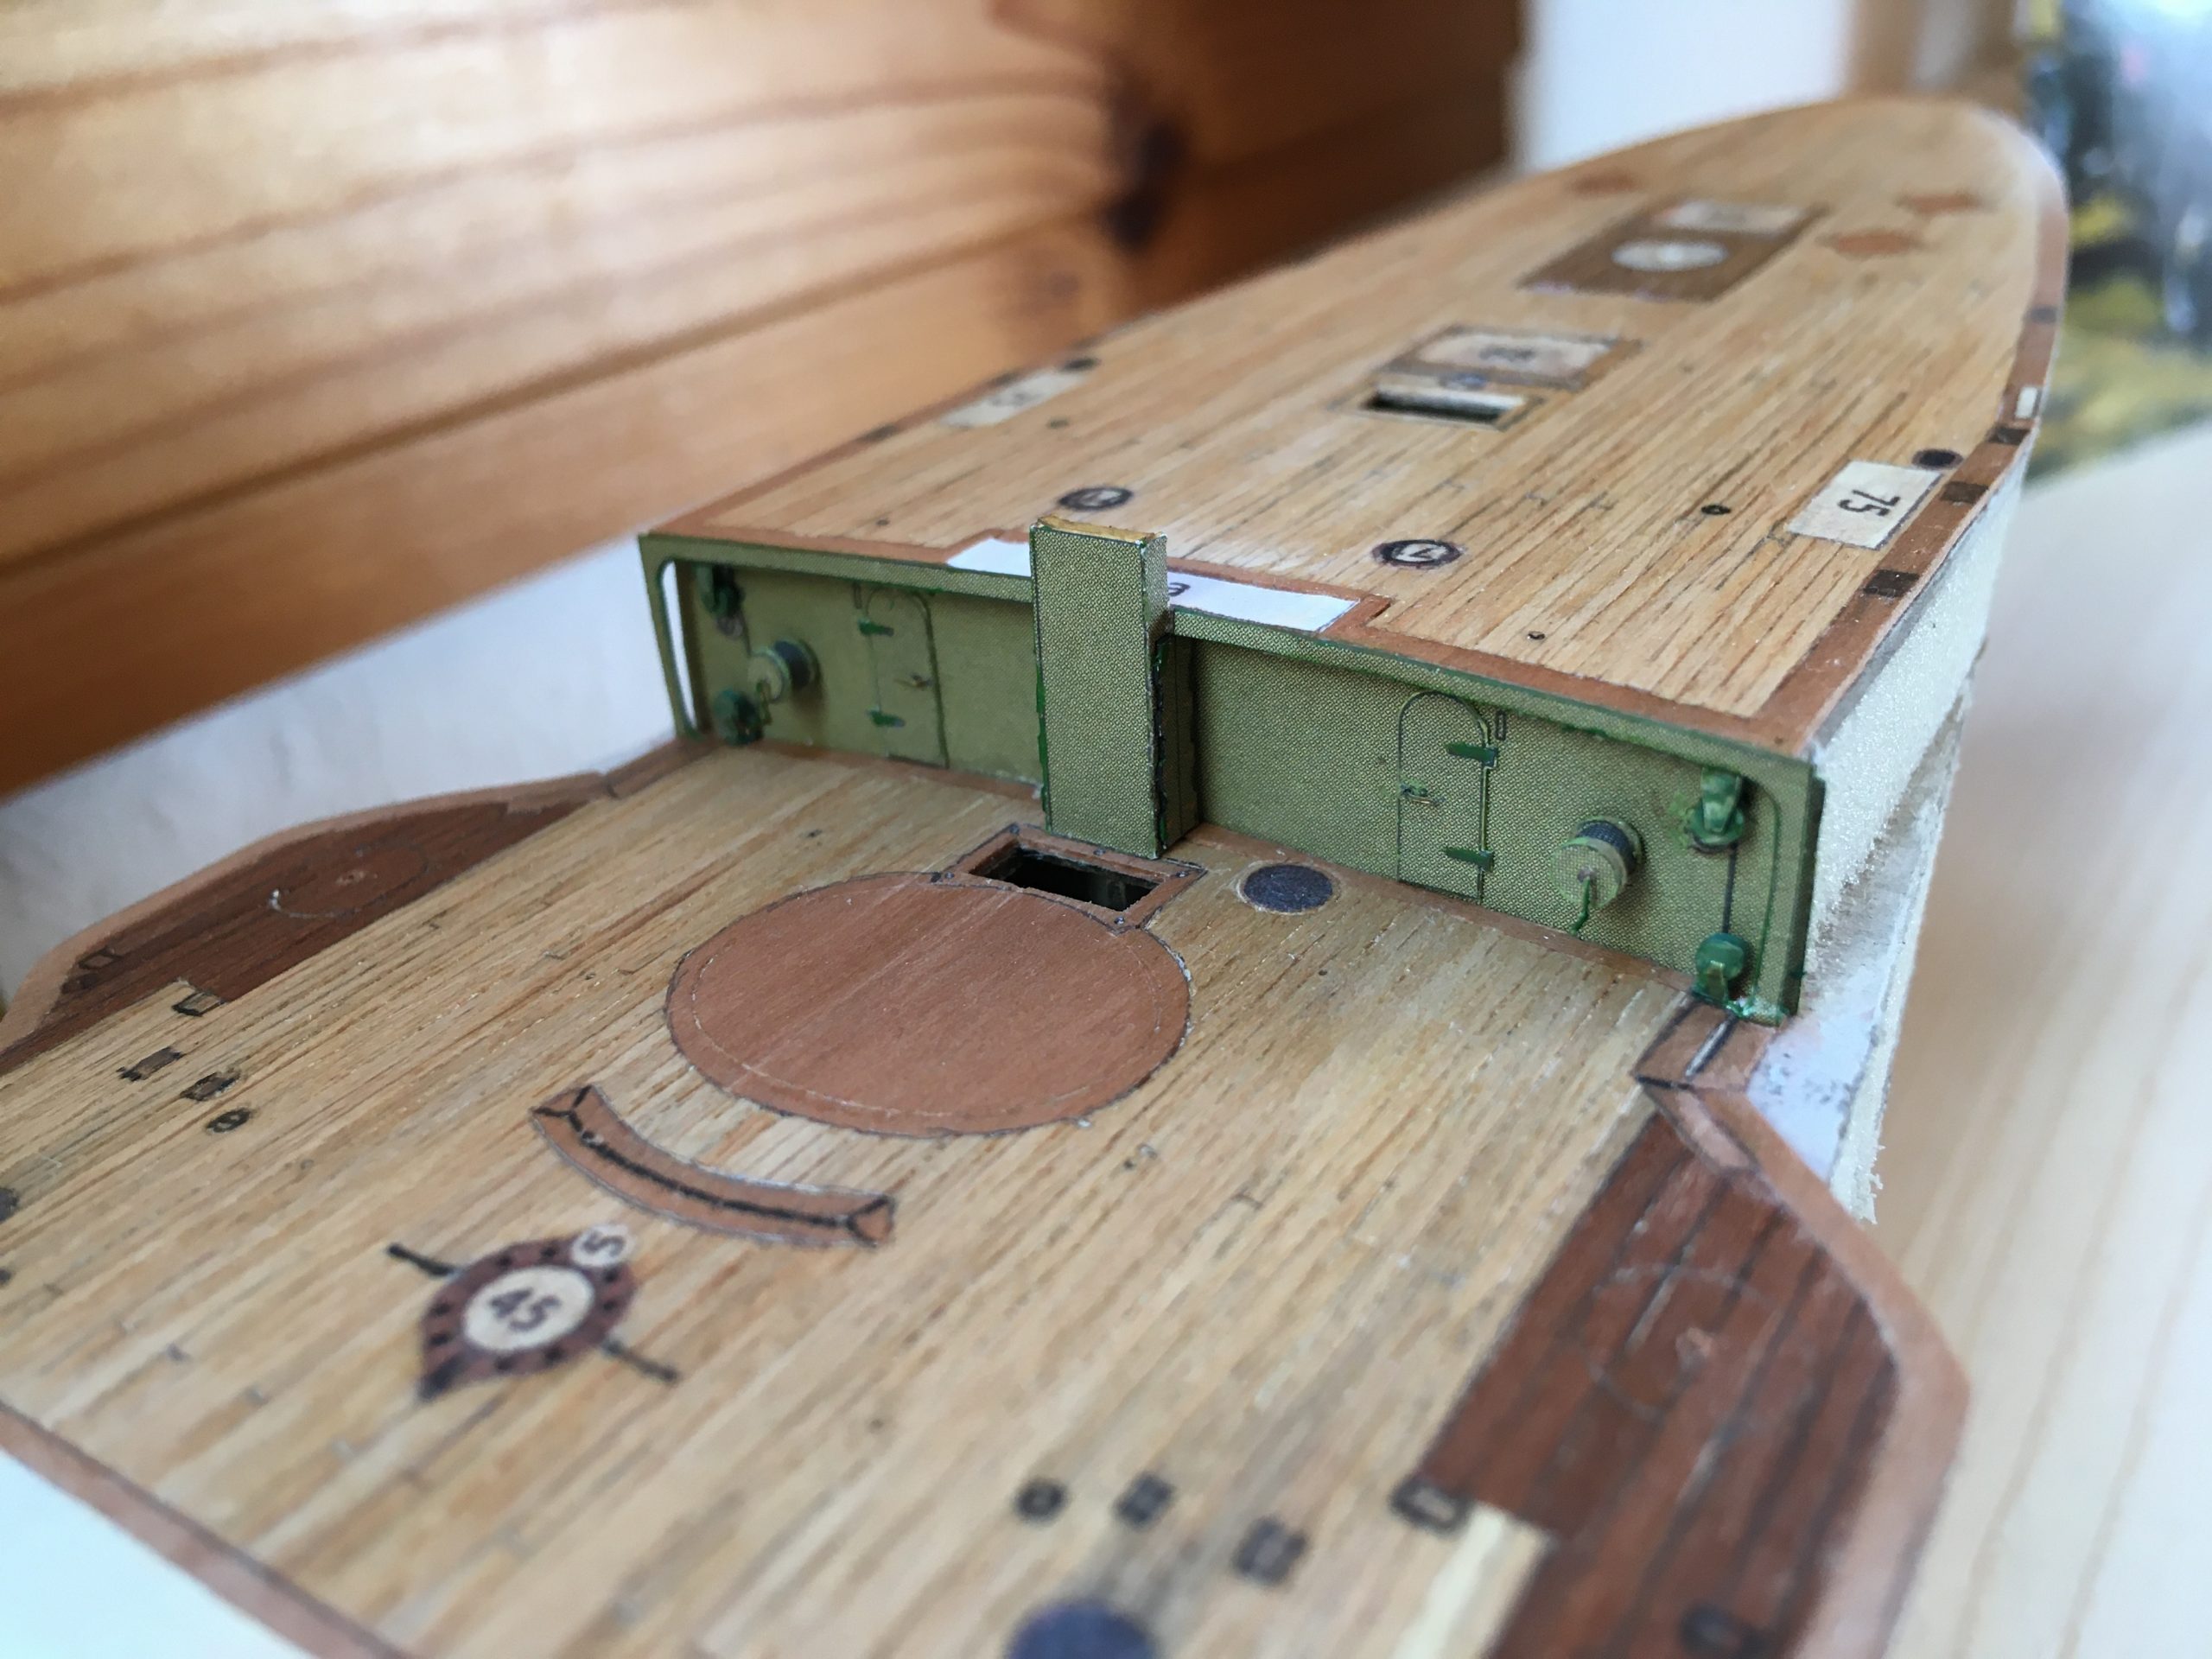
Some close -ups showing the laid up decking:


The foredeck fitted + the entrance to the deck below – just trying for size before fitting the main deck.

For the full report, please go to https://thingummybob.com/modelmaking/building-dom-bumagis-diana/