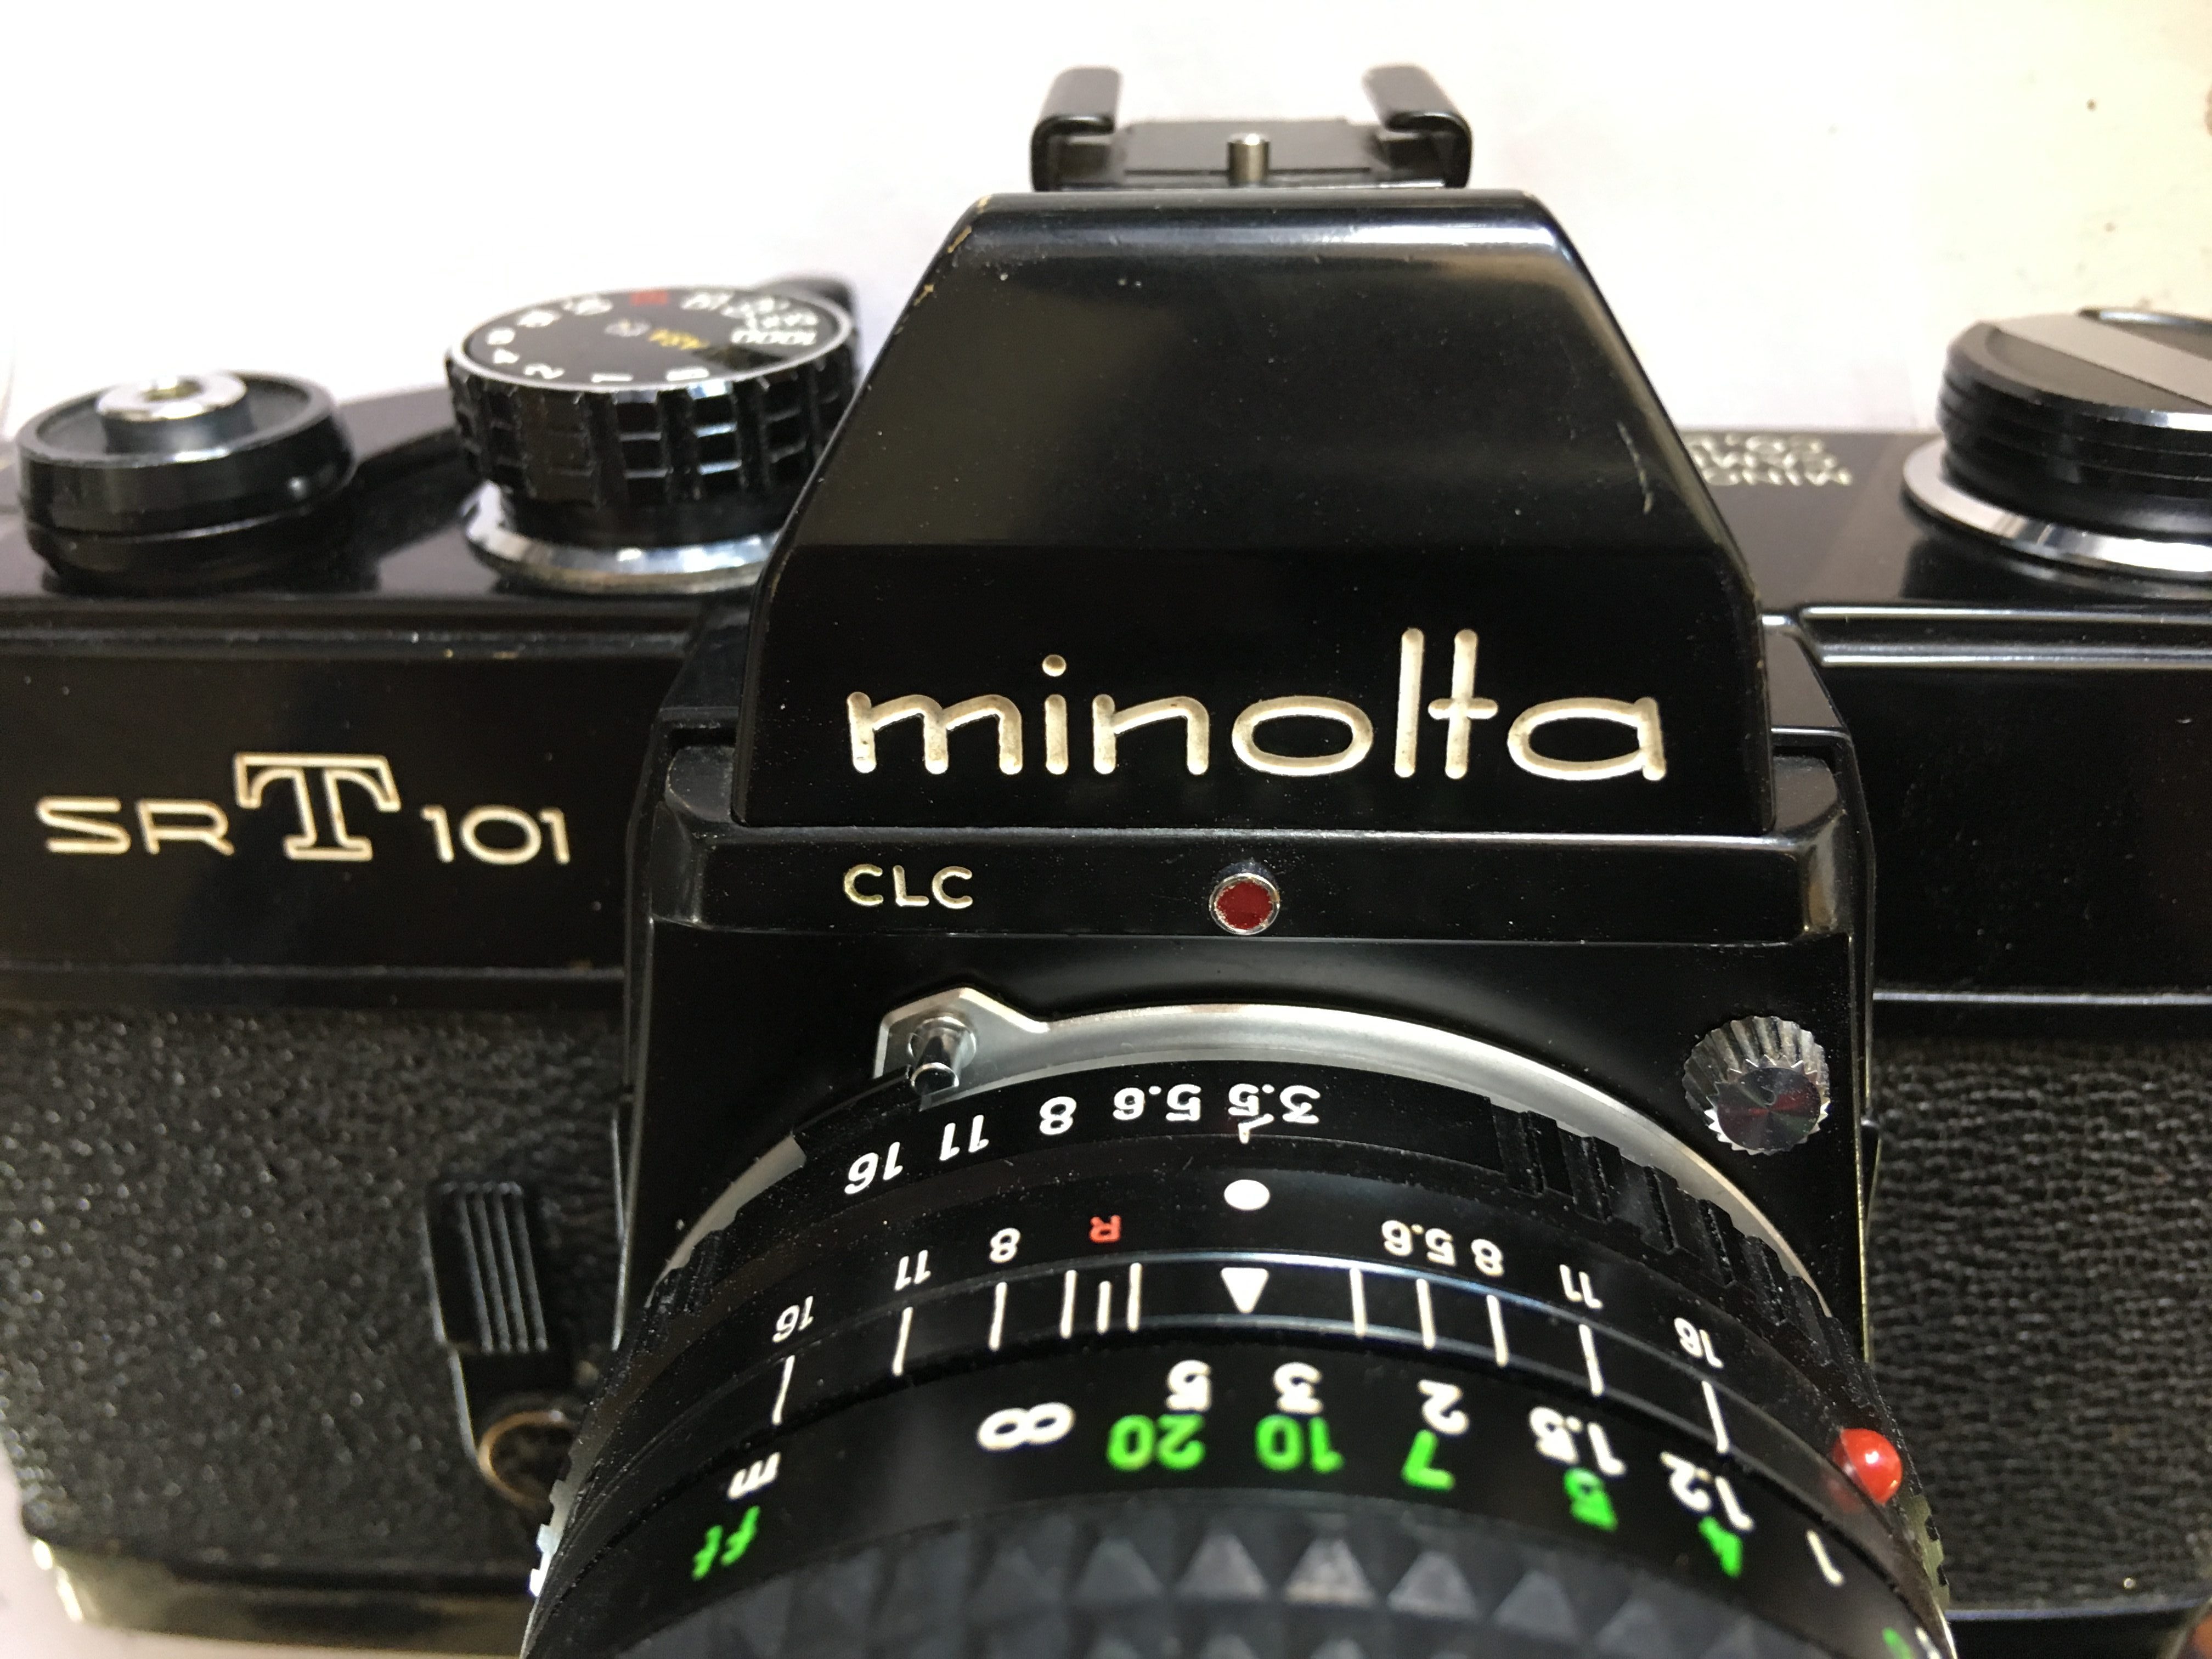
 This is one of the last 101 and relatively rare in black without the mirror lock-up. By then Minolta had embraced cross-head screws. SR-T101 incorporated for the first time through the lens metering at full aperture, using their patented CLC system (Contrast Light Compensator)
Month: July 2019
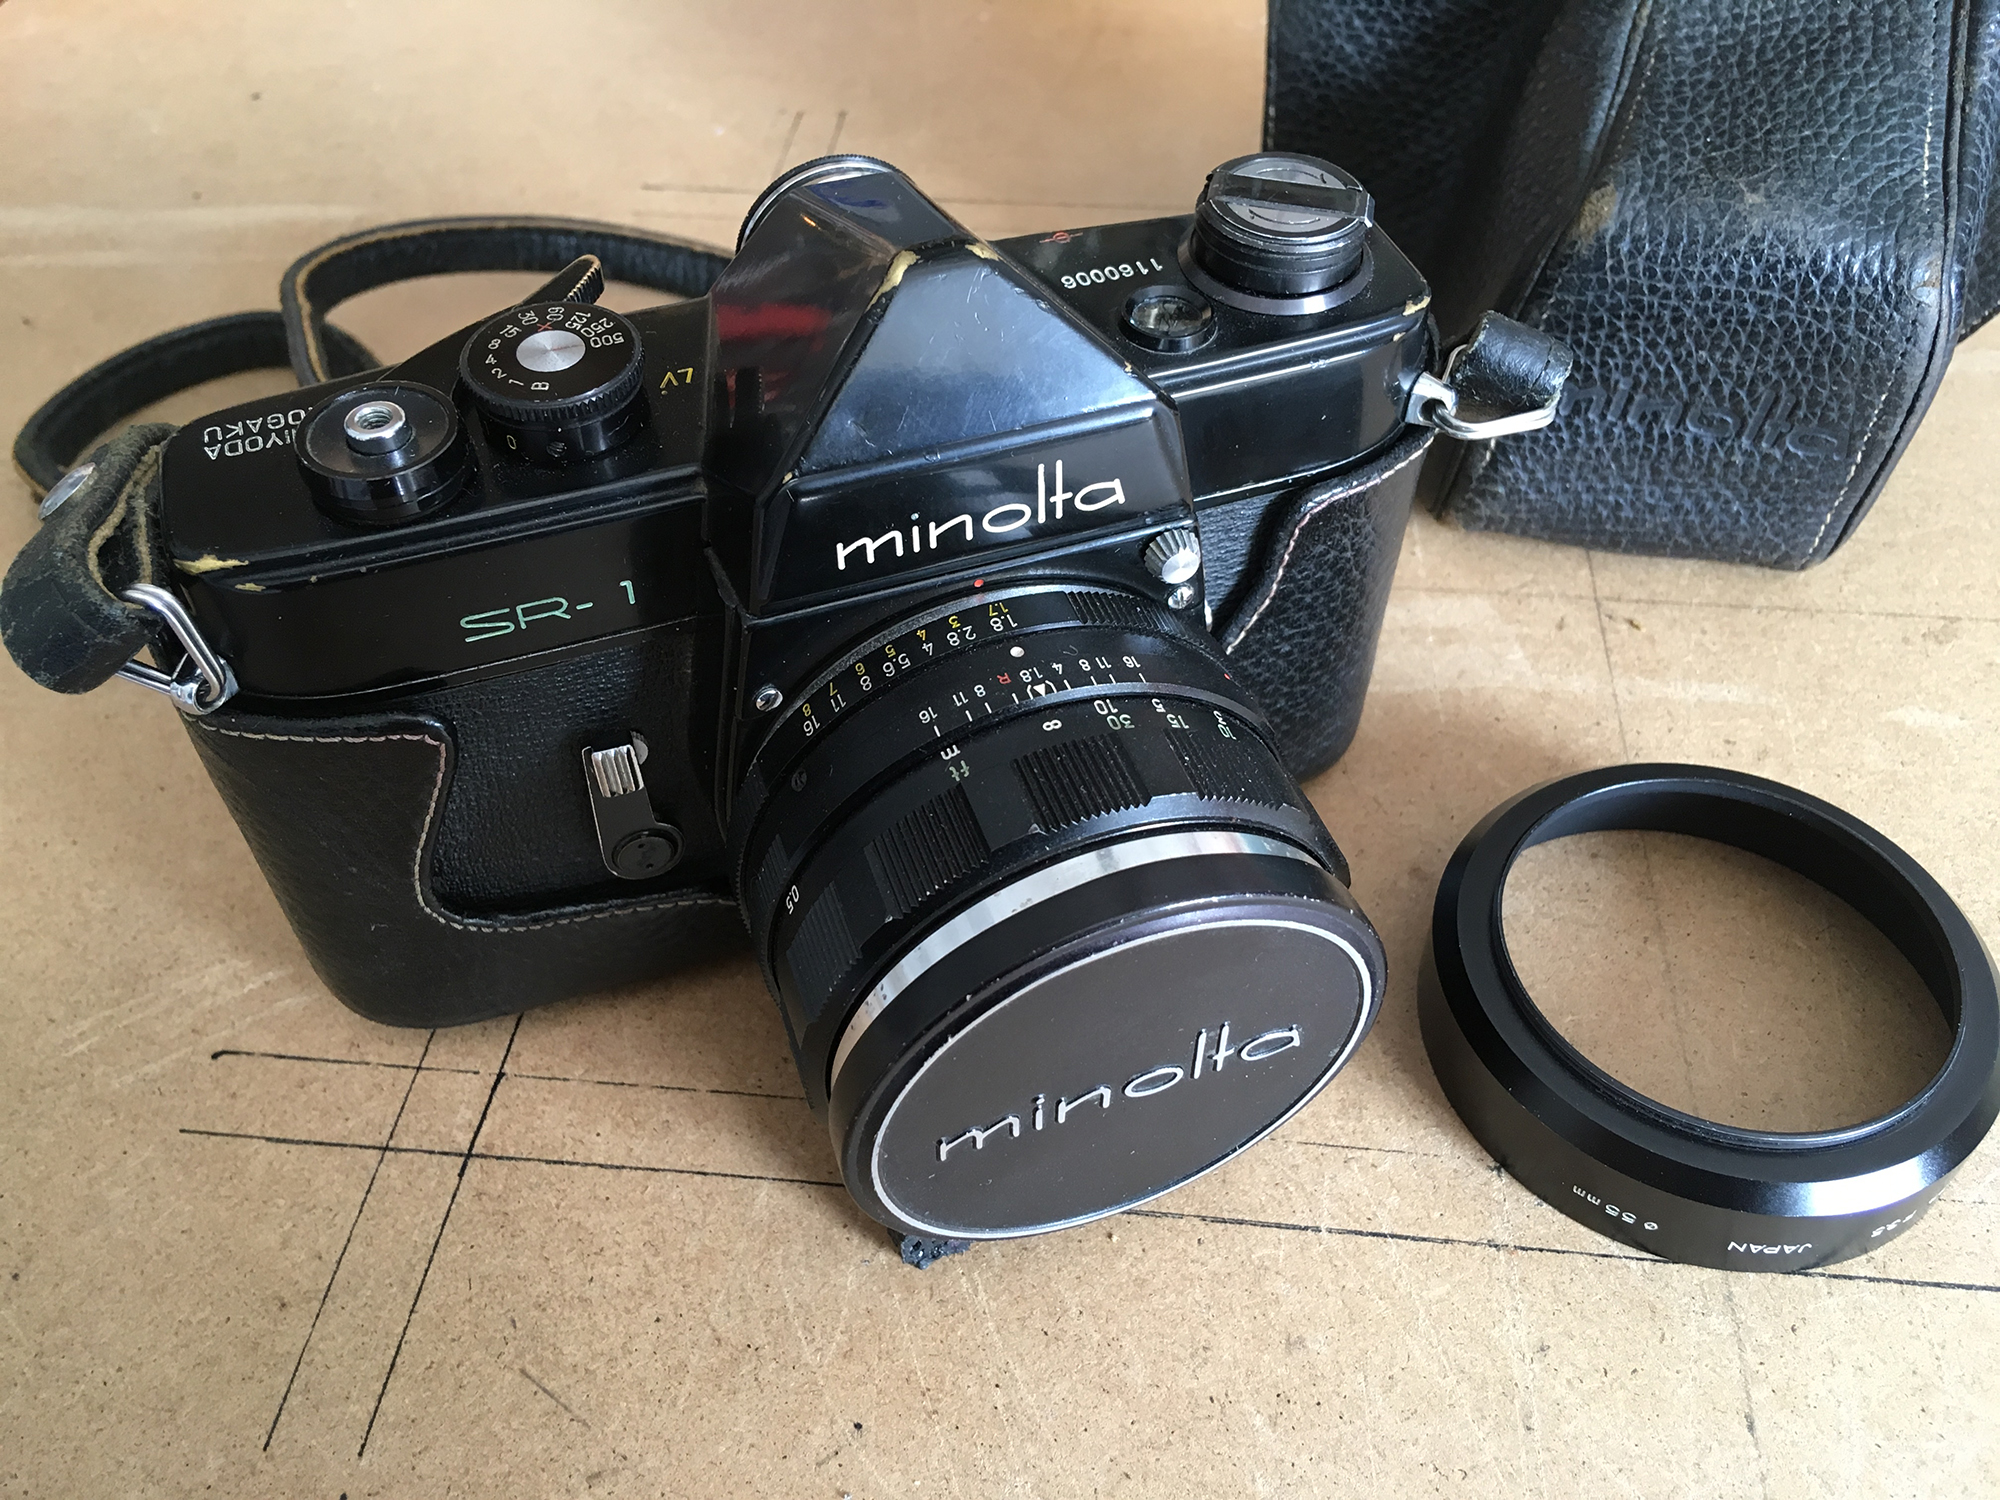
Minolta SR-1, 1959, black
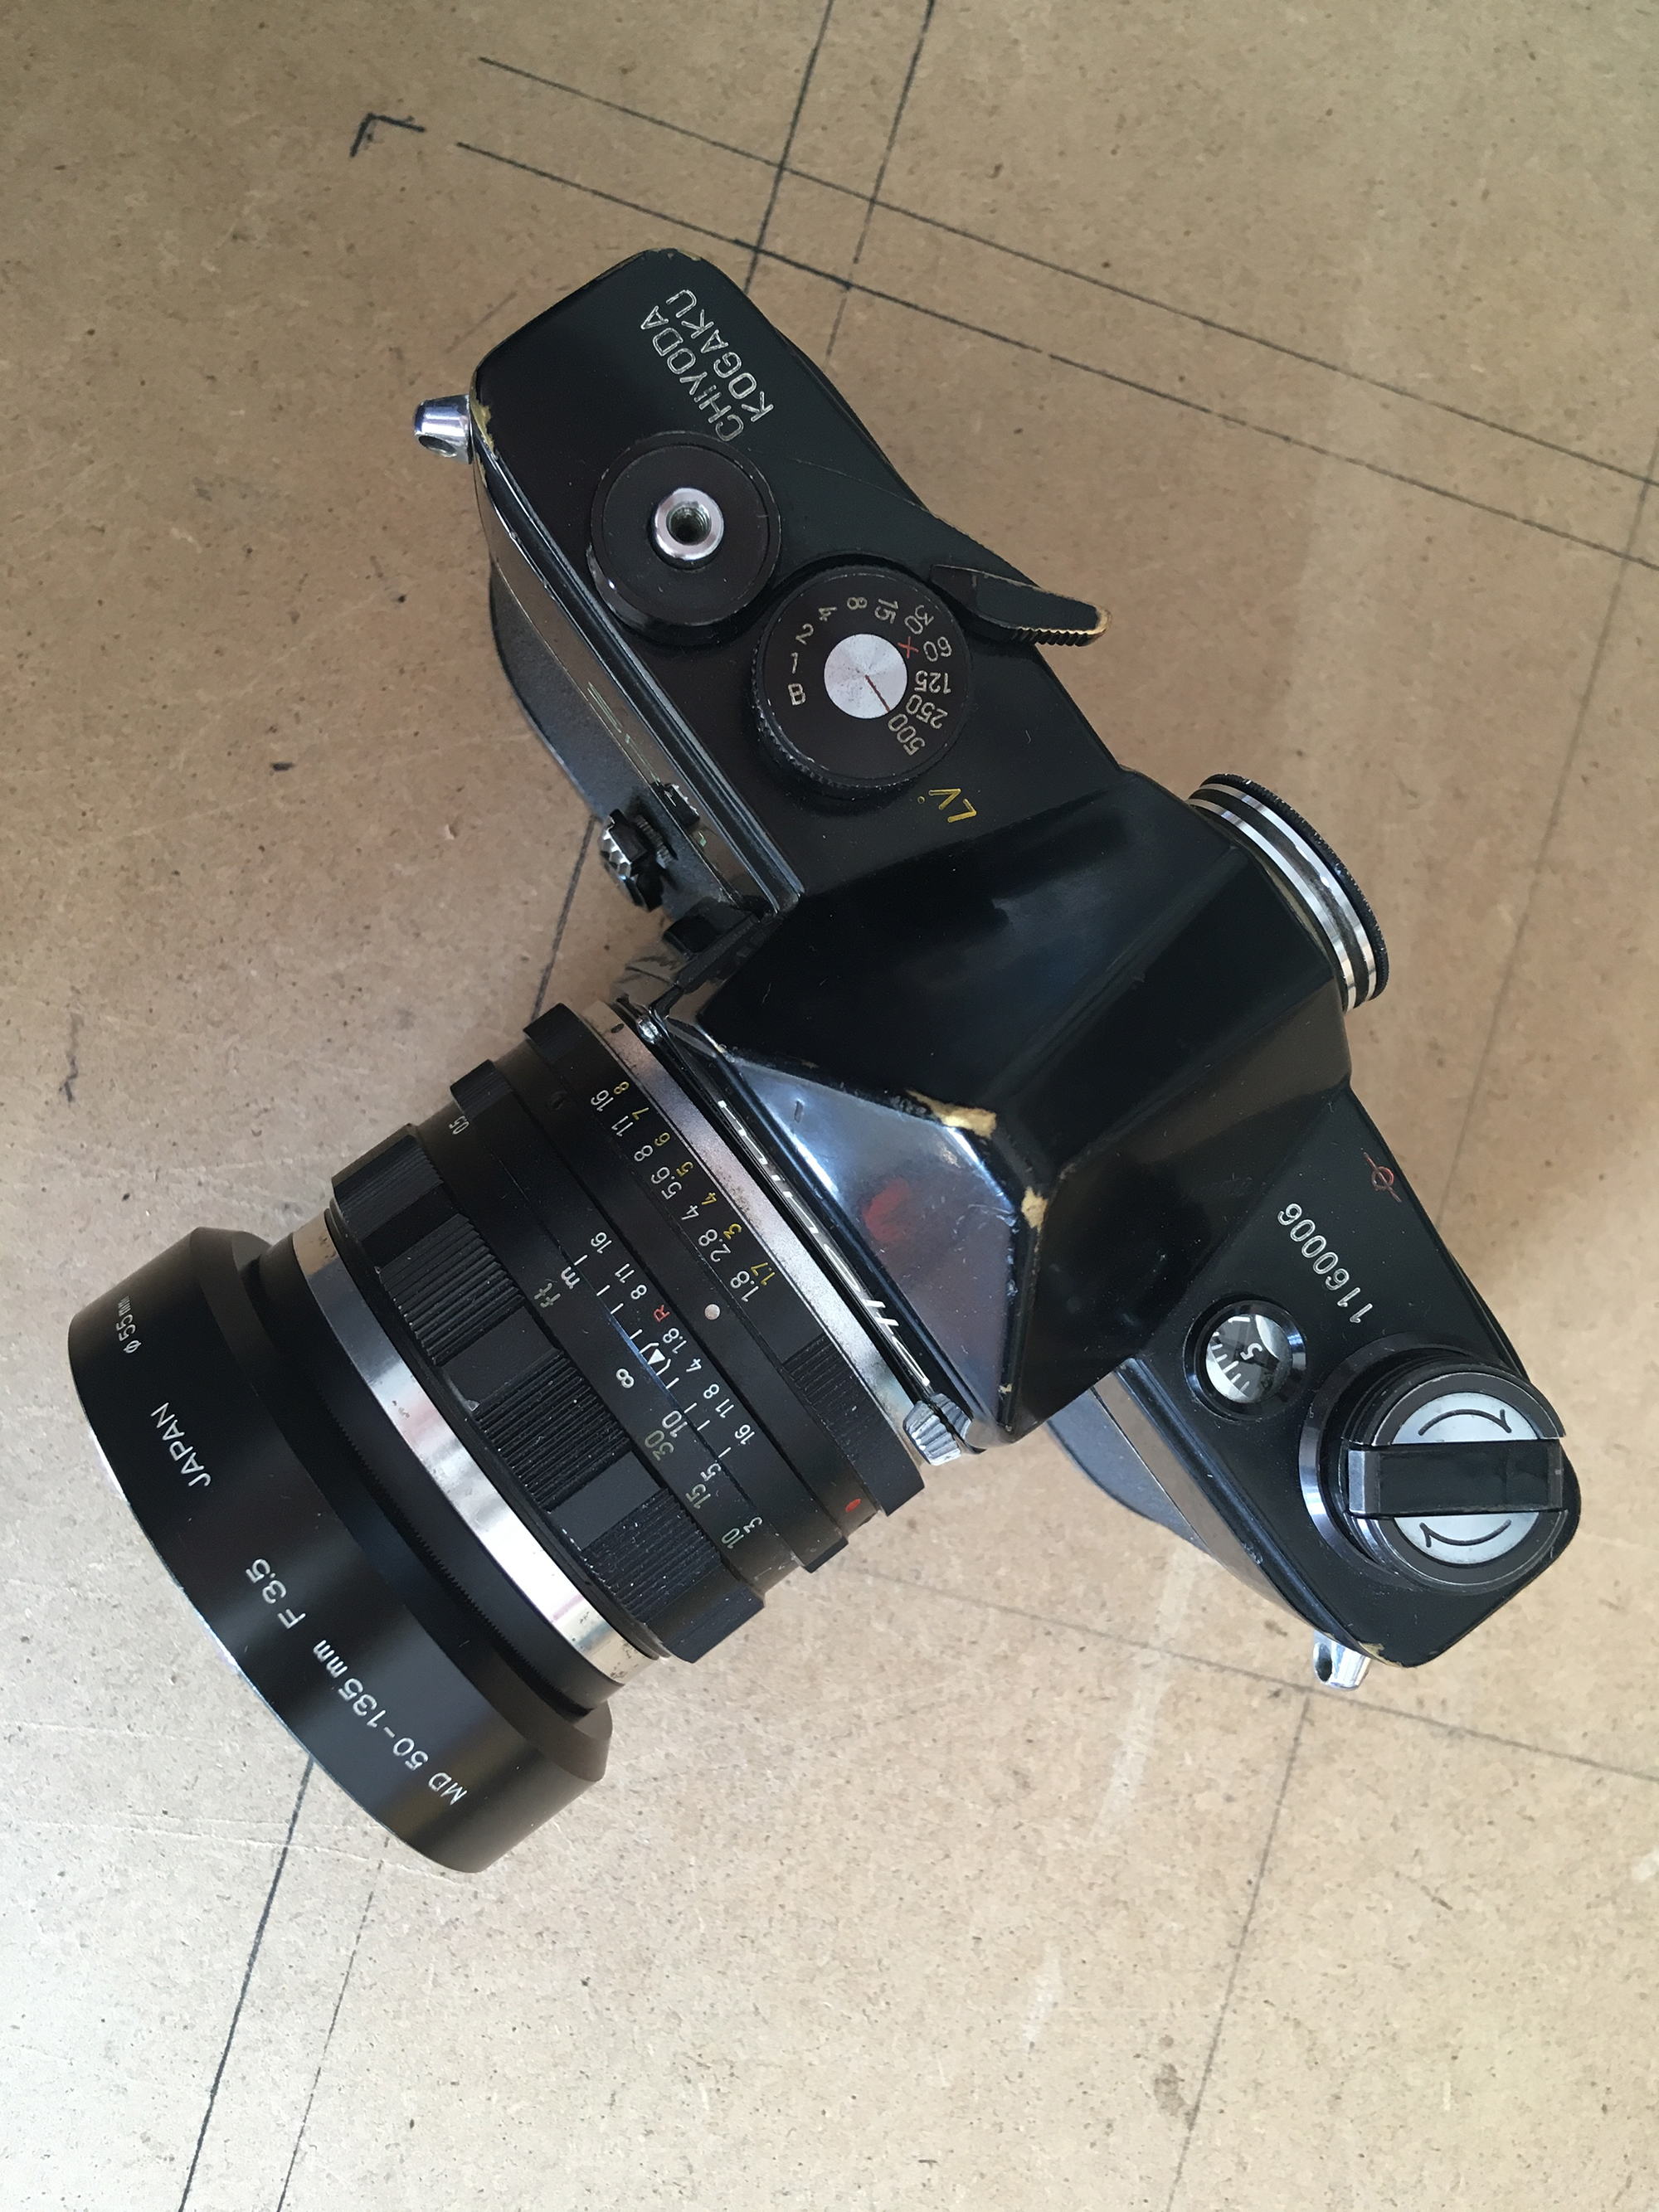
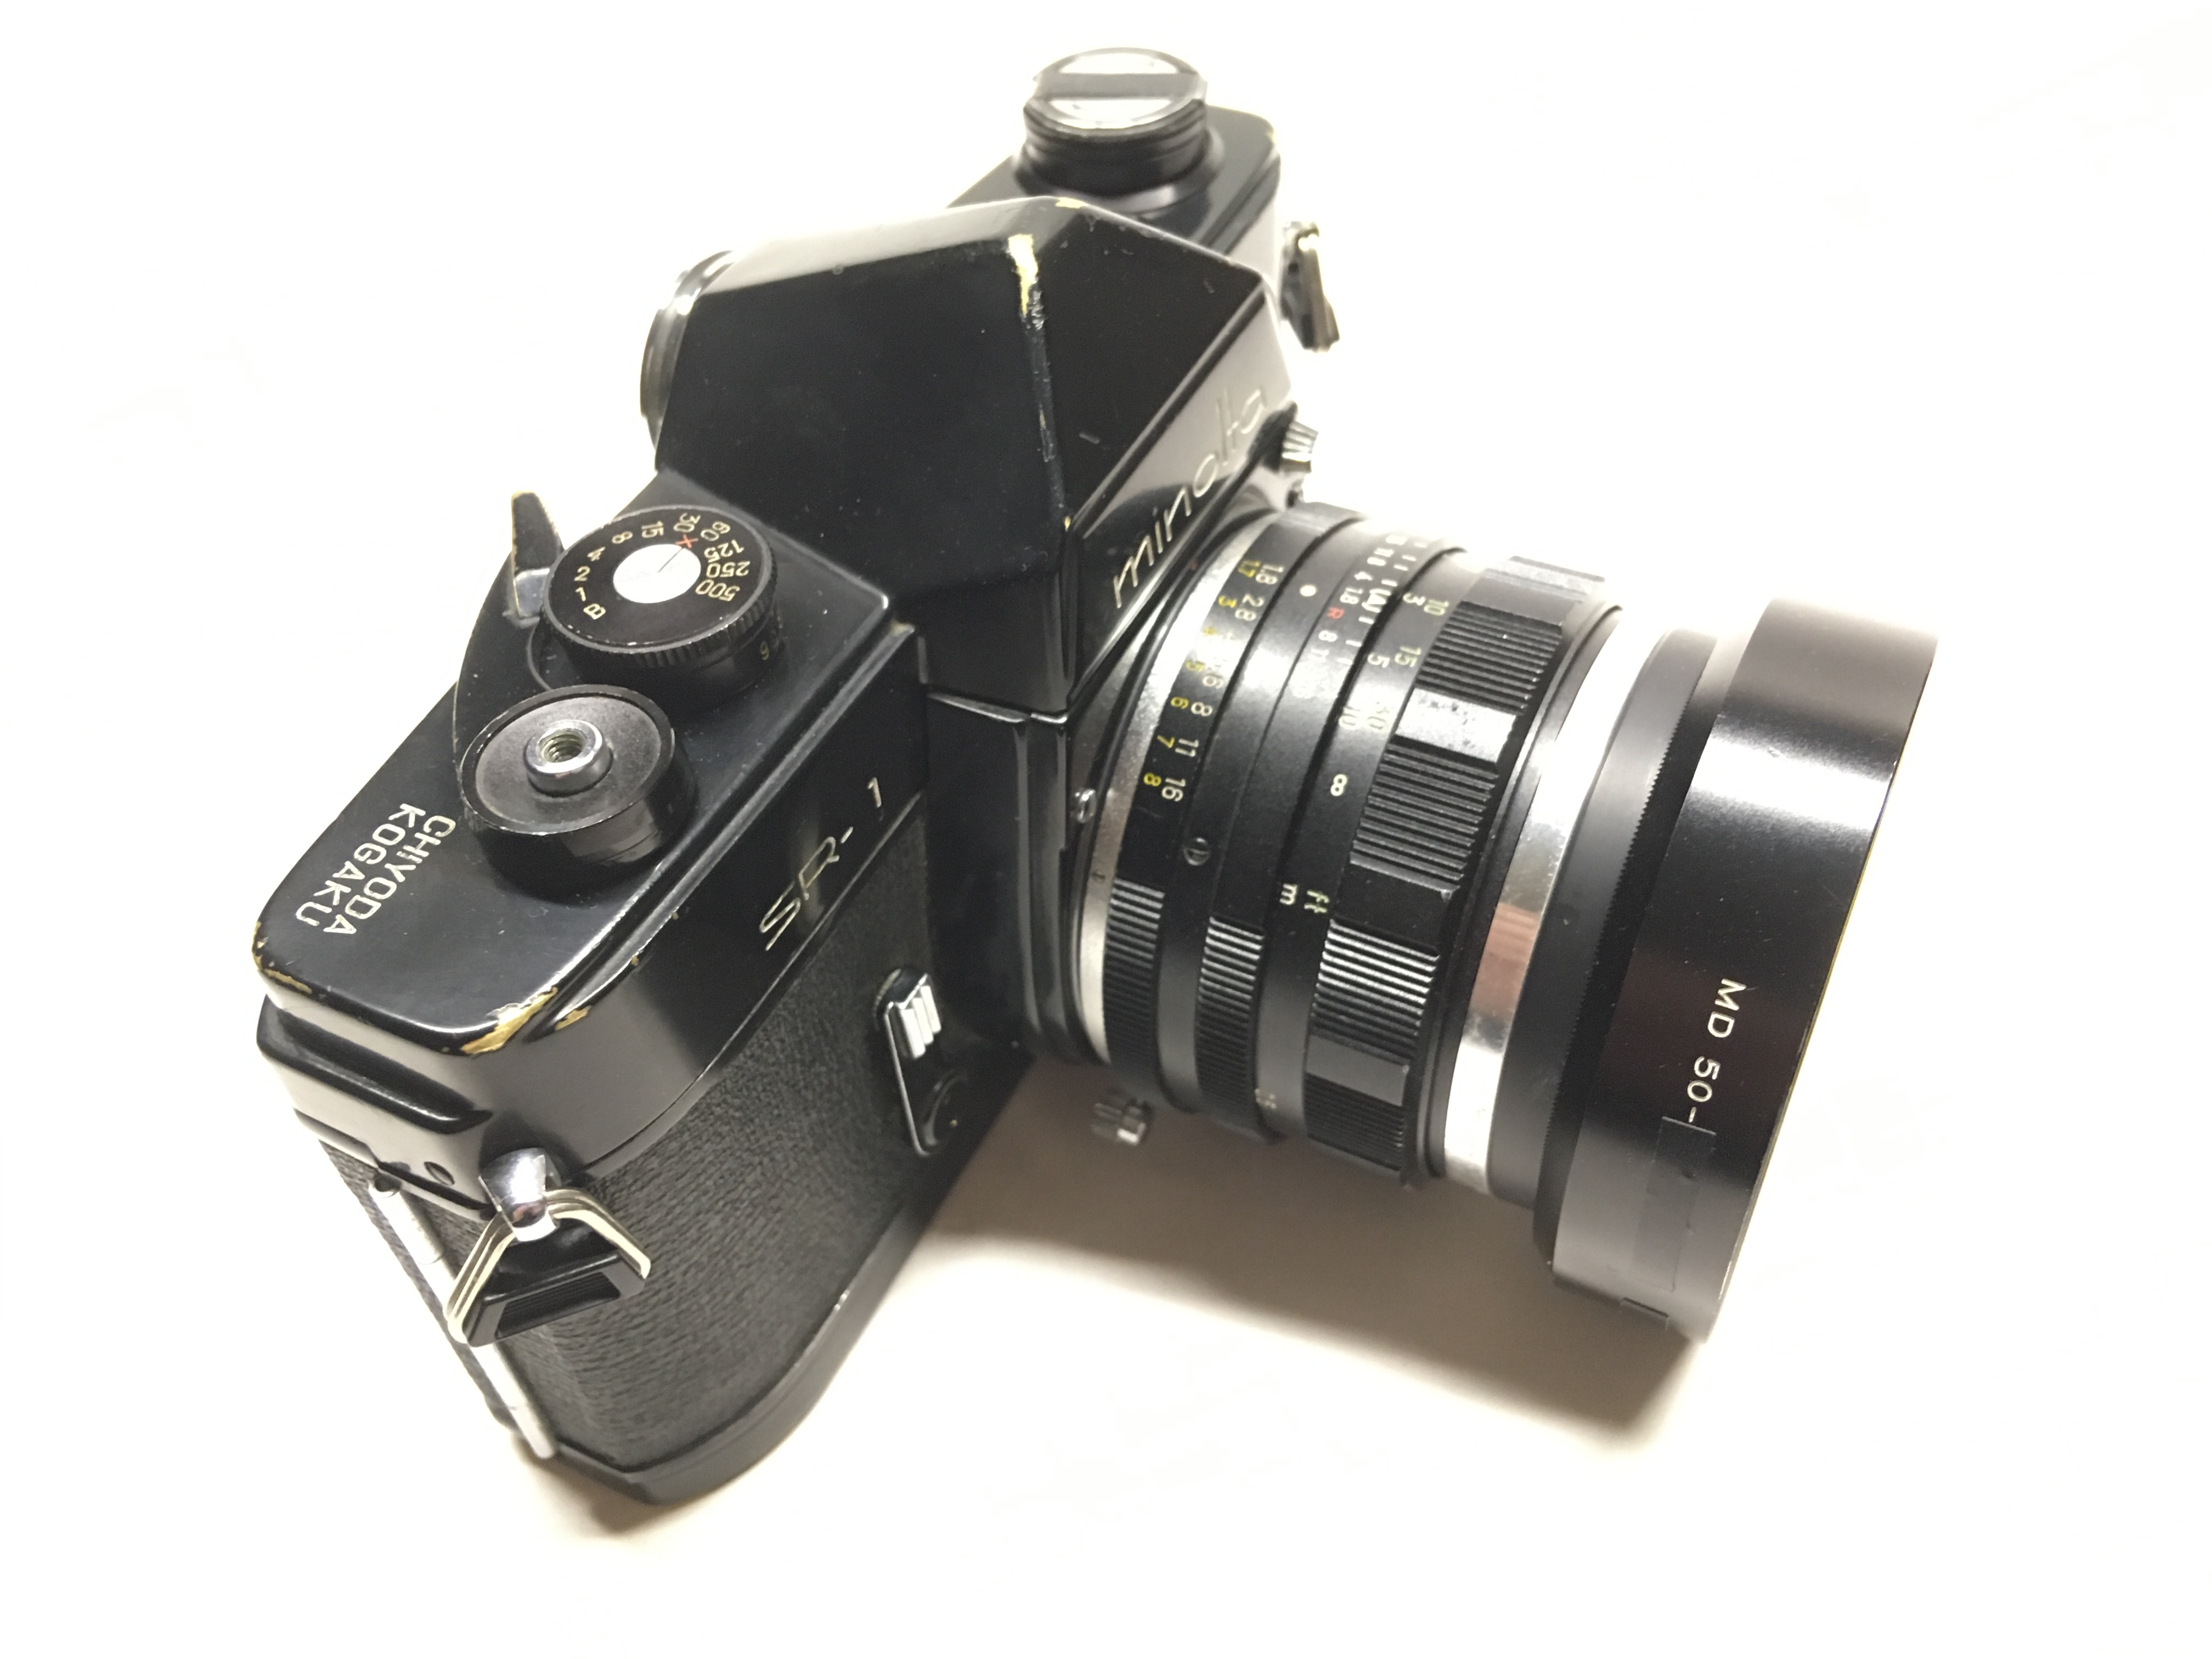 Introduced in 1959, this is a ‘b’ model of one year later. One of the earliest Minolta SLRs and one that is still in regular use (I have three of them, one black, two chrome). A slightly cheaper version of the 1/0000/sec SR-2, which was their first SLR, the SR-1 had a top speed of 1/500/sec and had an f2 55mm lens as standard, as opposed to the f1.8 55mm which was standard with the SR-2. The lens fitted here is one of the very early f1.8, 55mm offerings with the LV engravings and is very well kept. The black ones are extremely rare, I am told.
Both models had the (for the time) very desirable mirror-return, but the iris remained stopped down until the shutter was cocked again. No information in the surprisingly bright viewfinder apart from the circular focusing aid and no meter, of course. Completely mechanical, no batteries, built like a tank.
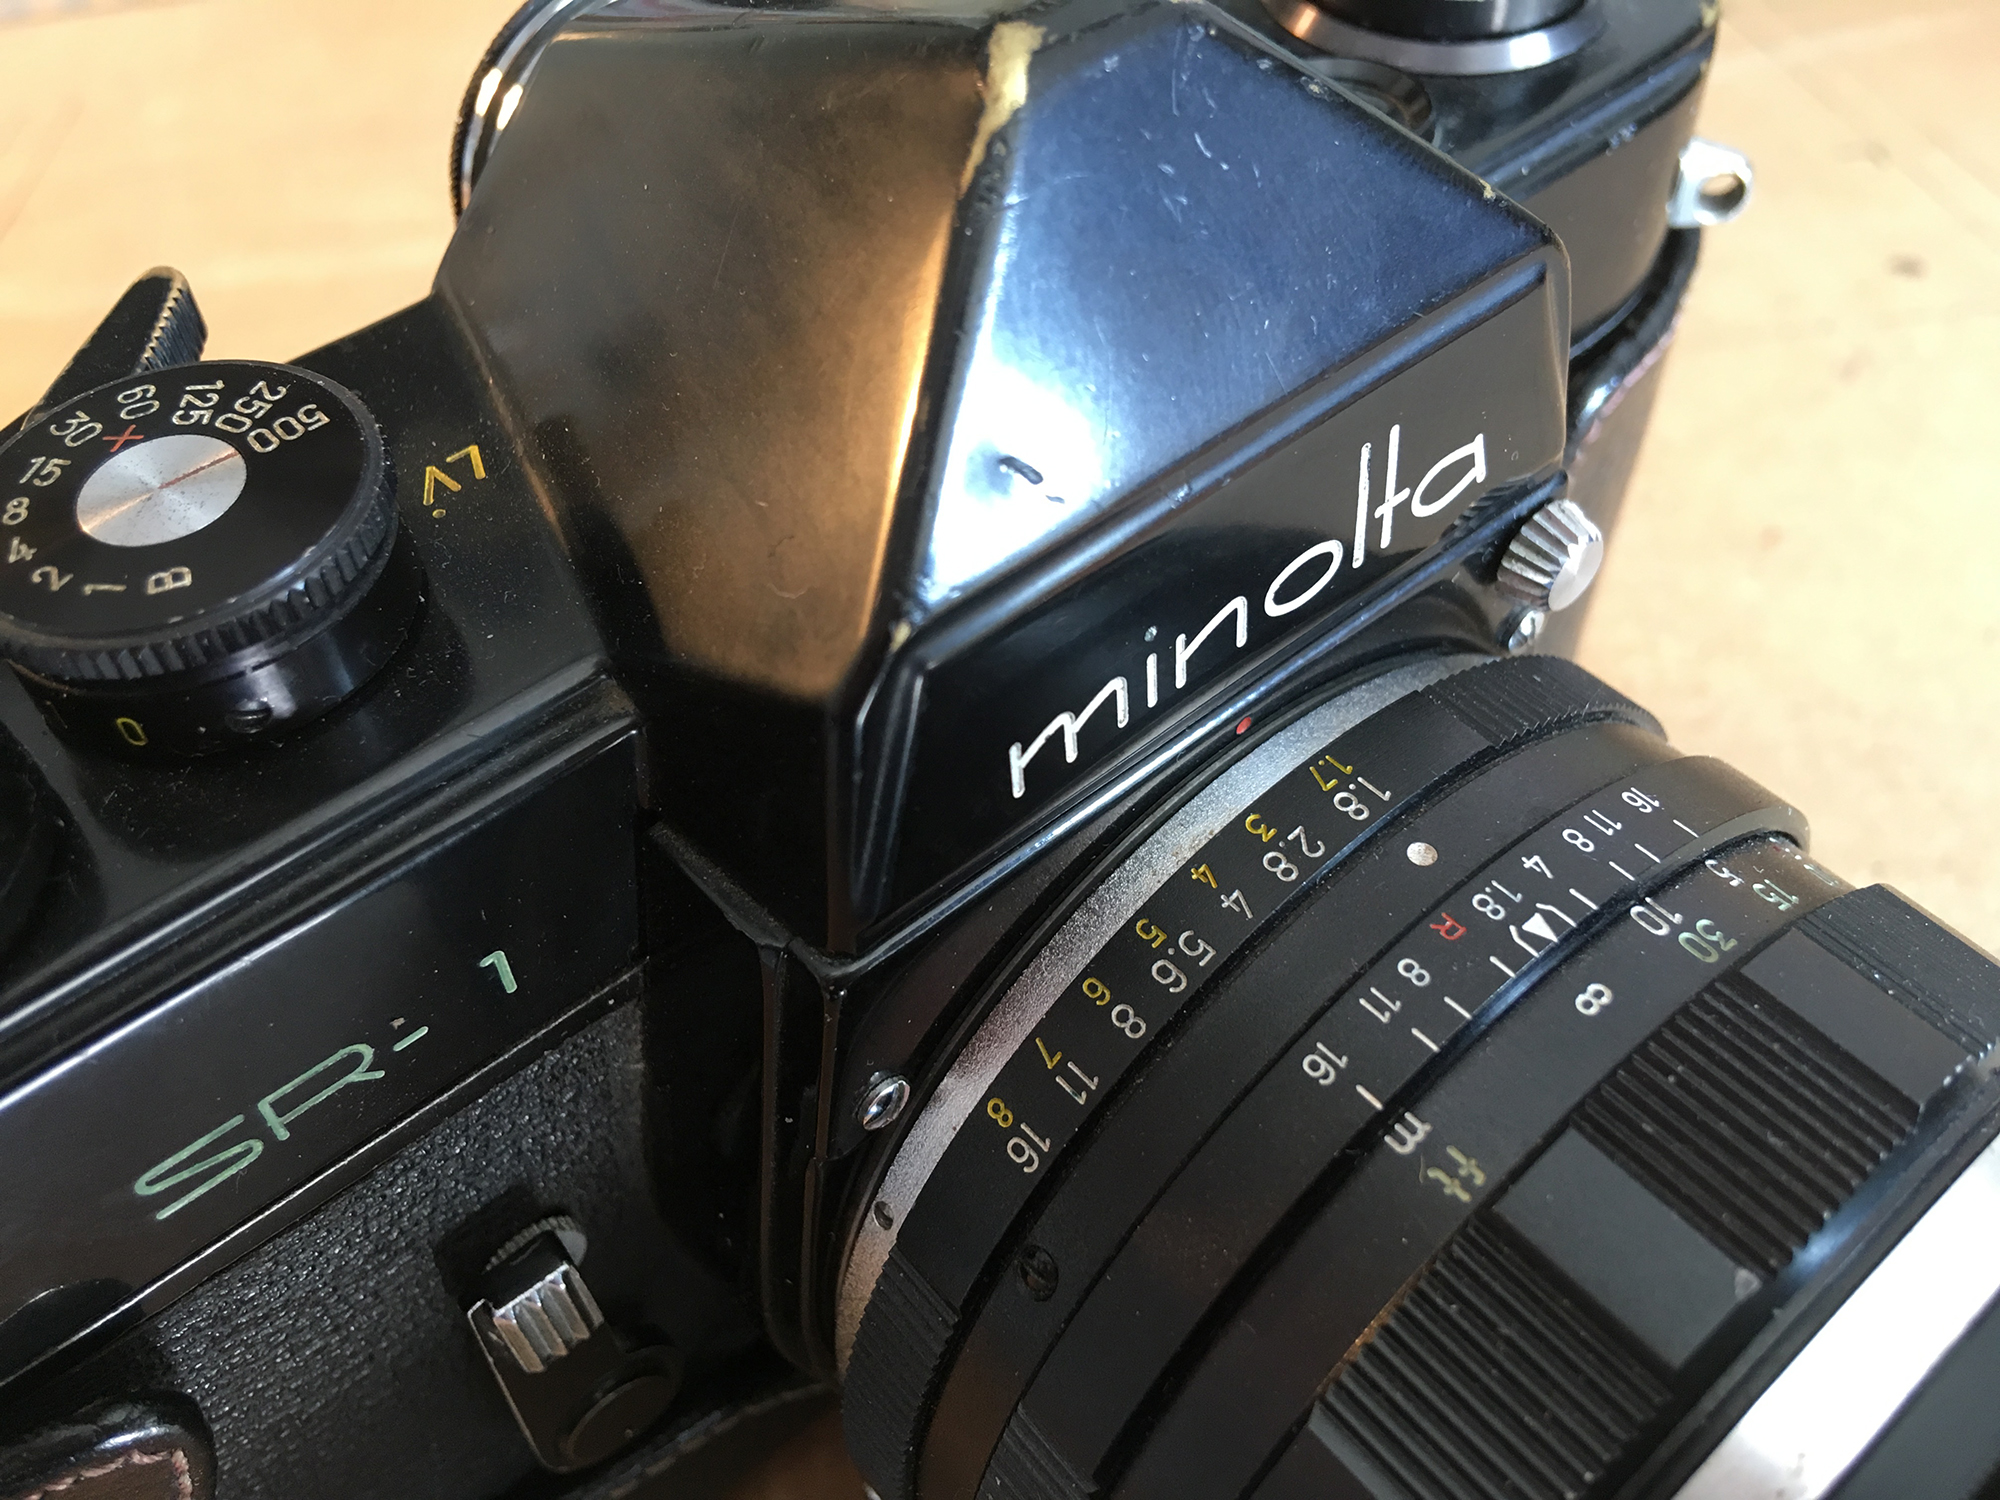
Very interesting is the way that exposure is calculated, very simple, actually. Based on the ‘light value’ standard of the day, displayed on most Light Meters, including those from Minolta. A separate scale in yellow is engraved around the aperture ring and the shutter-speed dial. LV is engraved on the top of the body width a dot next to the shutter-speed dial for reference. Given a particular light value – say 13, for an overcast but bright day – you simply ‘dial in’ a combination on the yellow scales that adds up to that value! So, for this example, 7 (1/125) and 6 (f8) gives a good general combination both for depth of field and motion freeze. Any other combination adding up to 13 would give the same exposure! I have a few lenses with the engravings, including a 135mm f2.8, apparrently less than 2,000 were made with the engravings! More of that one later in a ‘repair’ blog.
Don’t forget, the settings are, of course, for the ‘standard’ 100 ASA film and any other film-speed will have to be compensated for.
Nonetheless, once you have tried it, you would probably be astounded as to how easy, quick and intuitive it is.
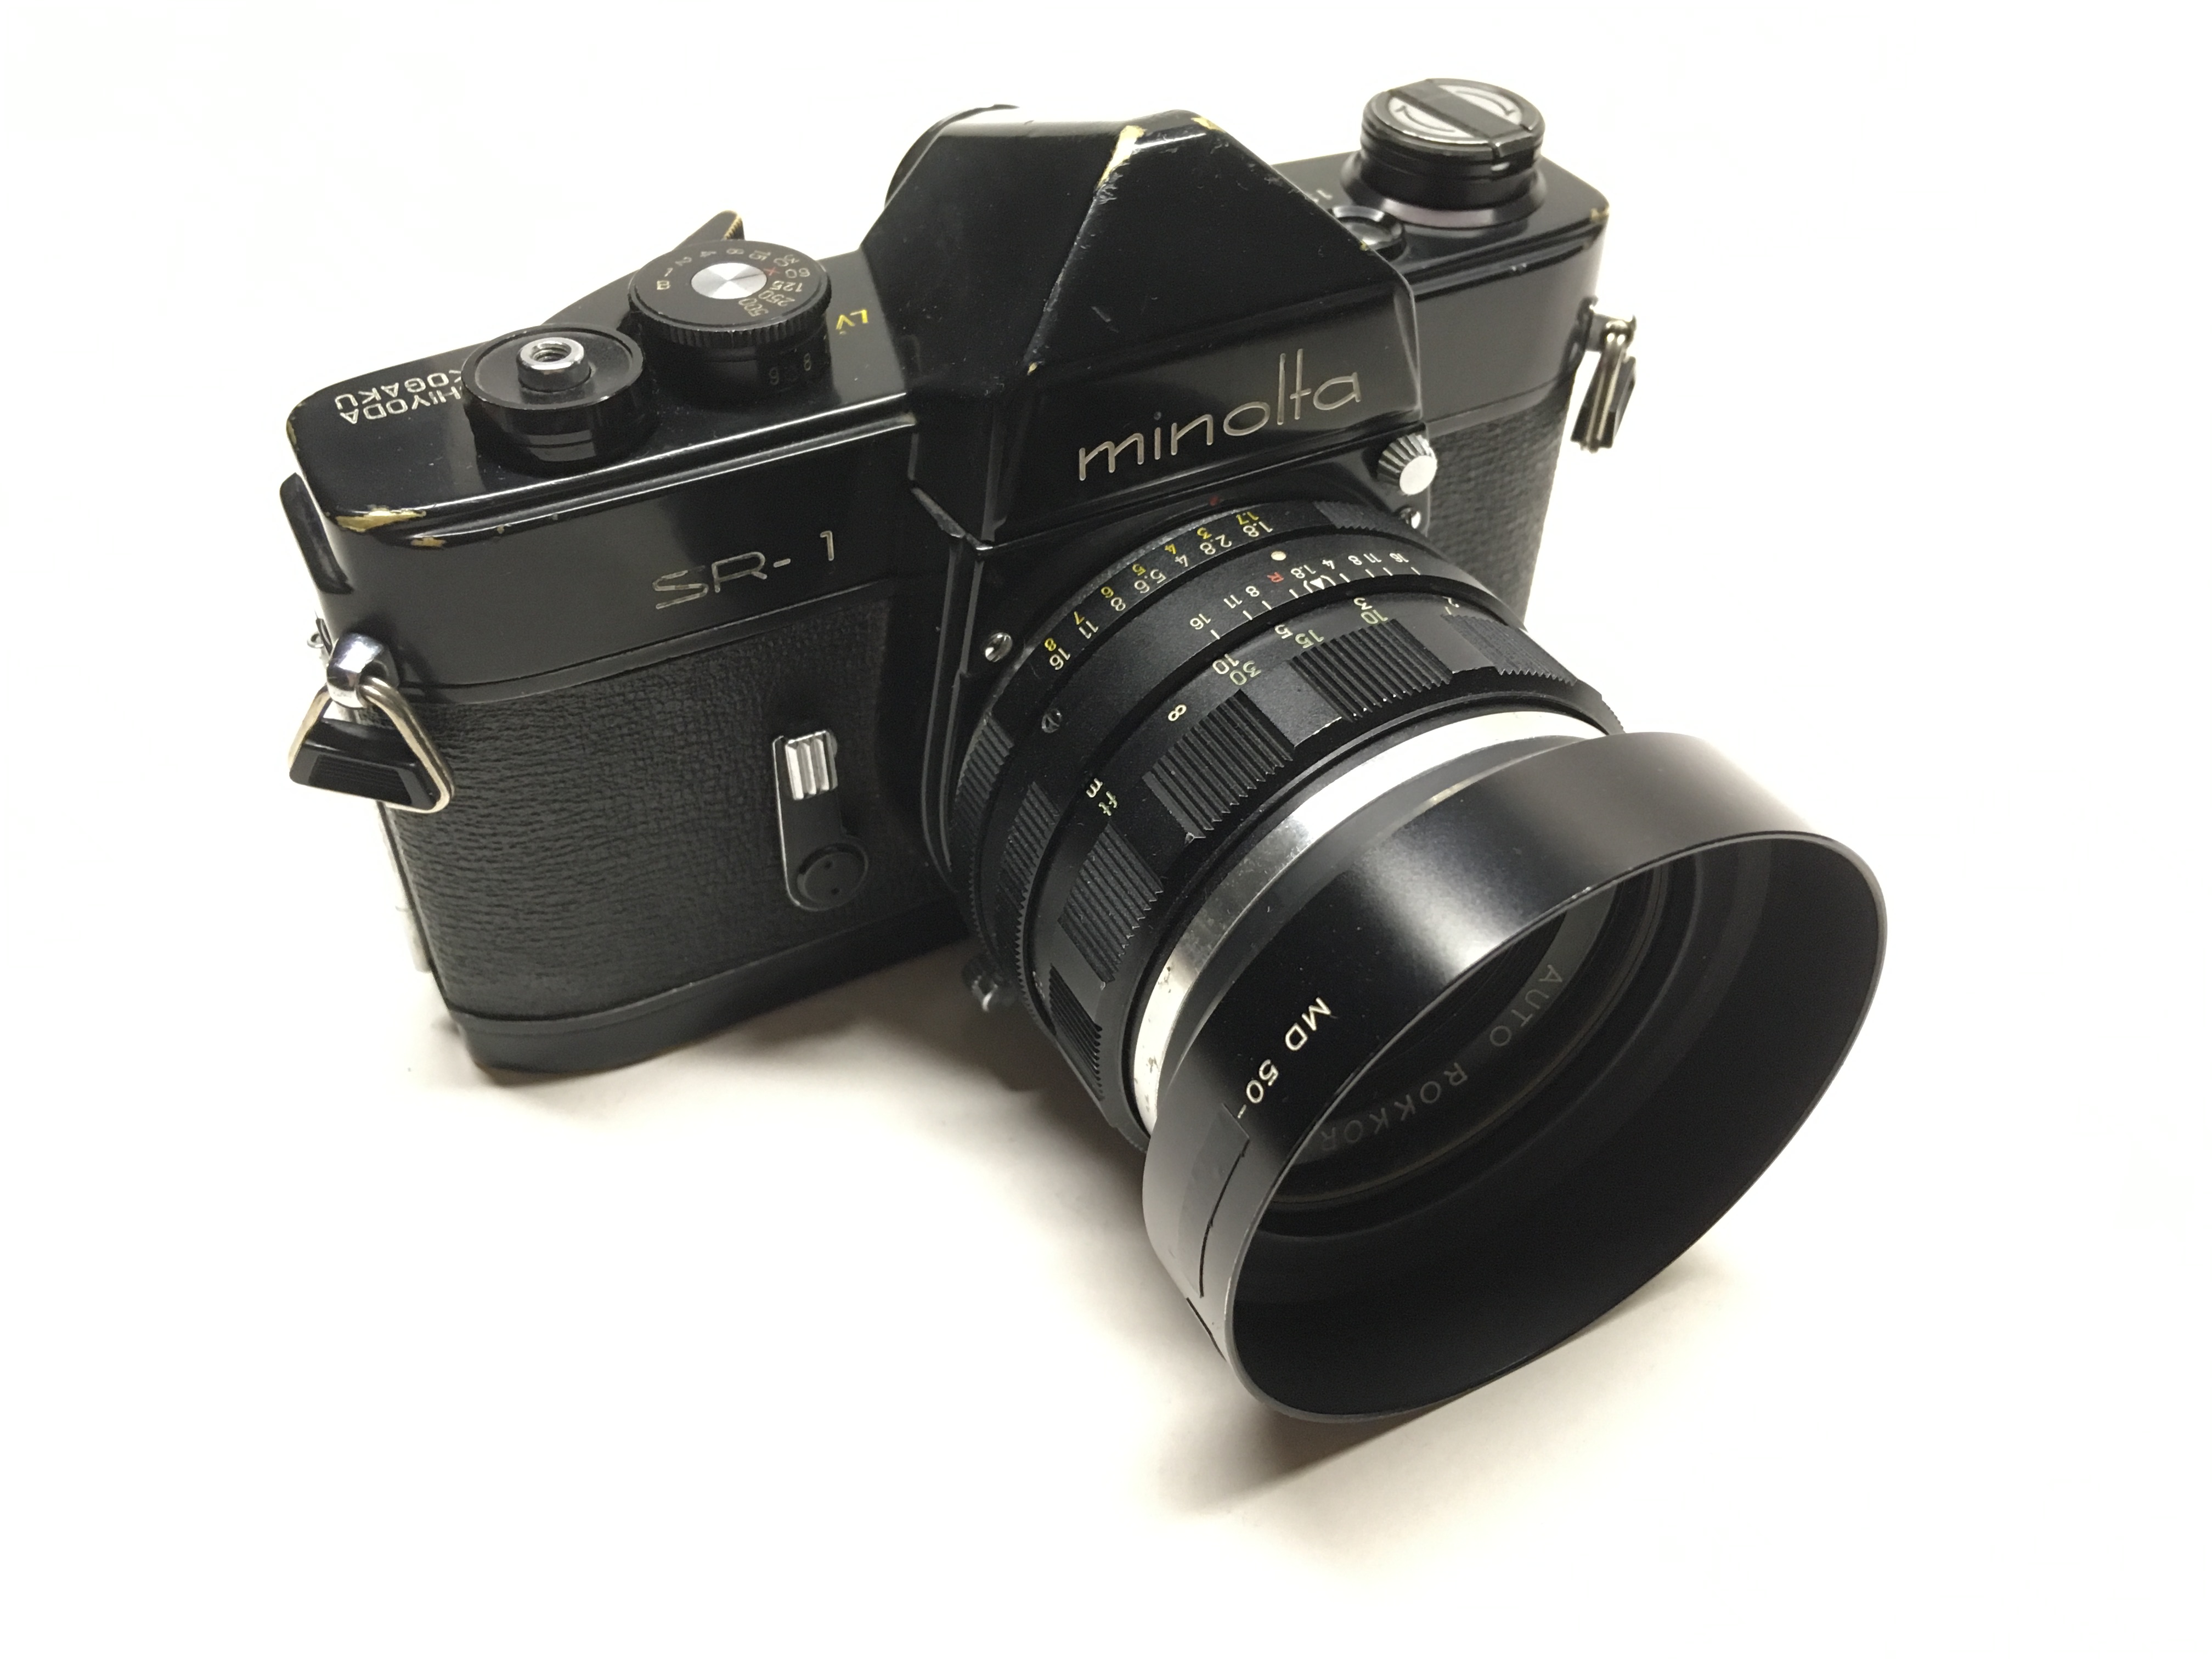
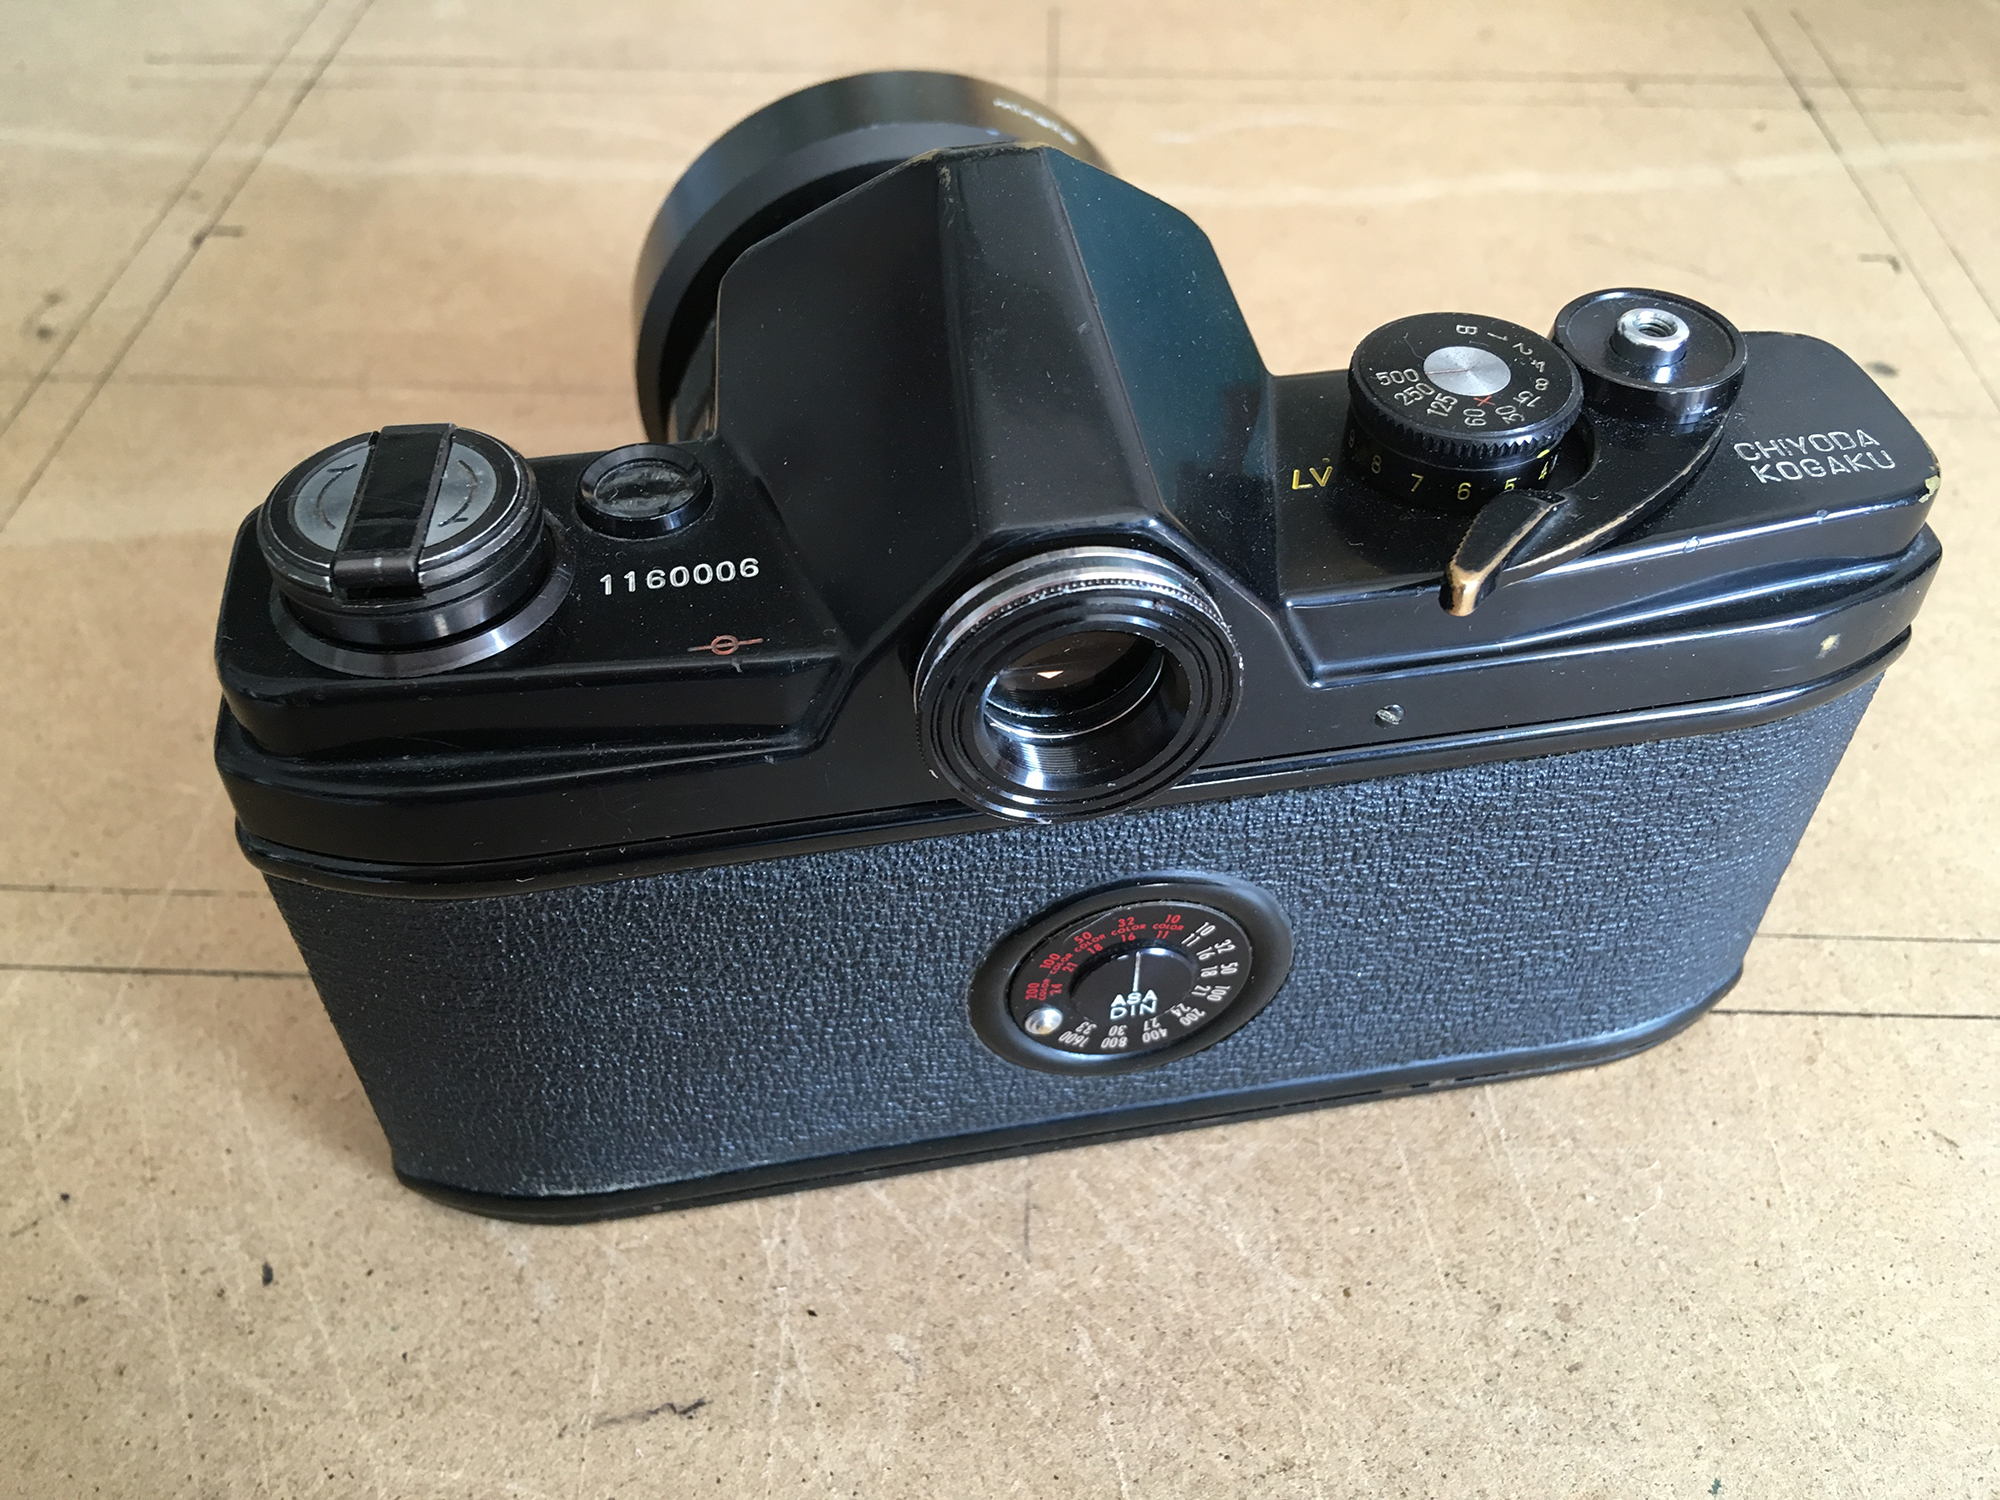
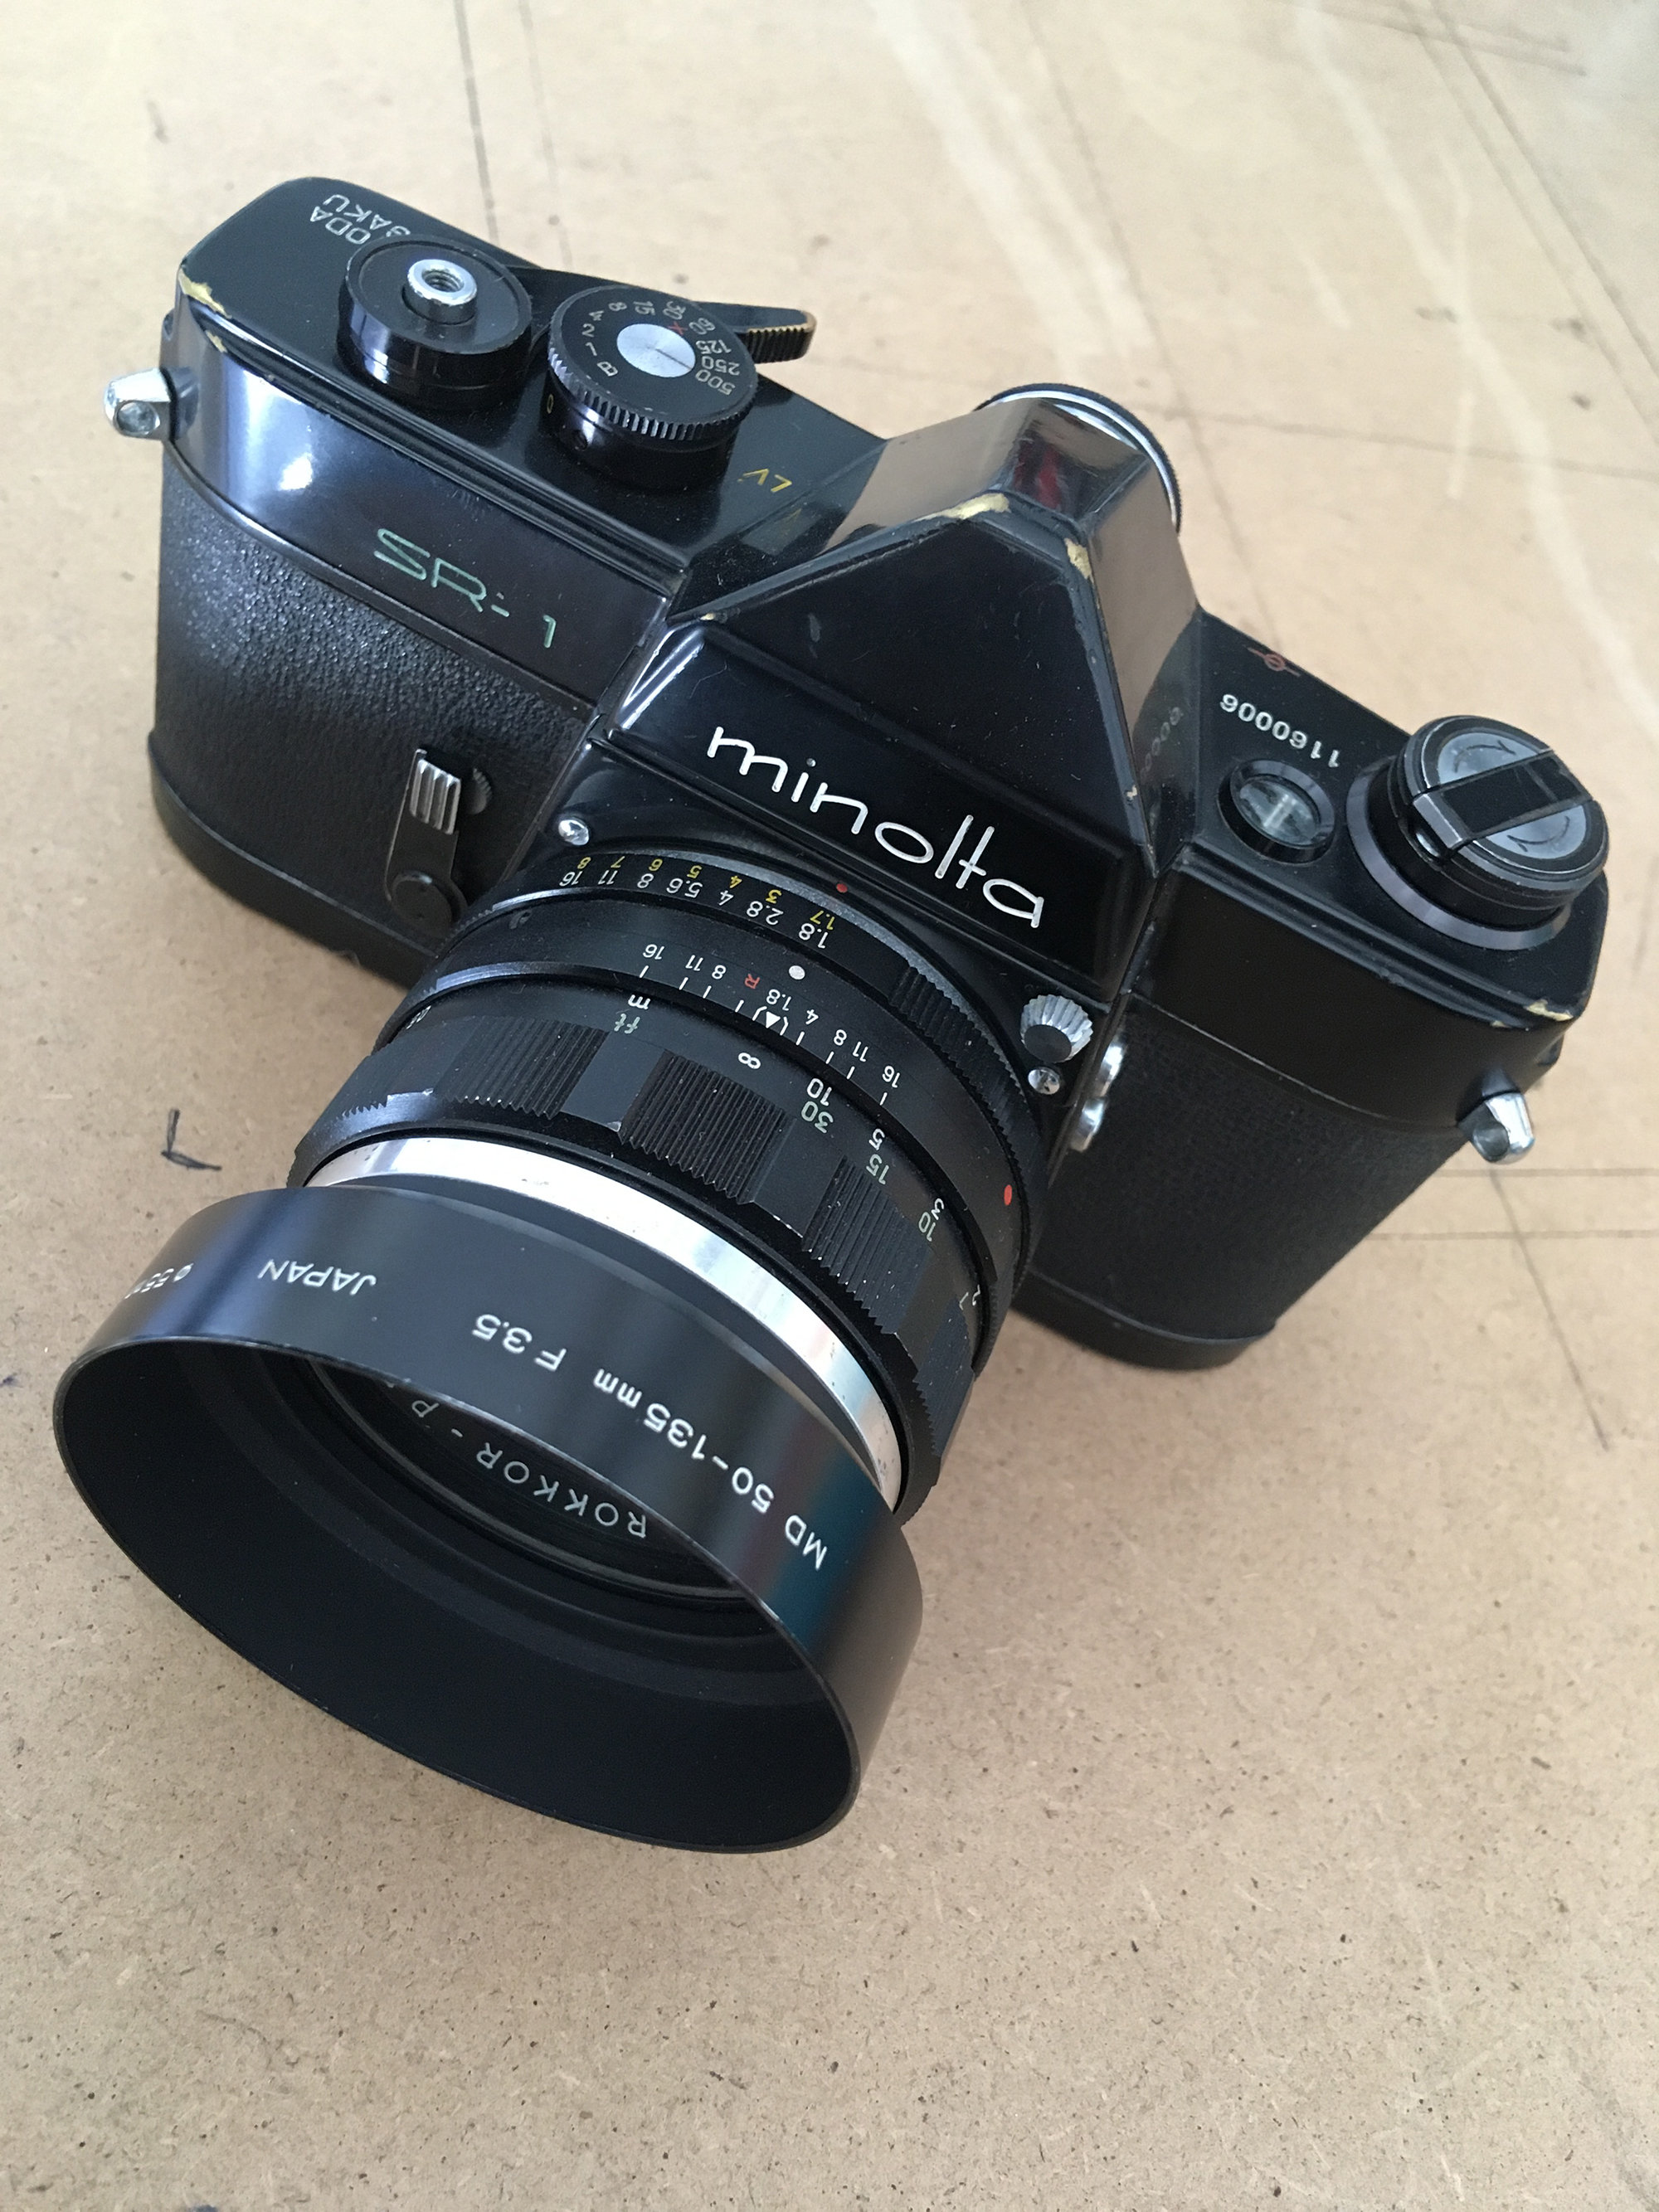
Here are a few more pictures of the same camera (yes, the sunshade is incorrect – I do have the right one, but it is on another camera at the moment). In a following blog, I will be showing inside the cover to explain some common faults that are easily remedied 🙂
