 Well, I don’t know about you, but the pitiful length of the sunshade on both mirror lenses I have owned have always disappointed me… I realise that the coatings on these lenses are nothing short of wonderful, but especially mirror lenses are very sensitive not only to vibration, but also to adverse light conditions. So I thought I’d do a test. I made up a sunshade out of card and tested how far I could go without vignetting on the 500mm shown here. Believe me, I was surprised! The whole inch of the original sunshade was well under a sixth of the shade I built WITHOUT any sign of vignetting. I don’t think that anything shorter than the diameter of the front lens is useful or that anything much longer has any actual added benefit (I’m willing to be corrected on this), so I decided to improvise myself and use ‘easily available resources’ (i.e. without resource to a lathe) to make a usable and effective sunshade. Originally a little tongue-in-cheek, the finished product works wonderfully, was really cheap to make and is light and can store all sorts of stuff – even a lens – inside it in the camera-bag! Win-Win 🙂
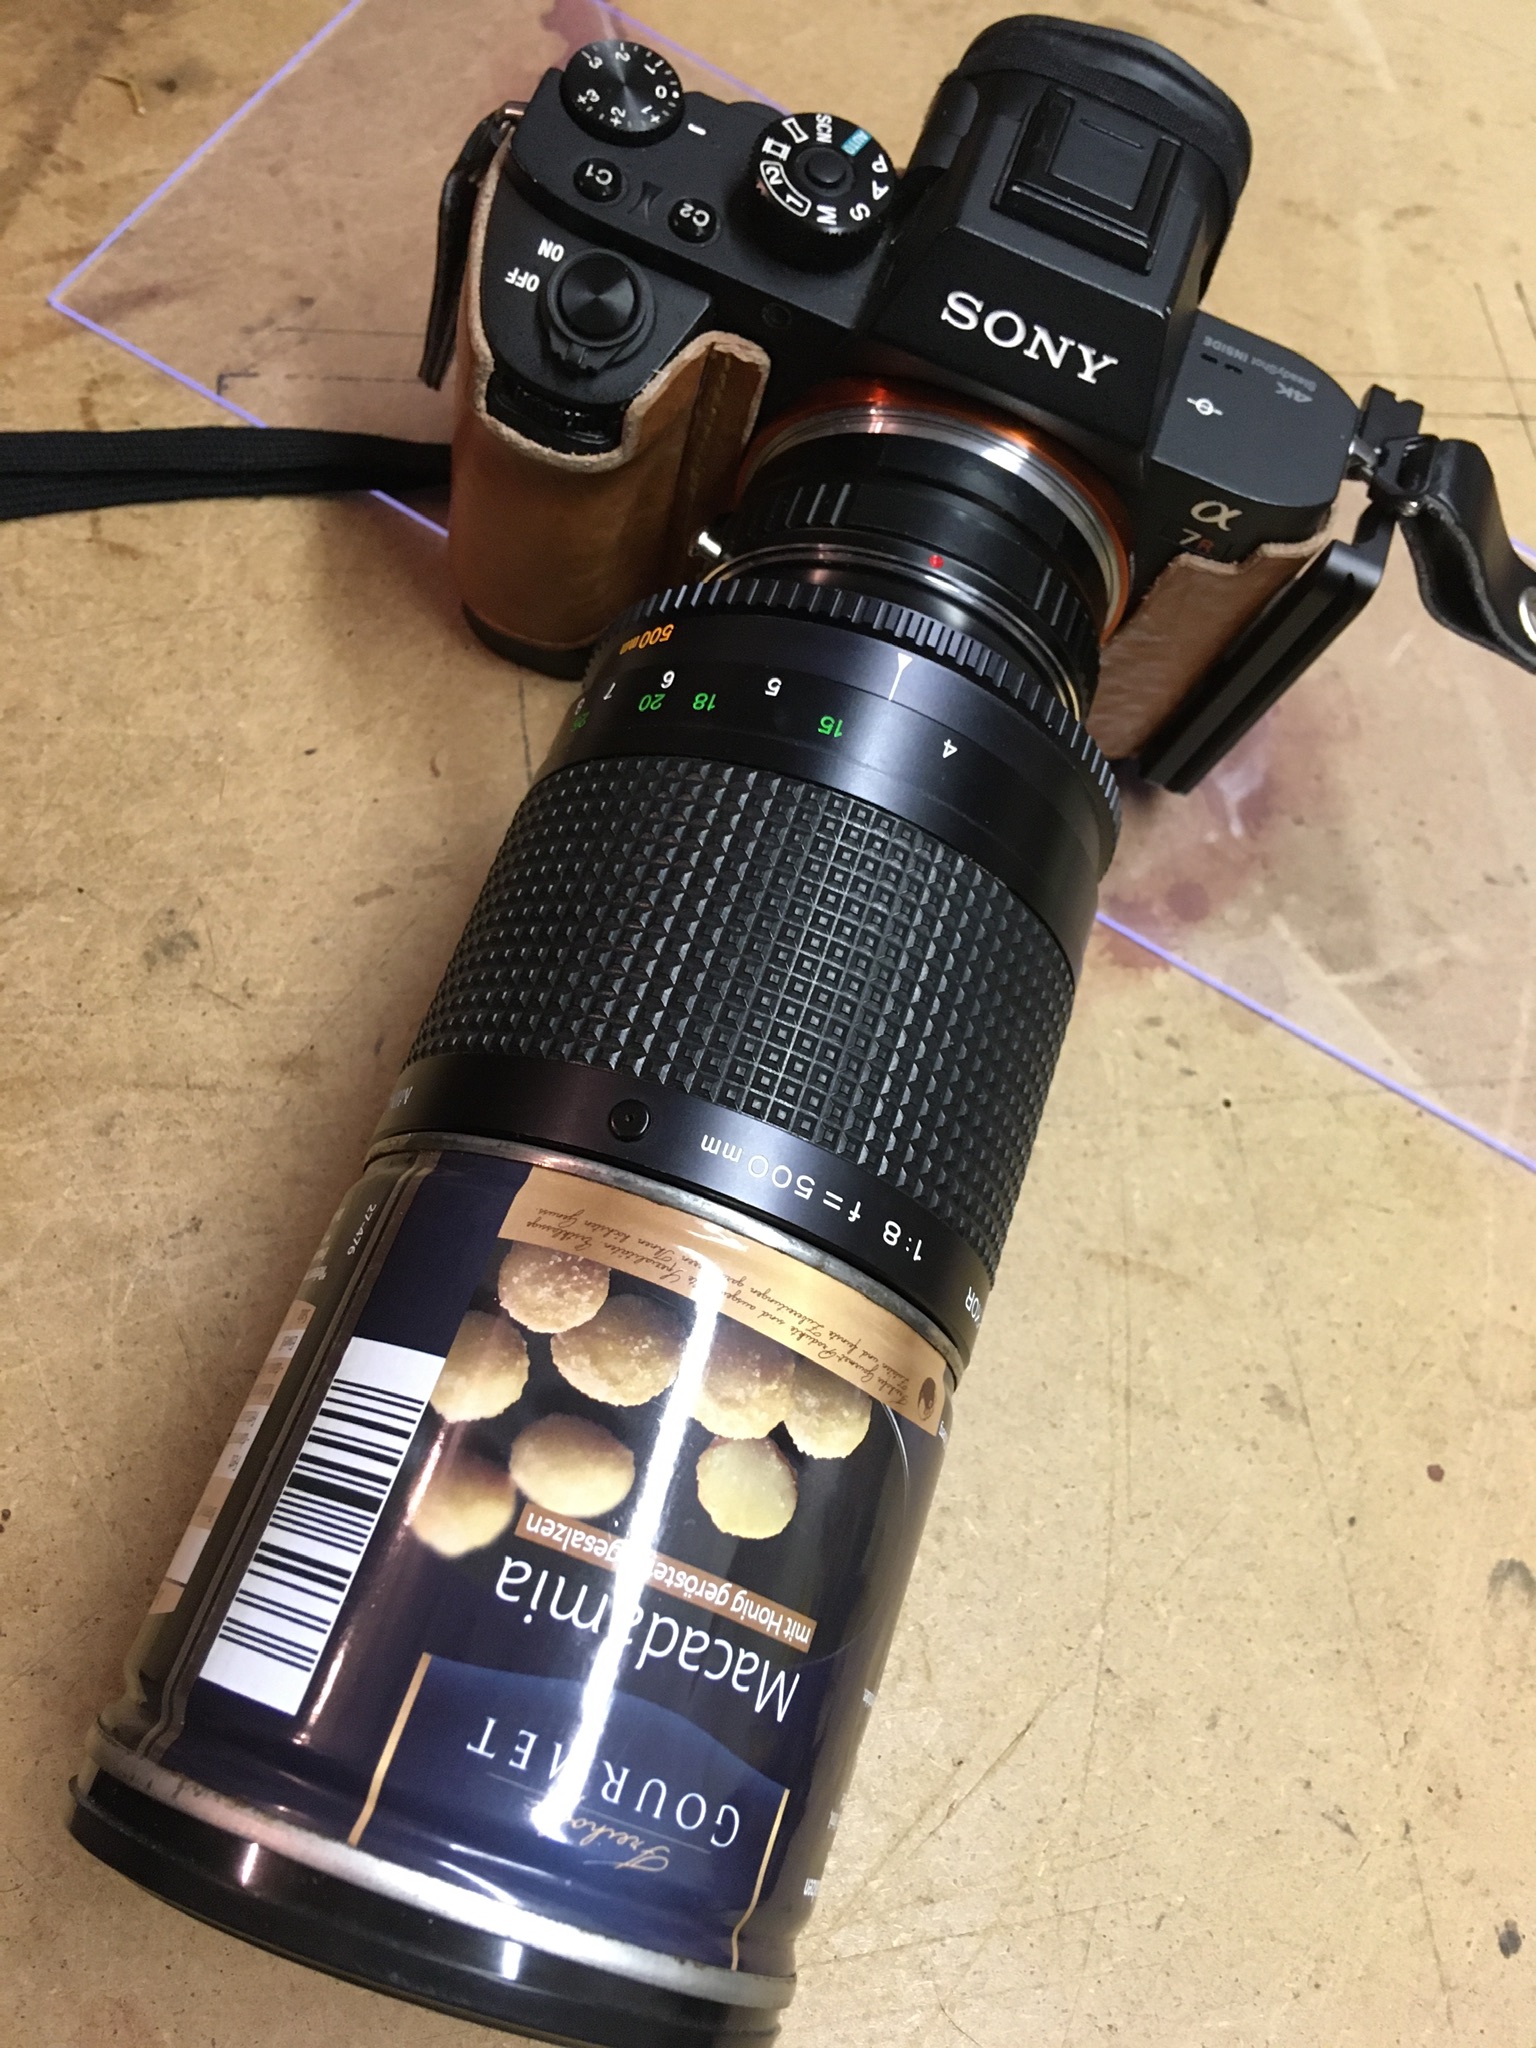
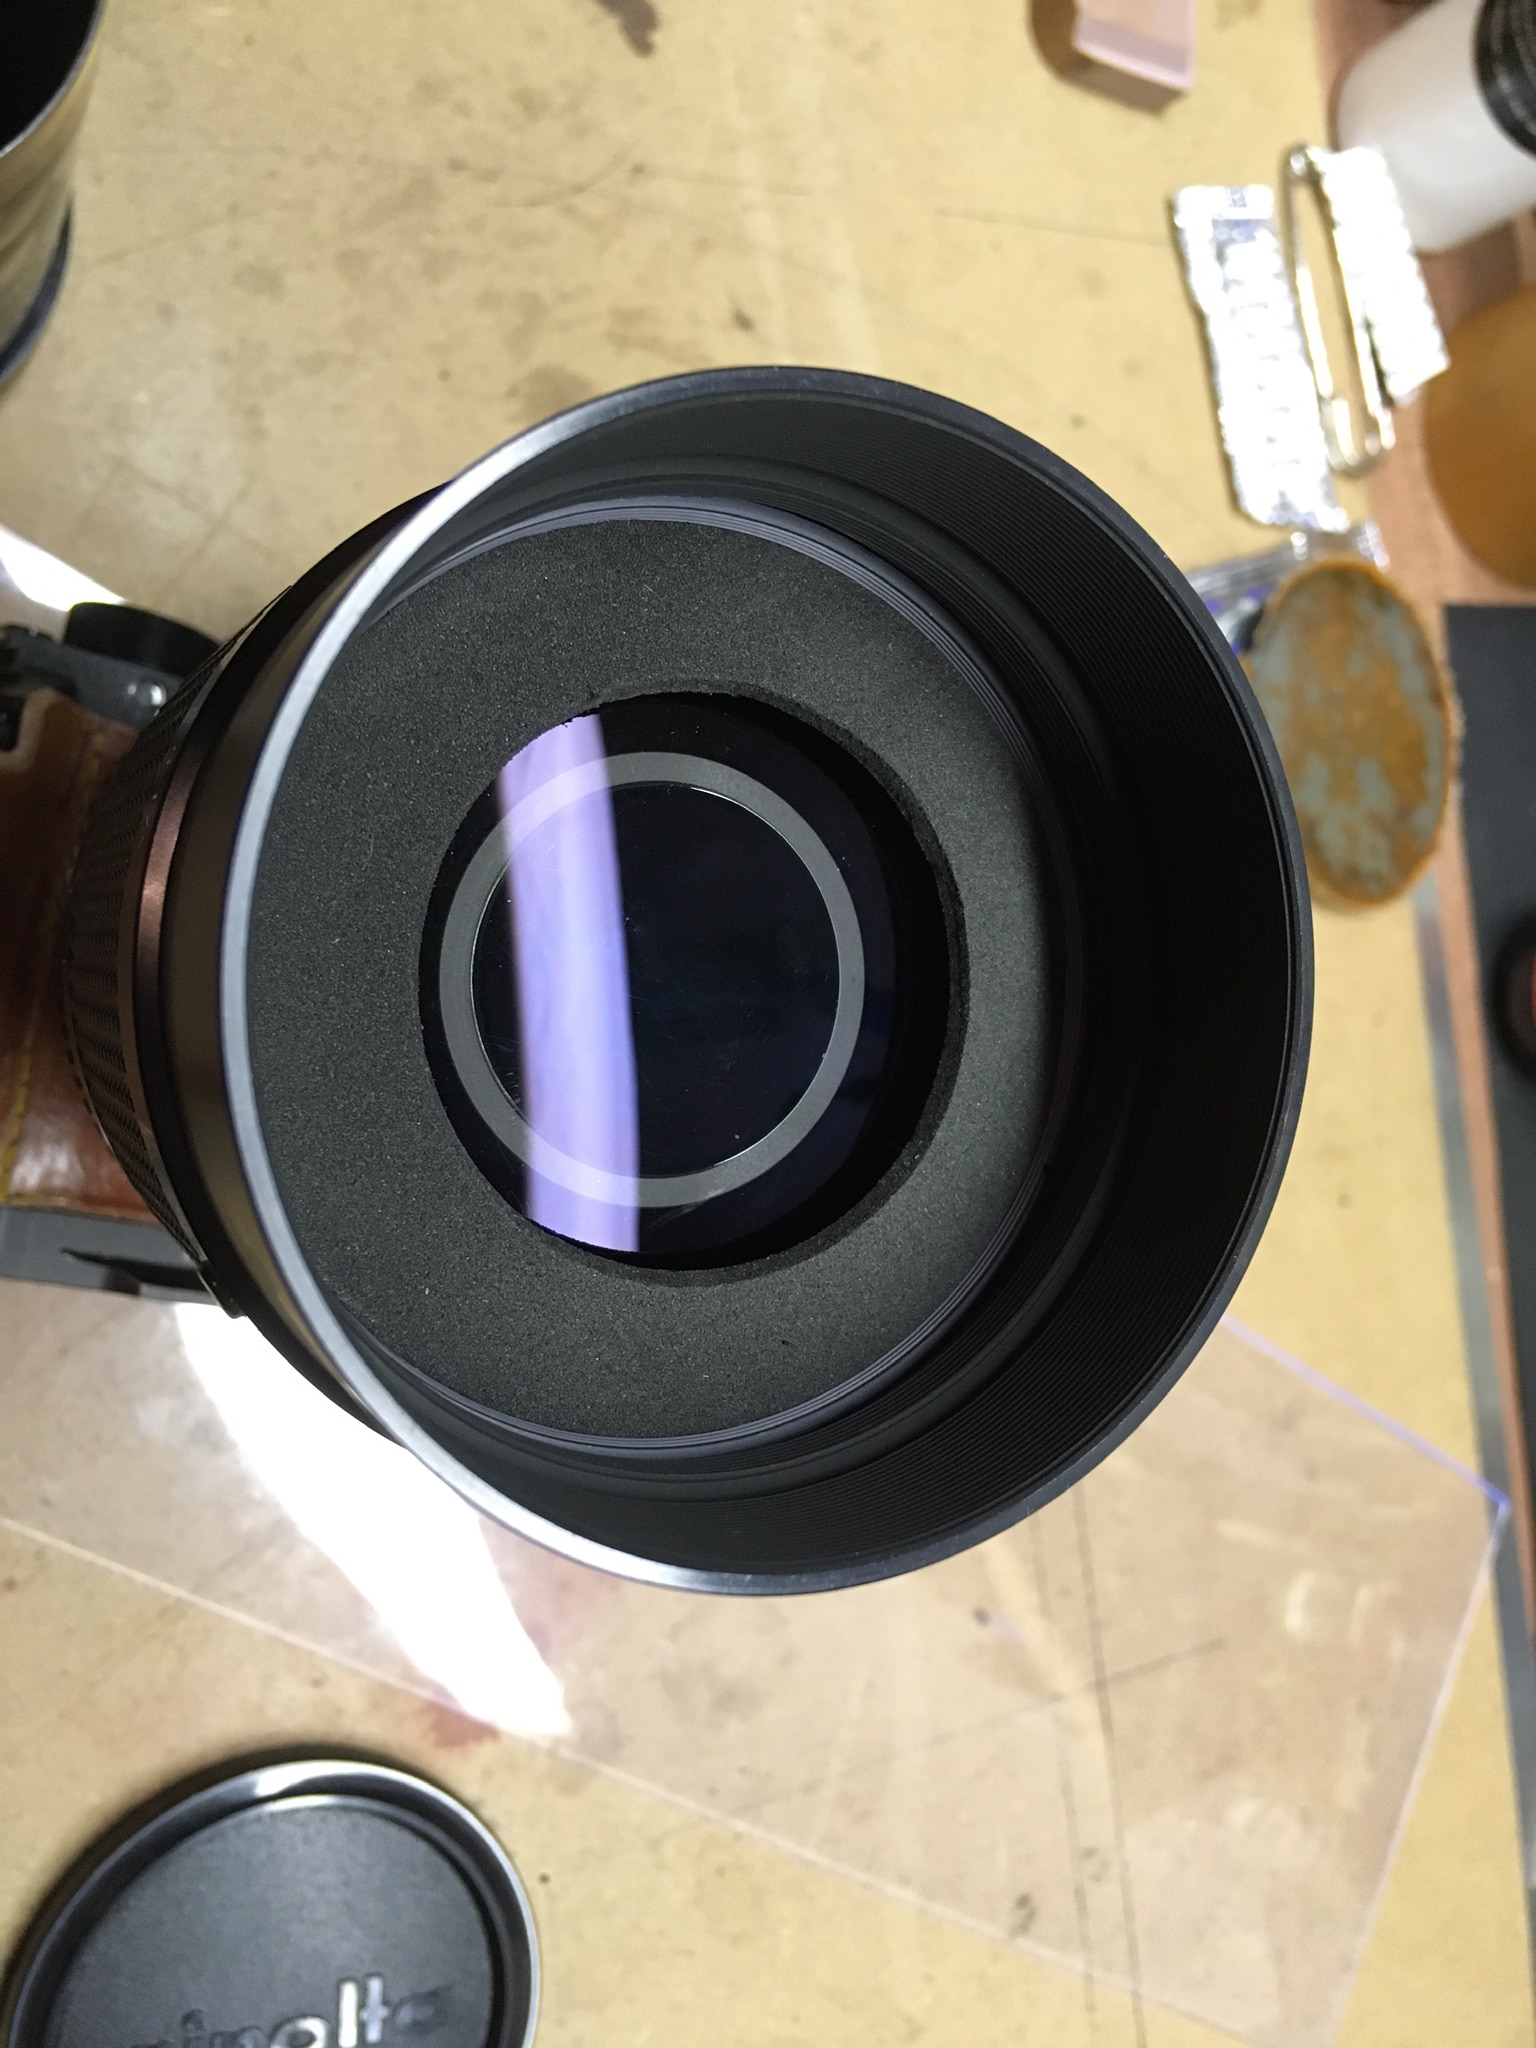
The diameter of the lens makes it unusual, so getting one from another lens was out of the question. Looking around the house, I found a consumables tin that fit actually very nicely and also had he benefit of a plastic lid that would be handy as a lens cap! Originally filled with nuts bought from a supermarket (the same size is currently available here for the equivalent of £2.50), I carefully removed the bottom with a cutter and pressed/rolled the ragged inside edges flat with a cross-head screwdriver blade (anything metal or hardwood would do the trick) and put some ‘zebra’ tape (paper, actually) on the inside to stop it scratching the paint on my beloved lens… 🙂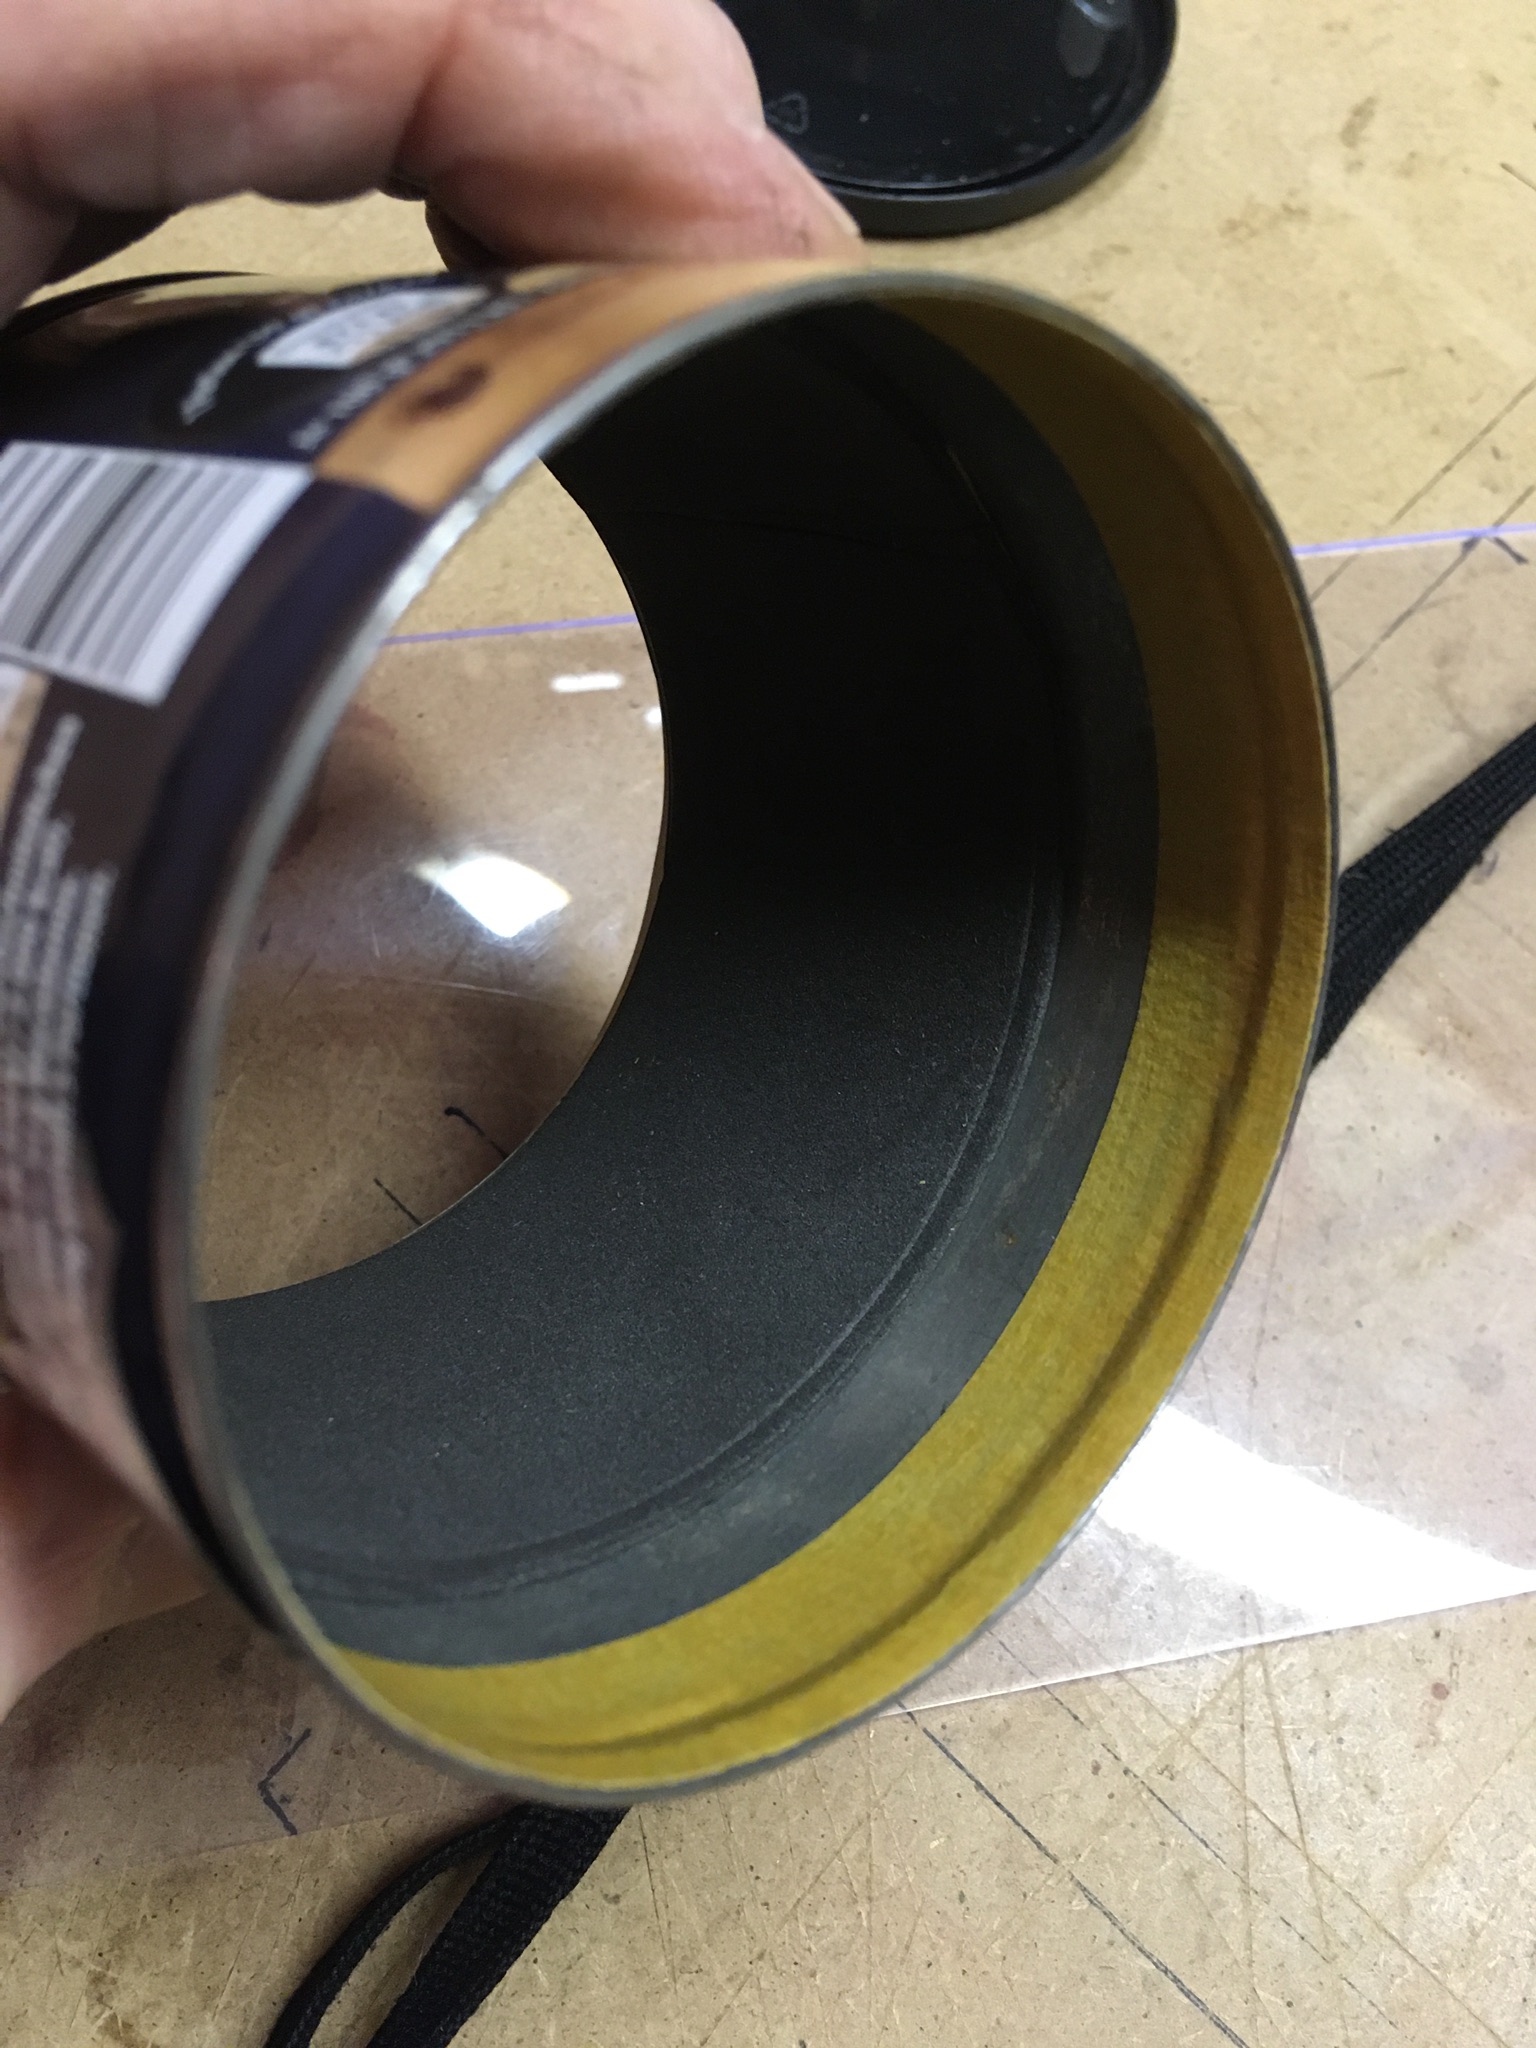 At this stage, the functional work has been done, as it now slide-fits snugly over the front of the lens including the original sunshade and butts up nicely against the barrel, without being loose. I then decided that rather than spraying it matte black on the inside, that I would line it with black rubber foam sheet available at almost all supermarkets in their craft department in various colours. A strip 44mm wide is perfect, as it fits exactly from the front to where the original sunshade is and gives extra ‘Register’ there, to hold it nice and snug.
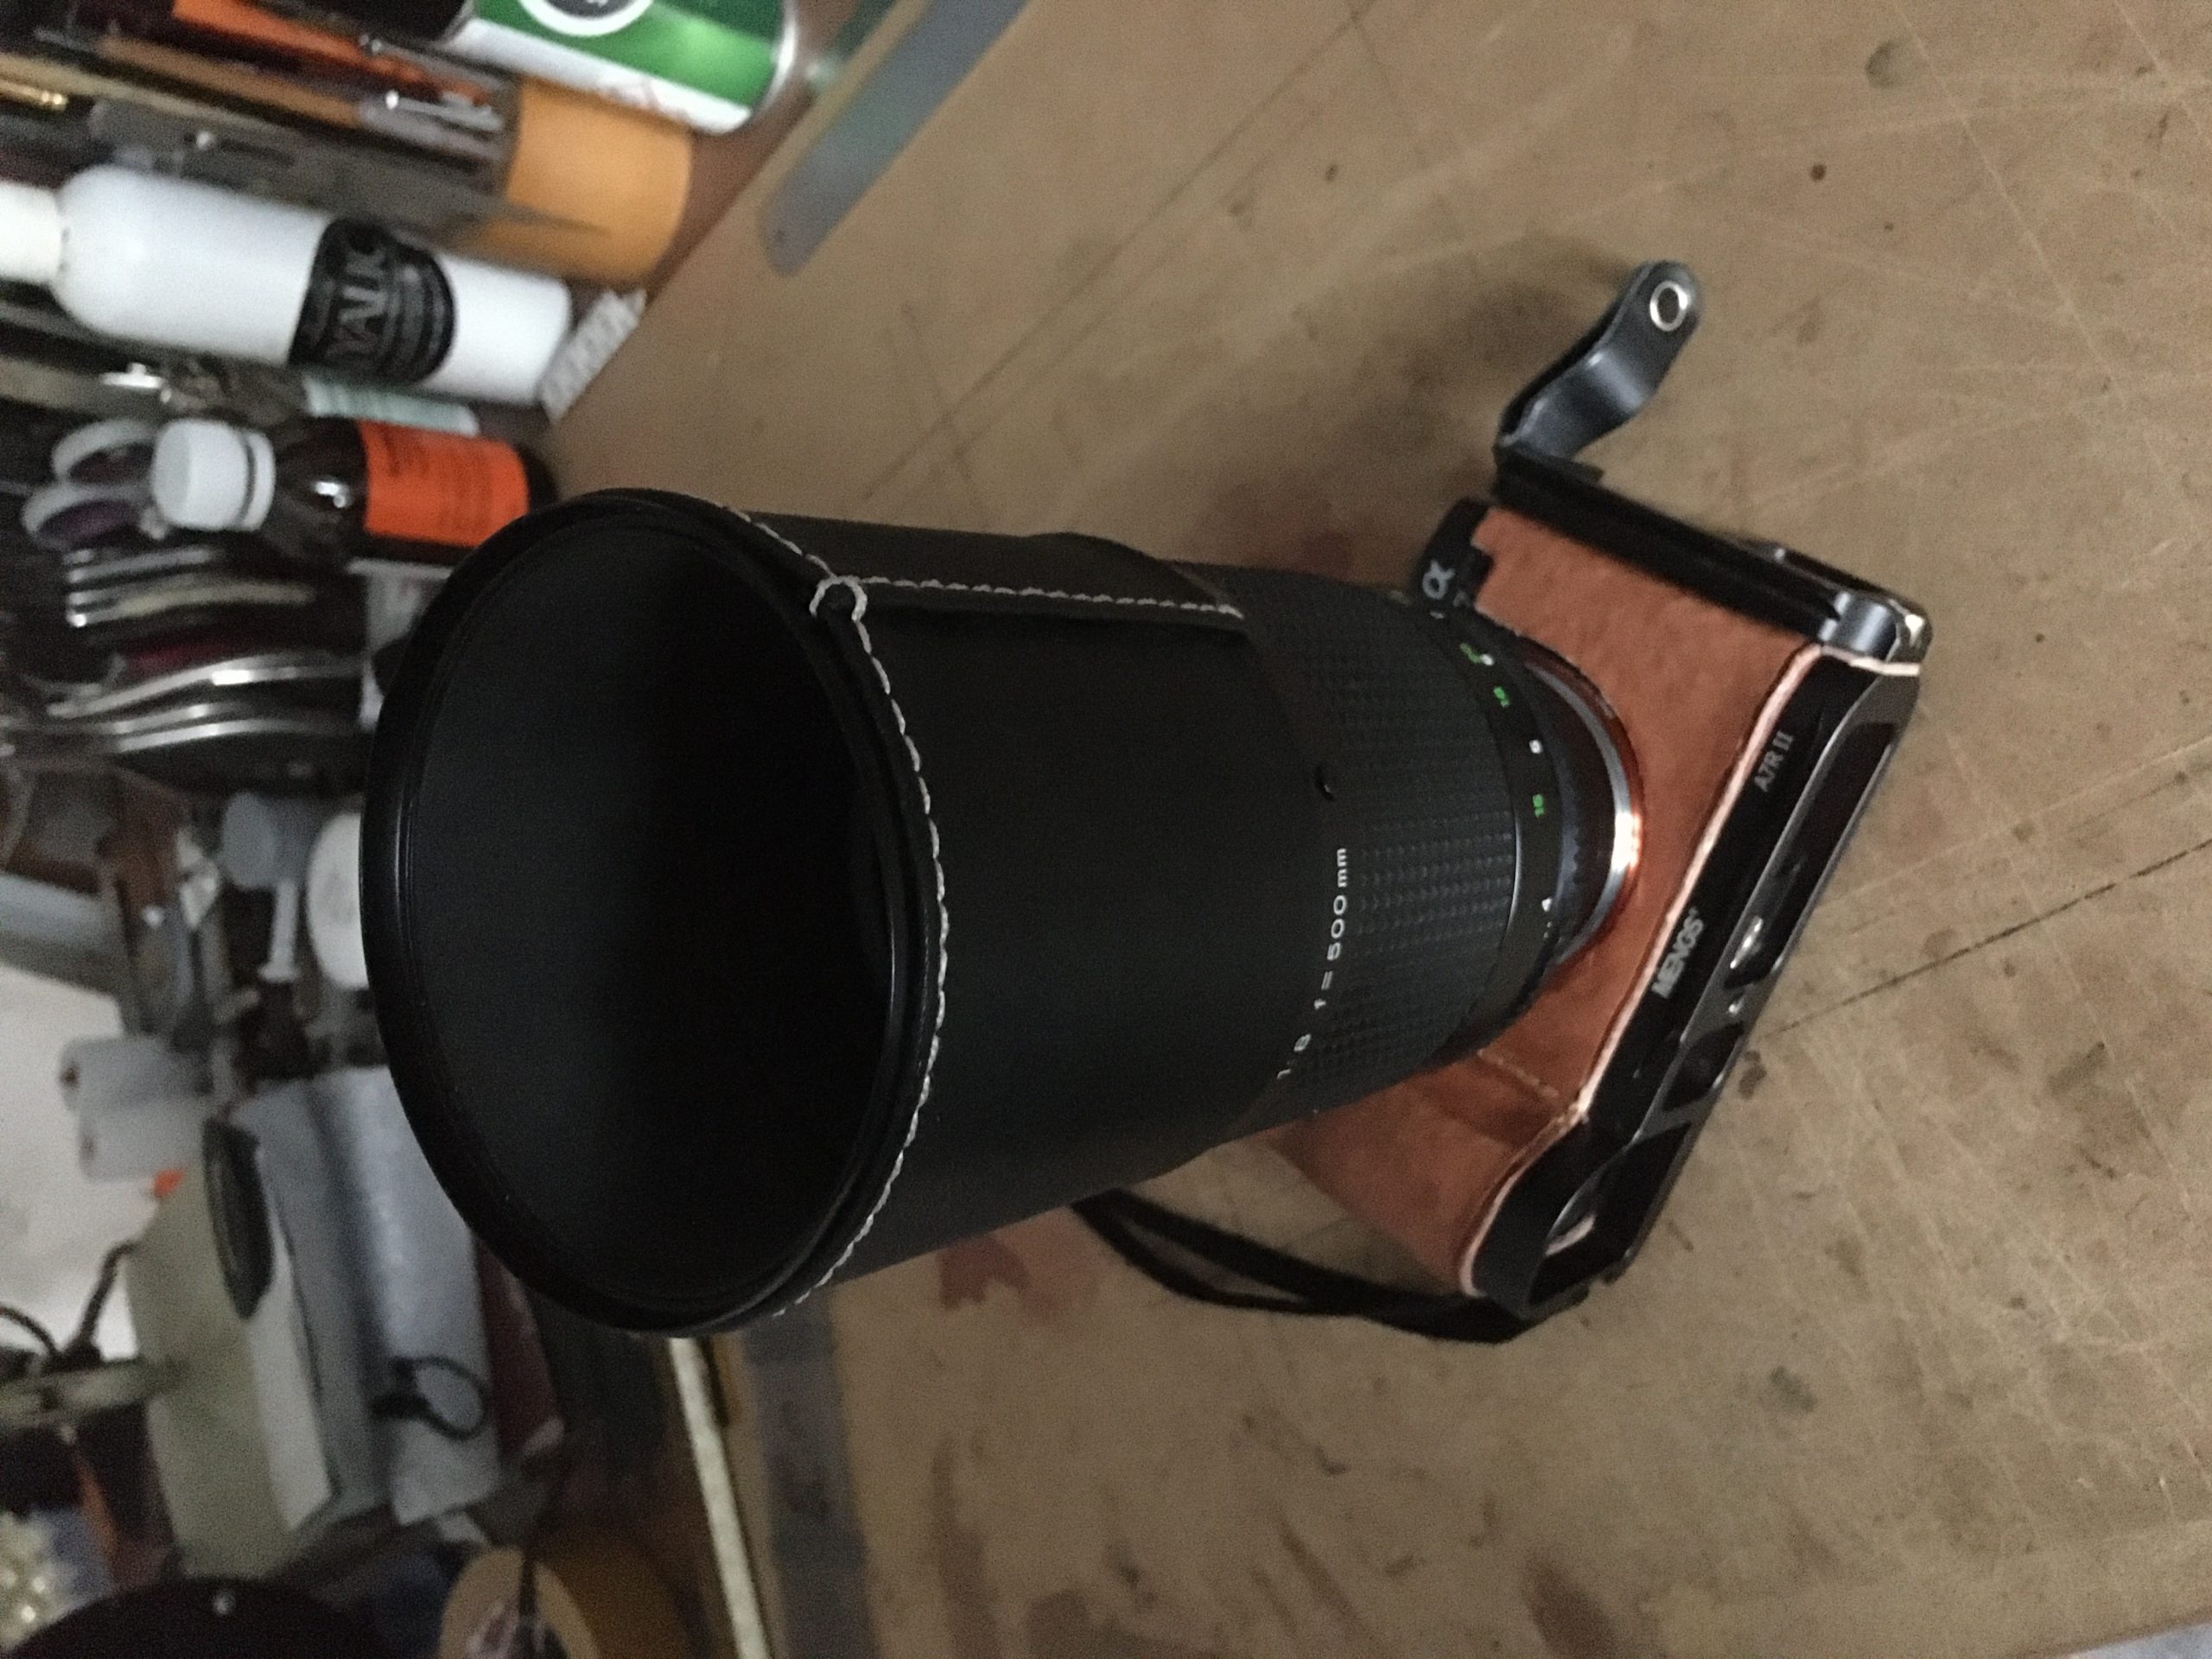
 Look at the photos to convince yourselves of the fit and function – regarding the optics of the outside, perhaps you will decide for yourselves what is more appropriate. I went for a cover of thin, black leather, but matte black spray paint, card or anything else will do according to your taste; you could even leave it as it is (as I have for months!) or do a pink fur and Smarotzi-Diamond job on it! Enjoy!
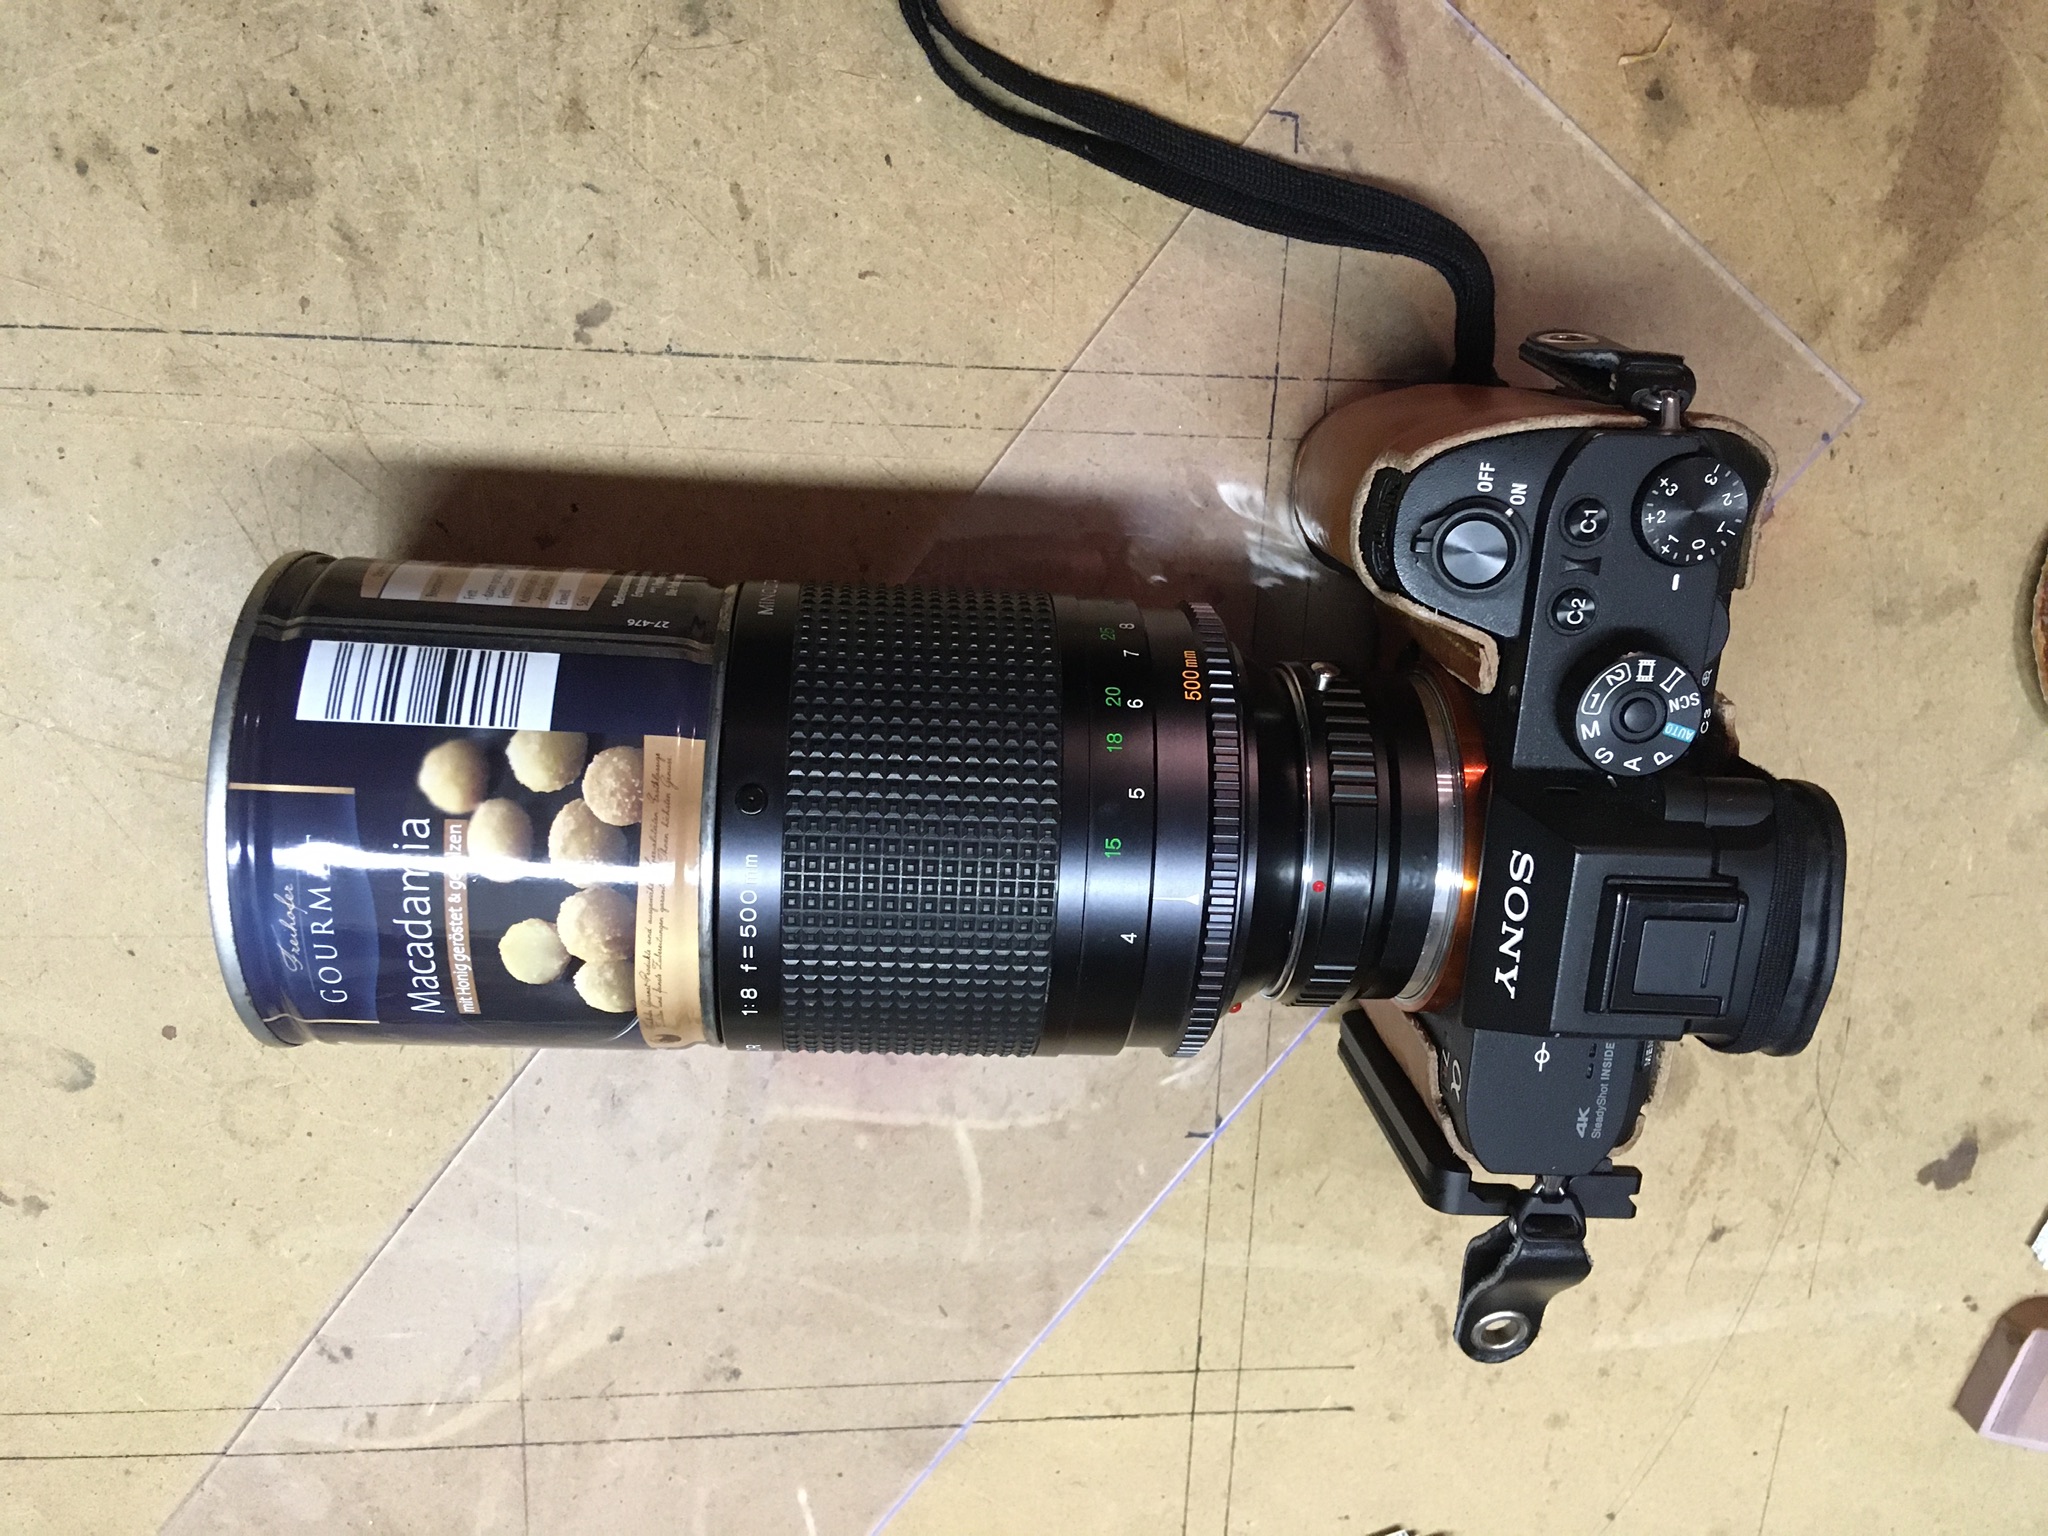
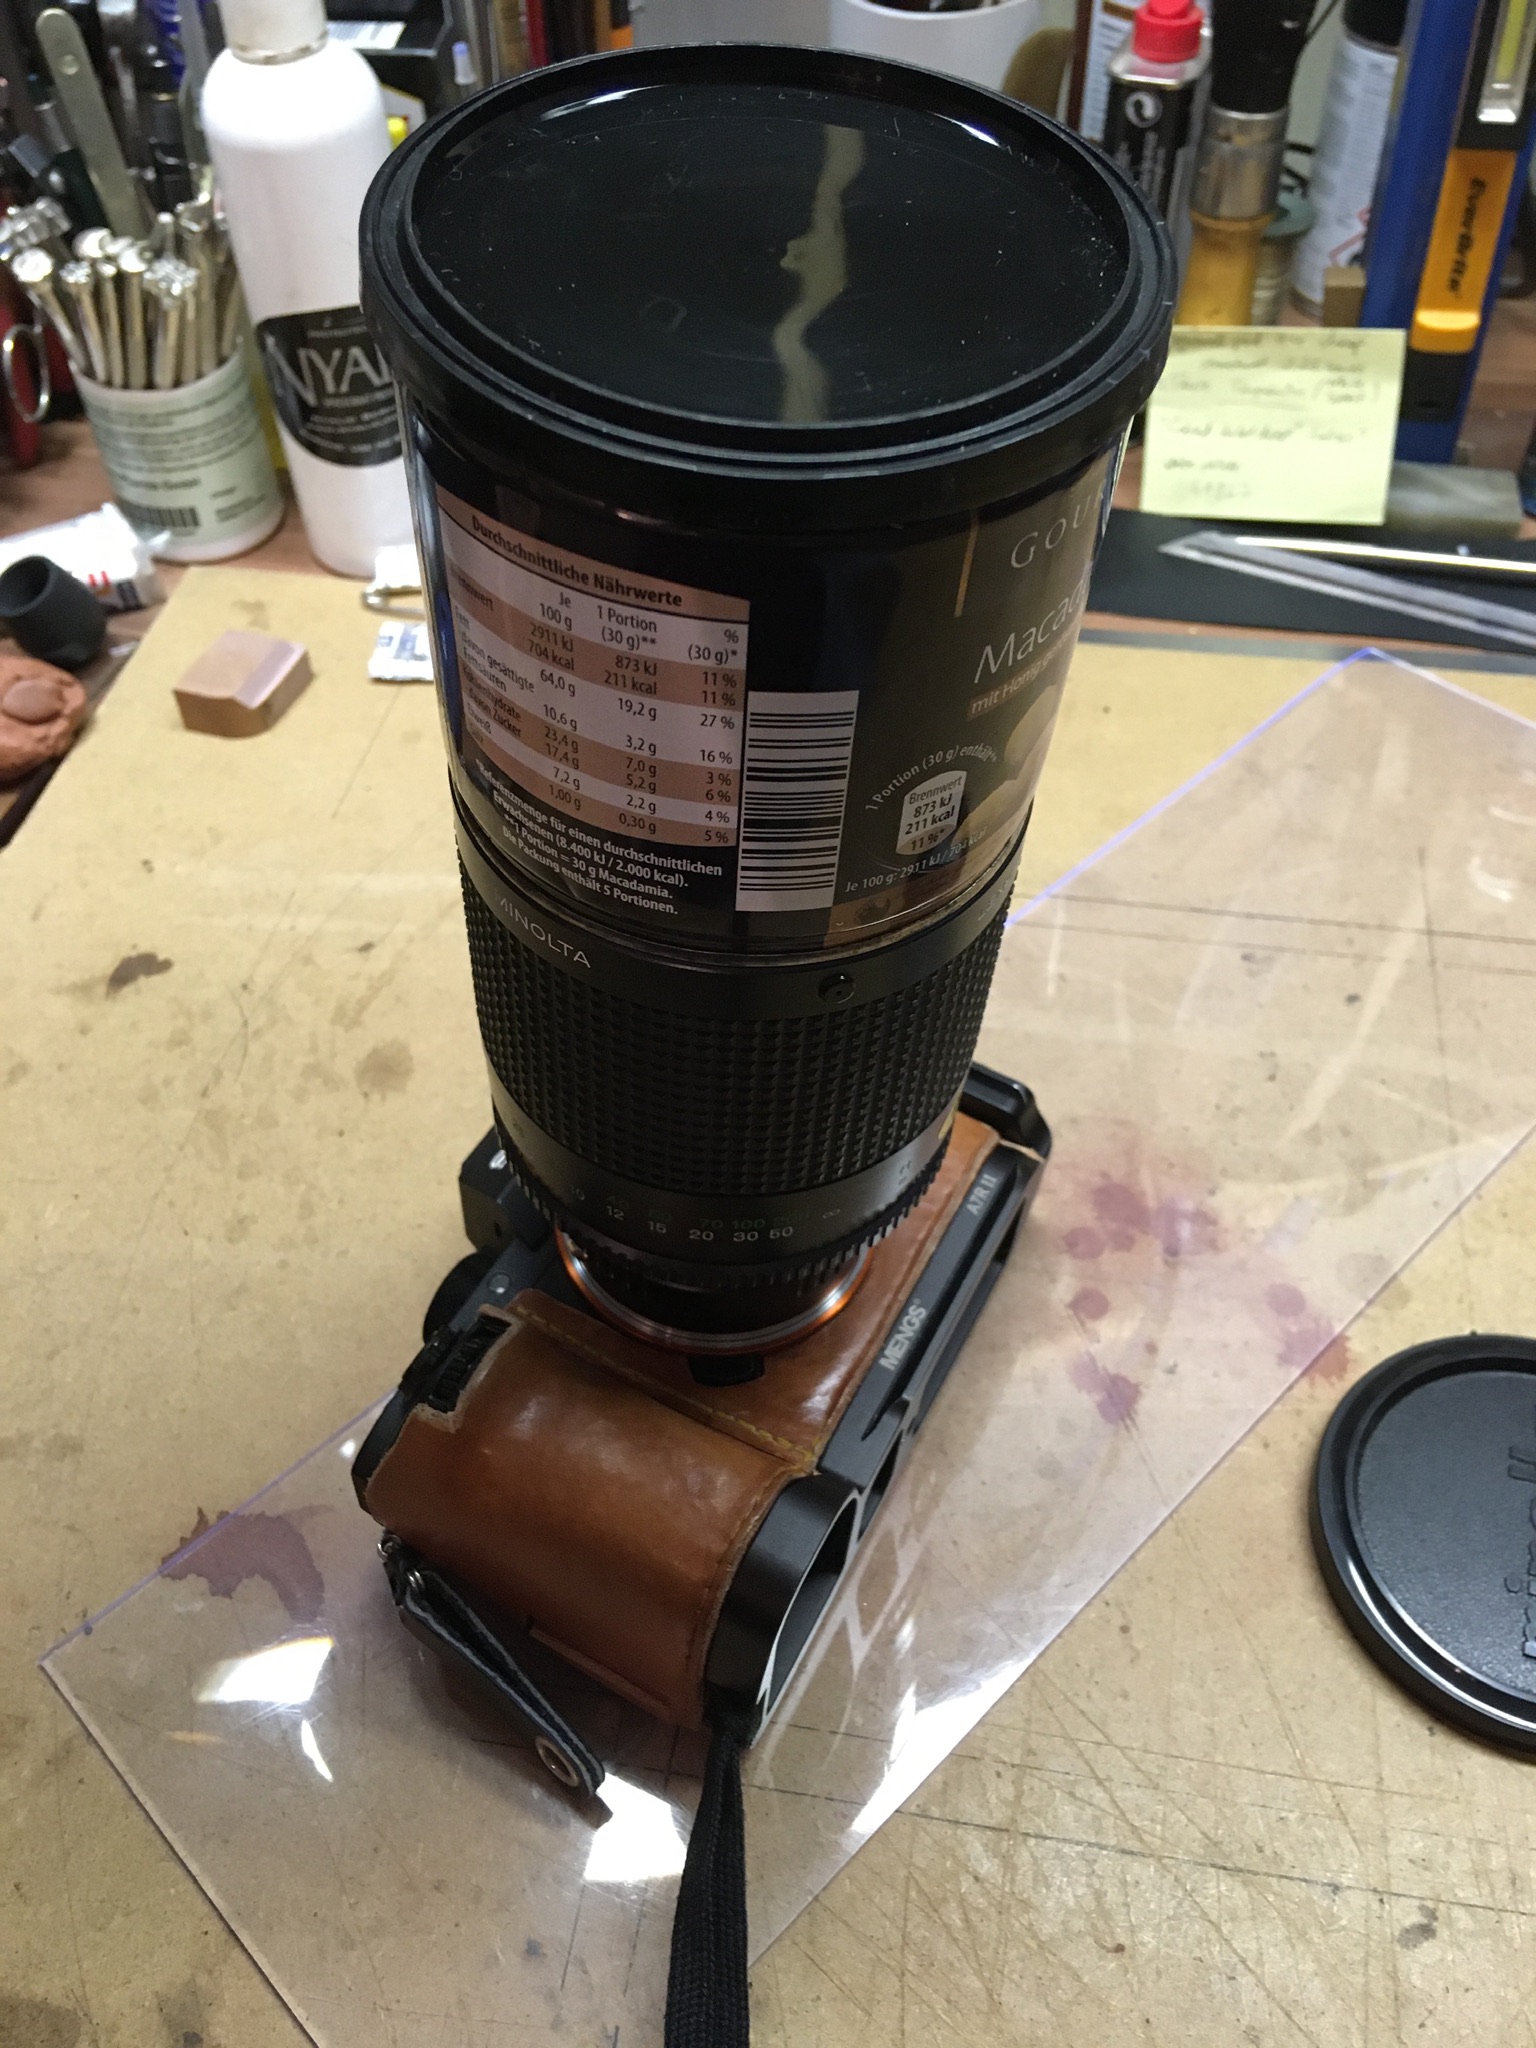
To be honest, even the Original cap fits (as seen on the photo above), but the original for the tin is of course a perfect fit.
You May also have spotted another ‘modification’ that I have for this lens to take the light input down a stop, without having to swap filters in the back! I converted it to an f11 lens with a ring of the same foam rubber sheet as above (formerly tested with black card) which is cut to fit nicely under its own tension in the front of the lens. No glue, just fits nicely and doesn’t fall out an can so easily be removed or replaced, doesn’t get damaged or damage anything and doesn’t take up any space either! The doughnut-ring Bokeh ist thinner, of course, but for a quick and dirty solution, this works nicely. I can’t claim that the depth-of-field is influenced to any degree, though. Still, it does offer a bit more than just one ND4 in a pinch!
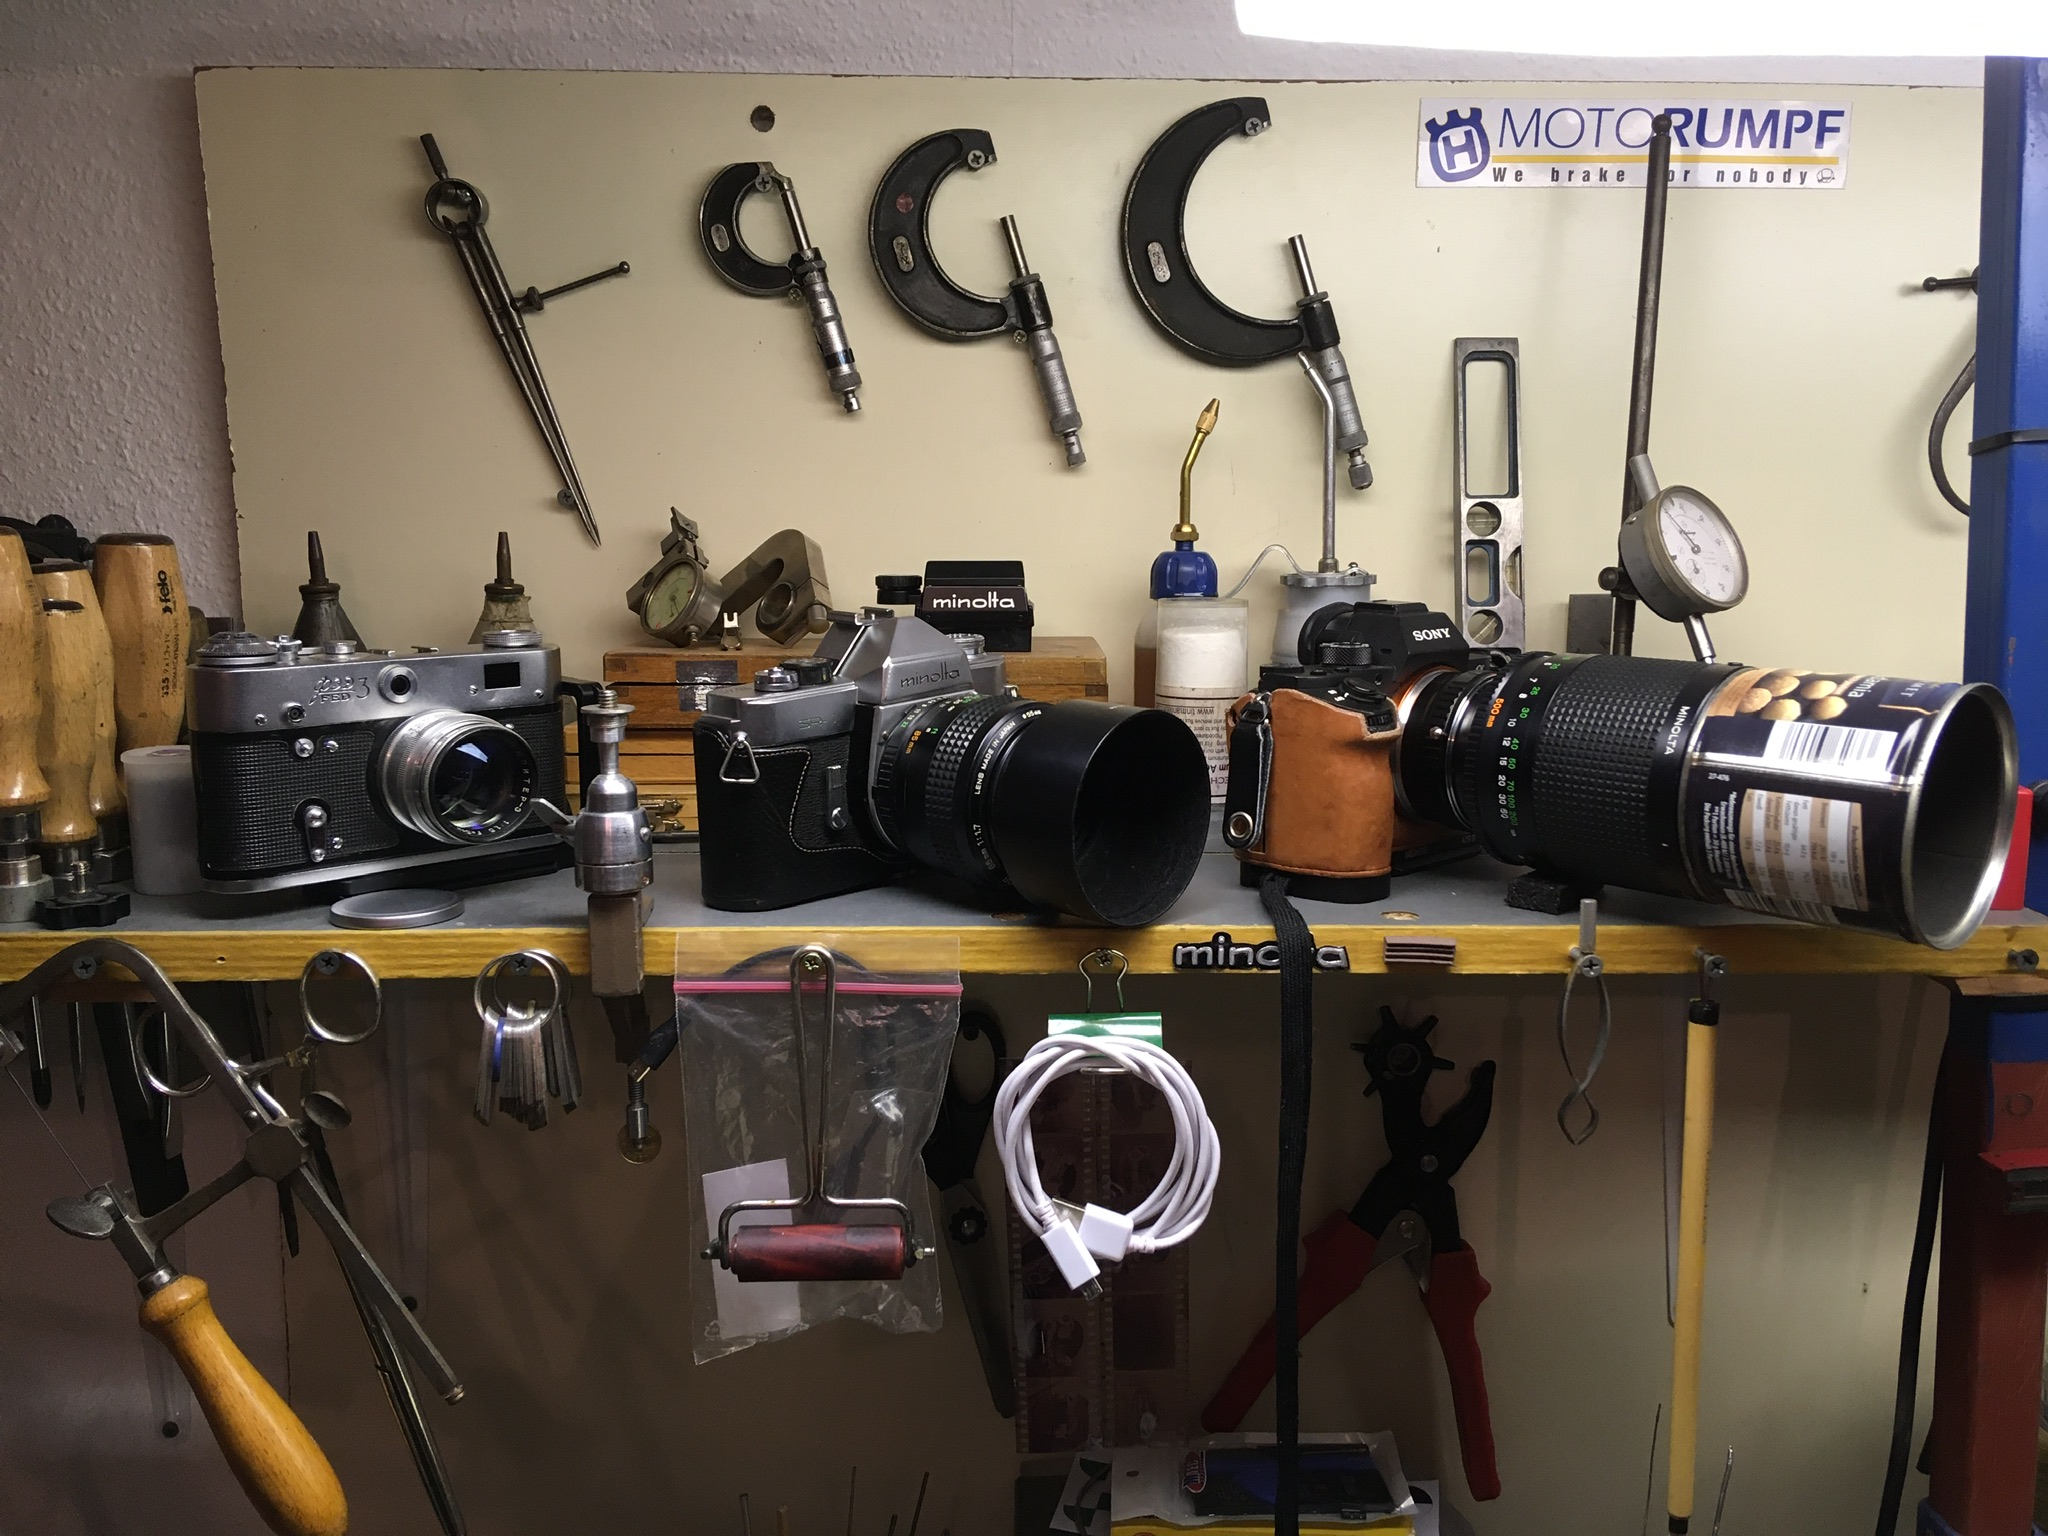
The case on the Sony is also one of my handmade additions, too, by the way. The top will be completed soon, too!
Here is the budget sunshade as finished and used at present: I could have used black thread, but, “what the hell”, I thought… 🙂

Dr. Peter is a frequent contributor to thingummybob.com