Aircraft

Mały Modelarz 6/93 Hawker Typhoon

A very nice paper/card model released in 1993 by Mały Modelarz. I have had it since ’95, but didn’t think of starting it… I was put off by the cover, which is appalling!

Then one day I took it off the shelf and had a look inside; I was ‘wowed’ by the clean, sharp graphics and vowed to make it ‘sometime’. I like the form of the Typhoon/Tempest line all the way from the first ‘car-door’ versions right up to the Sea Fury. As a youngster I collected some great reference material on them (and others!), superb, large drawings in A1 by the legendary Arthur Bentley and various other publications and printouts from modelling magazines. In the early days I was a keen ‘plastic modeller’, until I discovered the magic of paper and card modelling in the mid 70s.

This is a chronicle of the build, which I started in November 2024 and finished just after Christmas, due to time constraints caused by working full-time, a 4-year-old son who is entitled to a certain amount of personal attention and other family commitments 🙂

I shall spare you the very beginning, cutting out and gluing the frames together for the fuselage, not very interesting, I’m afraid. So I shall add a whole lot of photos of the build, with as little text as possible and only where I see it to be useful or by way of explanation. For the most part, I expect that the picture speak largely for themselves.

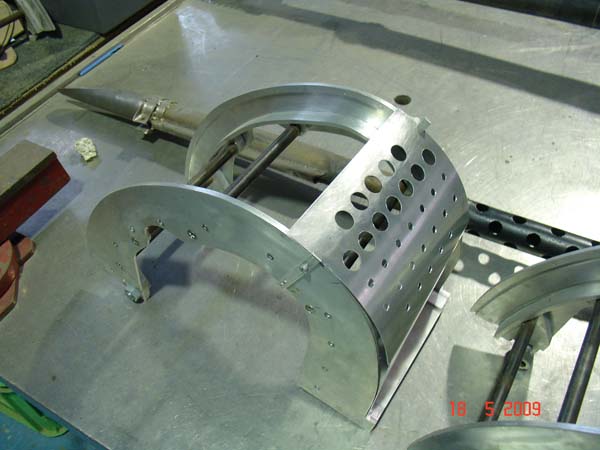
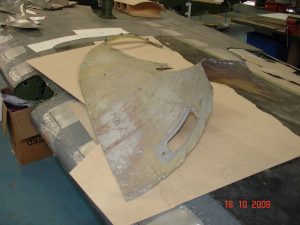
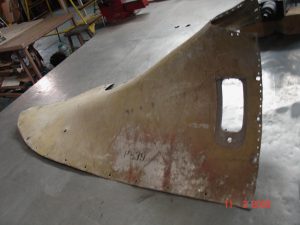
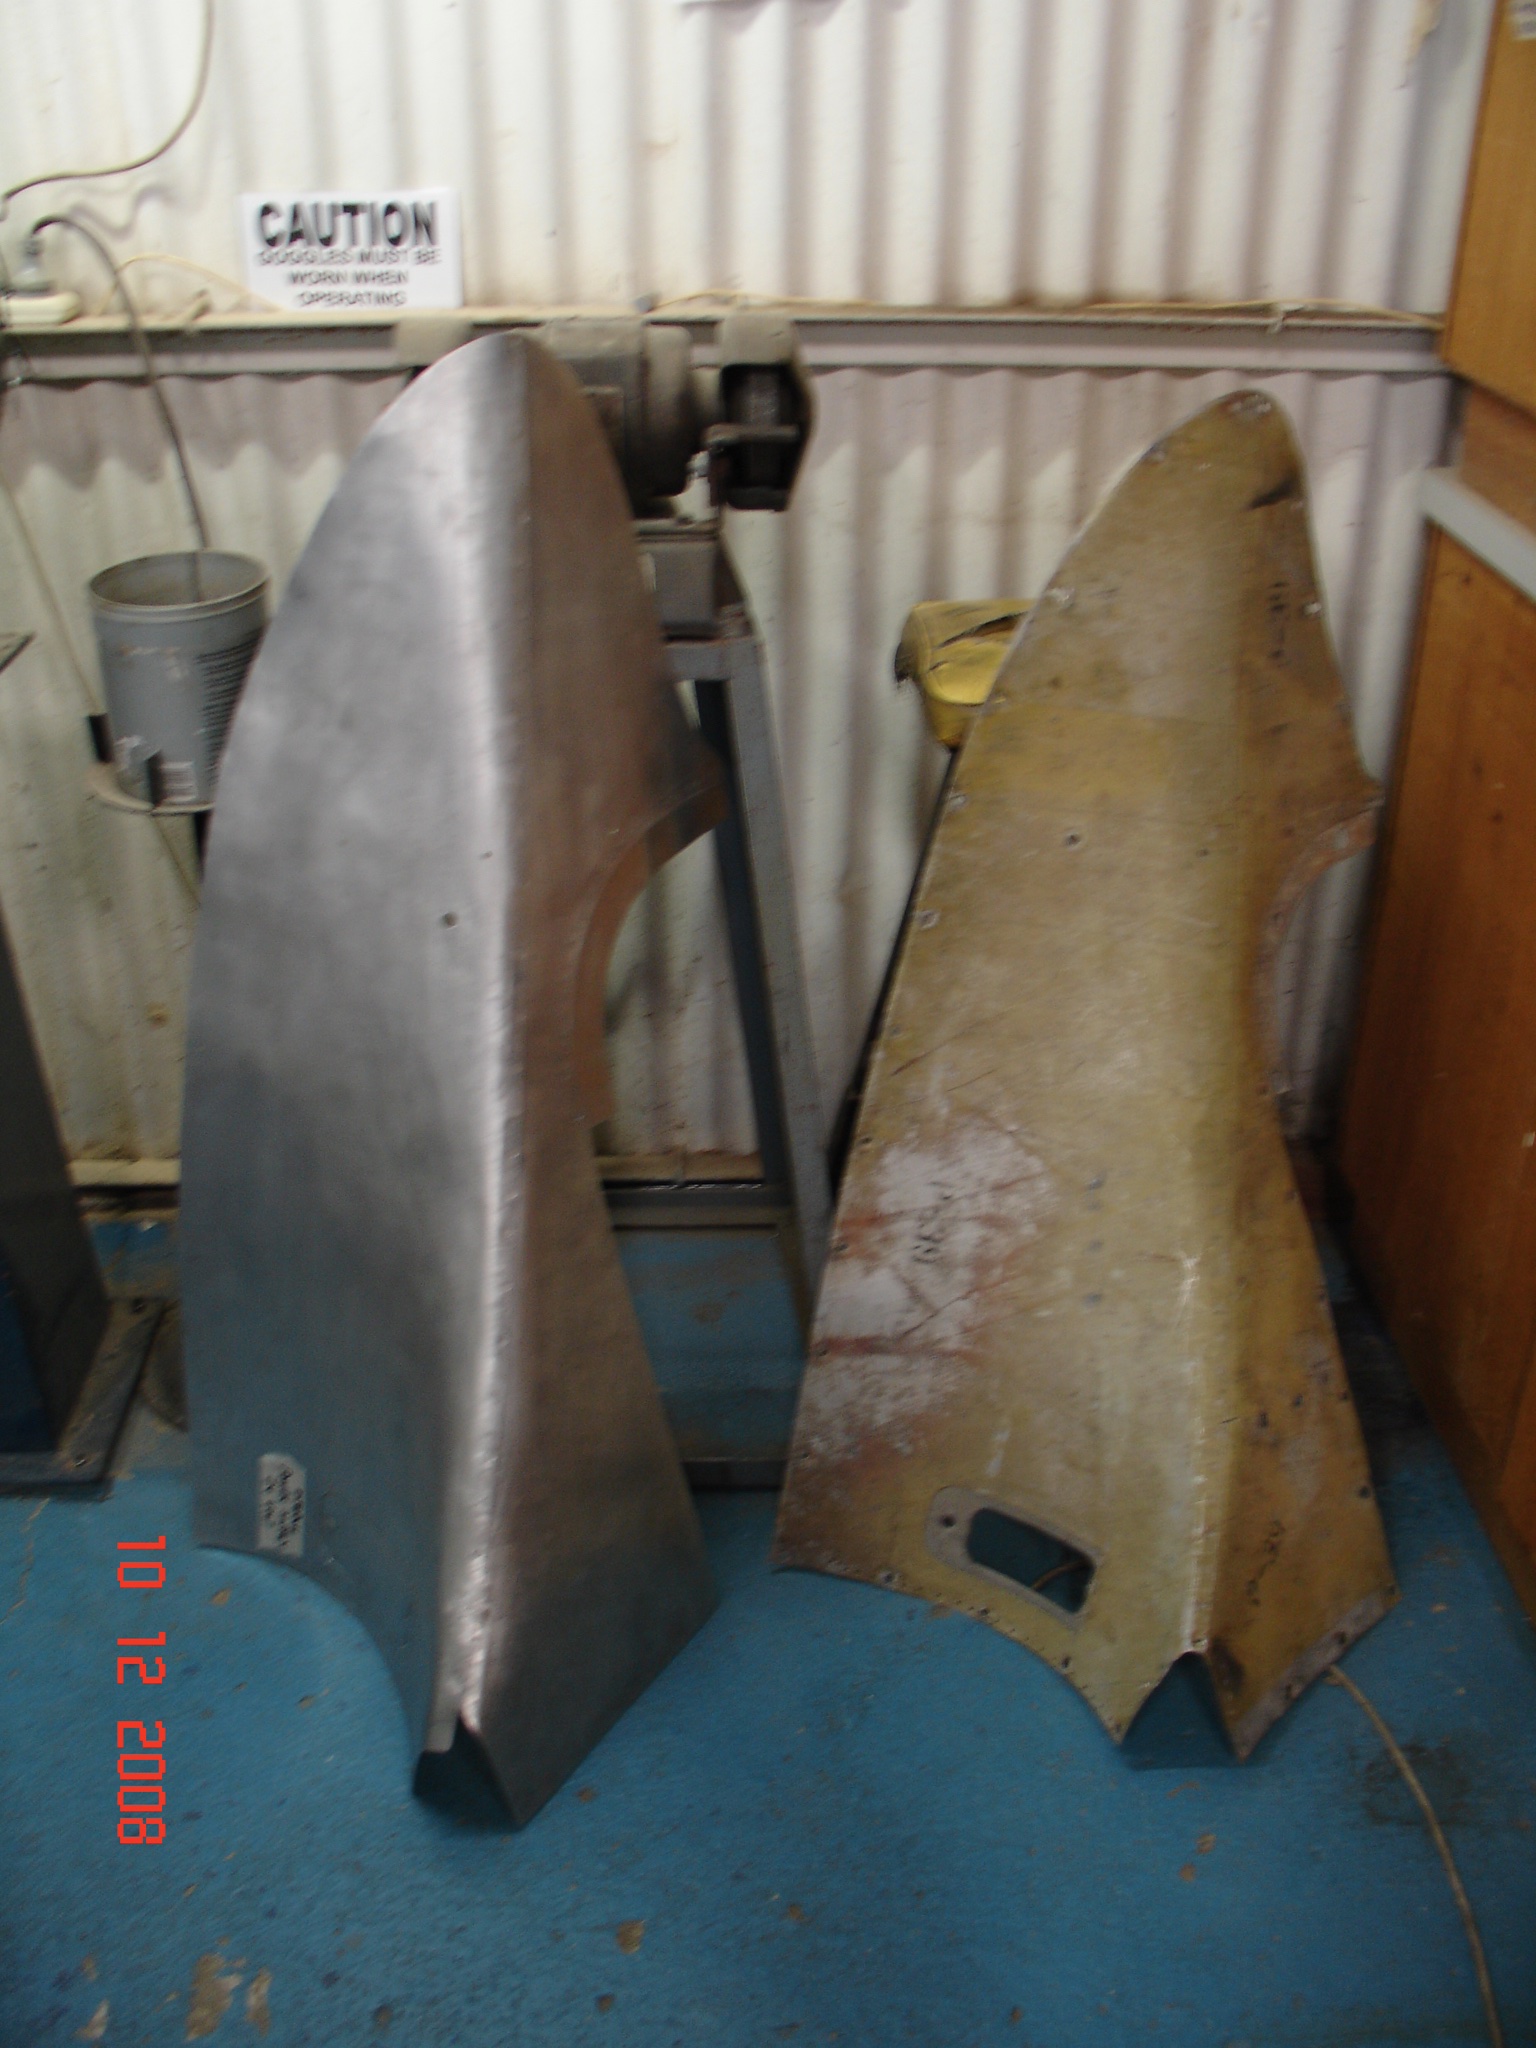
Forming the front of the cooler using a lead/tin rod

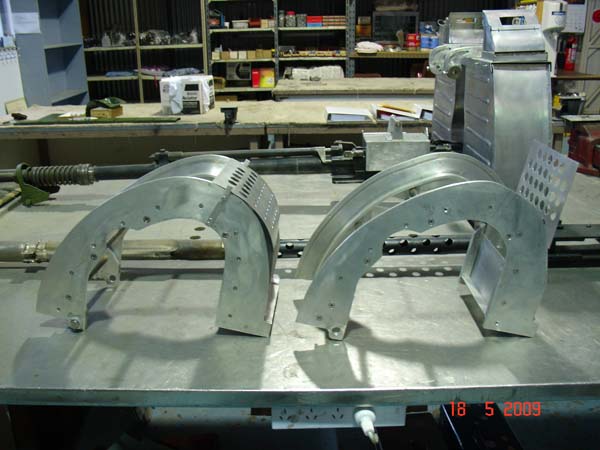
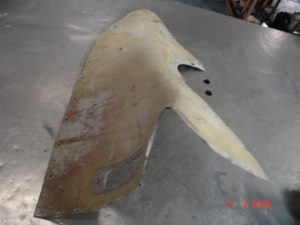
Still a little untidy and the wrong shape, which I should have corrected at this point, but ended up doing later…


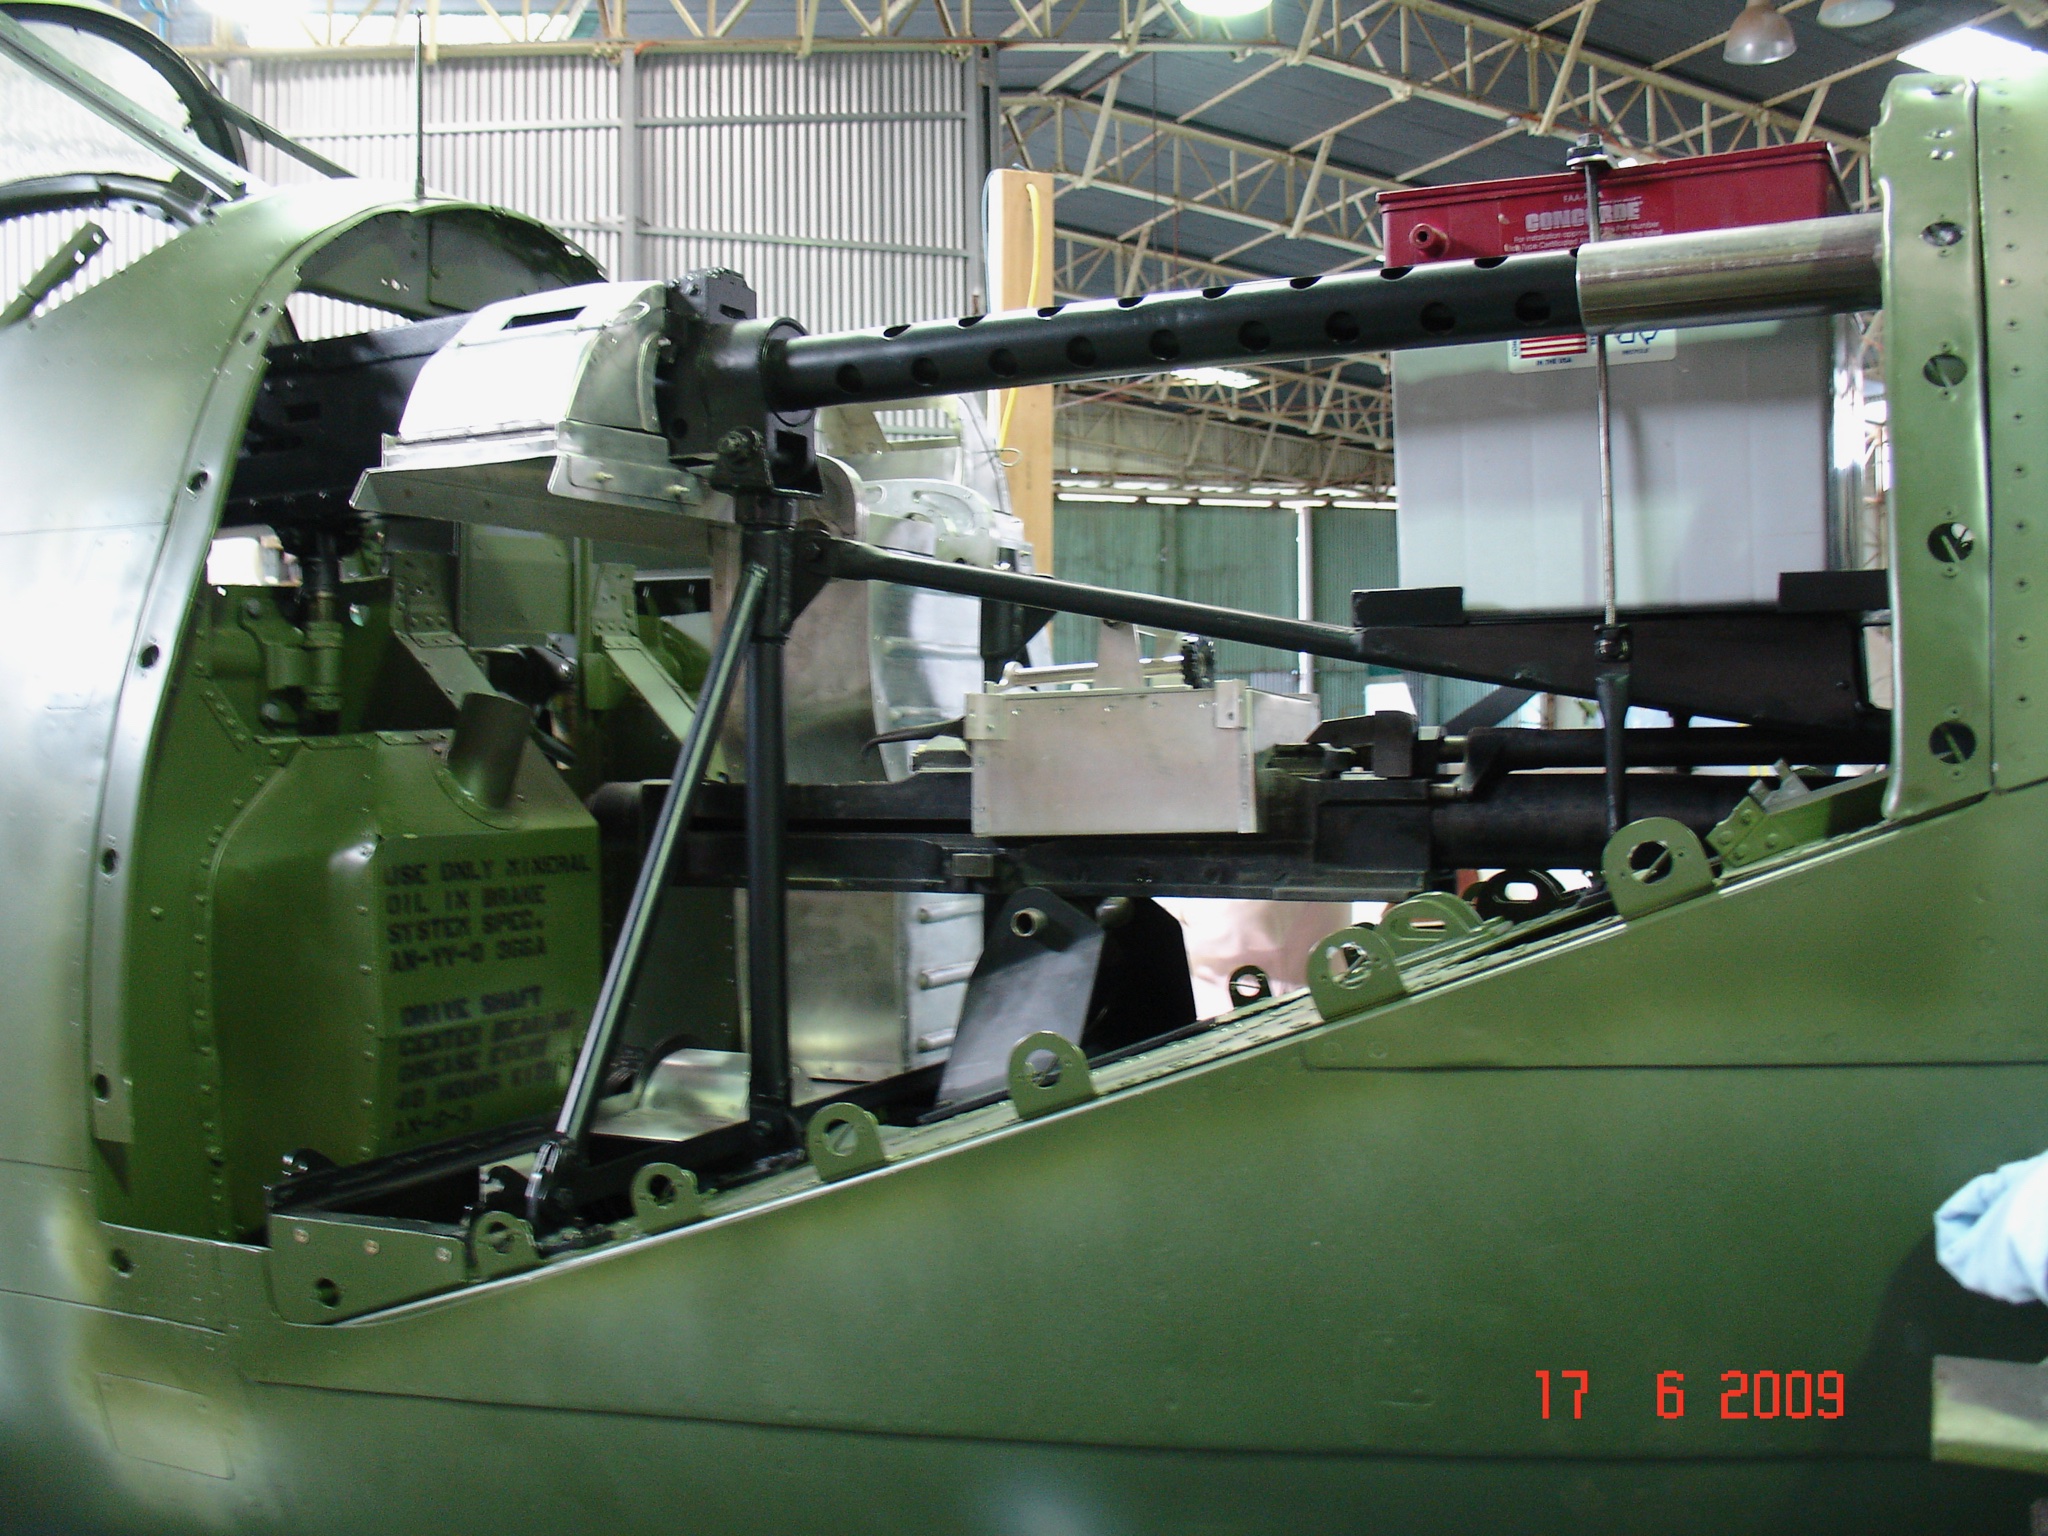
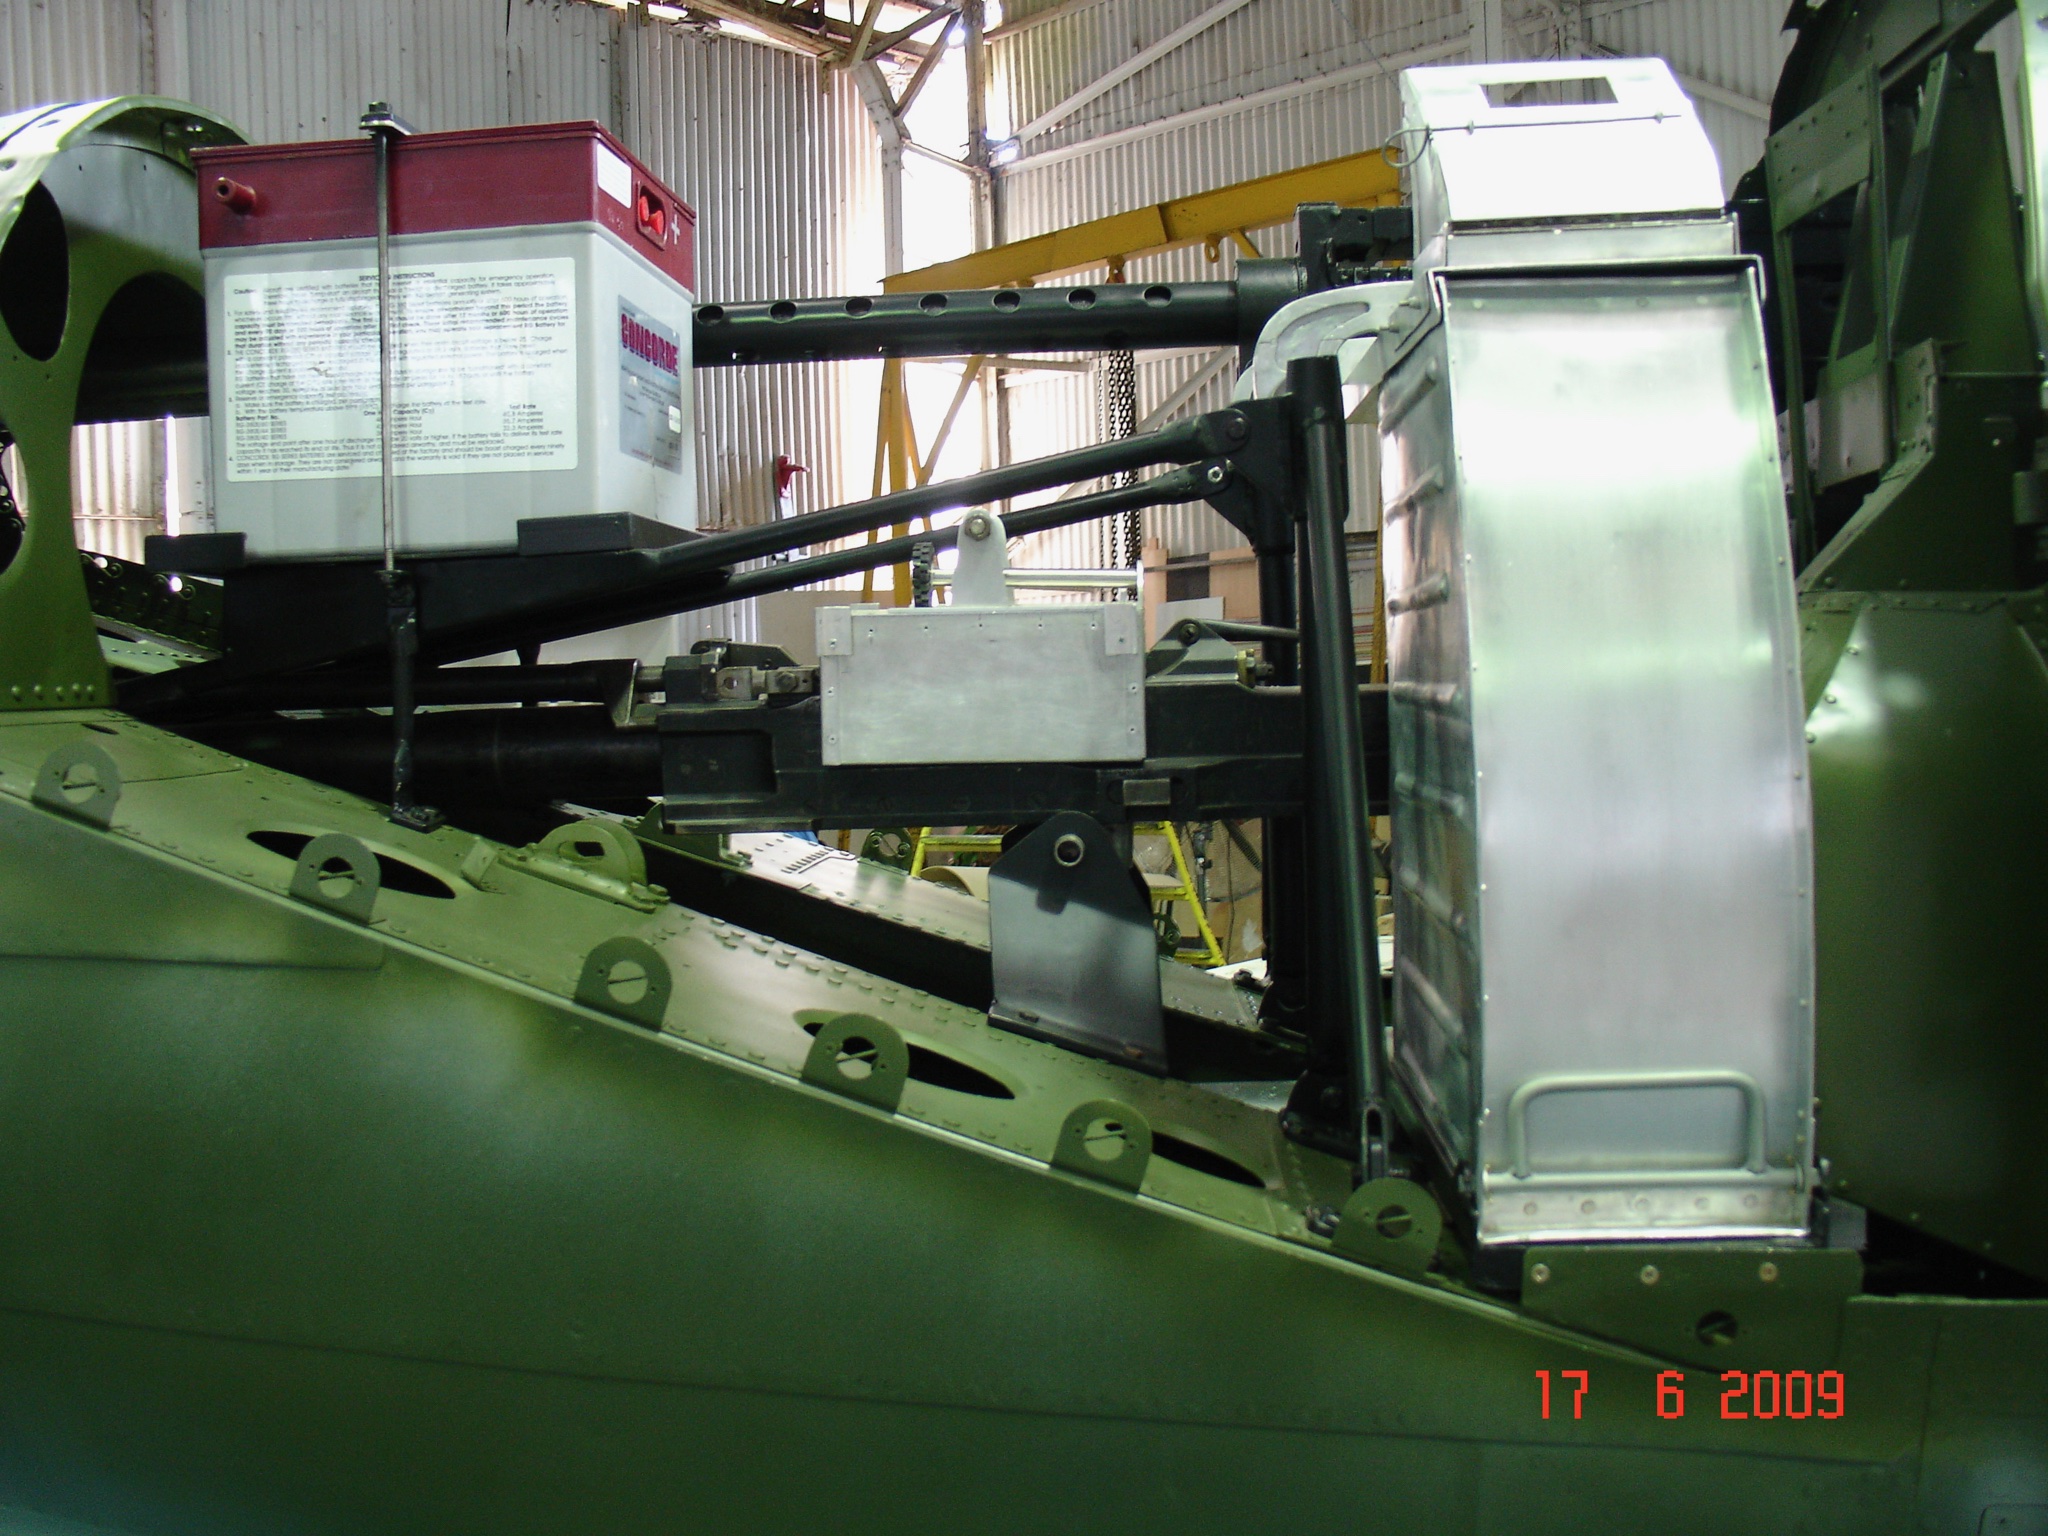
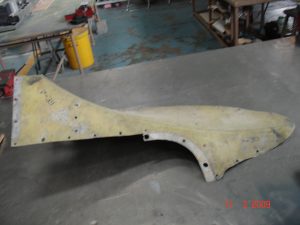
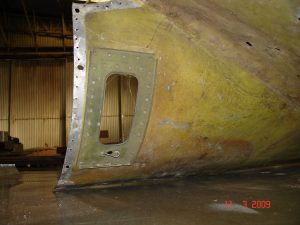
Definitely the wrong shape. Changed later to:
A rather untidily made spinner… More practice obviously needed here!


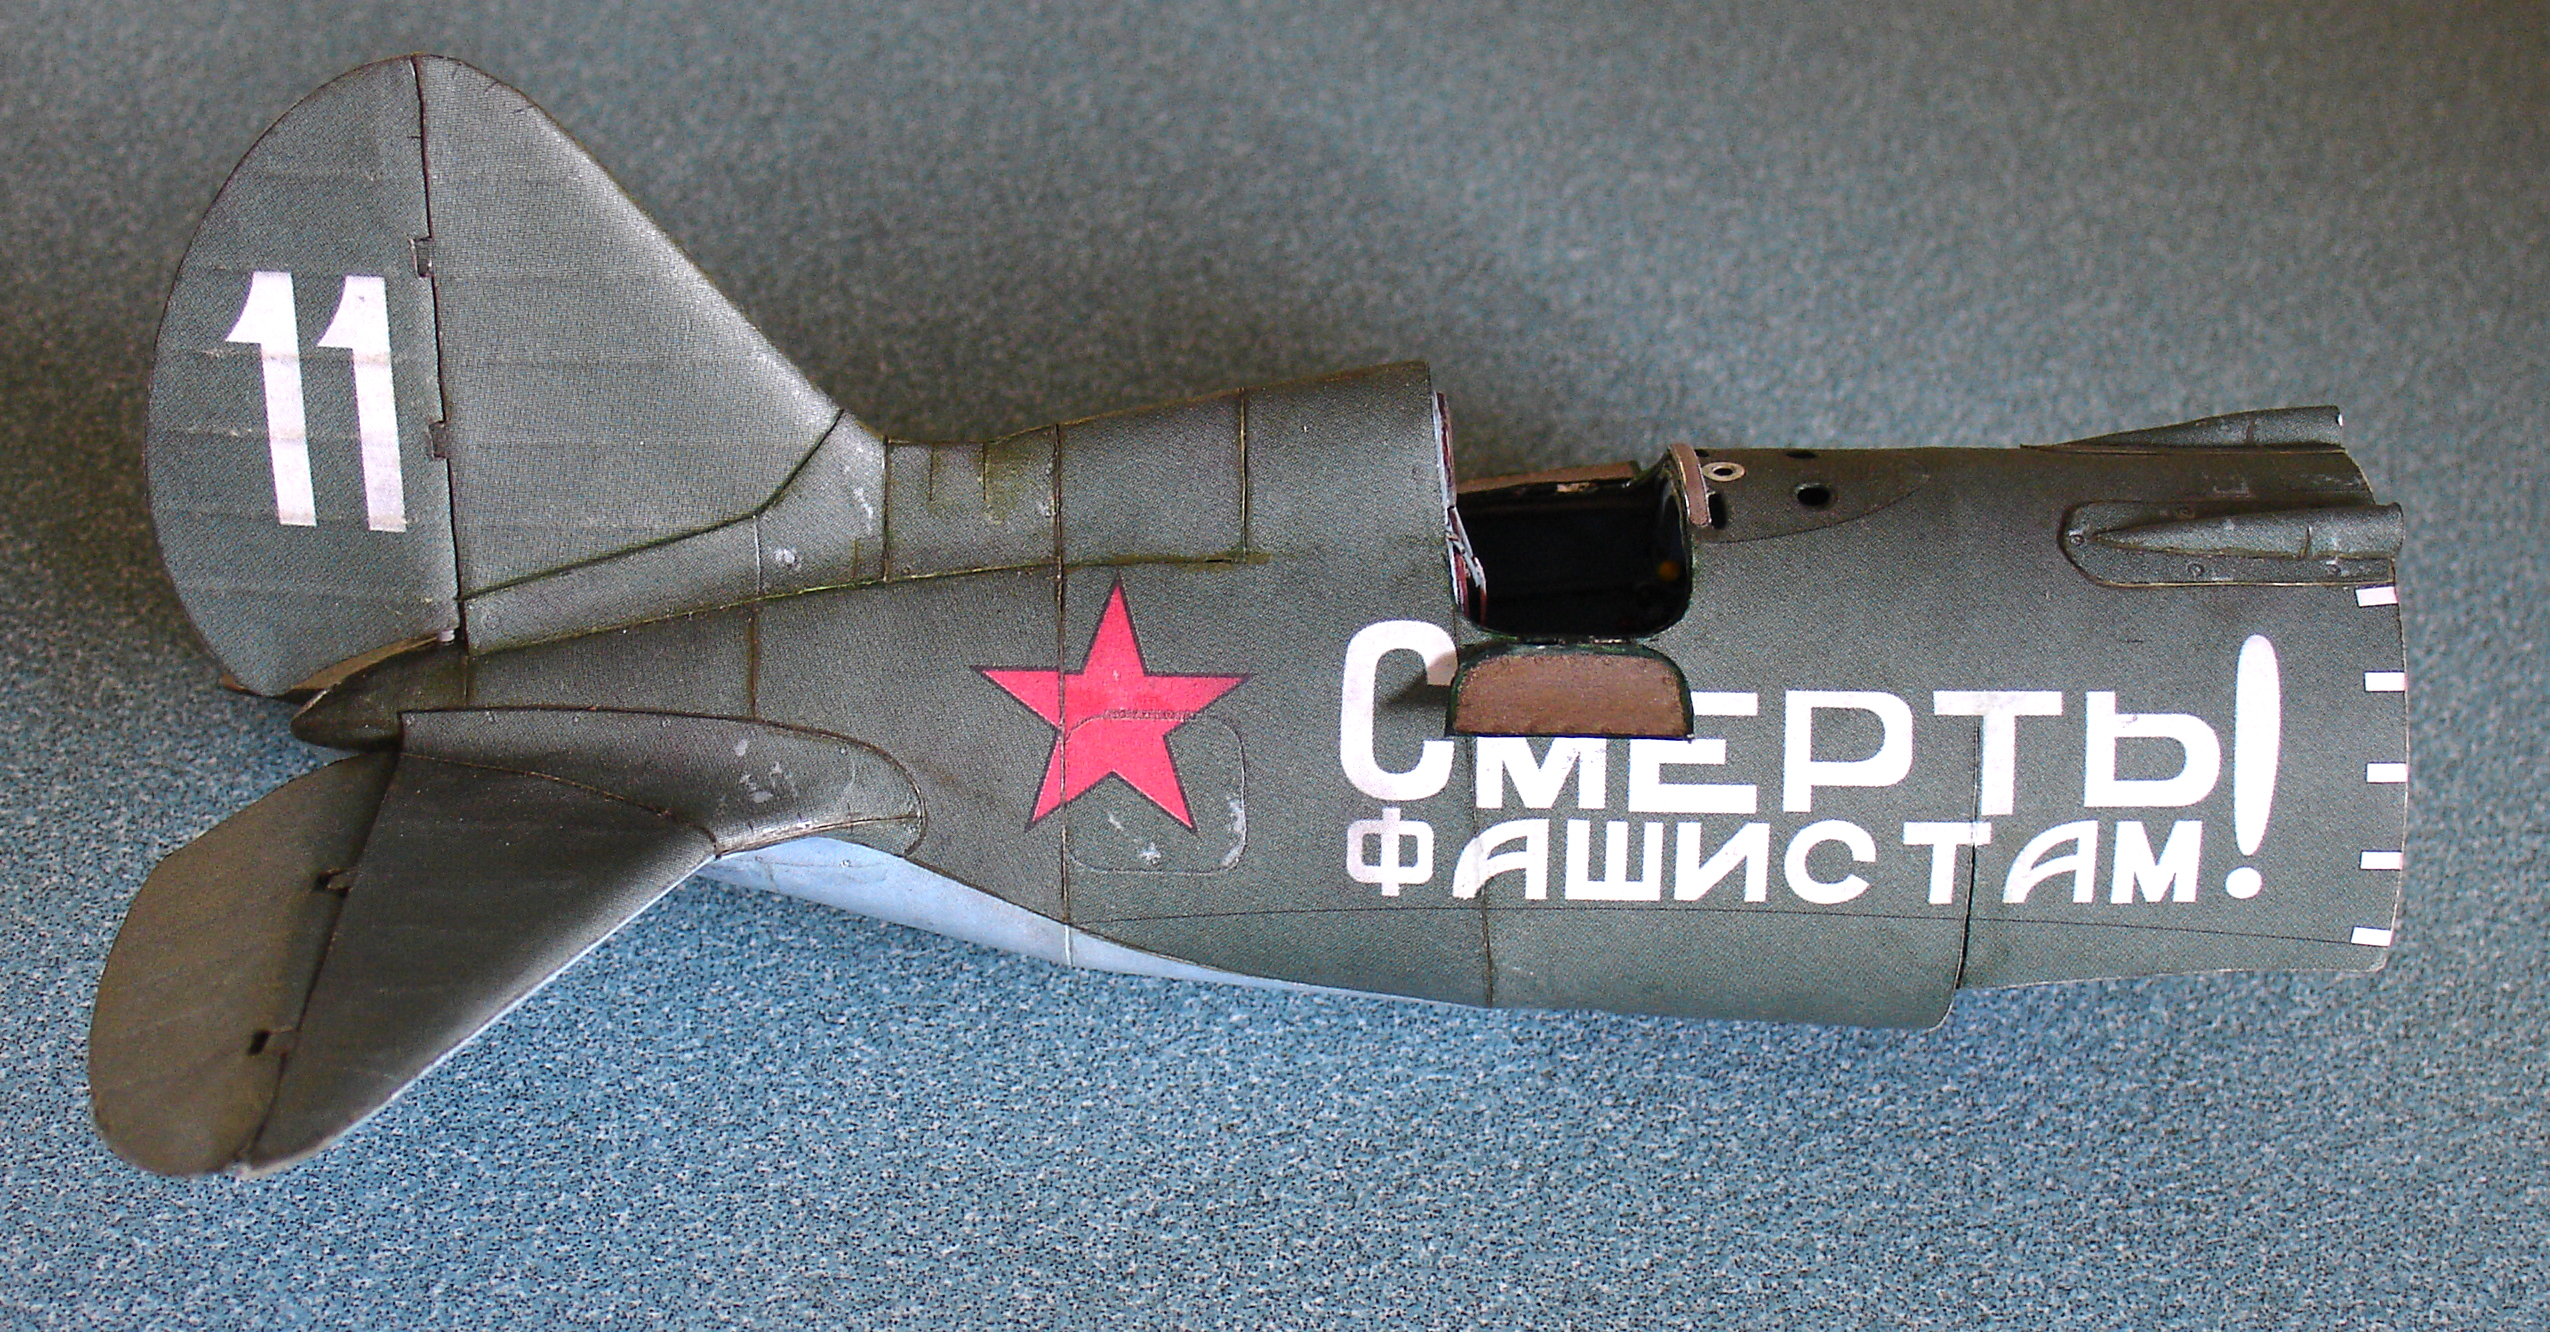
On its feet at last!


Starting on adding the landing lights, cutting out of the wings and required parts…

A spacer for the reflector…

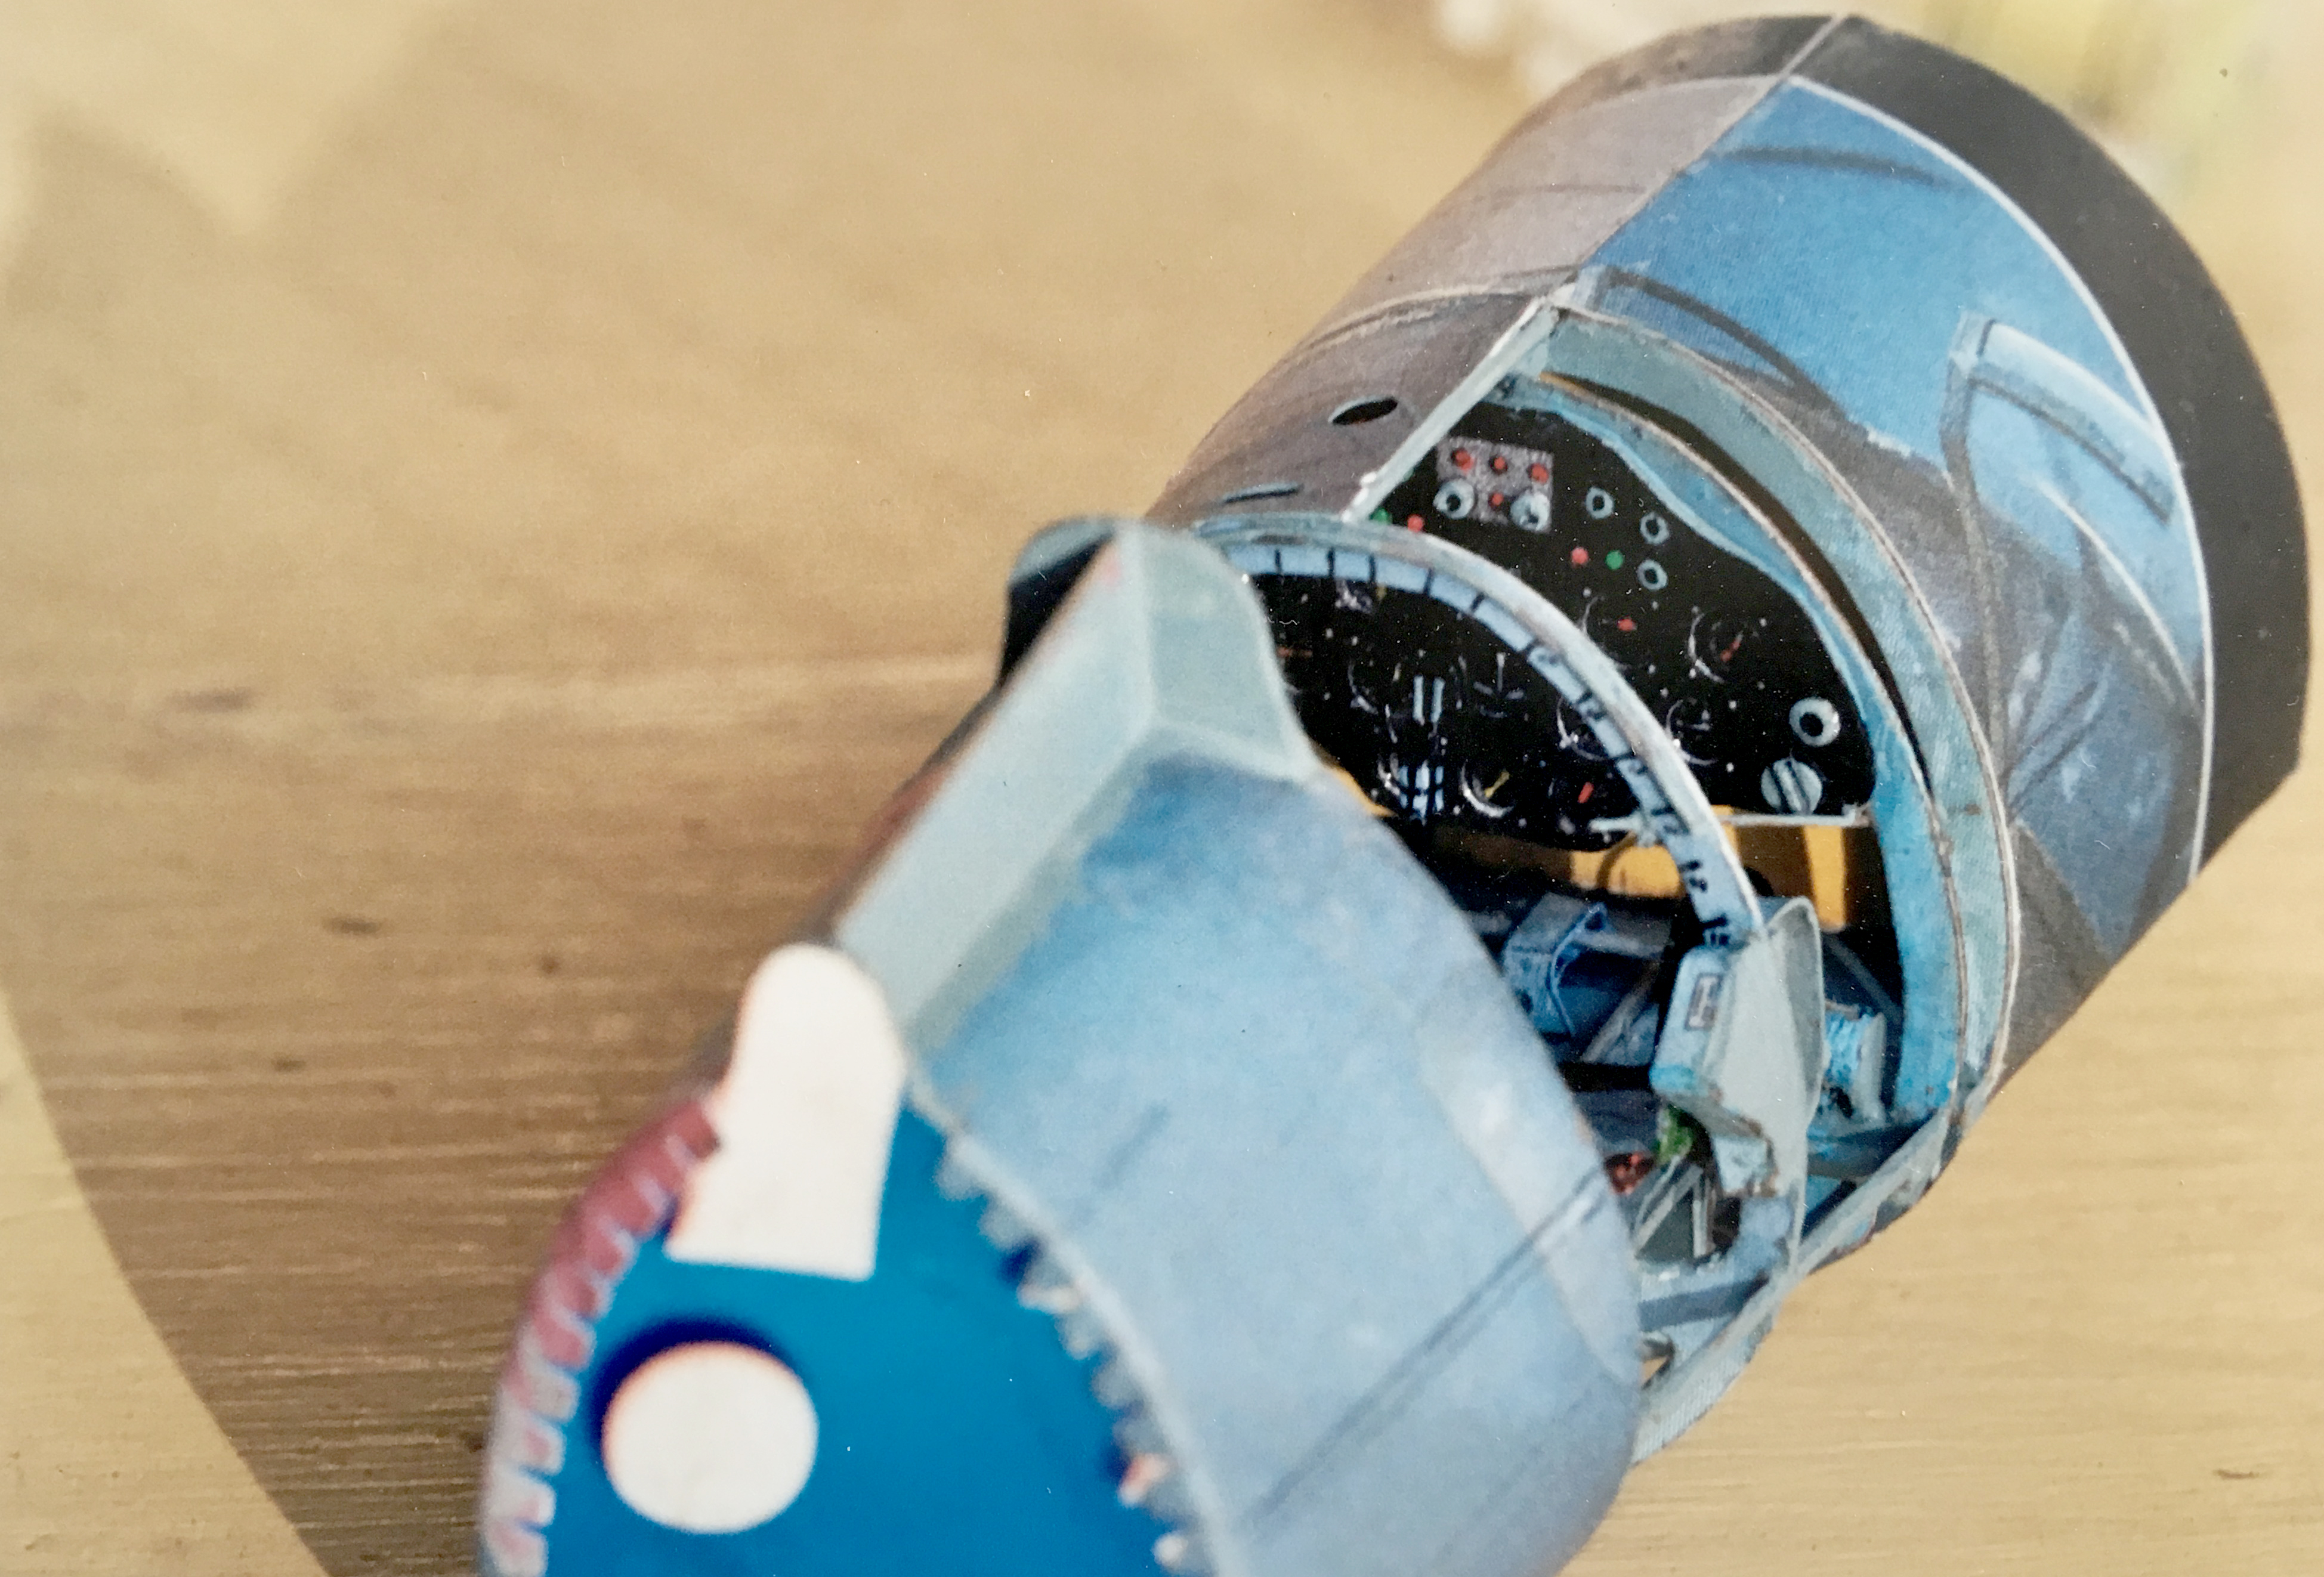
Covered with ‘glass’, which is clear ‘Sellotape’, painted over to the line with watercolour


Badly fitting Canopy more obvious here


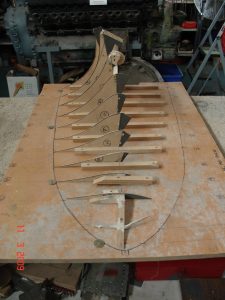
Parts laid out for undercarriage

PZL-106 Kruk GPM build

A while ago, sometime in September 2023, Armstrong watched  a Disney cartoon, ‘Planes’, in which a crop duster was the hero. After that, he wanted me to build one for him… Not the most popular subject for a paper model, it would seem, so I started looking around.

It didn’t take long to find the two early offerings from Mały Modellarz, a Dromedar and a Kruk and a Kruk from GPM. I already had the Dromedar, bought a thousand years ago (!) and so I managed to get one of each of the Kruk on different groups on Facebook, which I was thankful for 🙂

Unfortunately I could not find a paper model of the Piper Pawnee  (which I think that the hero, ‘Dusty’ was based on) – Not actually quite true, as I DID find one on a site in Japan, around 1/72 scale as a shortened sort of cartoon of one. Oh well, I got it and built it immediately, of course. He loves that and I had to make space on one of his bookshelves in his bedroom

That started the ball rolling for Armstrong (4) and he started asking me to go through my shelves and cases to see if there was something there that he would like me to build next. After a while I gave in and we went through the ‘few’ (60?) I have, covering ships from all eras and aircraft mostly, with a few tanks, trains and other vehicles and other stuff. He was blown away and decided on a few ‘favourites’, the standout with him were the Typhoon/Tempest variants and the P40.

I had already started the GPM Kruk, but was persuaded to immediately build the Typhoon, subject of another blog-build on this site and which now takes pride of place on the shelf next to the Pawnee in his bedroom.

Back to tha Kruk. After the Typhoon, he wanted me to build the P40 (I have an early Halinski offering which he liked), but I insisted on finishing the Kruk first. After that, I wanted actually to build something else, but that’s another story 🙂

Here are a few pics of the GPM Kruk, which didn’t start particularly well. Poor fit of some othe parts and just plain incorrect sizing of laser-cut frames made it frustrating (which is the reason why I agreed to do the Typhoon before finishing!) and so I lost momentum. After most of the fuselage I started on the engine, which is totally inaccurate and so that also had to be added to to make it a satisfying job. I love ’round’ engines (real ones…) but they are complicated and a challenge to build in paper! Anyway, the start of my efforts on this one (which I may decide to do completely differently in the end!) can be seen in the last photos here:

I shall keep the comments to a minimum 🙂

Some work needs to be done on the engine to make it look anything like one fitted to the plane. I’m not going to go mad on it, but the cylinder heads are obviously completely wrong and addressing that should make a big difference regarding the placing of pushrods, so a little inventiveness is required 🙂

The parts are handed, so it will take a bit of time to make up the 9 pairs required. The rear of the cylinders will also need work to allow for the addition of the inlet tracts from the heads to the collector-ring. I shan’t even try to make the carburettor and engine mounts, since I don’t have drawings or photos of the setup.

The shabby scribbles on that one cylinder will be sorted, of course

…………………………………..

Moving on on 10.01.2025

A few things have to be corrected, like the fact that above the doors, there should be windows (not a door as I suspected), which the instructions failed to mention or illustrate., so I assembled the roof of the cabin without cutouts, as shown below…

Now is the time to address that and so I cut out the necessary holes and moulded a window each and glued them in, while adding a few other details, too: Not as clean as I would like the work to be, but at this magnification…

P-39 Airacobra Restoration

For those interested in Aviation, warbirds and the modelling of the aforementioned, here are a few pictures I took while working on the Airacobra in Australia at the ‘Classic Jets’ Museum at Parafield Airport in South Australia. Actually the busiest airport in the whole of Australia, mainly due to it’s being the home of a number of flying schools, including one used for flight training of quite a few large airlines, Parafield is also home to a number of classic ‘fly-ins’ and the Museum, of course, where almost all the work is done by volunteers. I worked on a few aircraft, but this is the one I spent most time working on.

Here a couple of views inside the workshop hangar.

Gives a general idea of things. The RAAF Airacobra in question in the background. Here are a few pics of the instruments and cockpit as it goes together:

And here a closer view of few of some of the individual instruments:


Lots of engine-details for the modelling enthusiast. These pictures are big, just click on them for larger, click again for super-size! Not much chance to see one of these up close, though used for many aircraft. Carburettor at the top and induction charger below it, the (shiny!) induction manifold on the top of the engine between the ‘V’. The pic on the top left shows it in the initial stages of build. As we progress it gets ‘smarter’ 🙂


The pictures below are of the other, running, engine in the public hangar which was originally out of a P40, which is why it has the reduction gear on the front, unlike the P39, which had it installed just behing the propeller and spinner, of course, fed by the propshaft which ran between the pilot;s legs… Makes quite a racket in the hangar and we converted it to run on Gas, as when on Avgas, the open carburettor spat flames to the roof on a cold start… 🙂

Here a few official pictures of the engine from Allinson themselves:


Here some detail pictures of the armament and ammo-boxes being built for up front. Ours didn’t have guns in the wings. Two machine-guns synchronised through the prop and a cannon shooting through the centre of the spinner. Convenient that the reduction gearbox, mounted on the front-most bulkhead had a hollow spindle! Drive from the prop-shaft enters at the bottom of the reduction-gear casting and the actual drive to the prop is a larger gear above it, allowing plenty of space for the ‘shooter’.

The rearmost, larger but narrower, munitions-boxes are for the machine-guns, the wider curved rails are for the larger (and fewer) cannon-shells:

Here how it is set up in the ‘plane still in primer:


Not in primer anymore and fitted up in TG*R !

And finally finished and mounted : (this one in Victoria, another A/C, another museum) The red box is a battery! More weight up front, critical for the distribution of weight and balance necessary to fly the aircraft. The mid-engine made it more maneuverable, but more sensitive to weight distribution. Cannon-shells fitted, MC Ammo-boxes not yet.

Here a few pics of some work I did on a pair of rearmost wing-fillets. We had one original on loan to copy and I had to make up left and right copies, hence the reversible template. The finished items were made slightly large all round for final ‘fitting’:


Here the aircraft ready and finished for the Parafield Airport Vintage Fly-In in 2009

Polikarpov I-16 (Halinski) 1:33 cardmodel

I have a special interest in these, as back in the 90s I spent some time in Russia with a team looking for and collecting bits of these aircraft to make replicas of for a New Zealand buyer. We collected eventually enough from 17 wrecks (with different teams spread out all over the place!) to have enough parts to replicate a complete aircraft.

I did some pattern-work, too and I believe they constructed five in total, three of them are still flying in New Zealand as far as I know. With vintage aircraft, it is enough to have a very small proportion of the actual construction to be really ‘original’ for it to be able to be registered as an original aircraft – as opposed to a ‘replica’. This saves a whole lot of paperwork and problems with certification permissions. Unfortunately I never had the possibility to actually sit in (let alone fly!) a completed one myself. One for the bucket list!

This is a nice paper and card model marketed in magazine form by the publisher ‘Halinski’. This model’s progress was halted when it was stolen – unfinished – with all the rest of my professional Restoration/Patternmaking workshop back in 2014. Here are the few pictures that I still have of it. I’ll definitely buy another one sometime and build it again! The first three pics show it before the skin went on the one side – about three weeks work alone in the instrument-panel and cockpit ‘knobs and levers’.

After putting the skin on. What you see here is about six inches long in total at this stage.


The instruments had their own lighting (which never was actually built to the end), the faces were made of positives of litho-film from my camera taken of drawings that I had done in Illustrator from the original instruments. For the true-scale effect, the dials and their markings had to be thickened up, or they would just have disappeared and would have ‘looked wrong’.