Masspacher finals :)

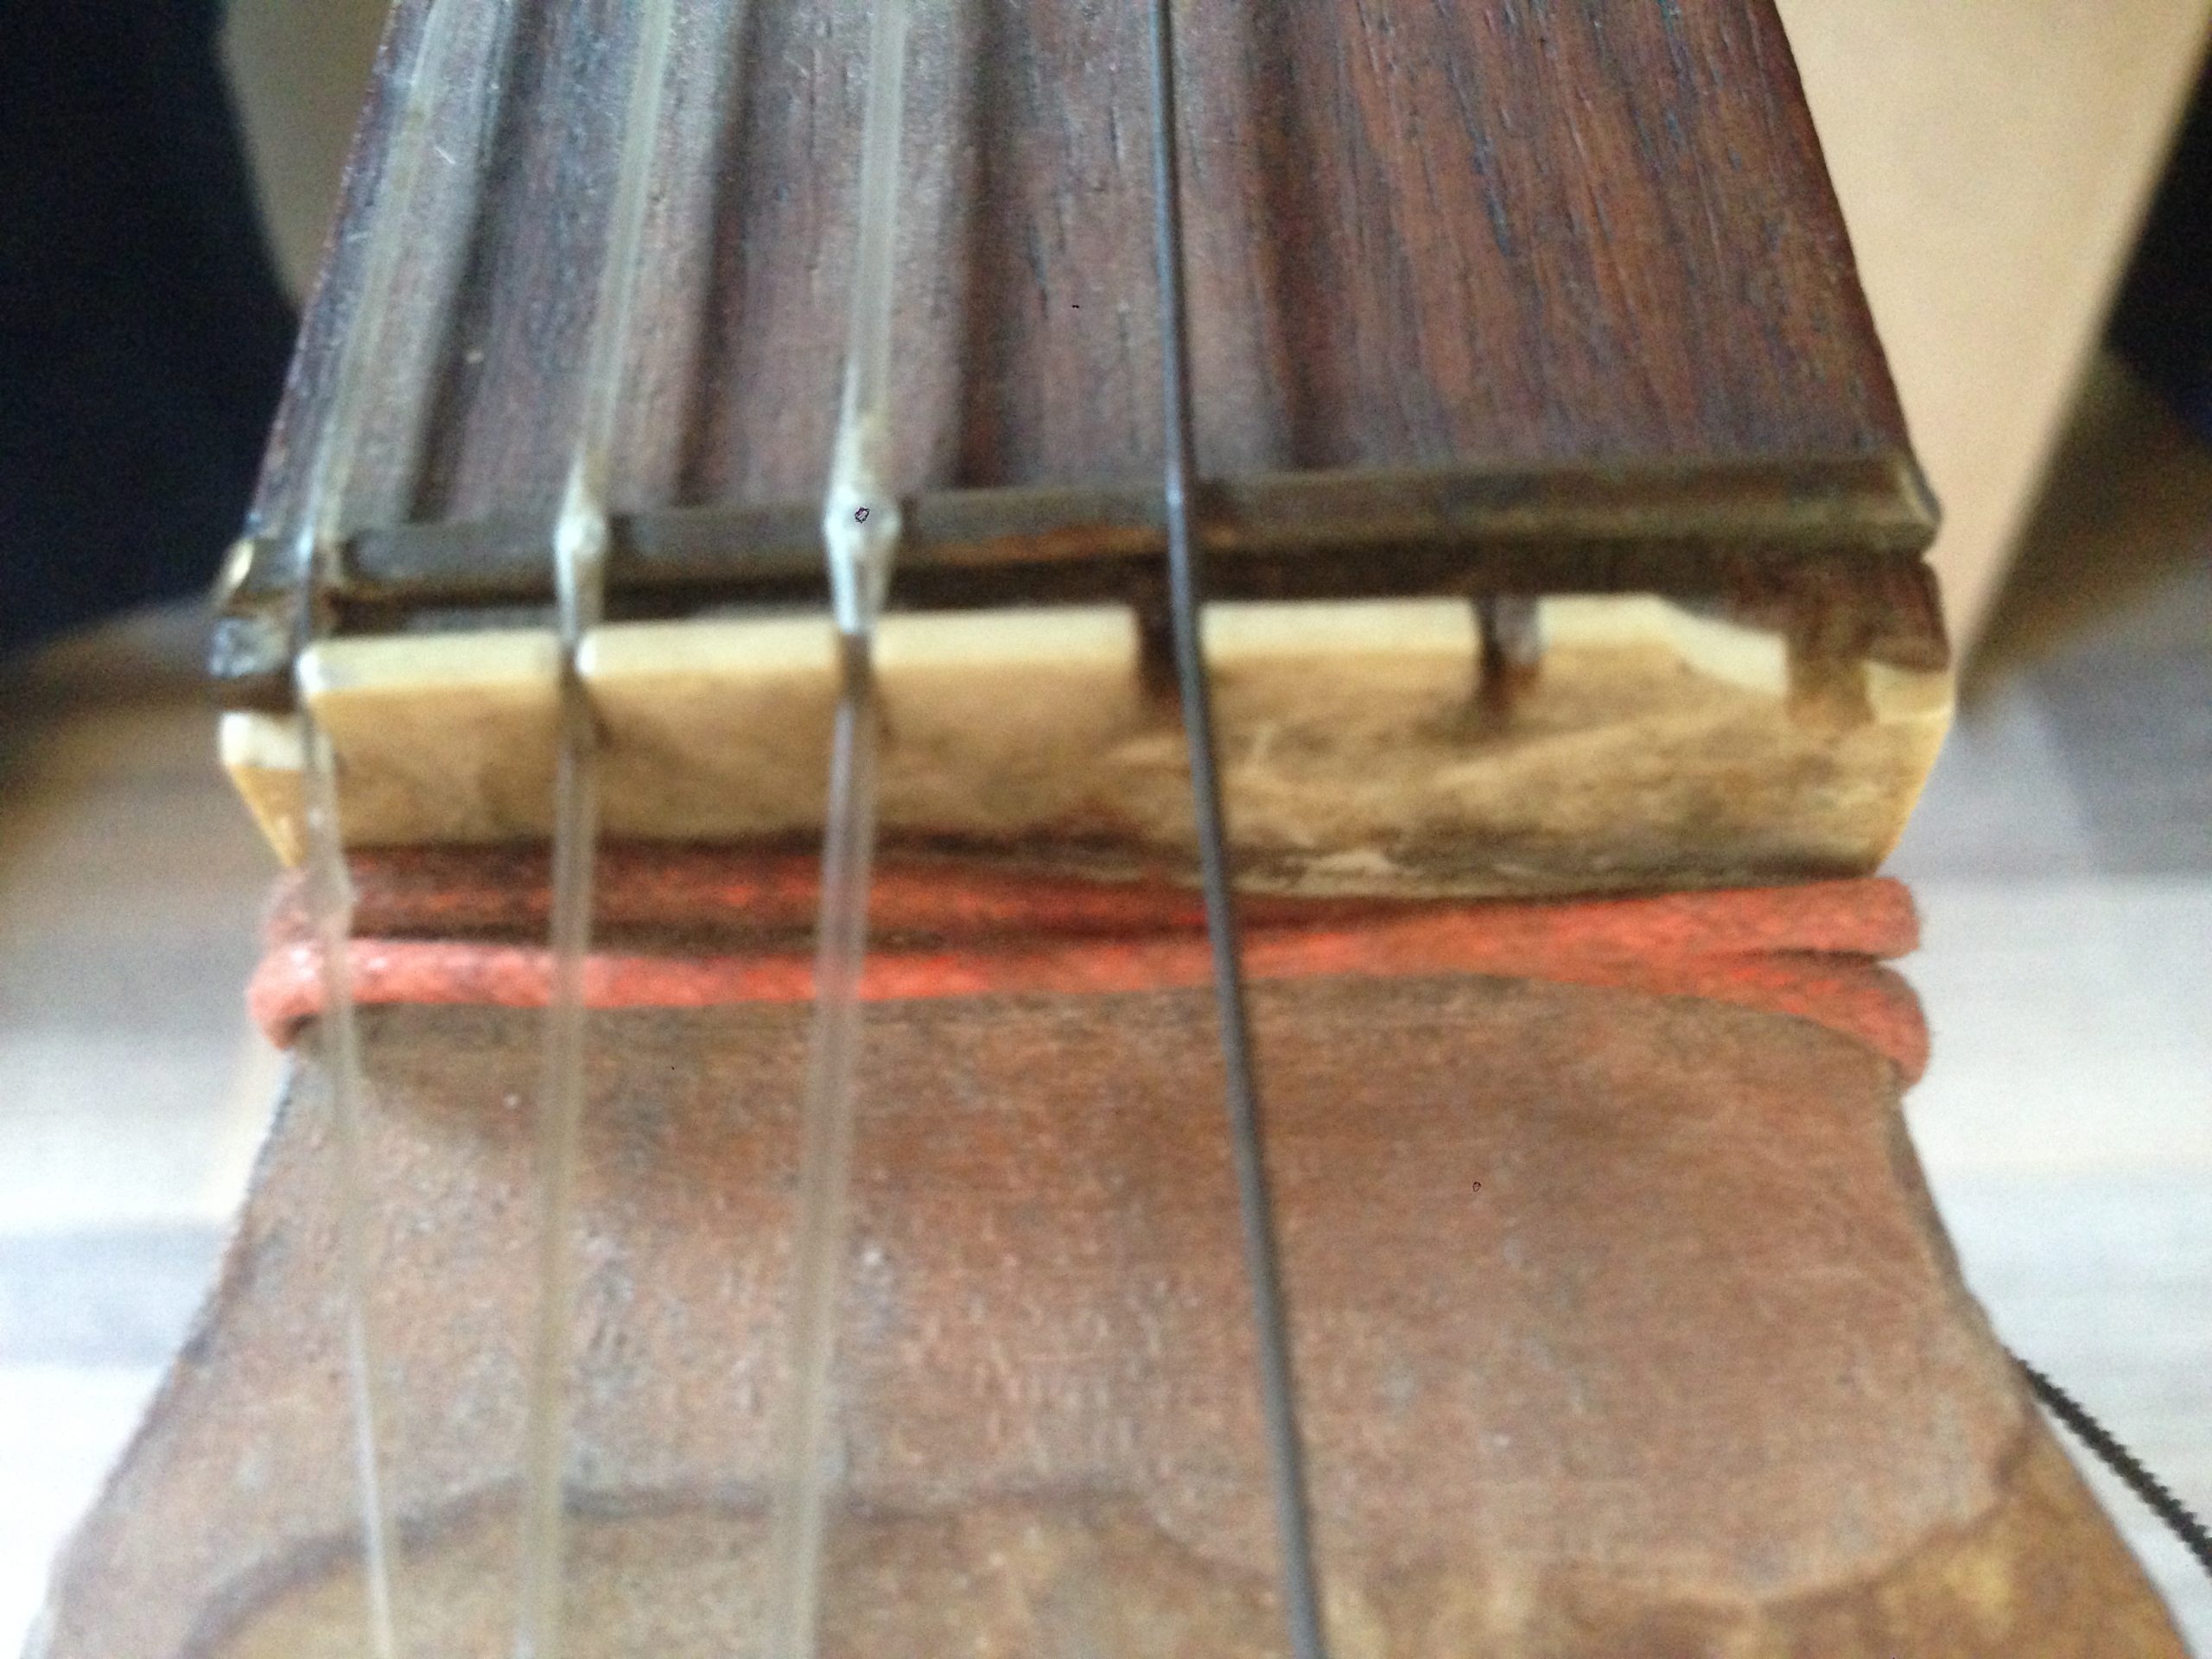
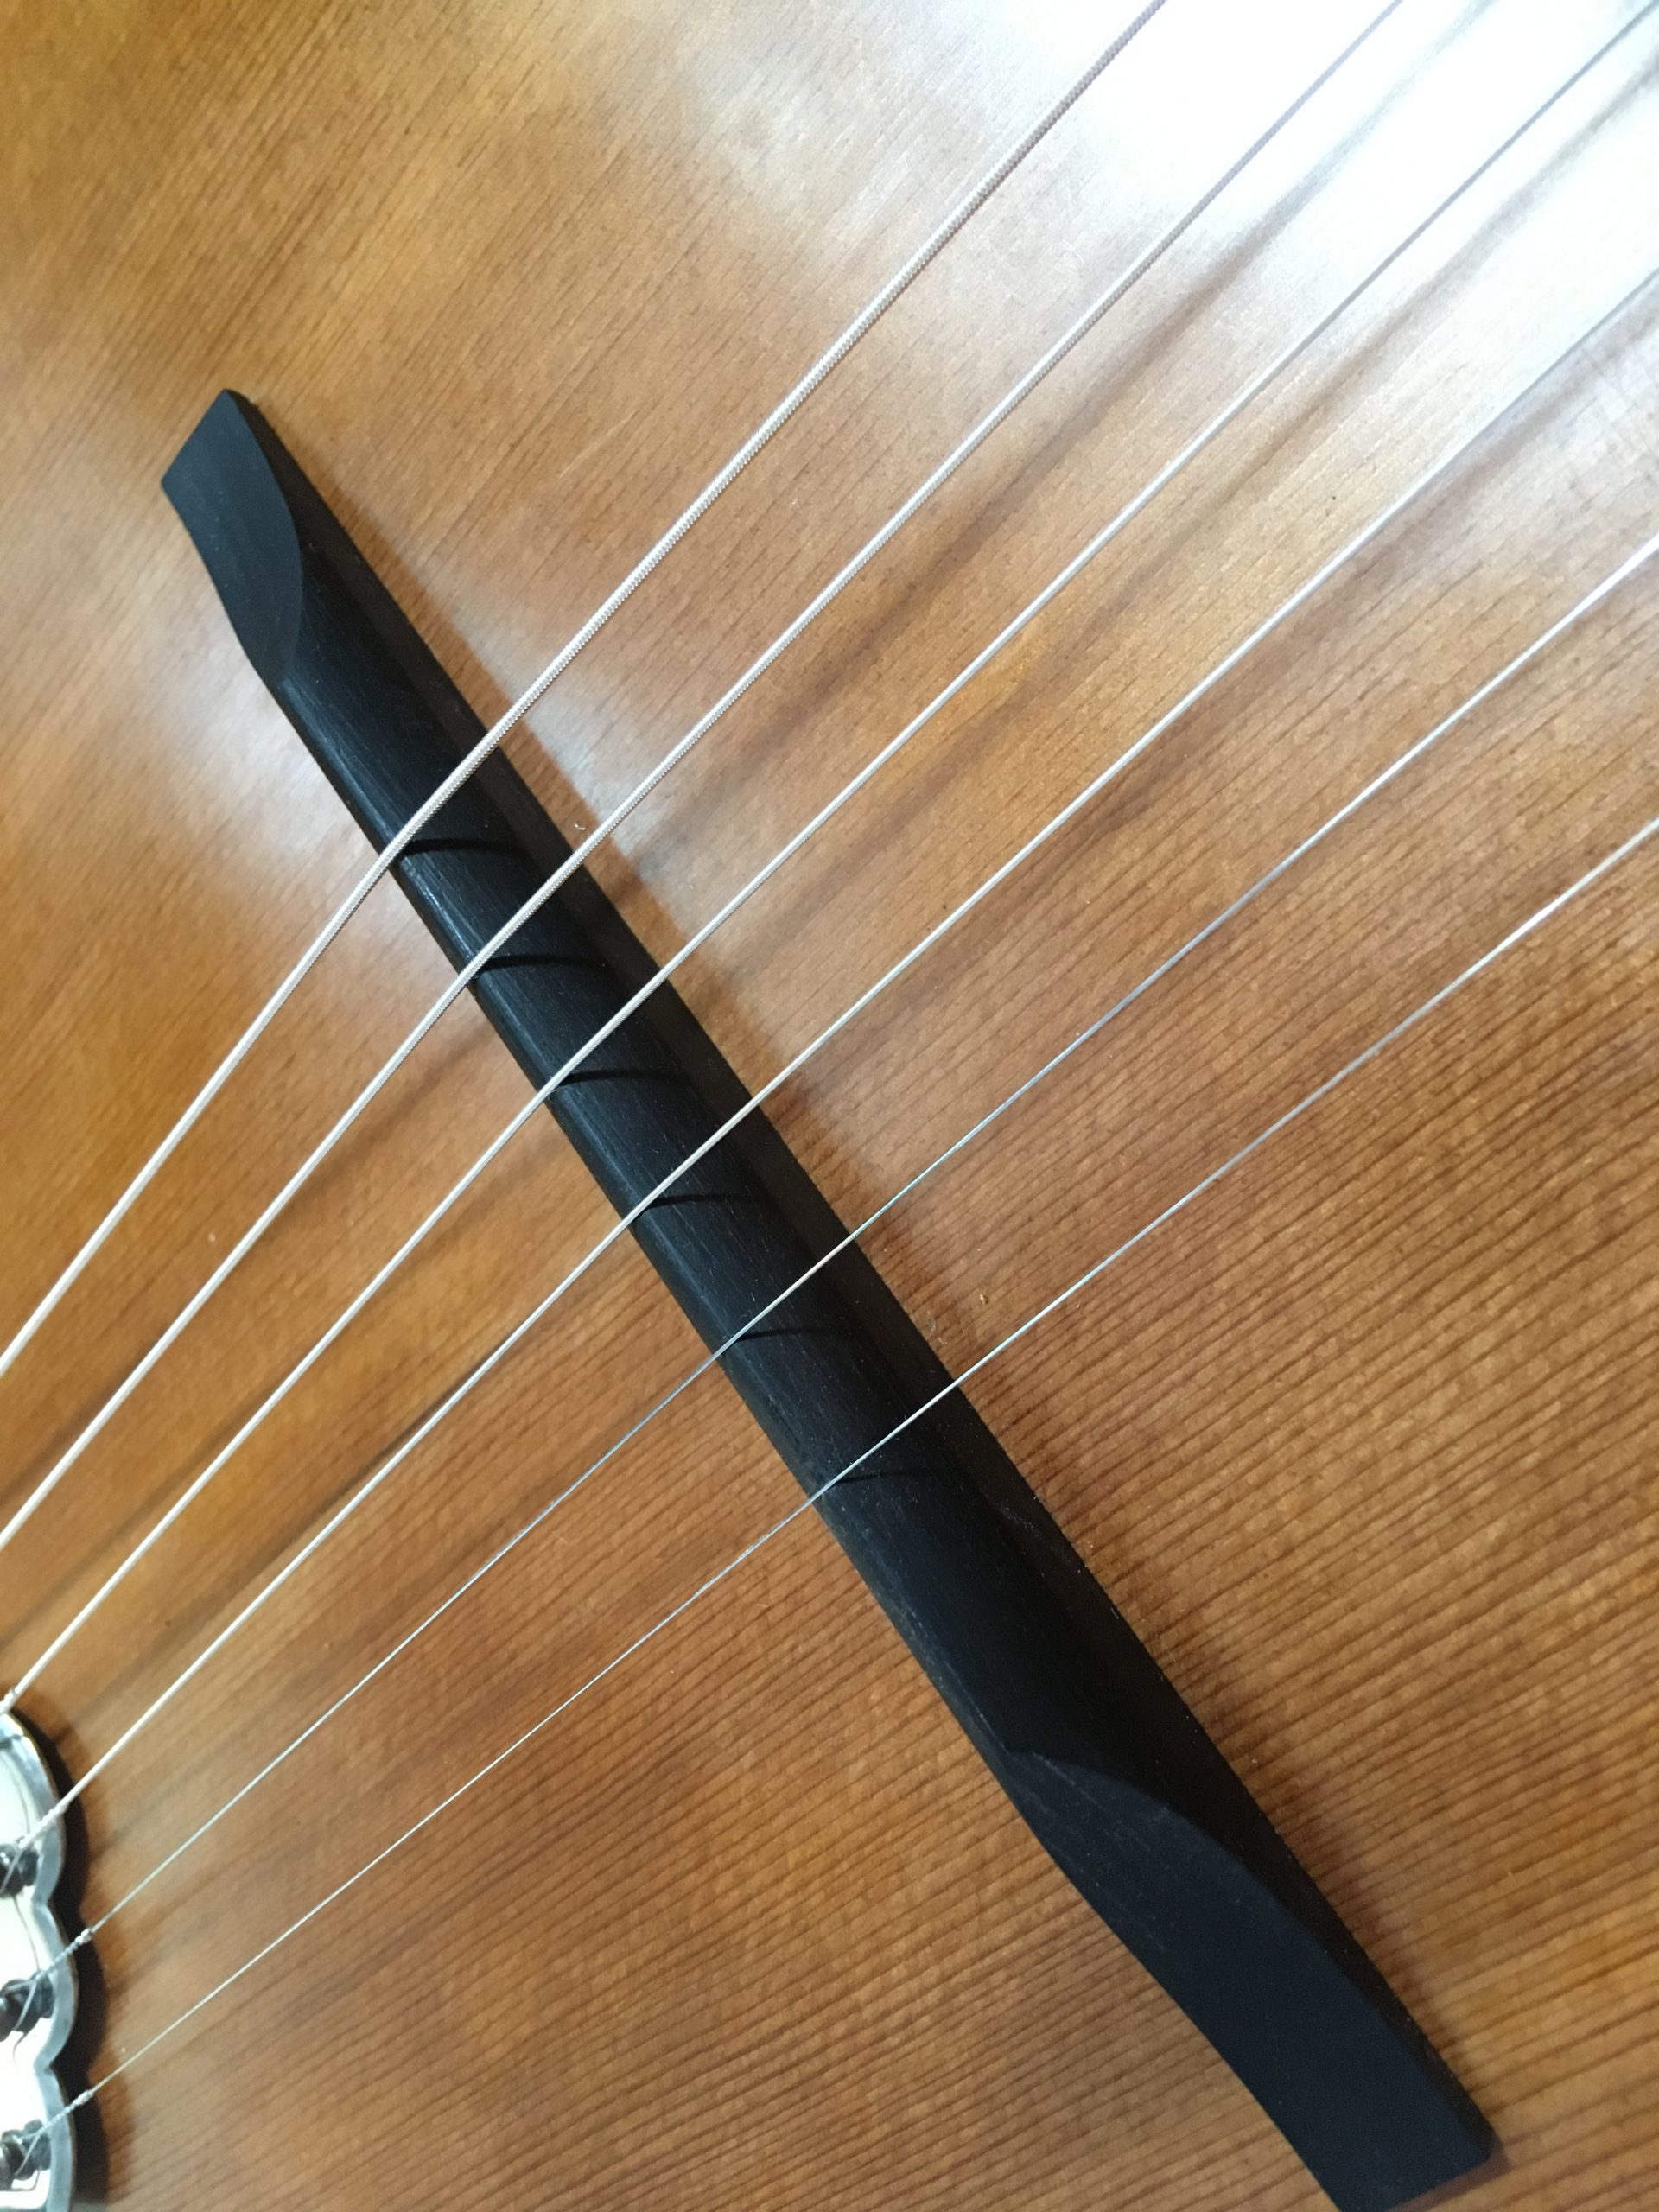
Now at last I am approaching the time to assemble everything and try out the bridge that I made (of ebony, of course!), string it up and try it out for the first time…

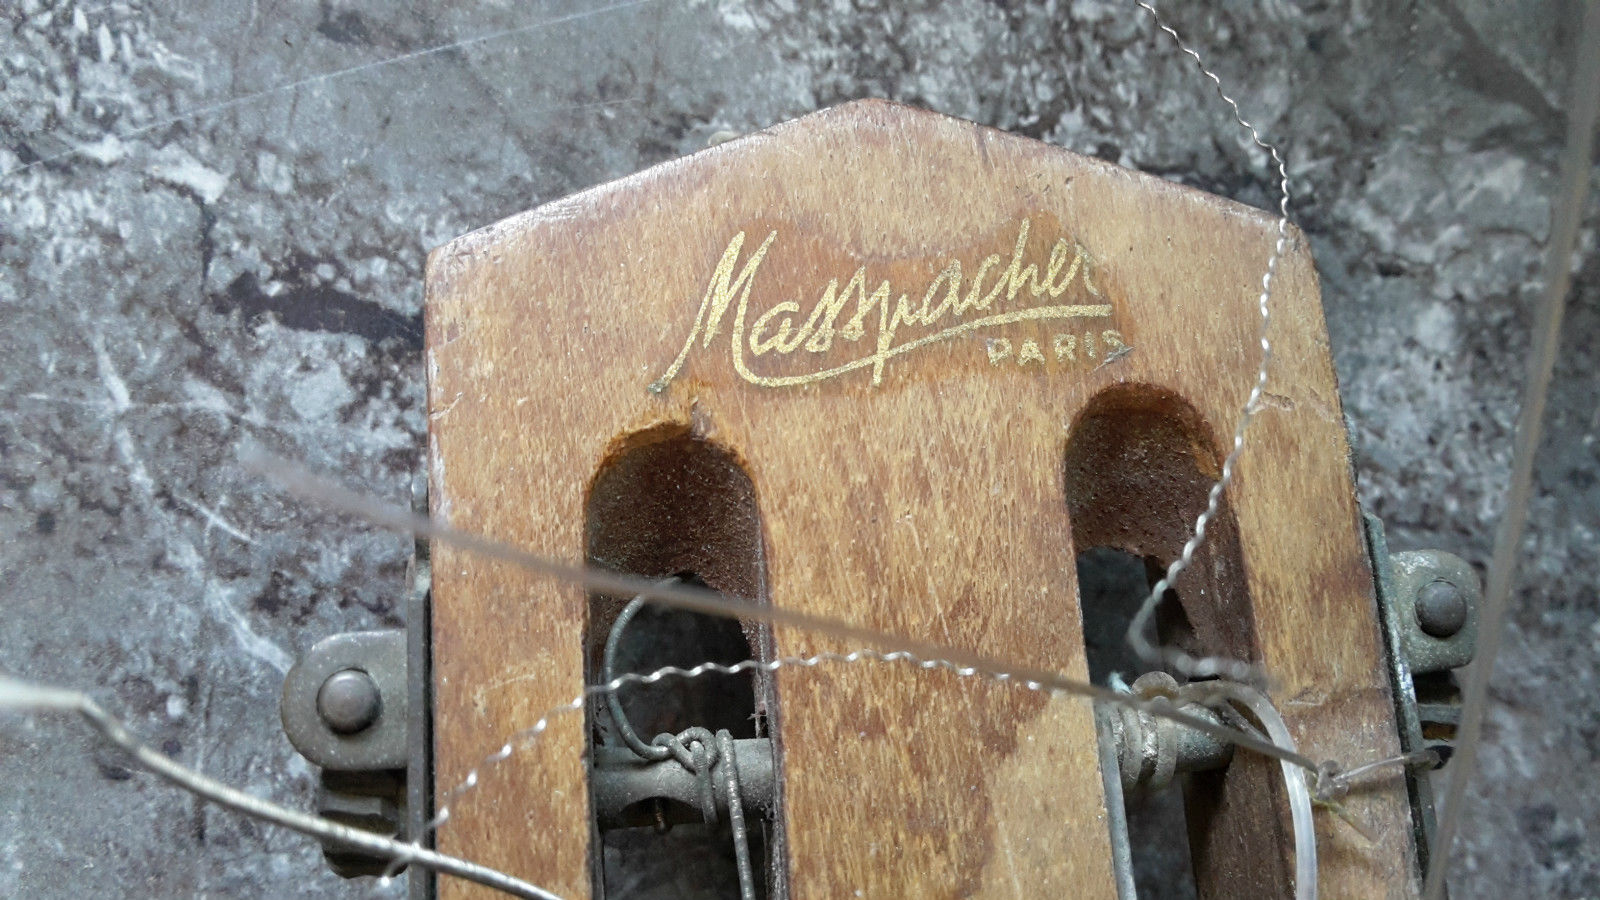
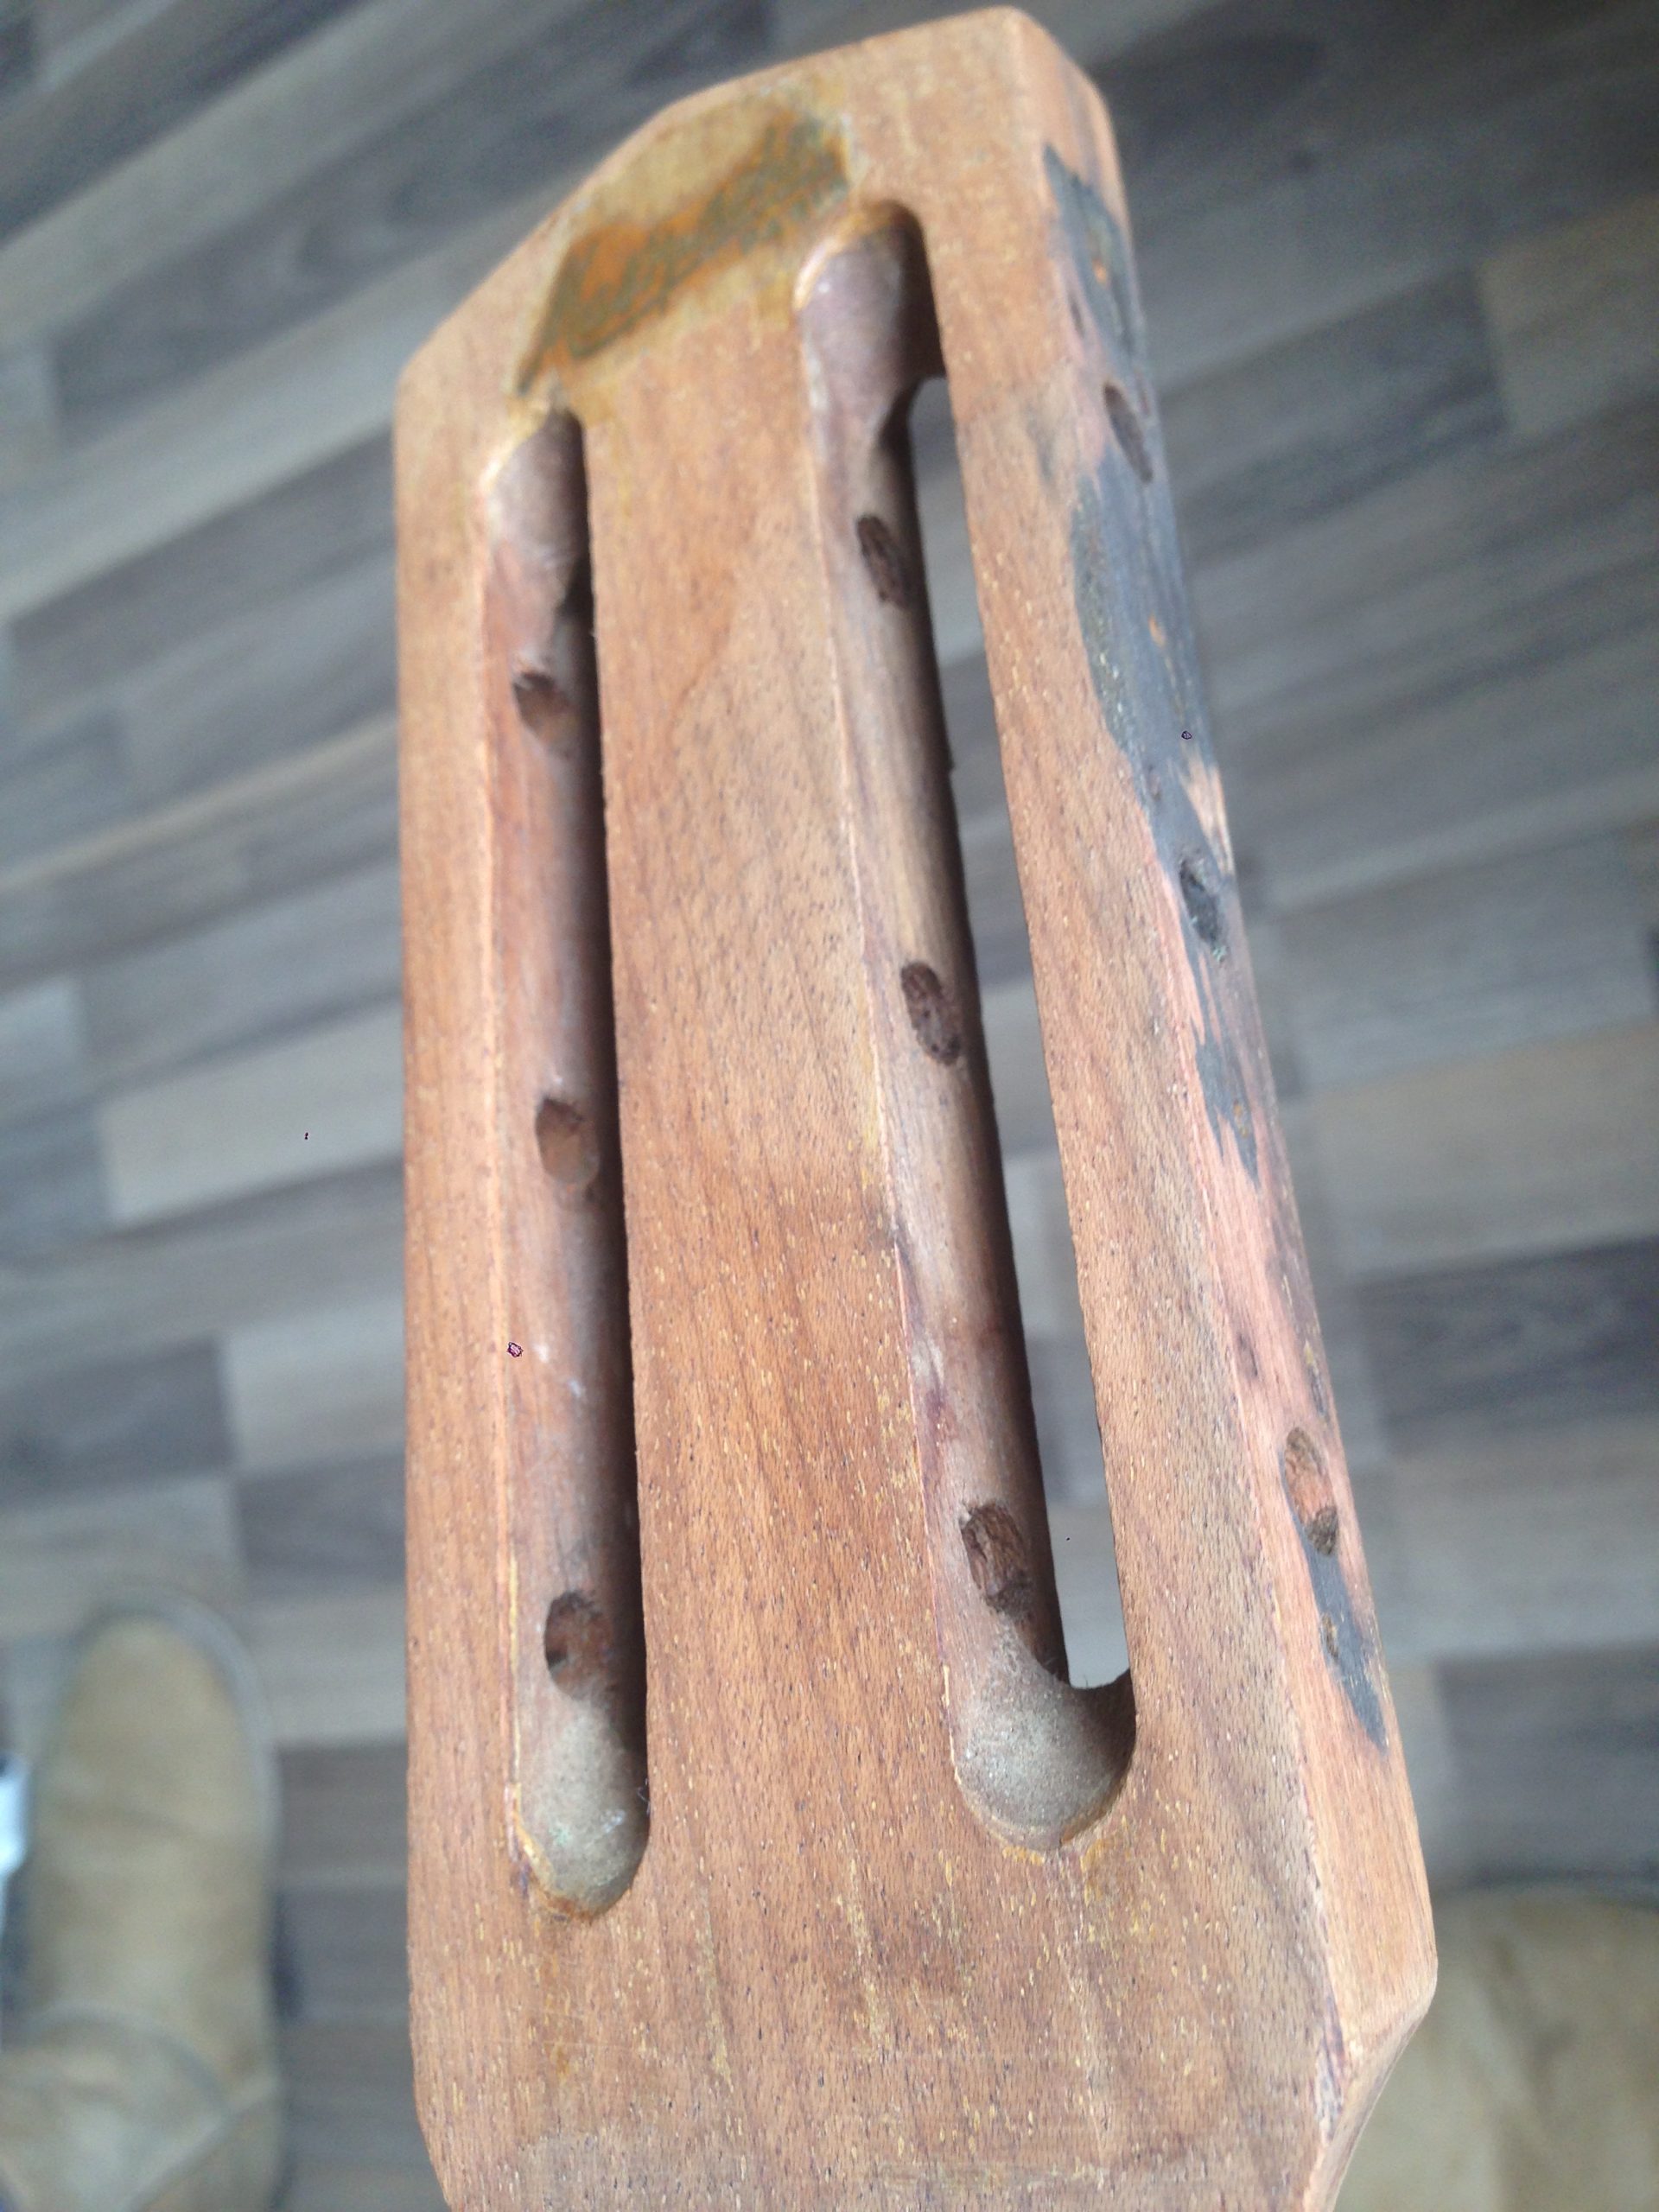
The new machine heads – without screws (still waiting for the correct domed slotted ones instead of the modern cross-head-screws)

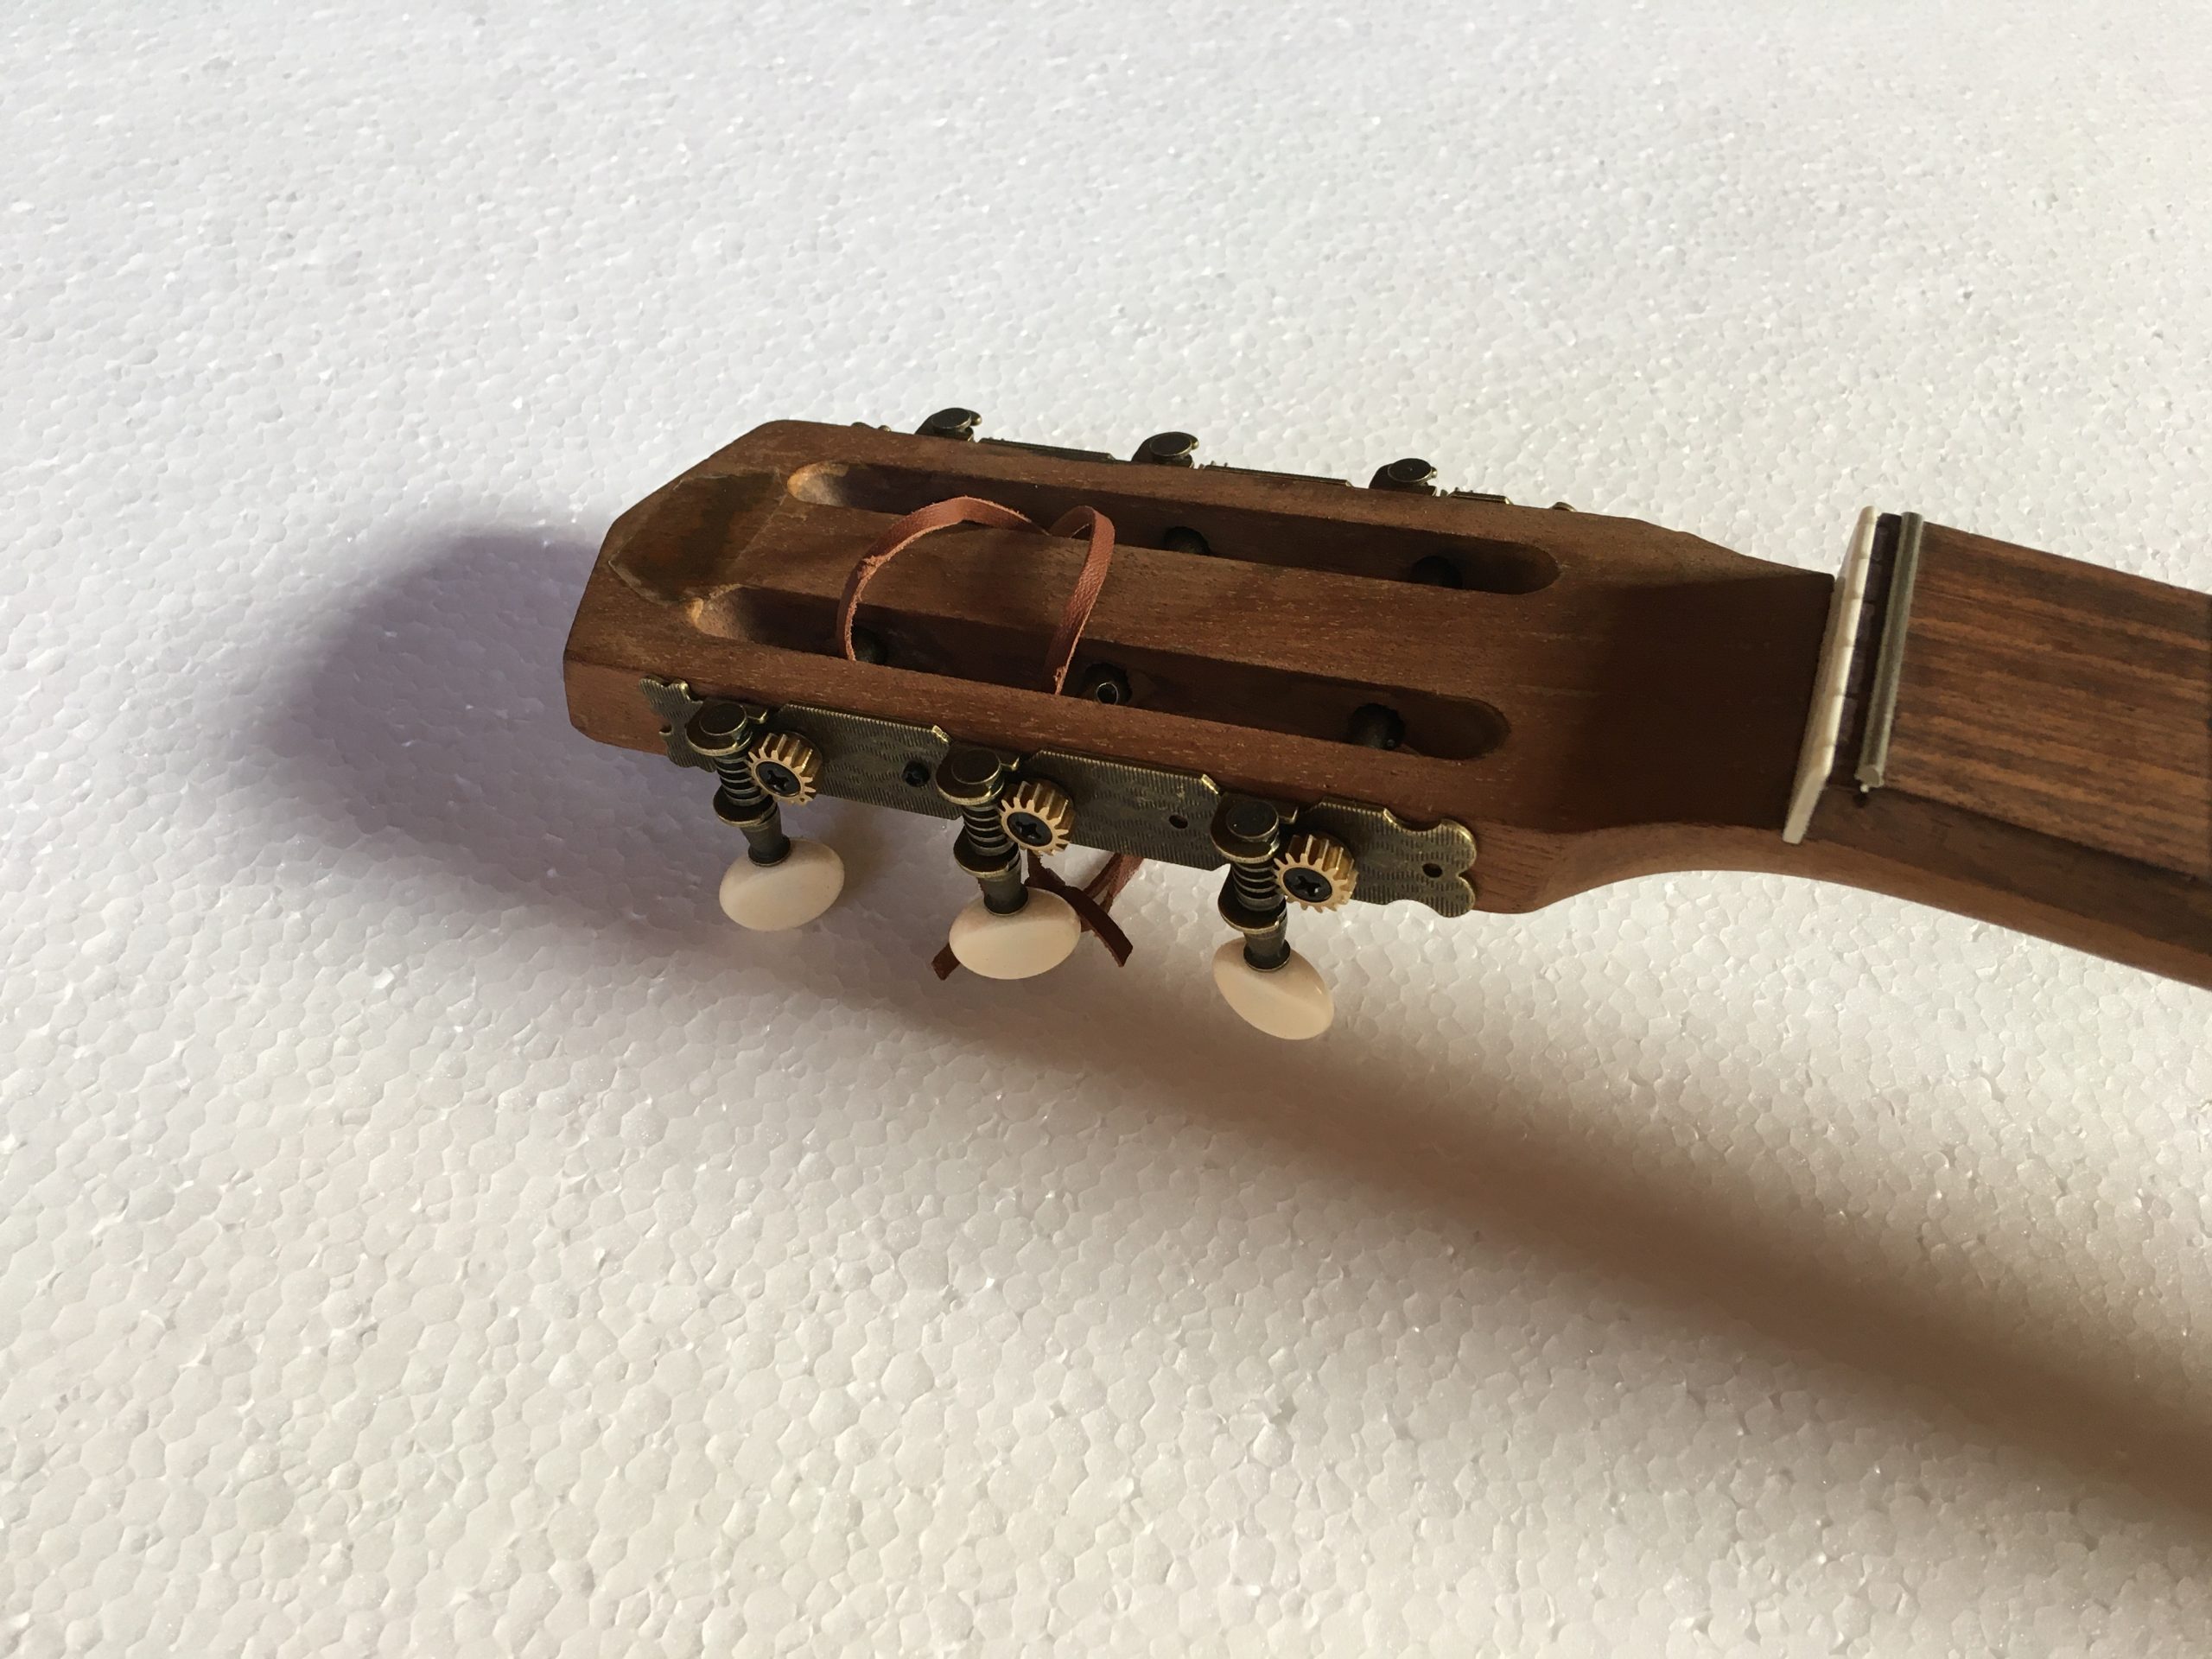
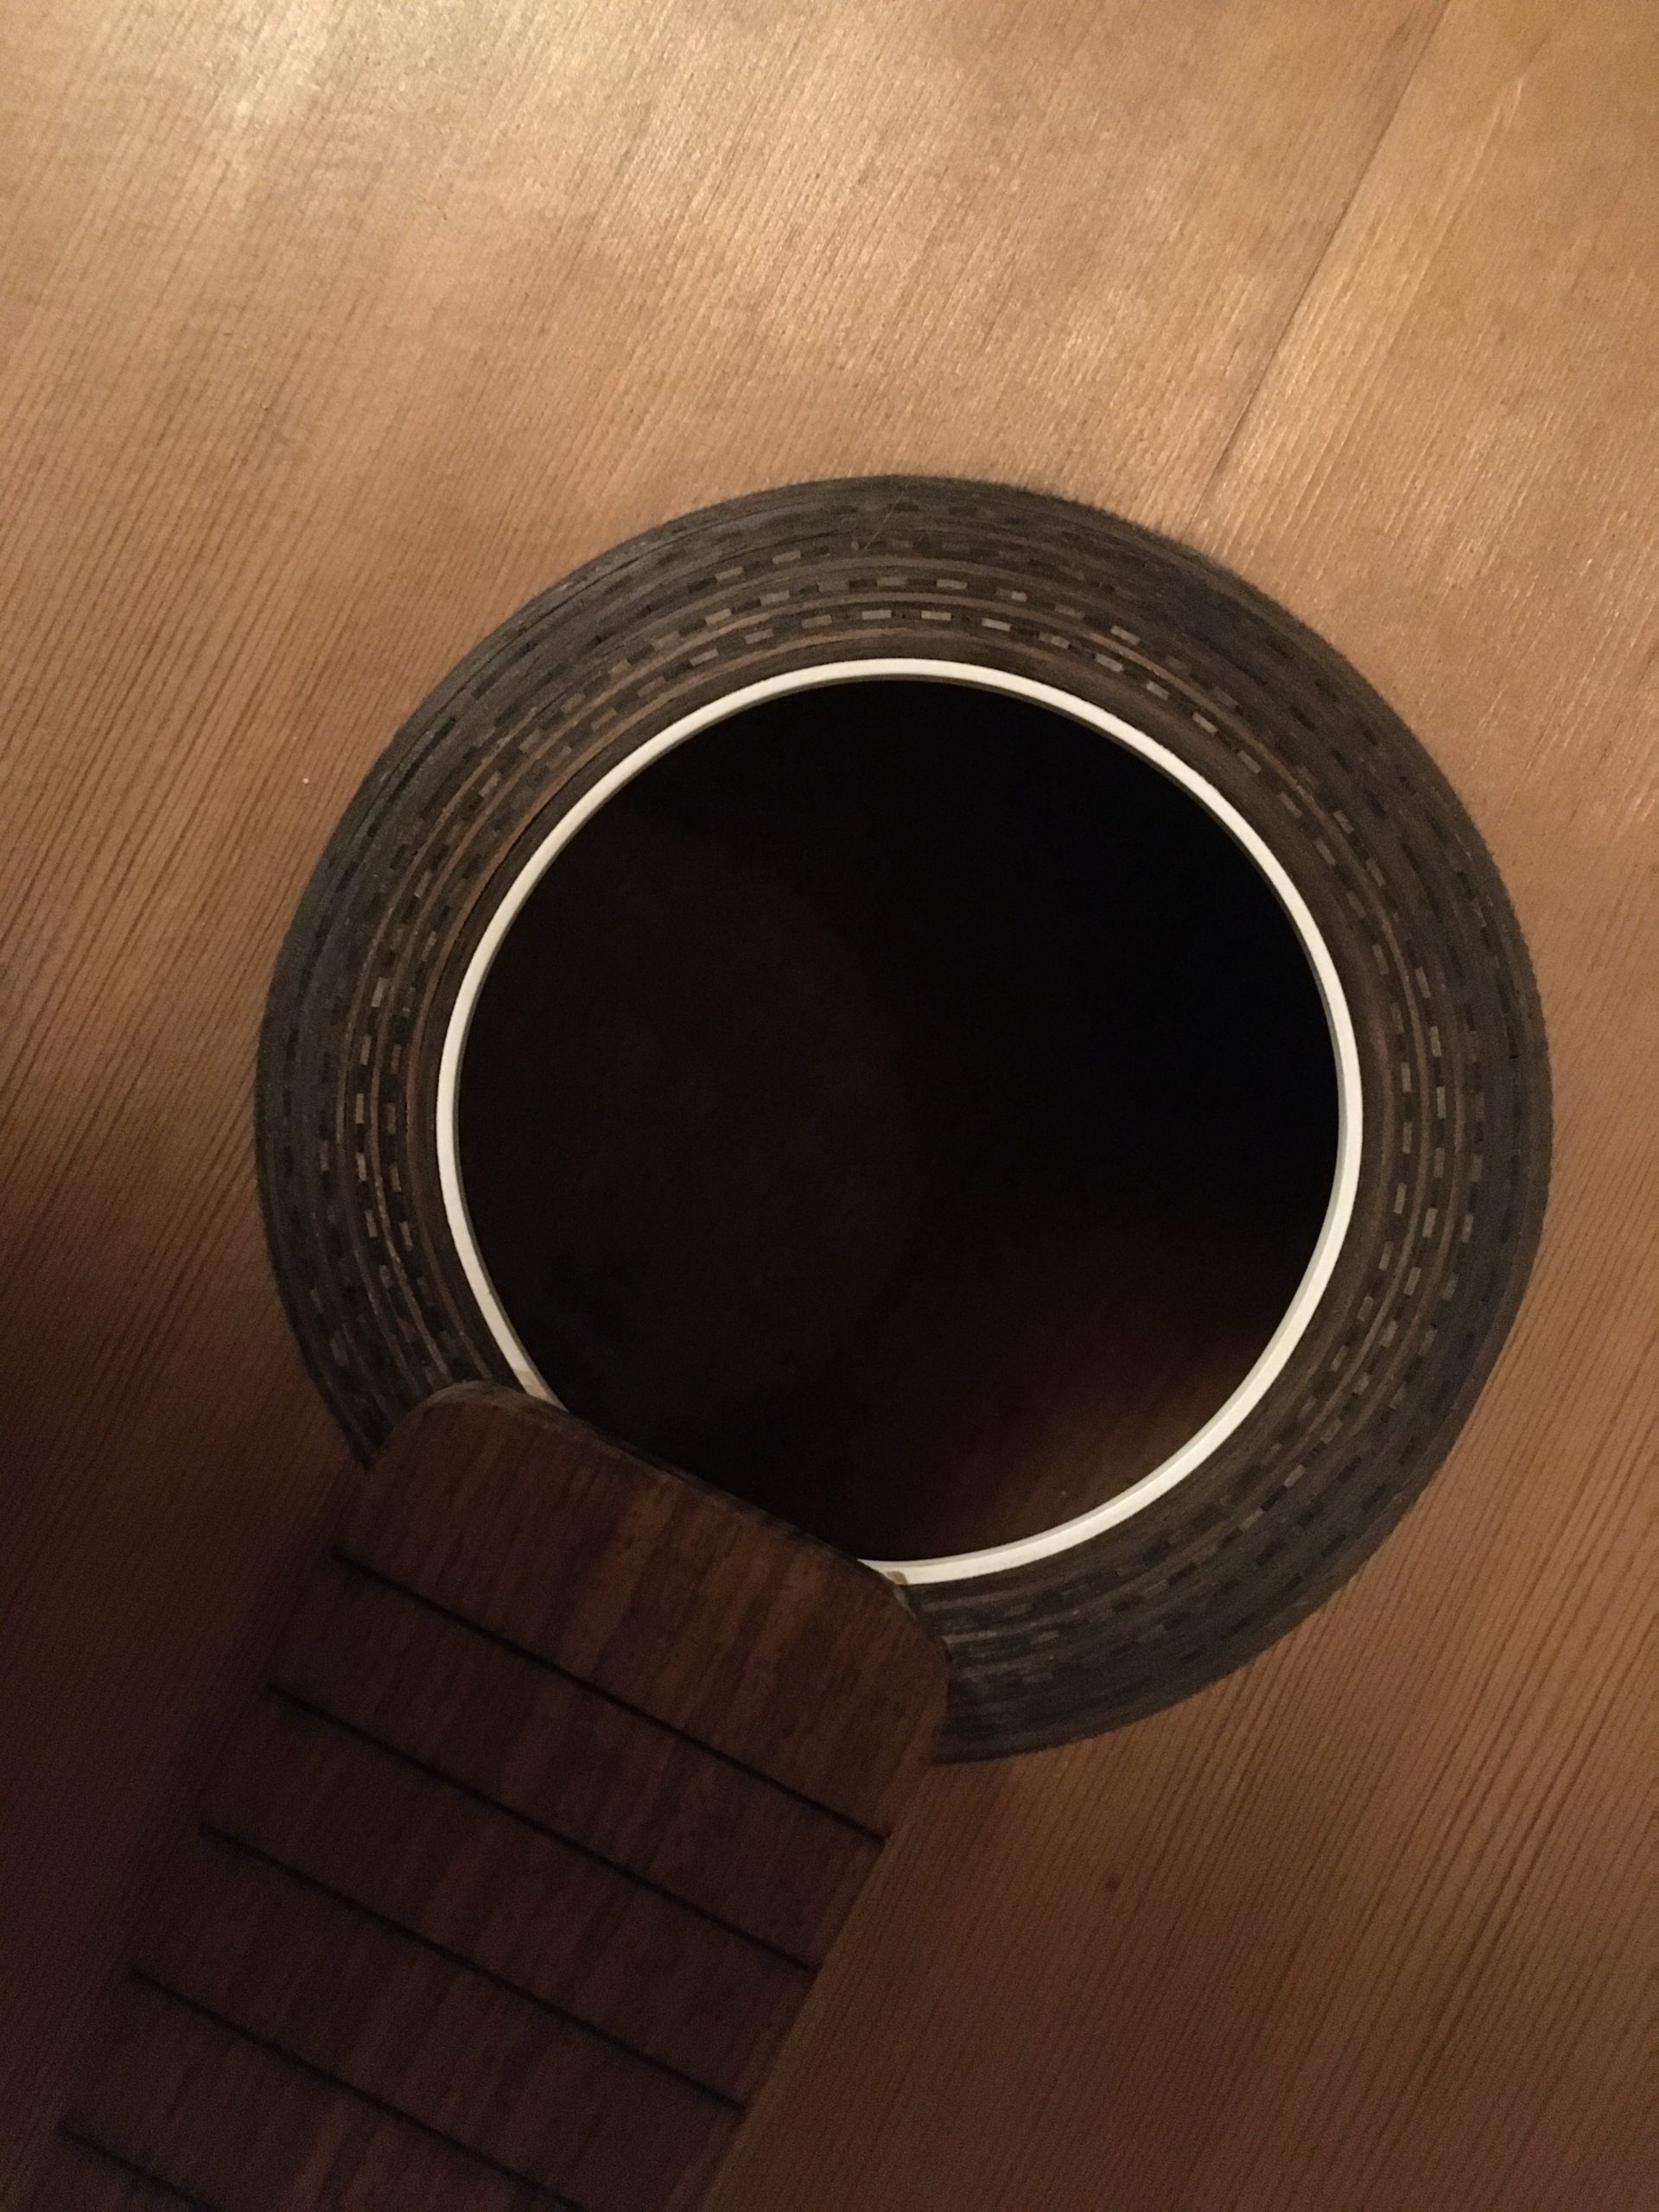
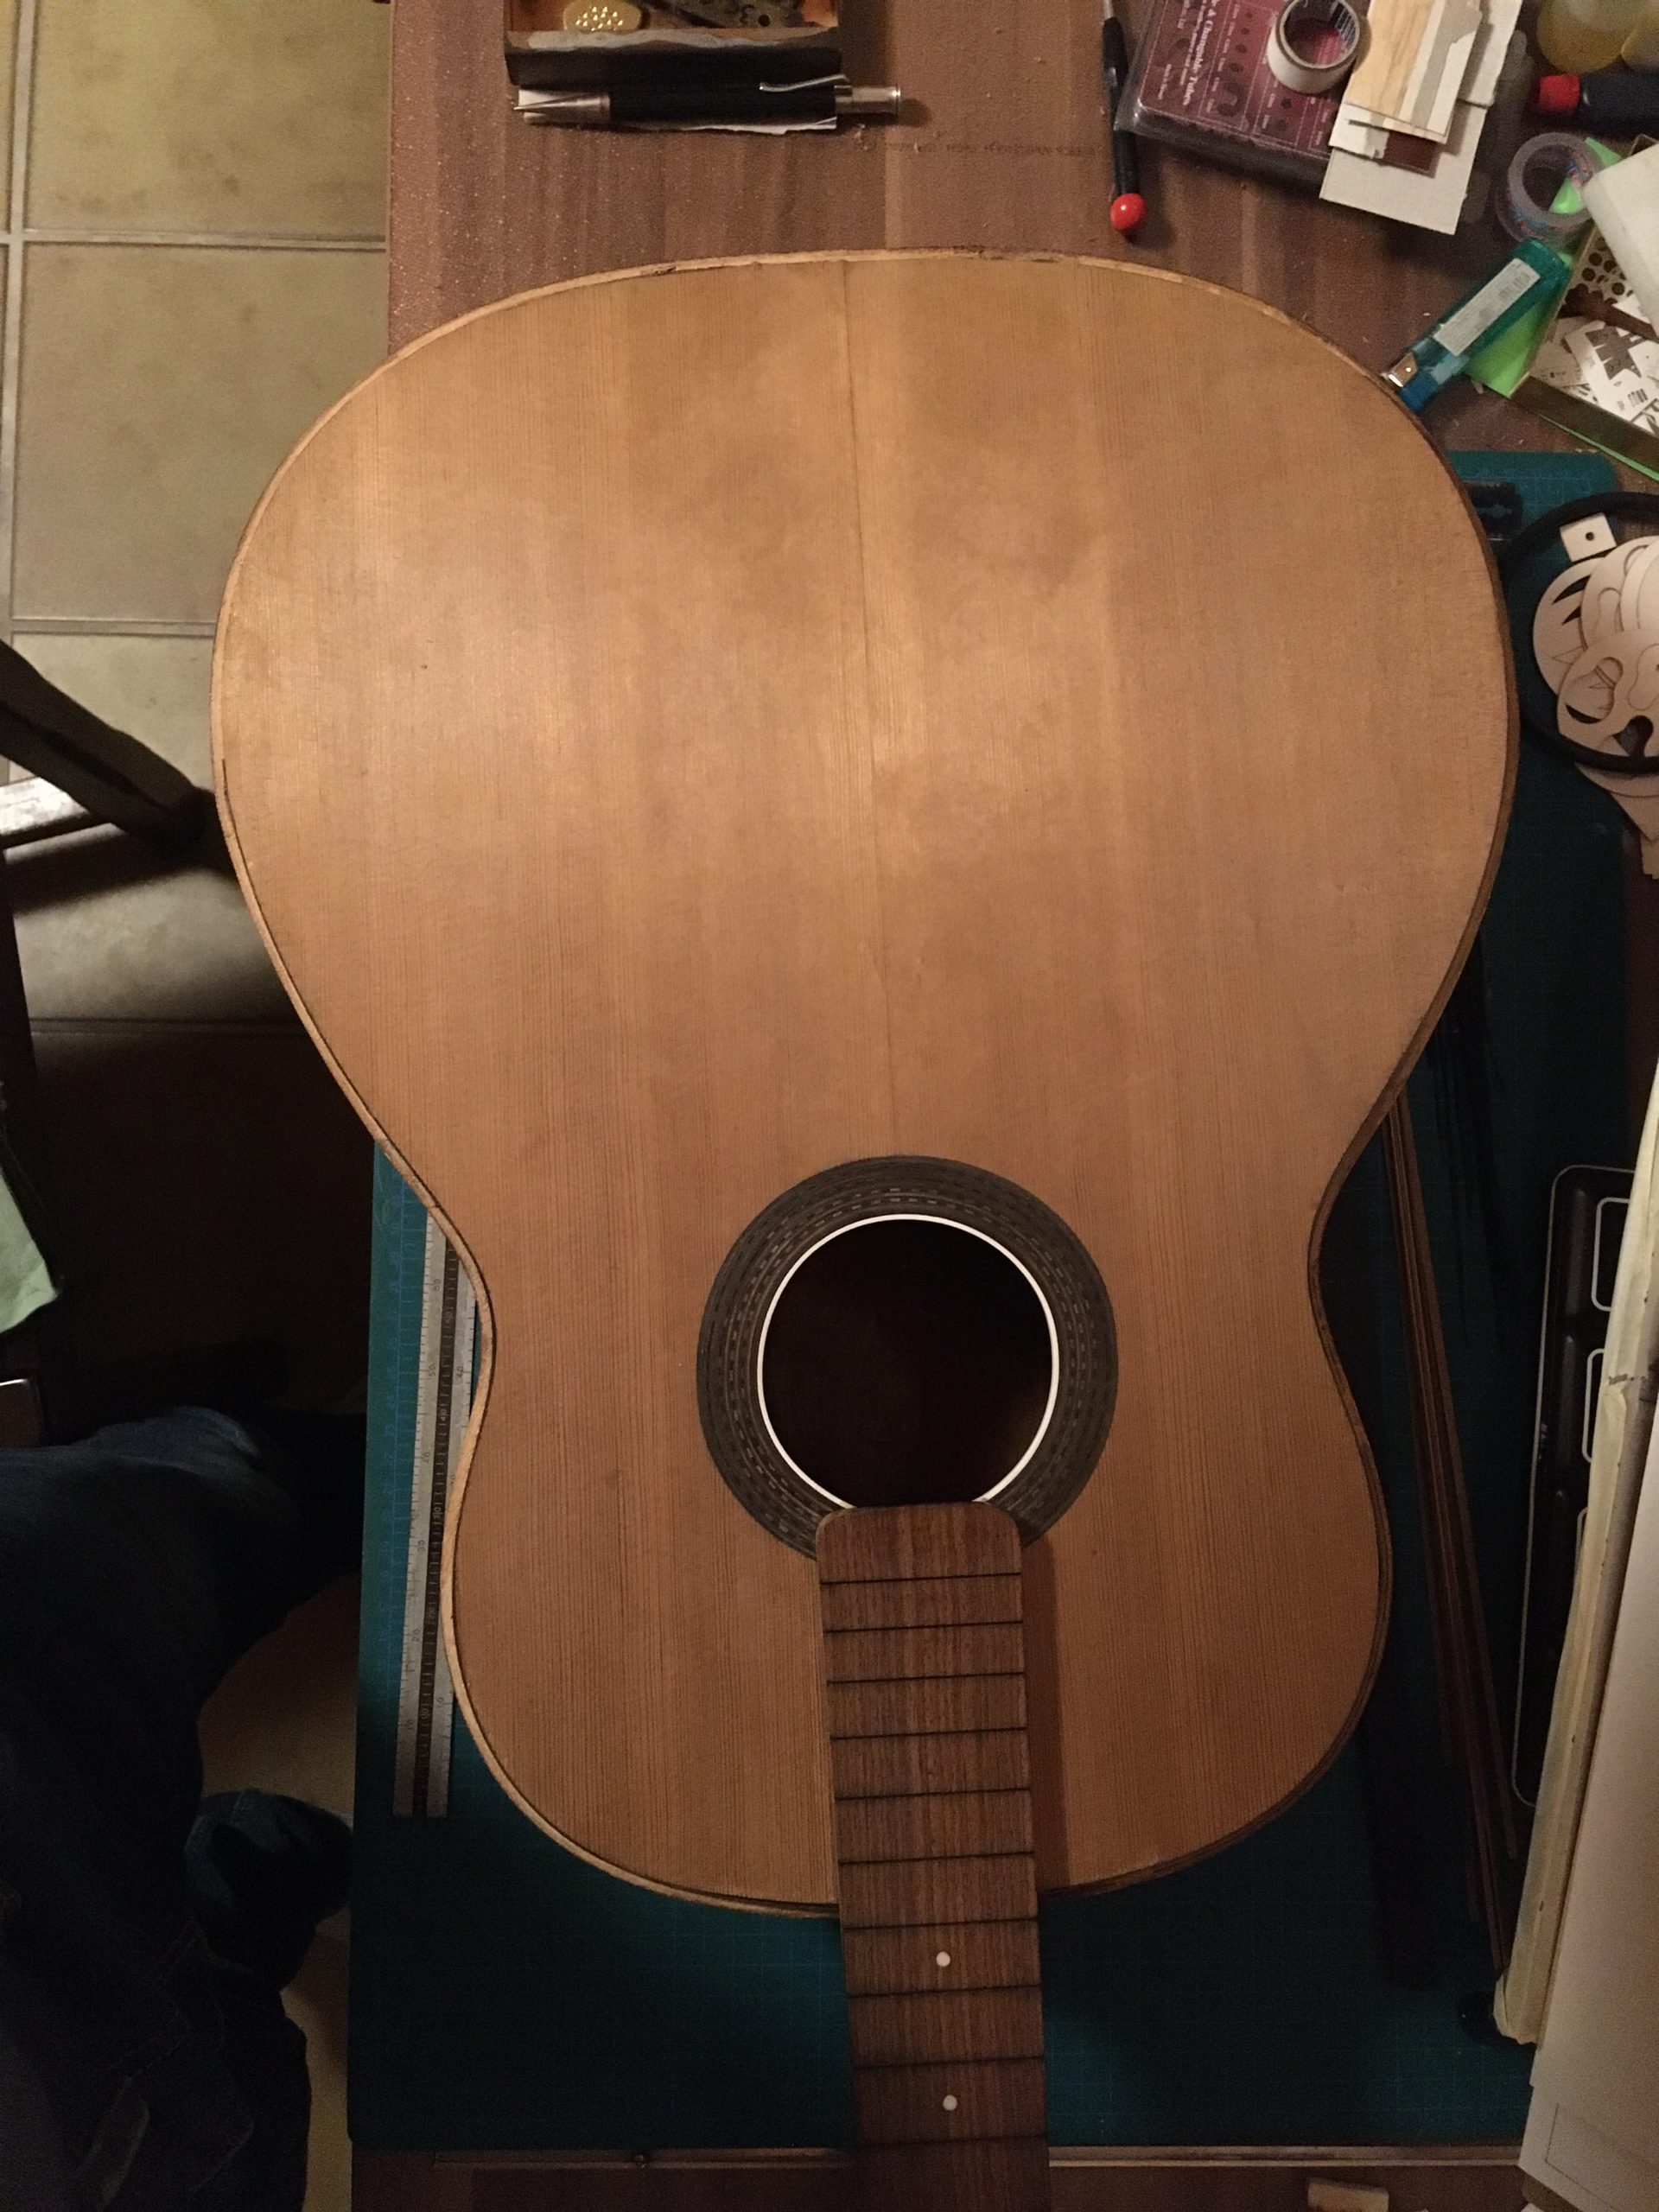
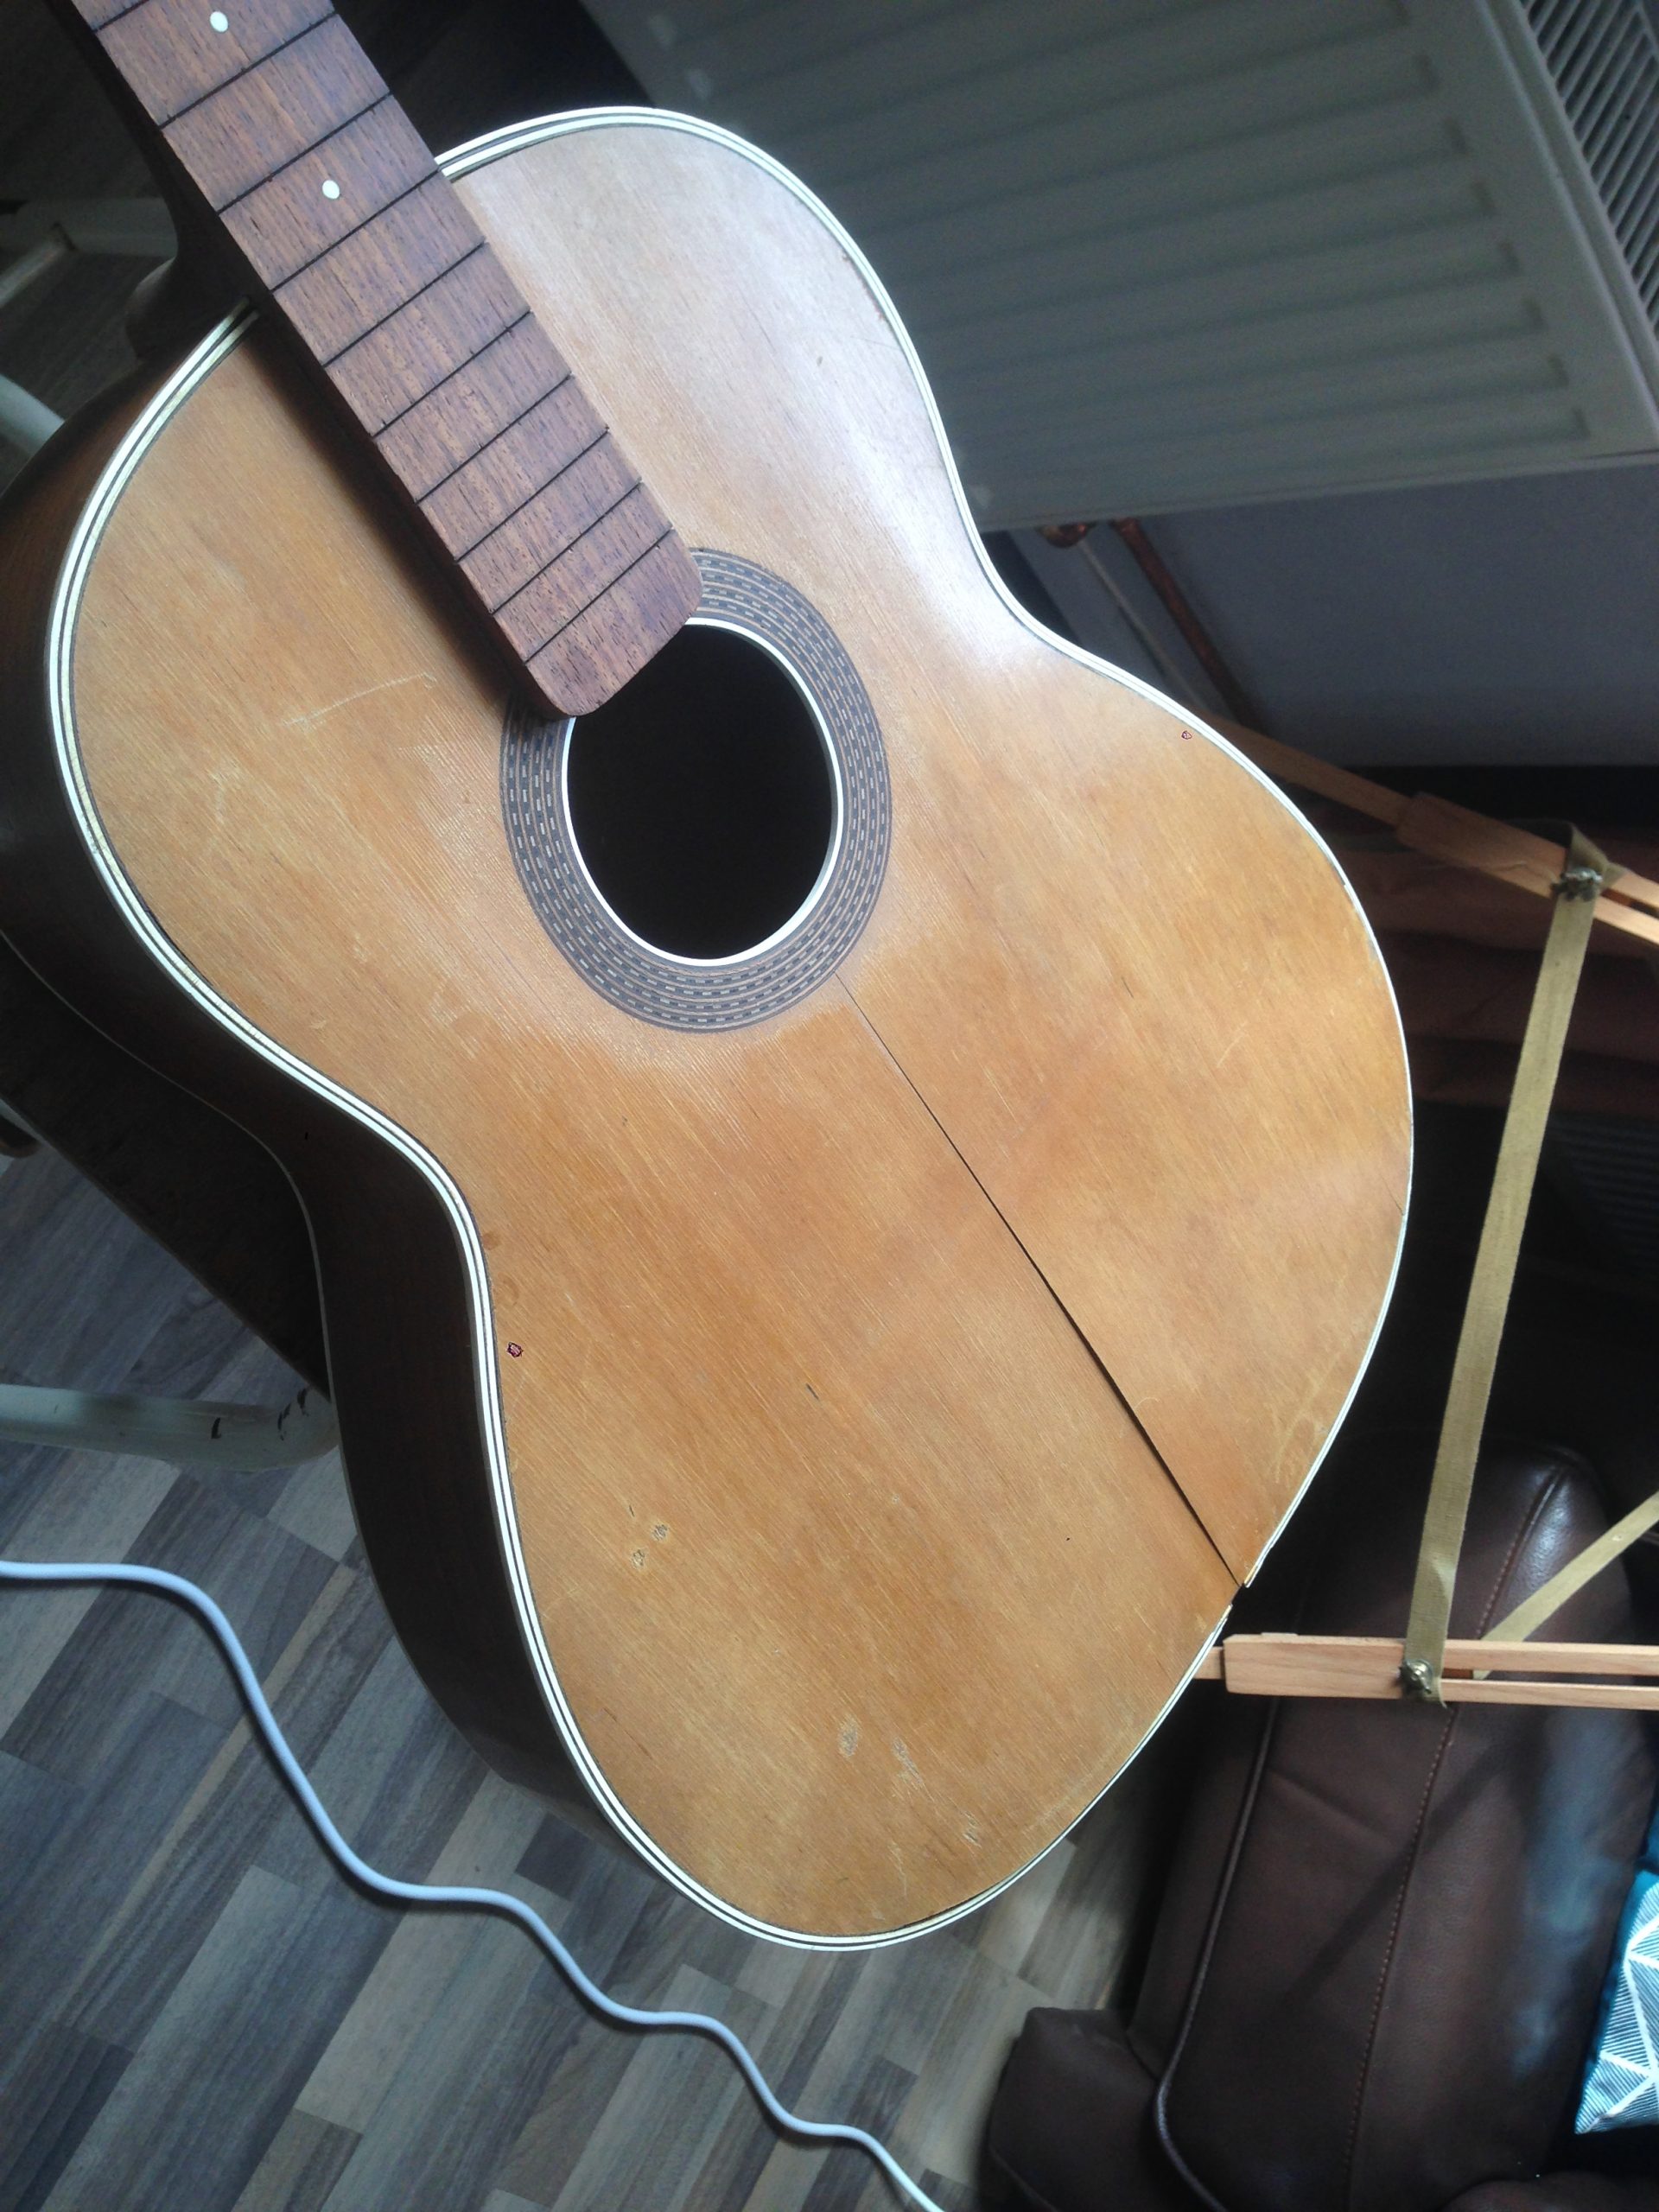
Nice and simple inlay work on the ‘rosette’

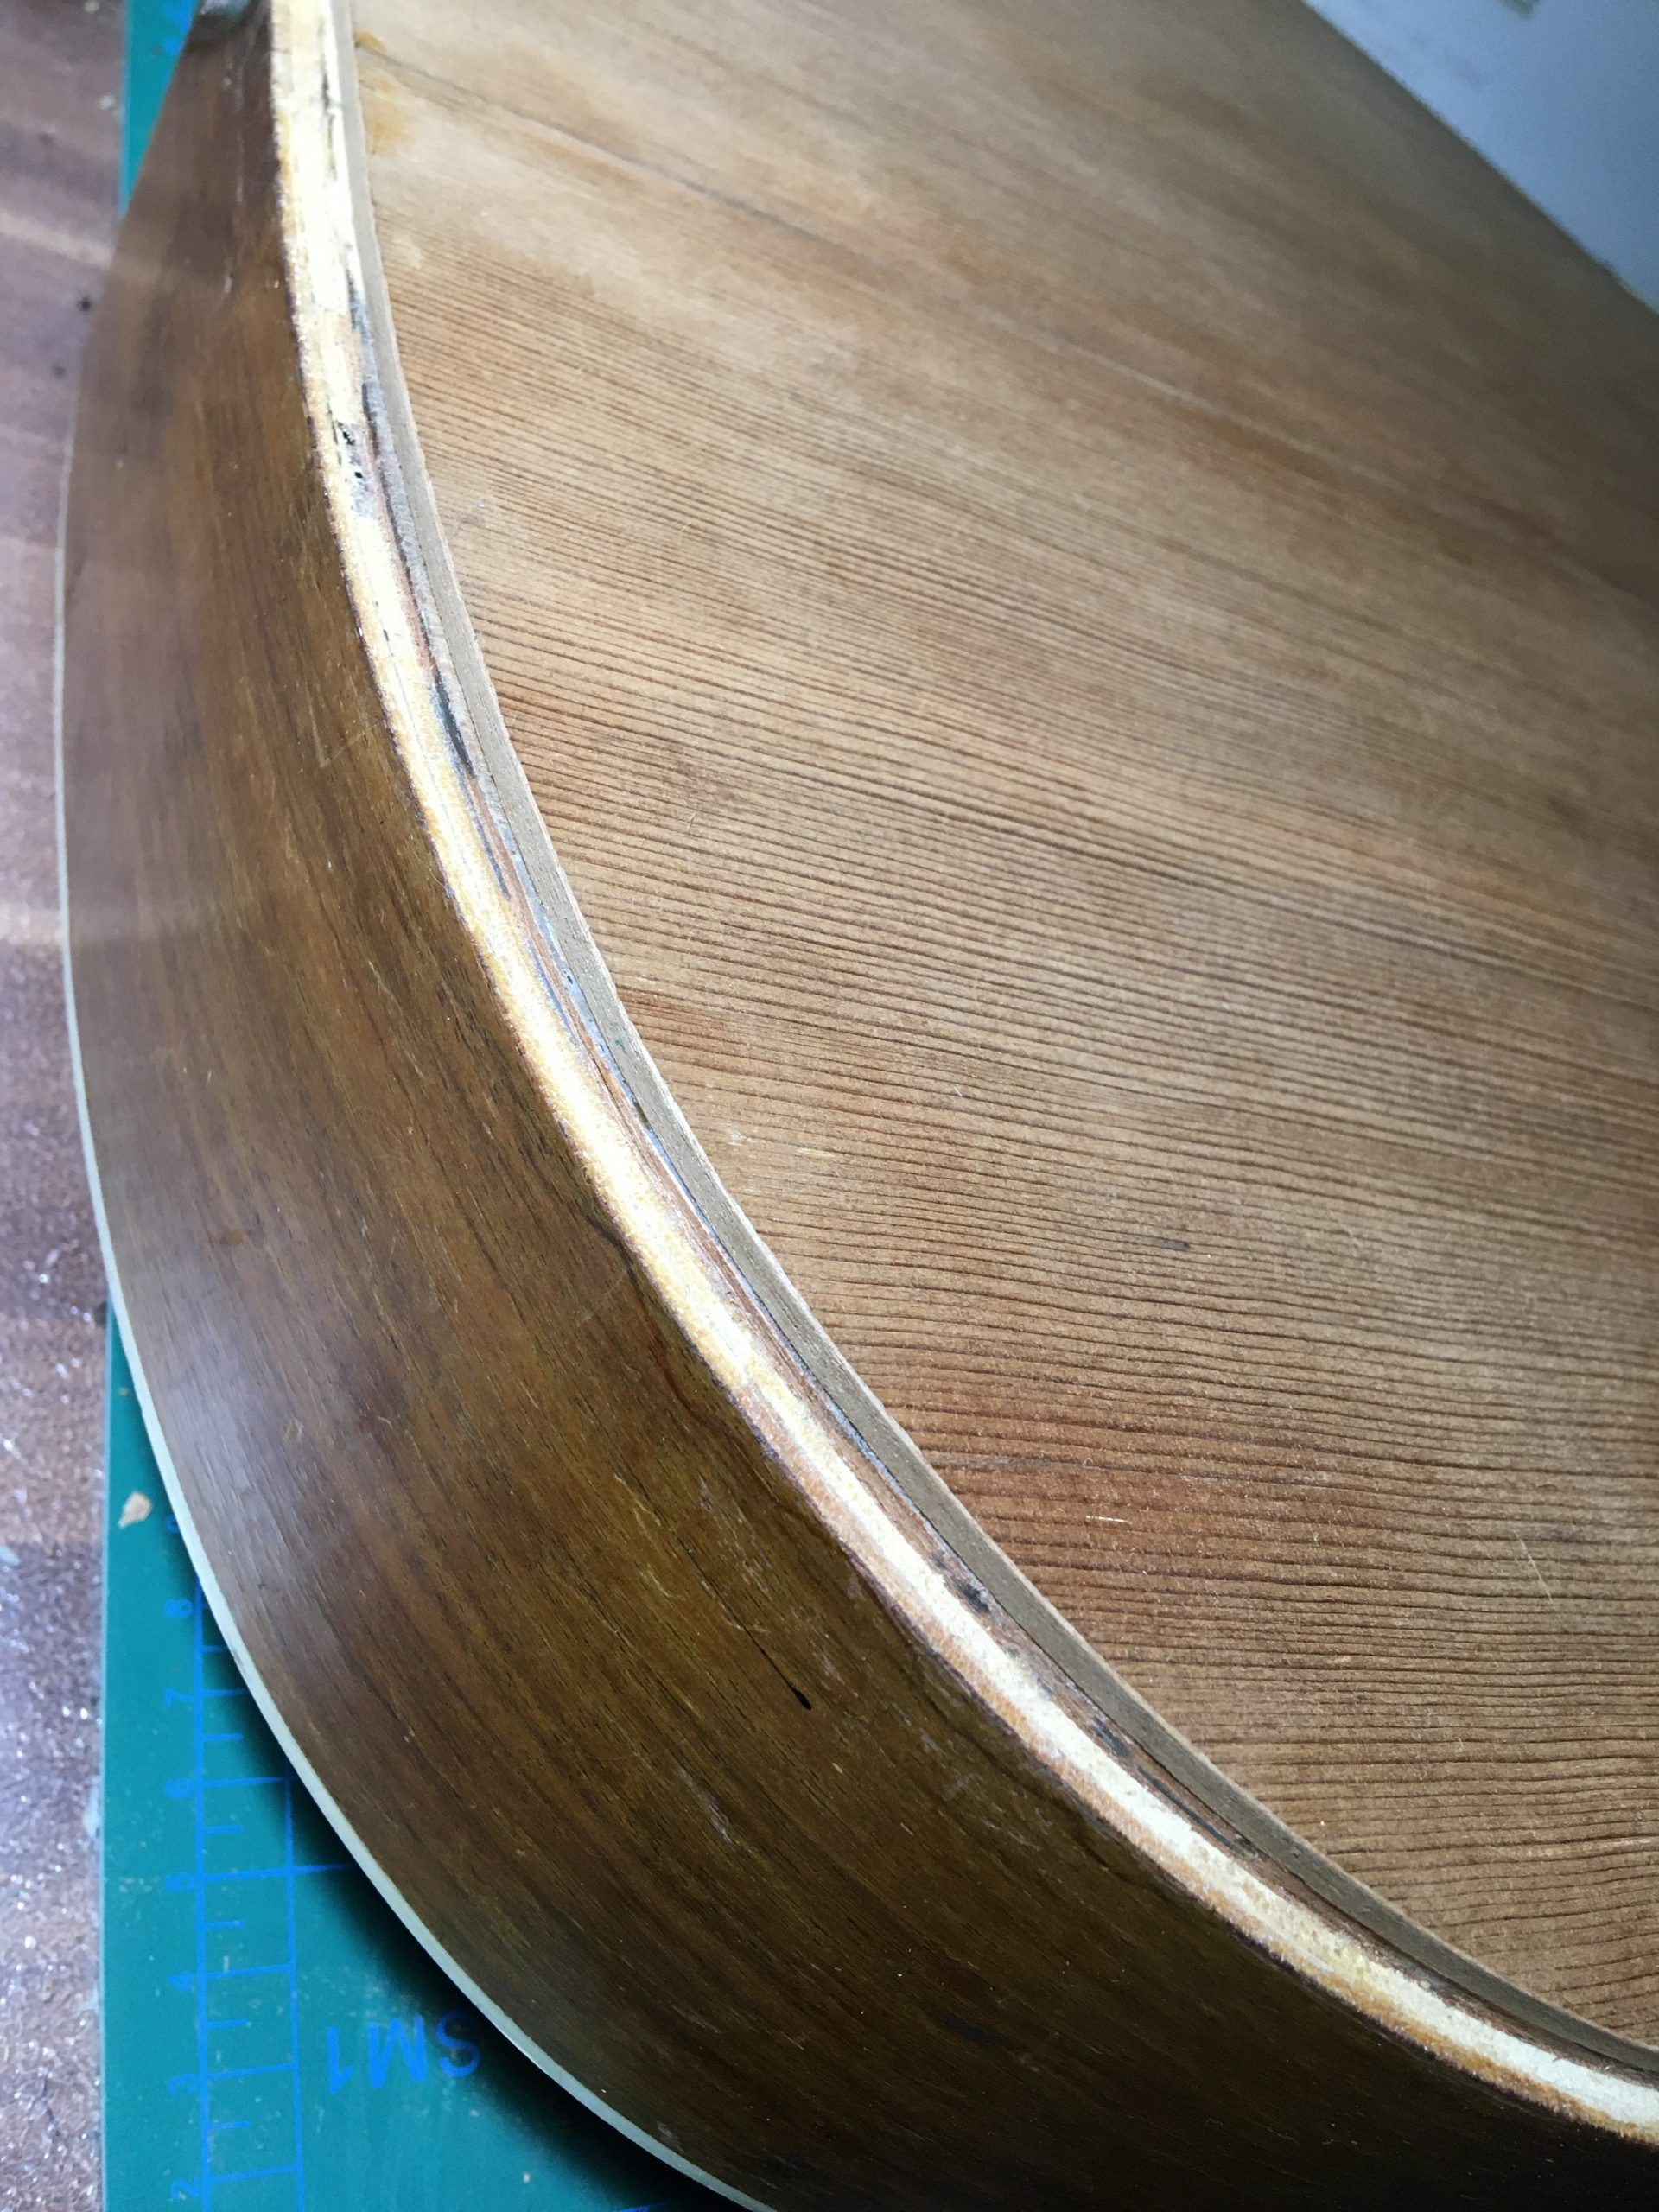
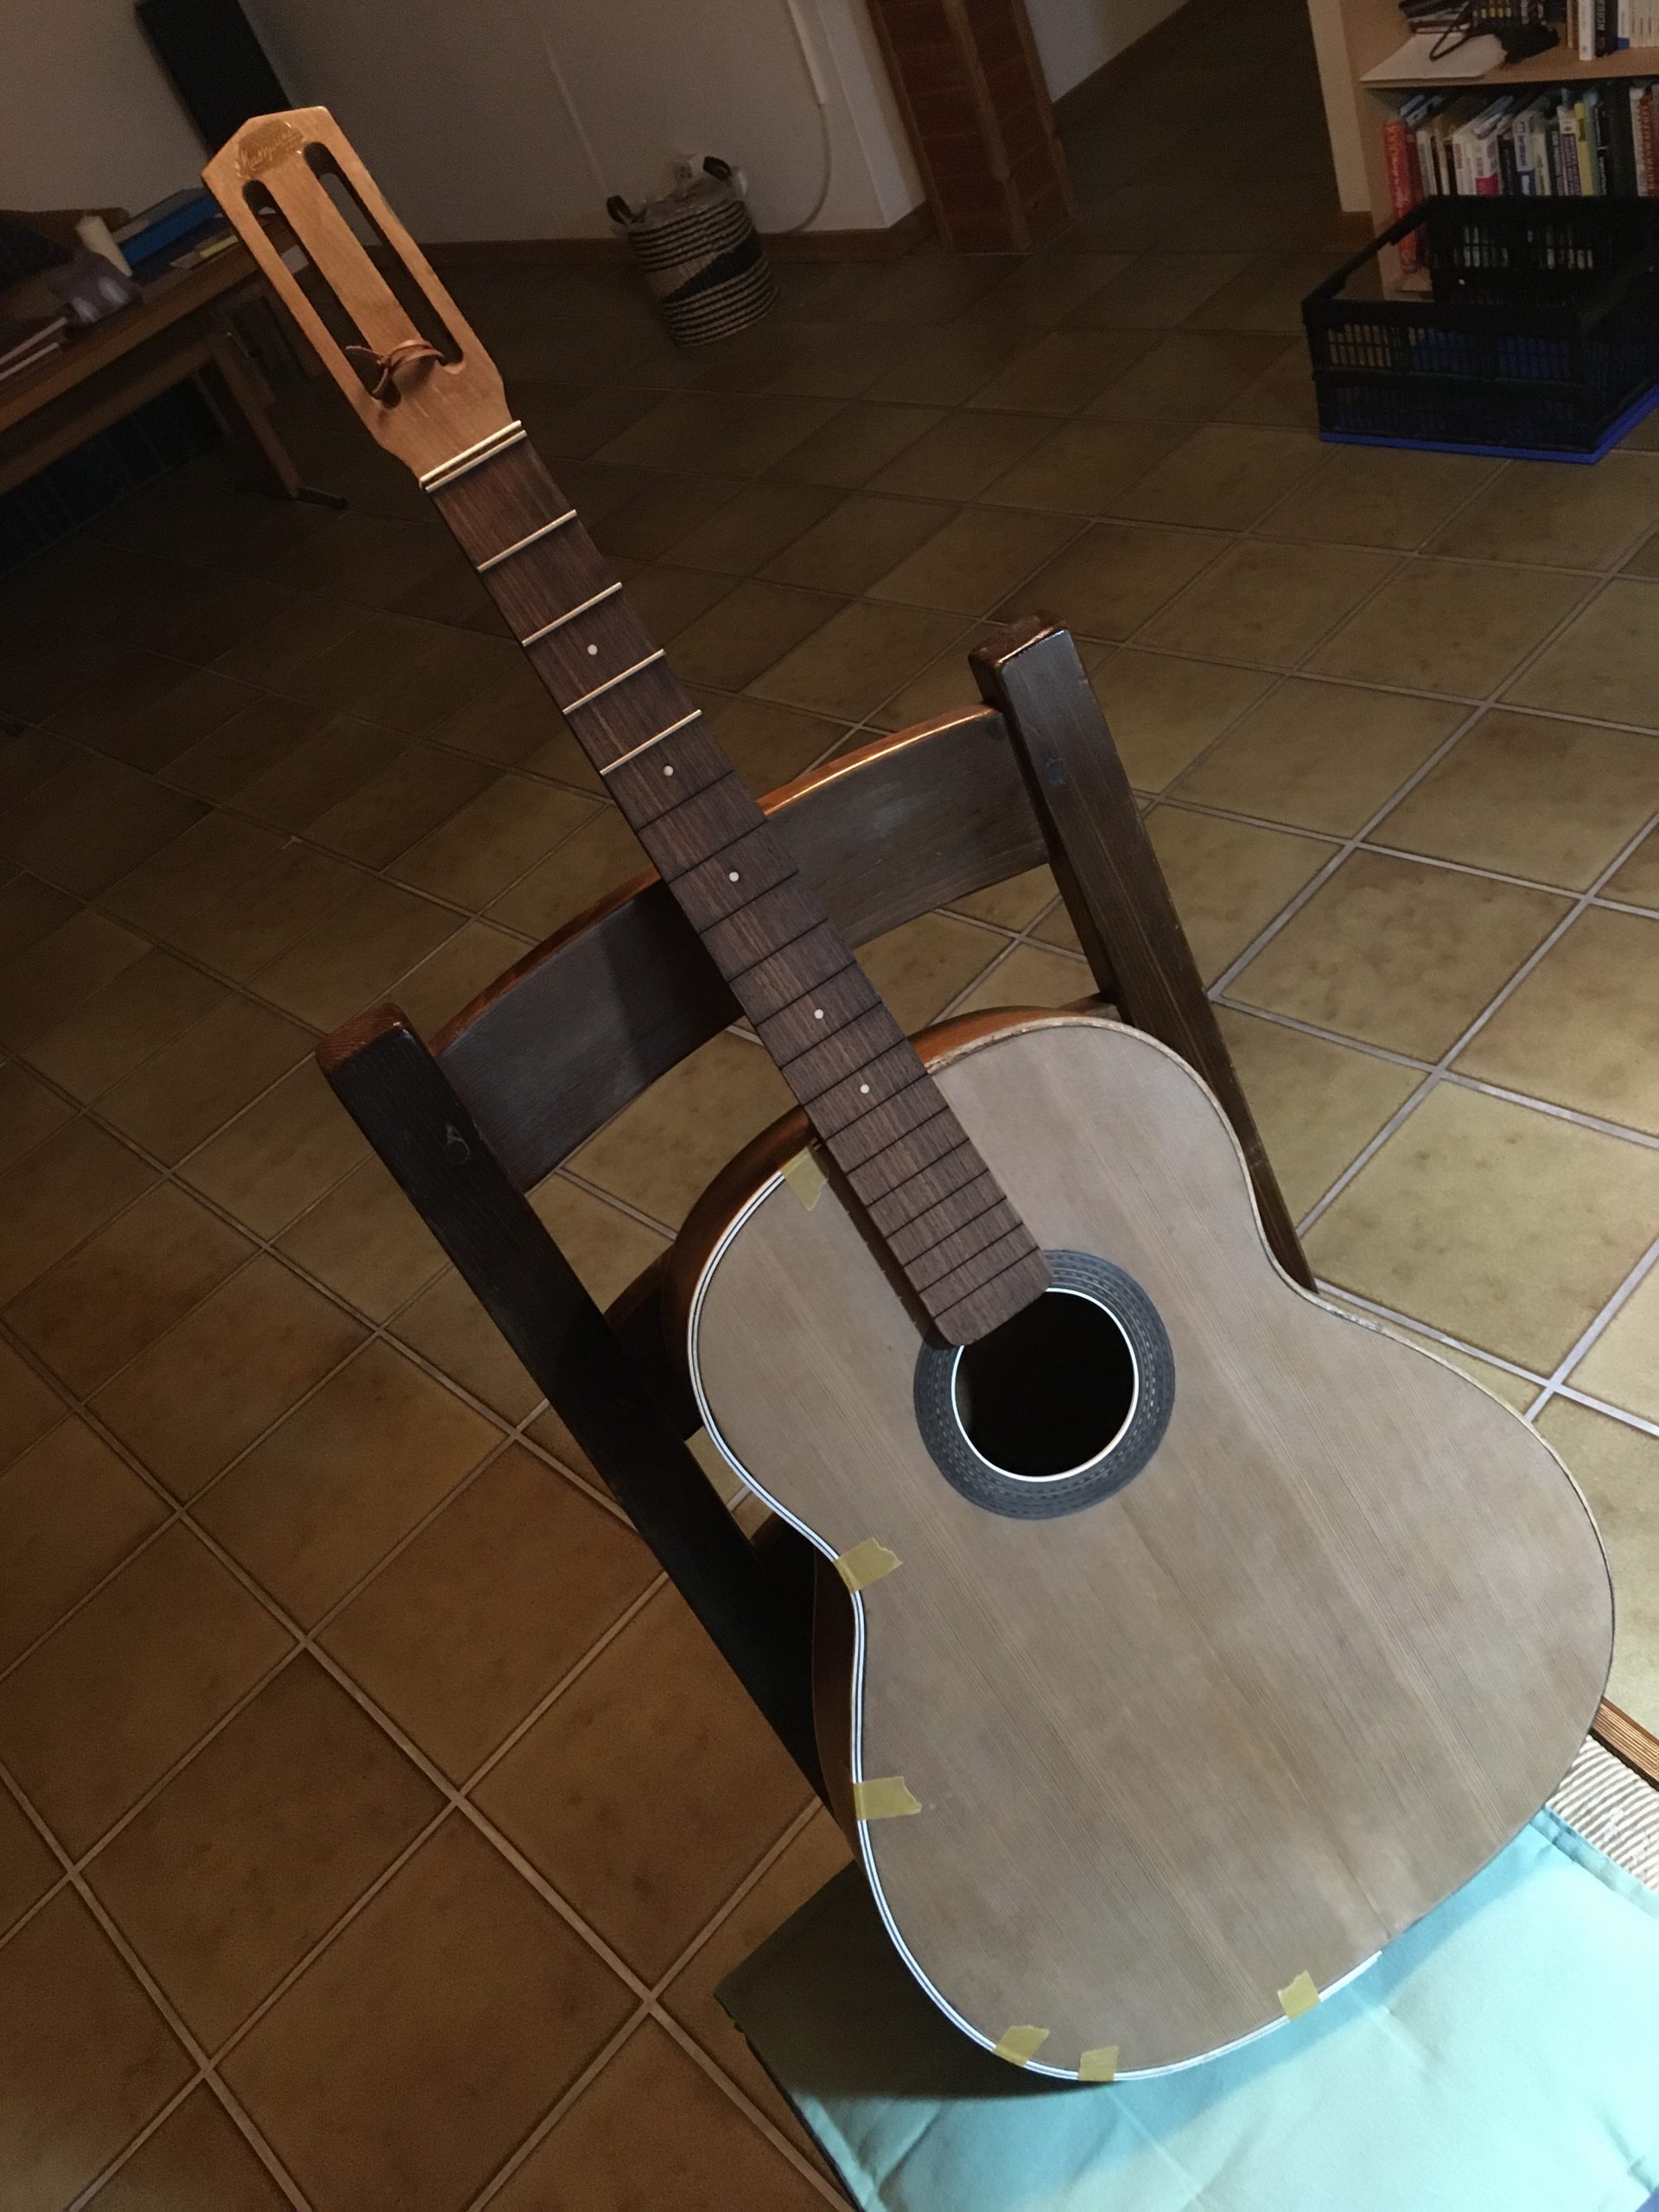
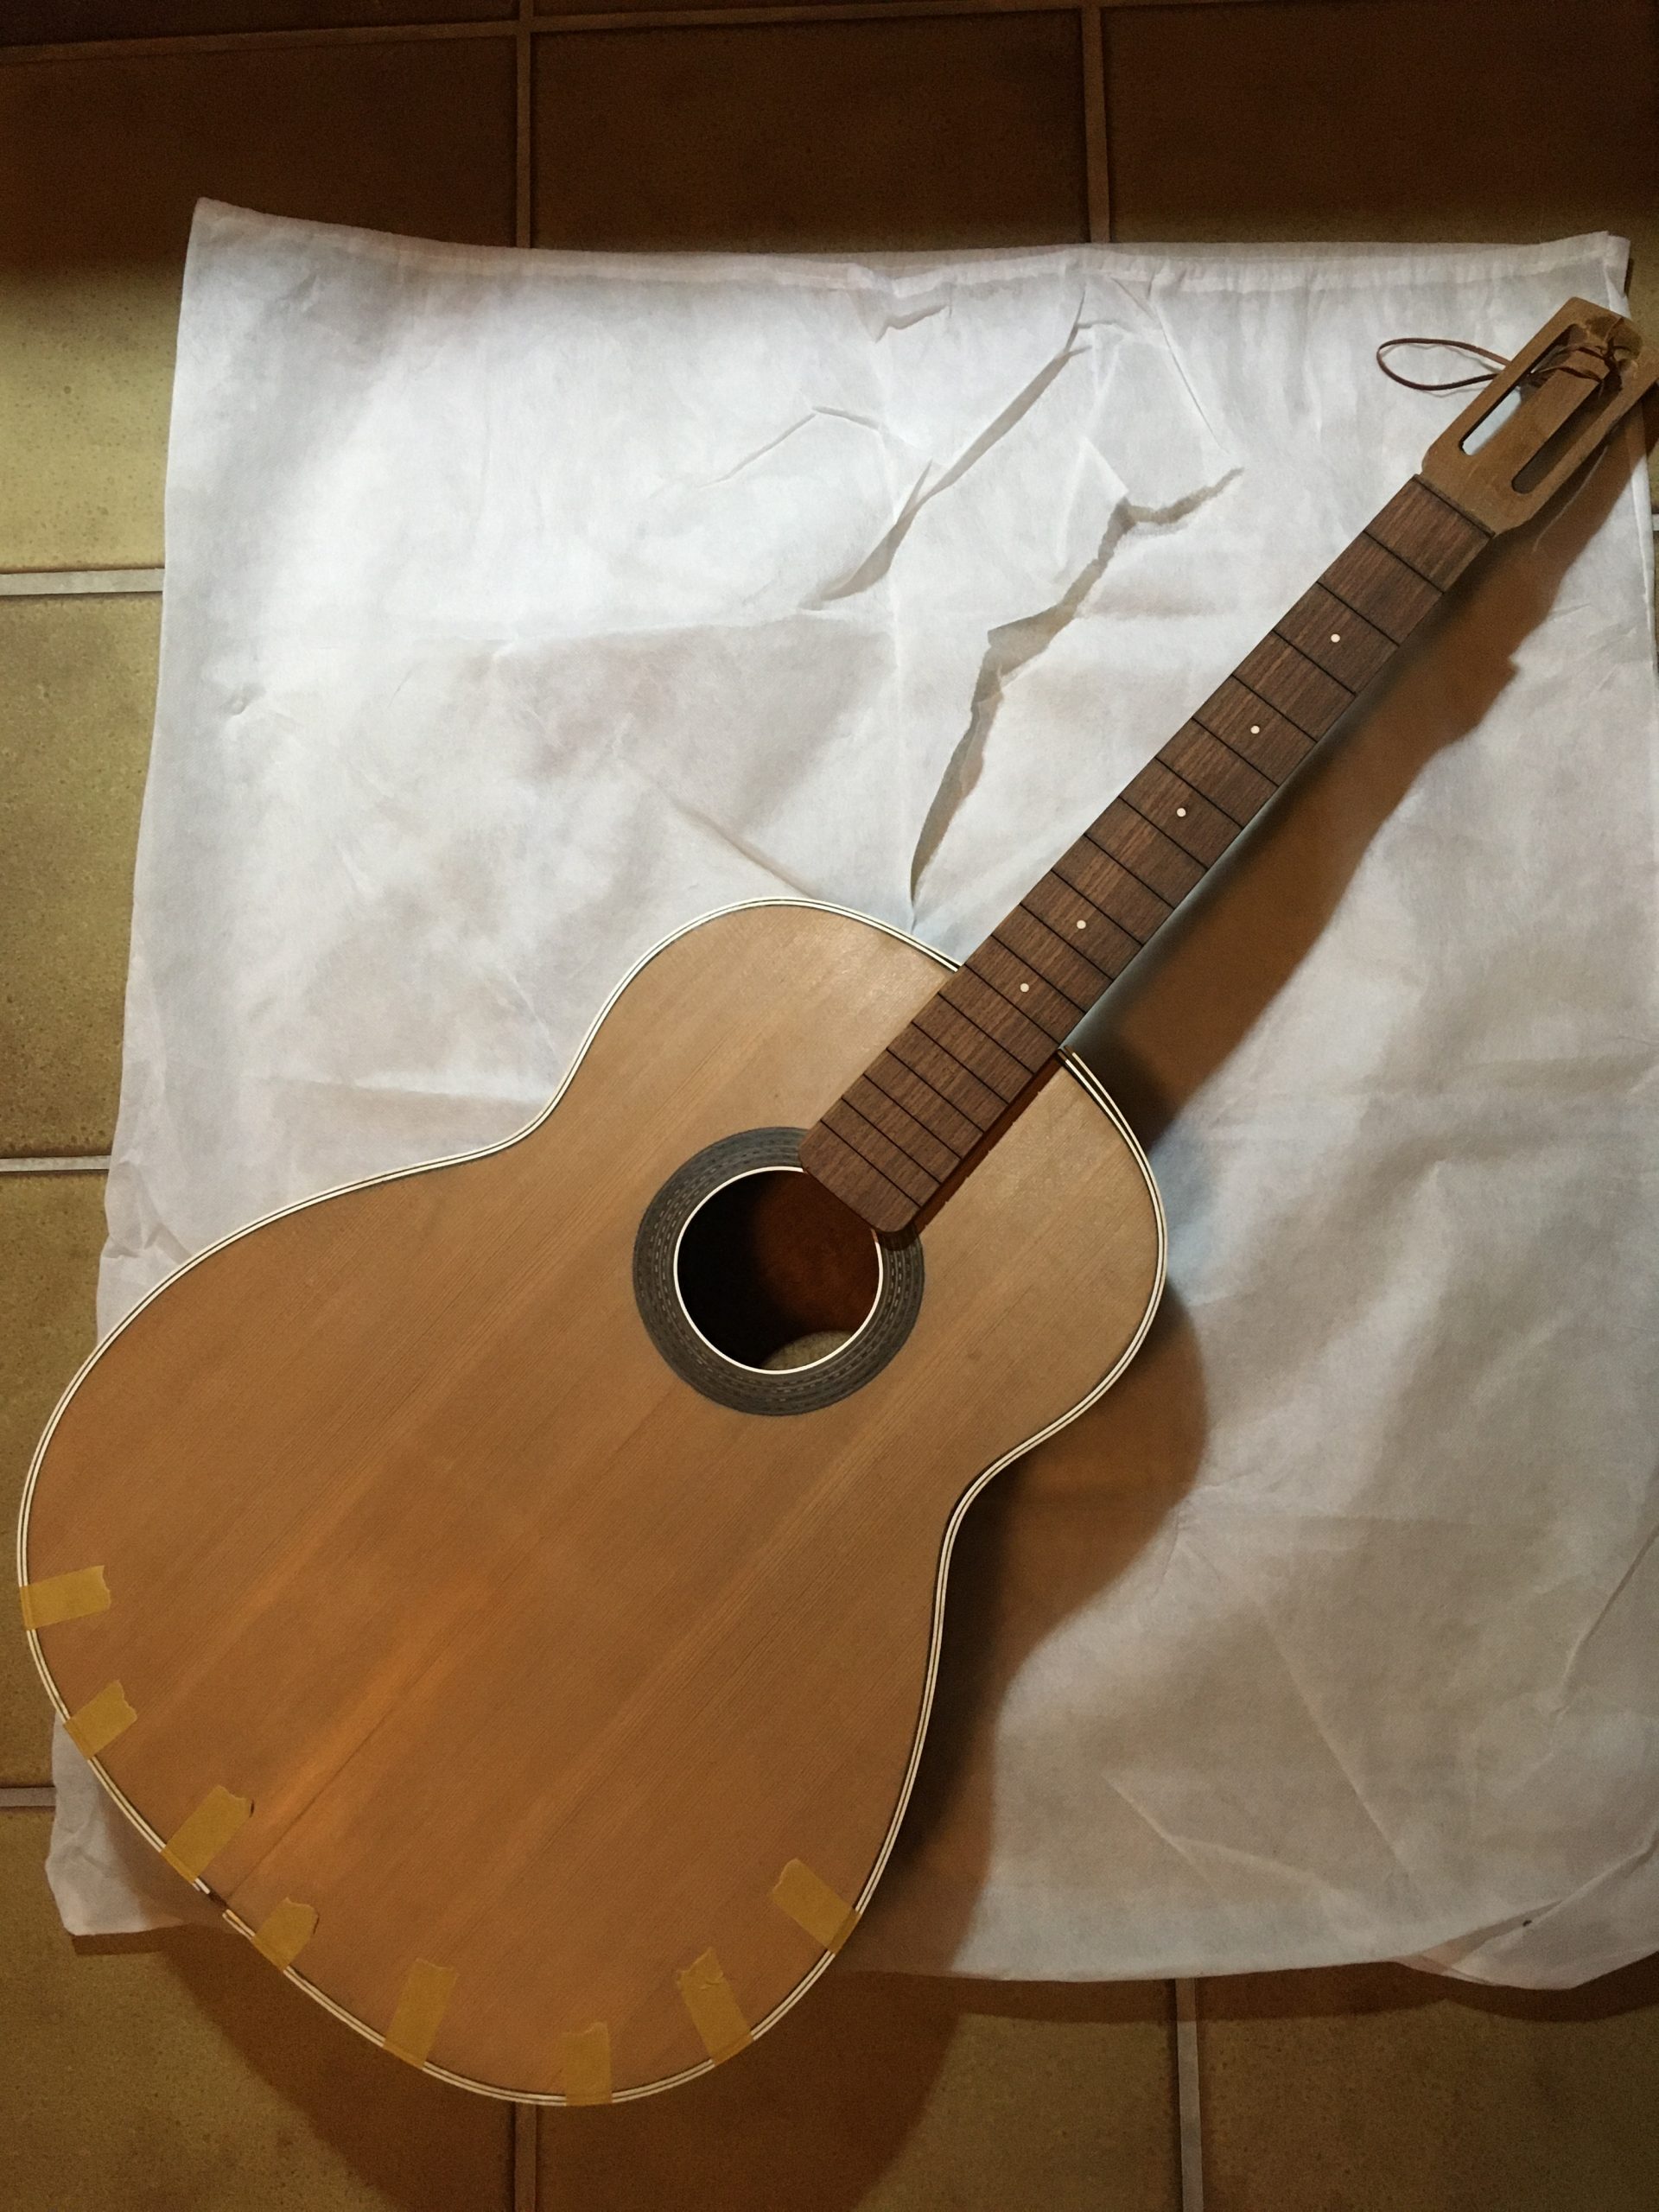
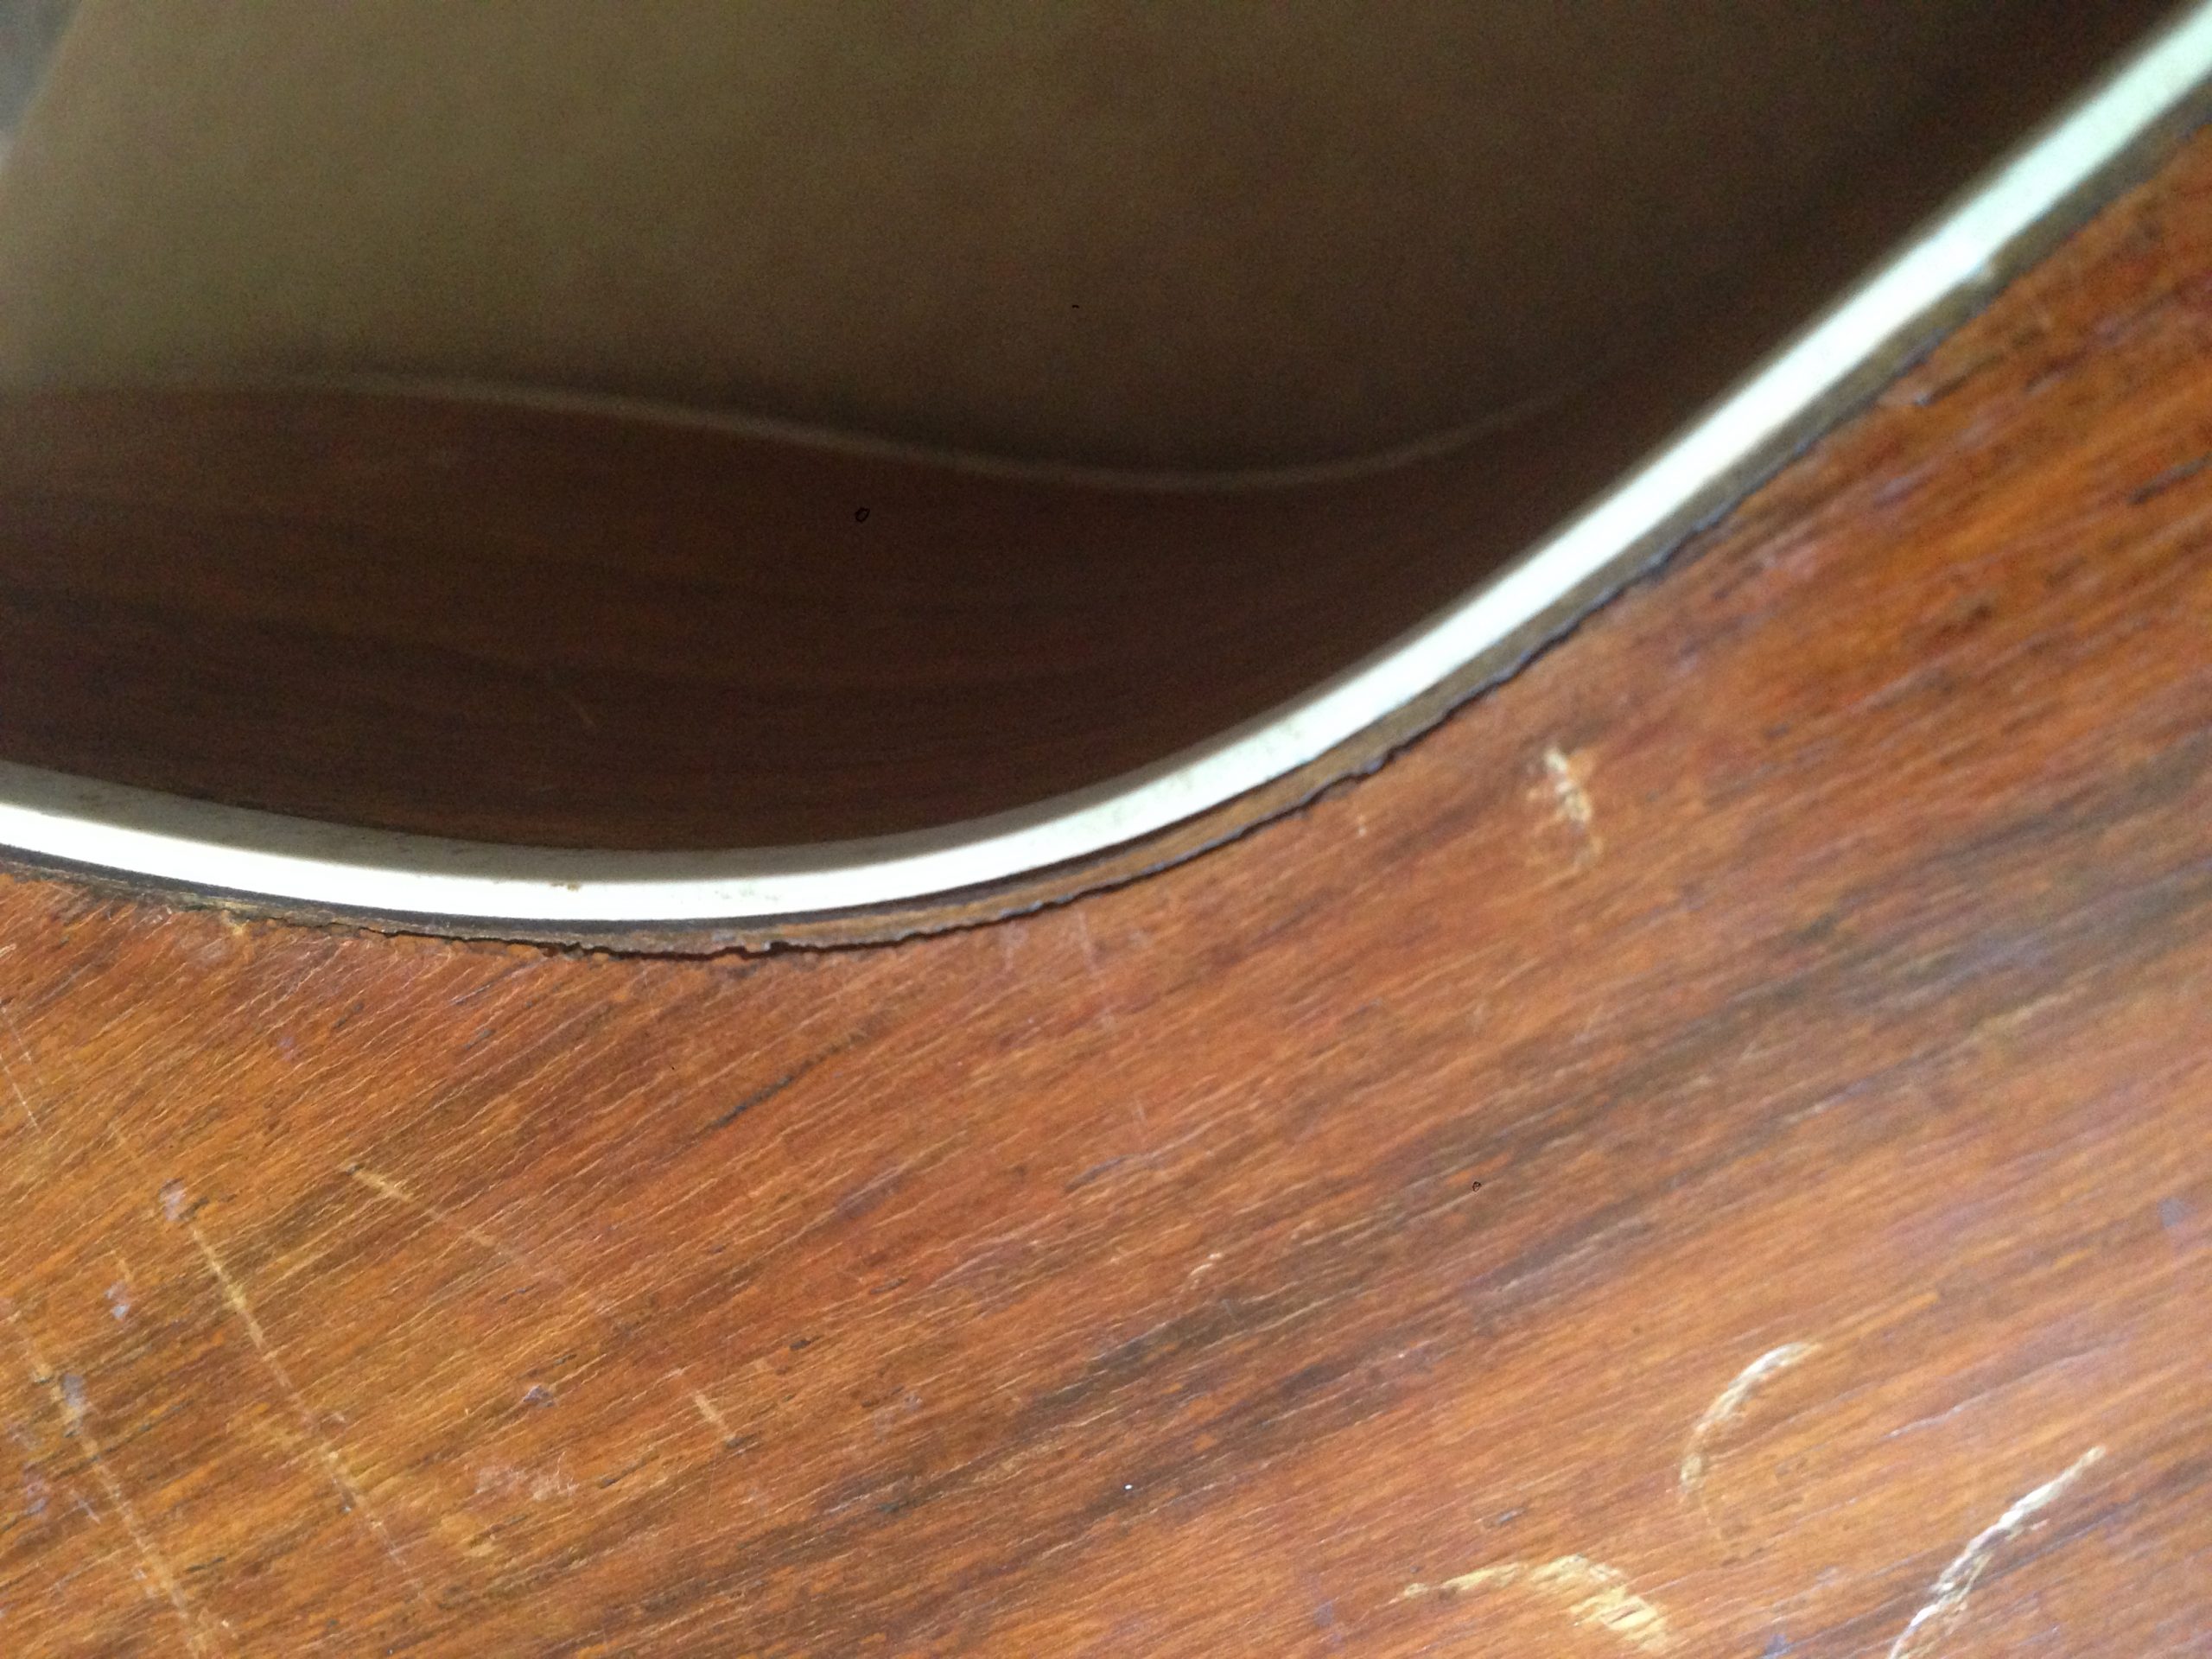
Ready for the bindings/purfling and the frets and nut already fitted – notice the subtle difference in the colour of the top where the original bridge would have sat for years, shielding the wood from darkening (more obvious in the photos below this one).

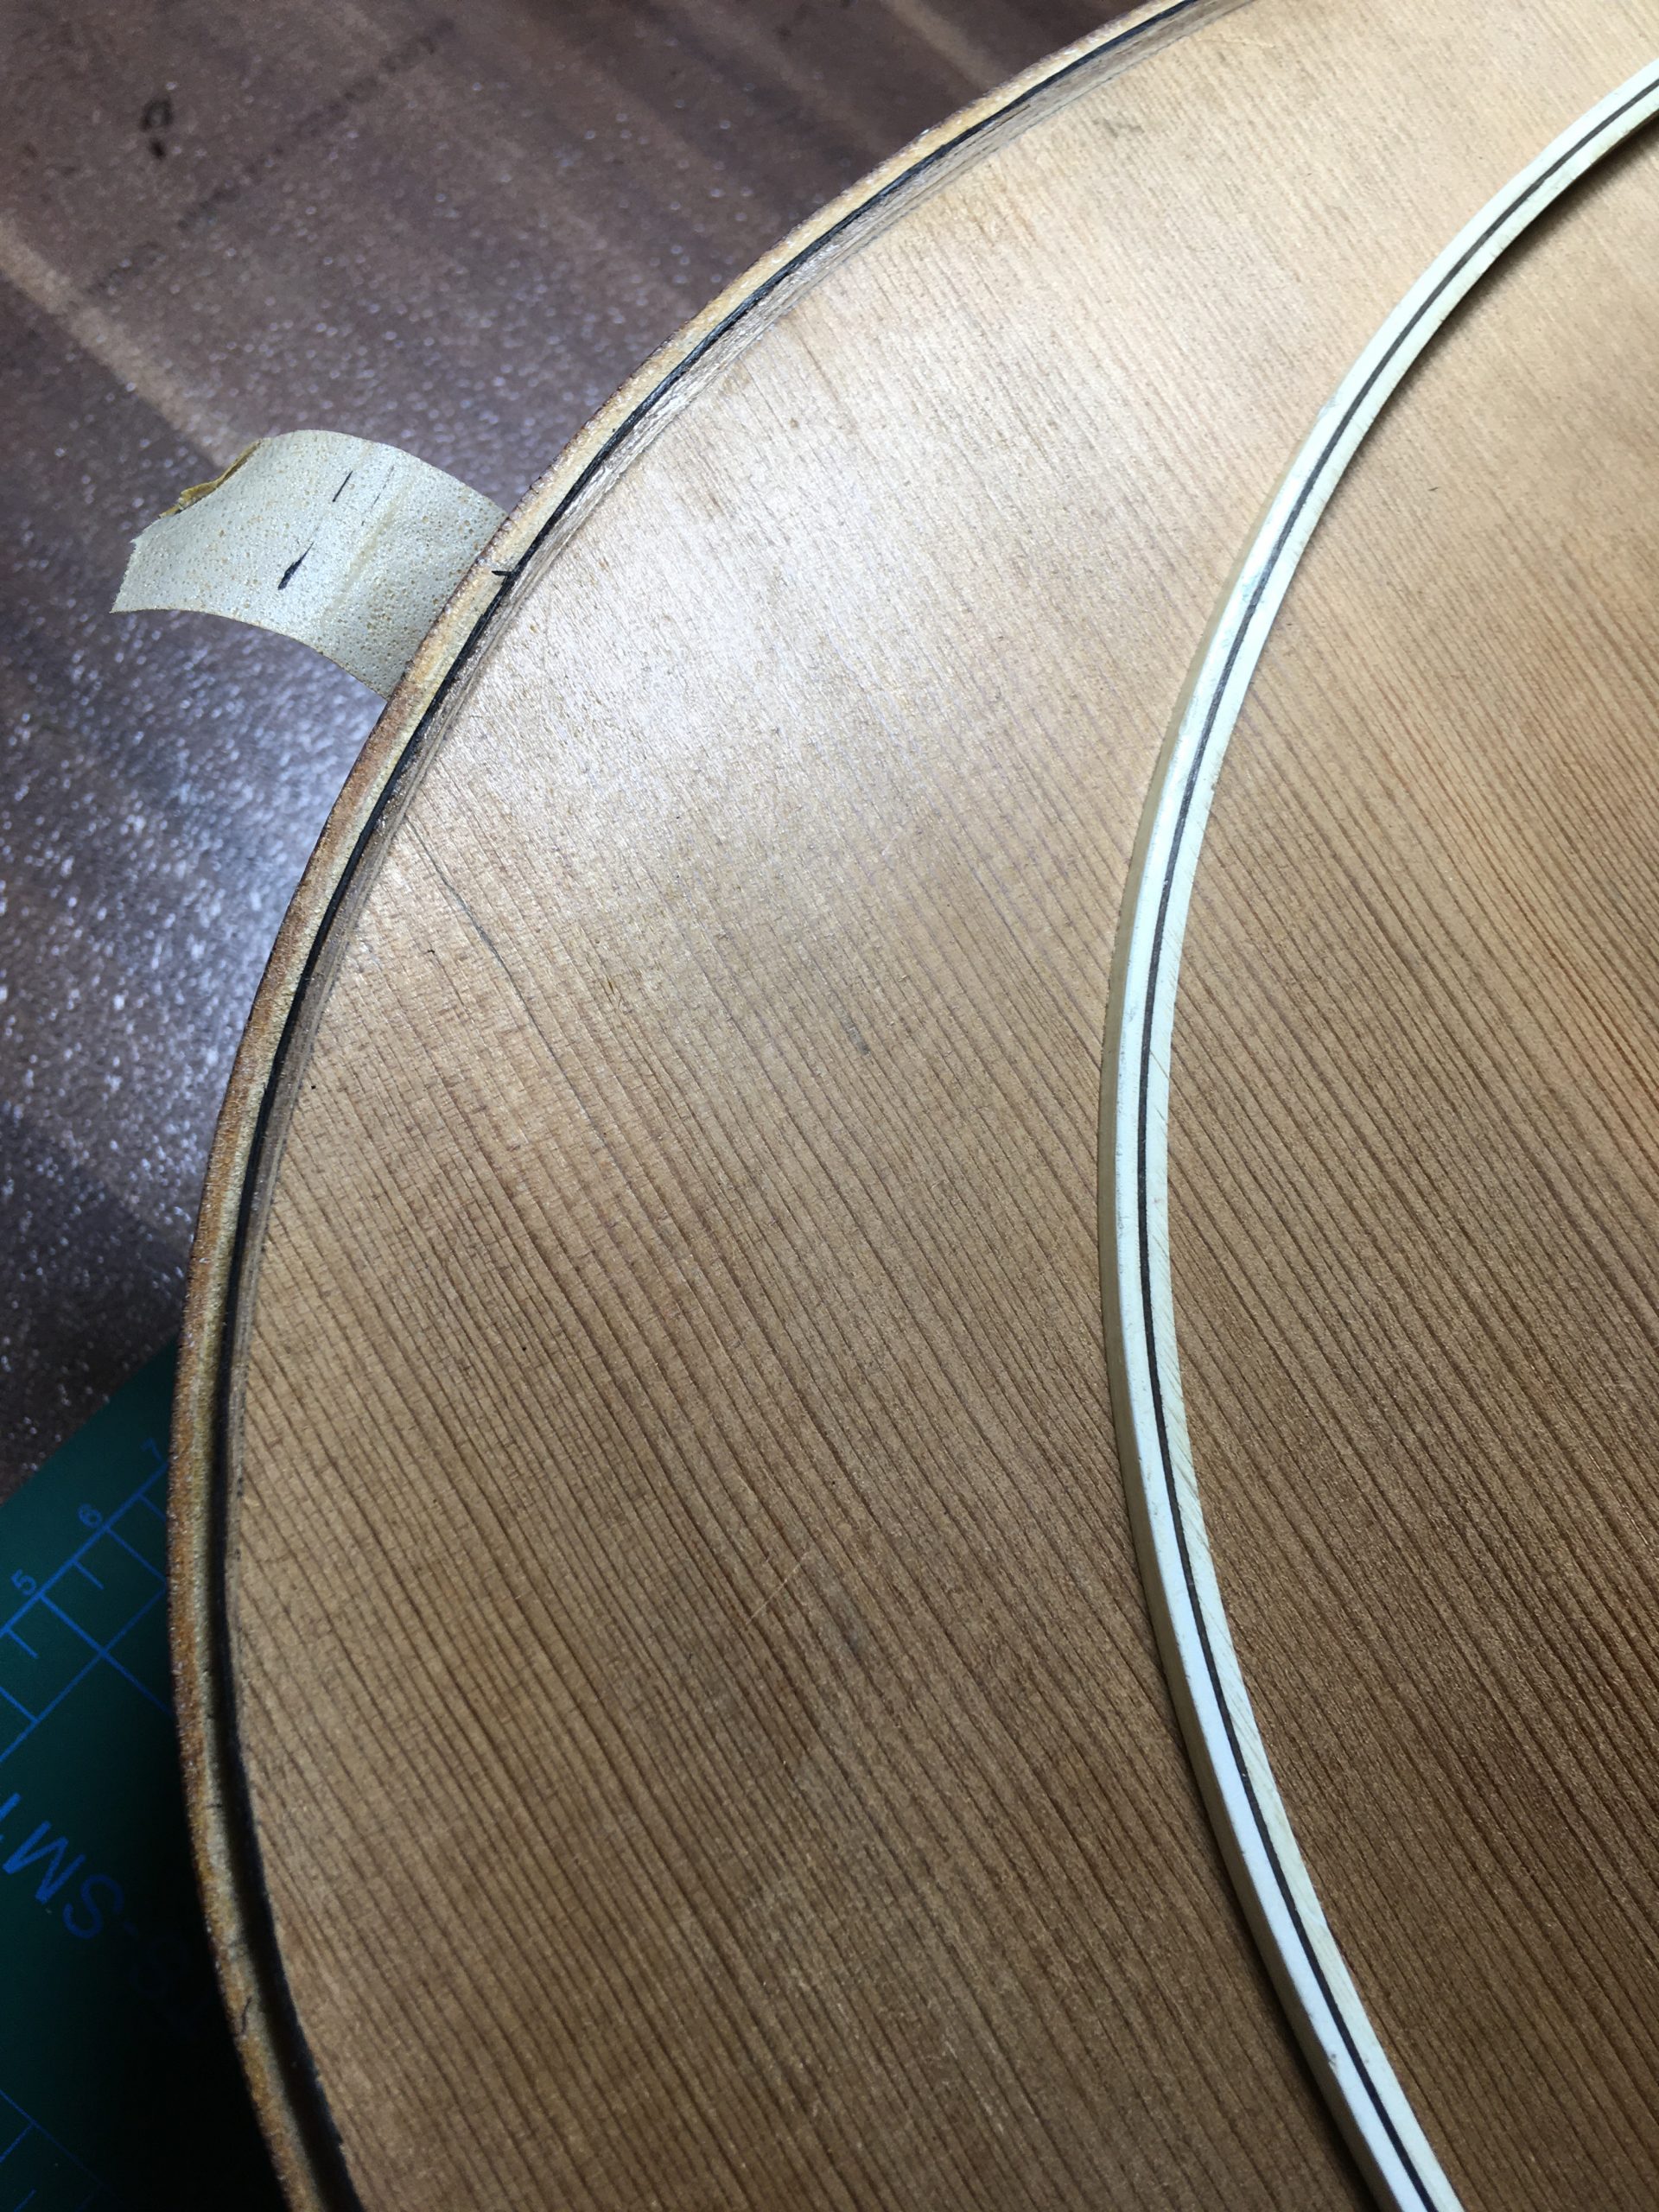
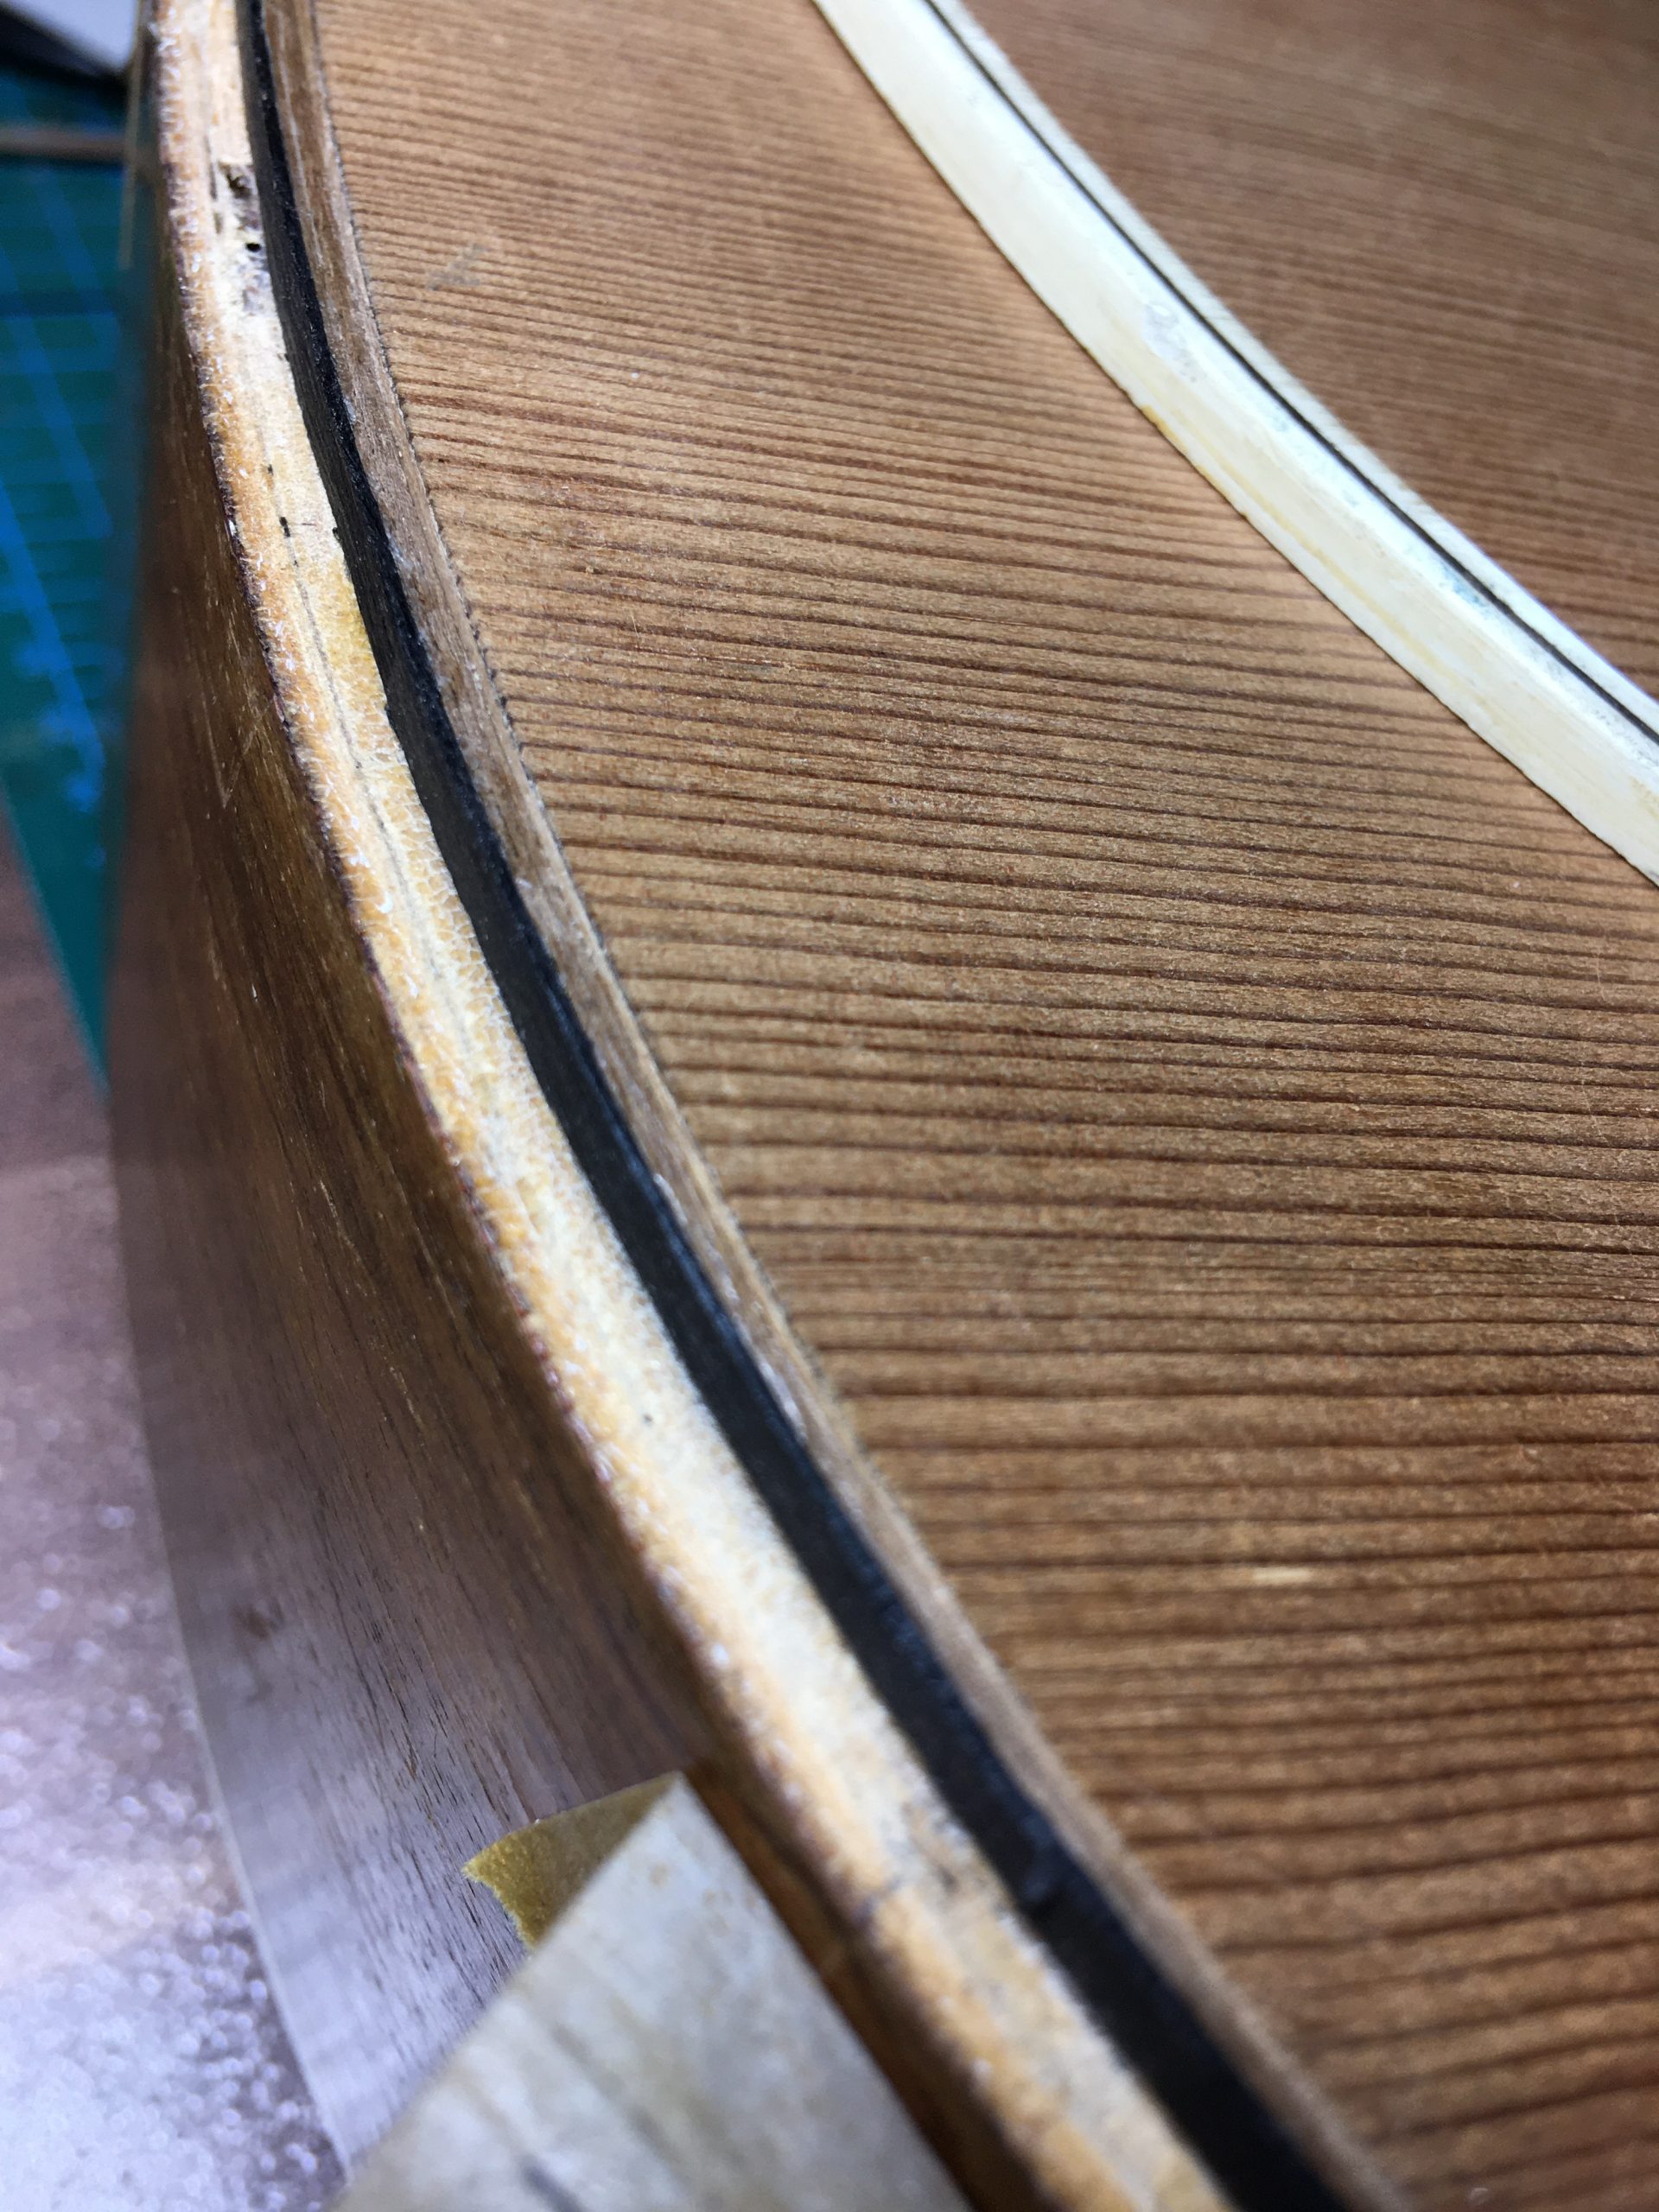
Here with one side taped to glue the bindings.

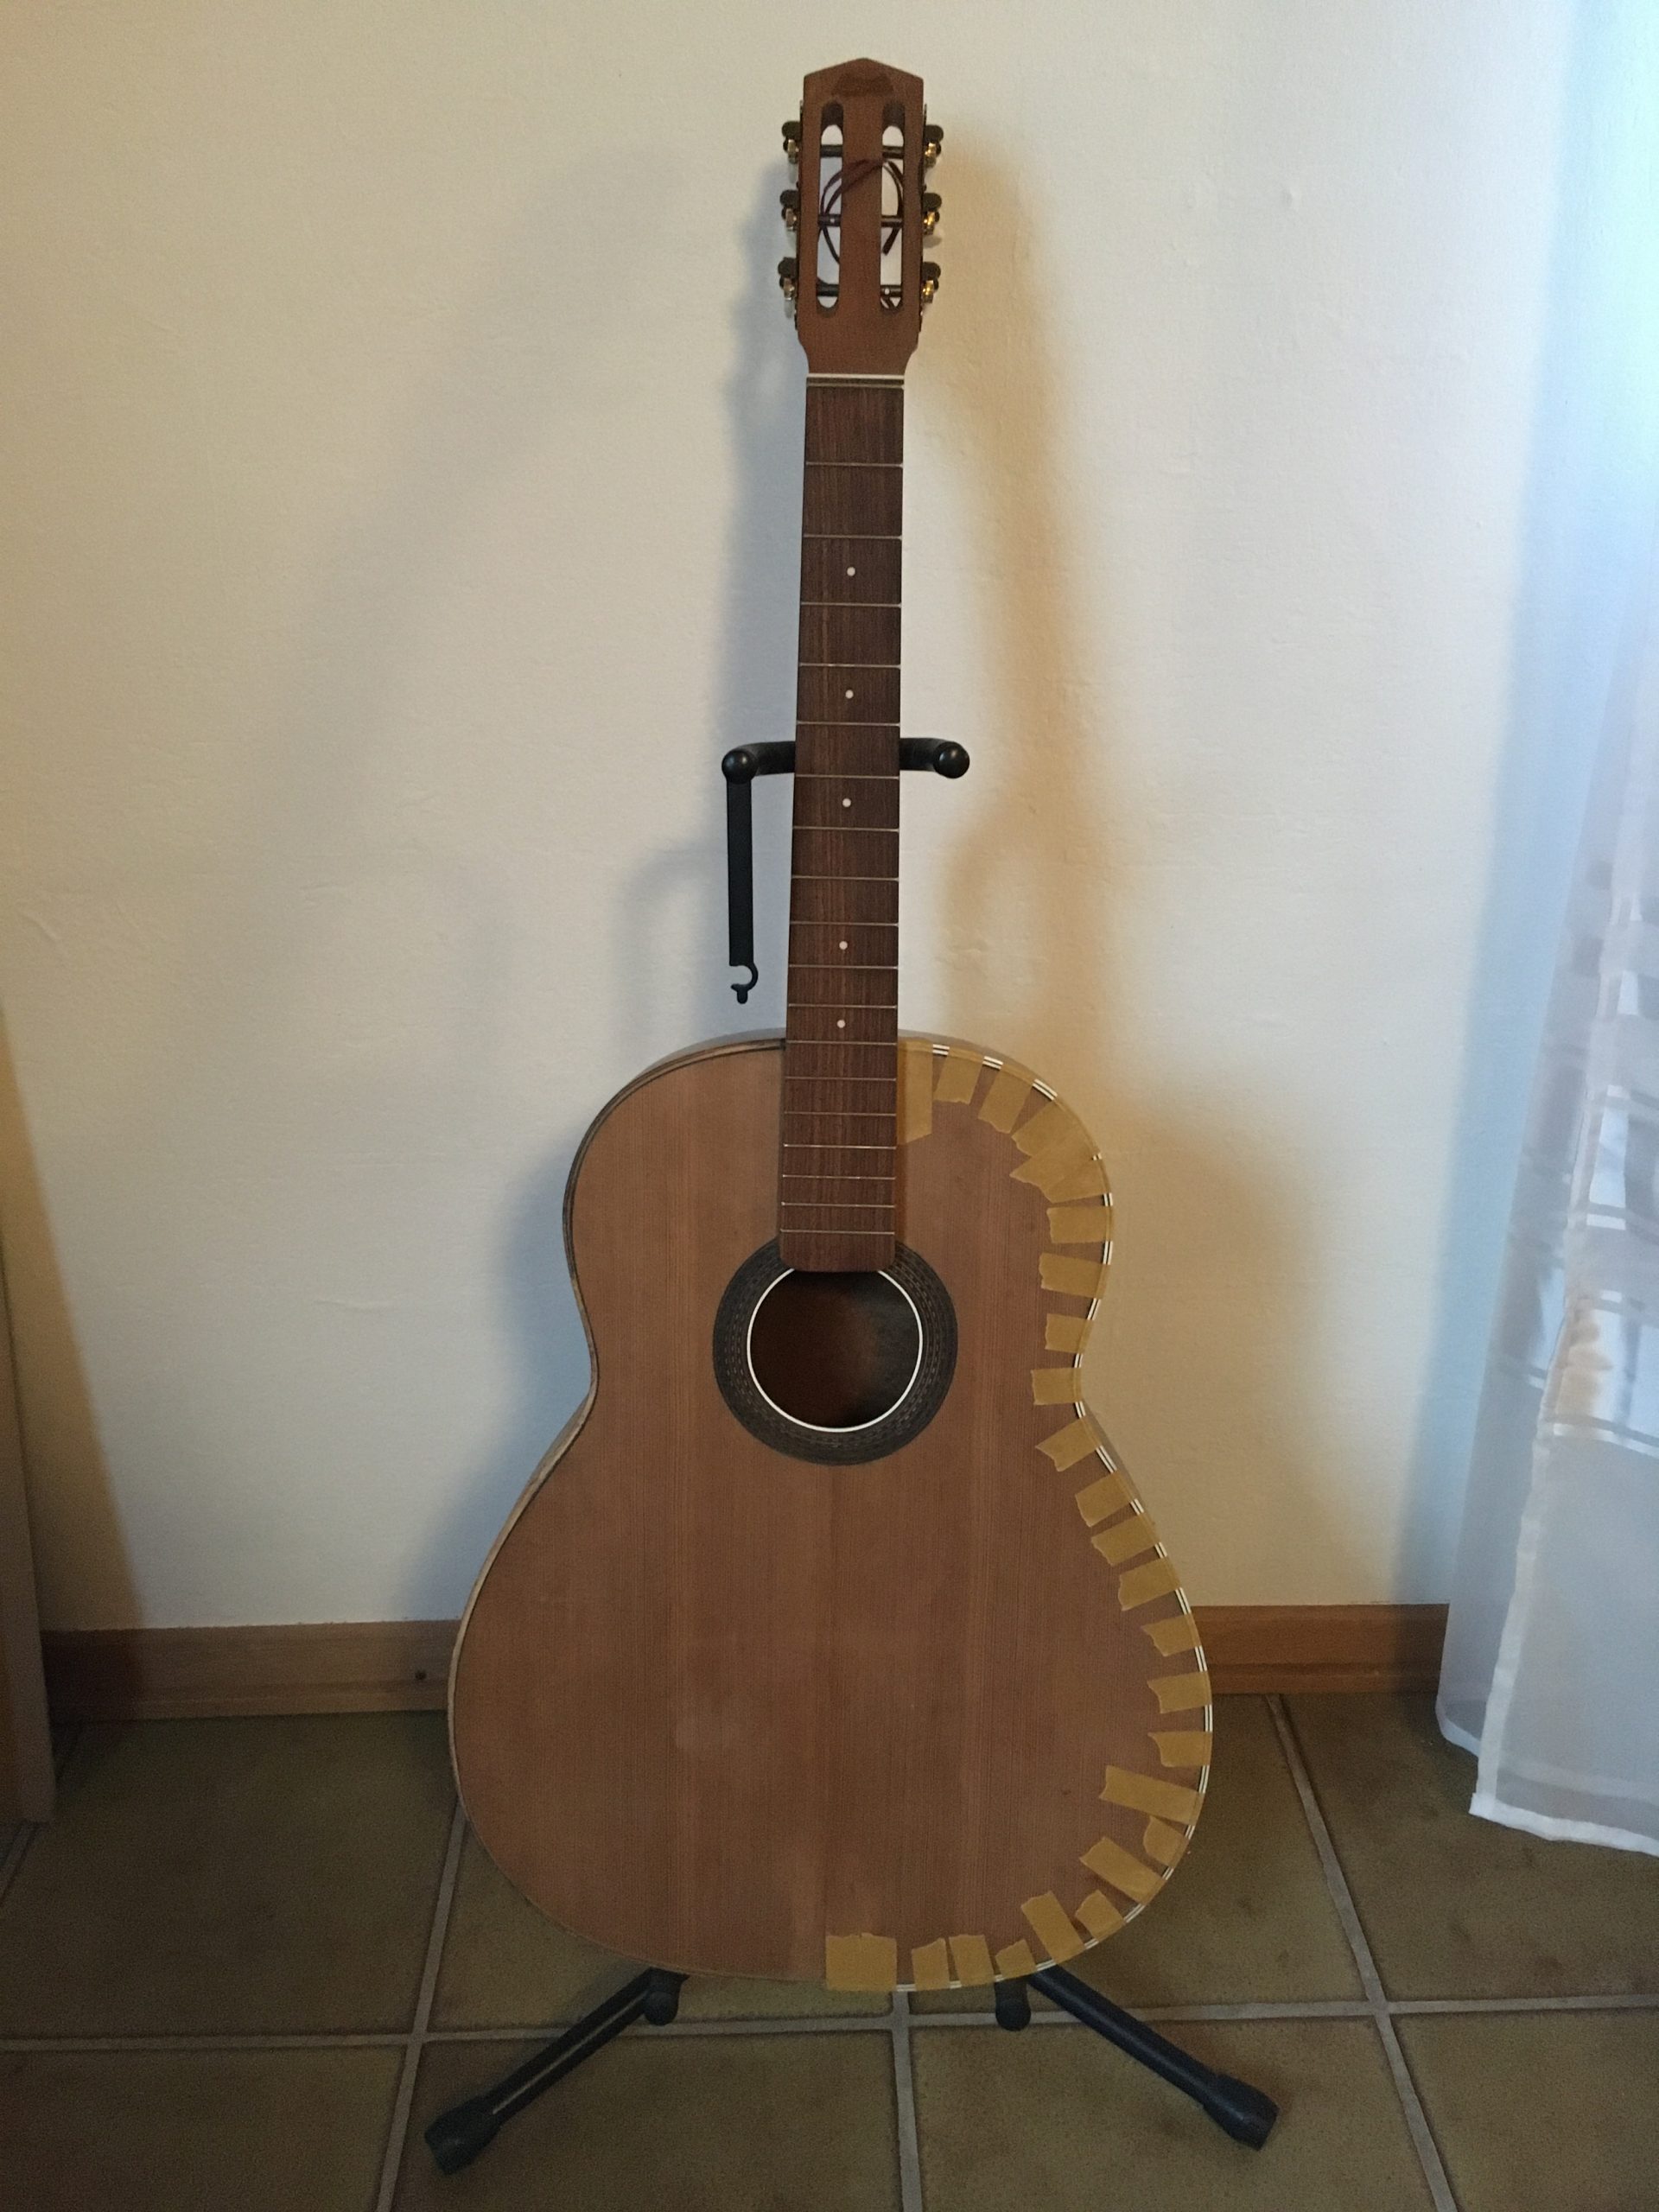
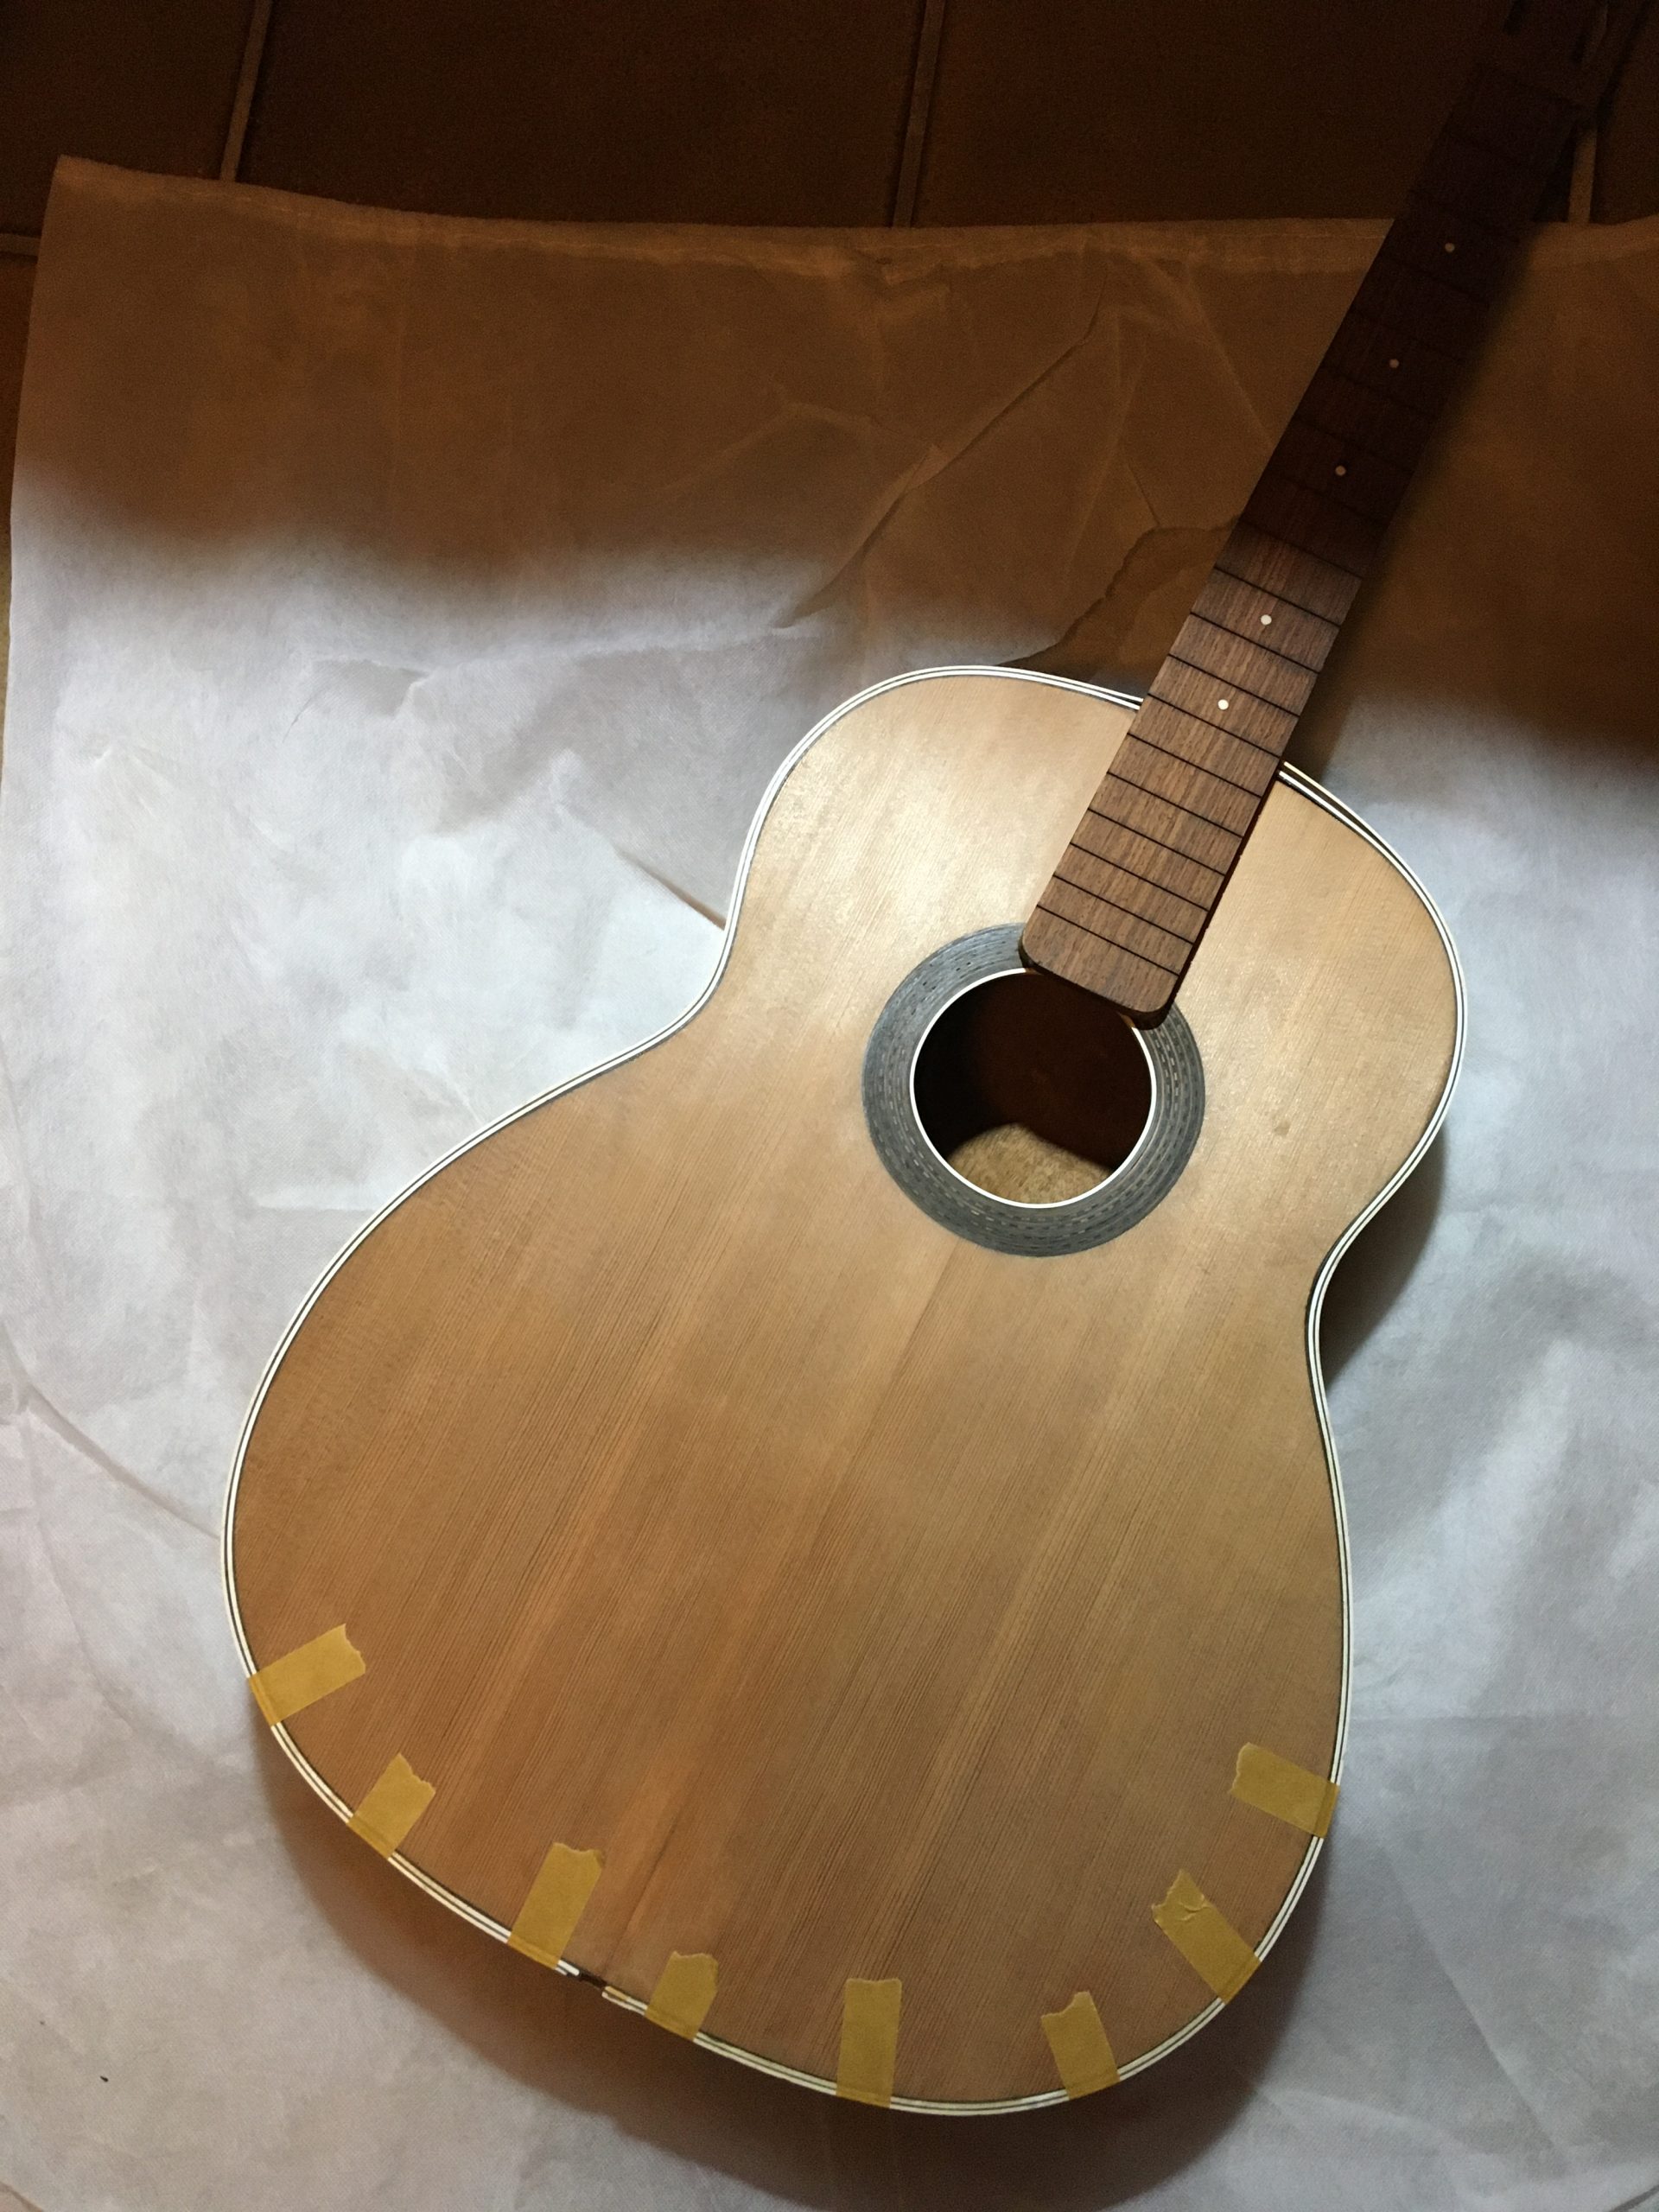
The second side being glued…

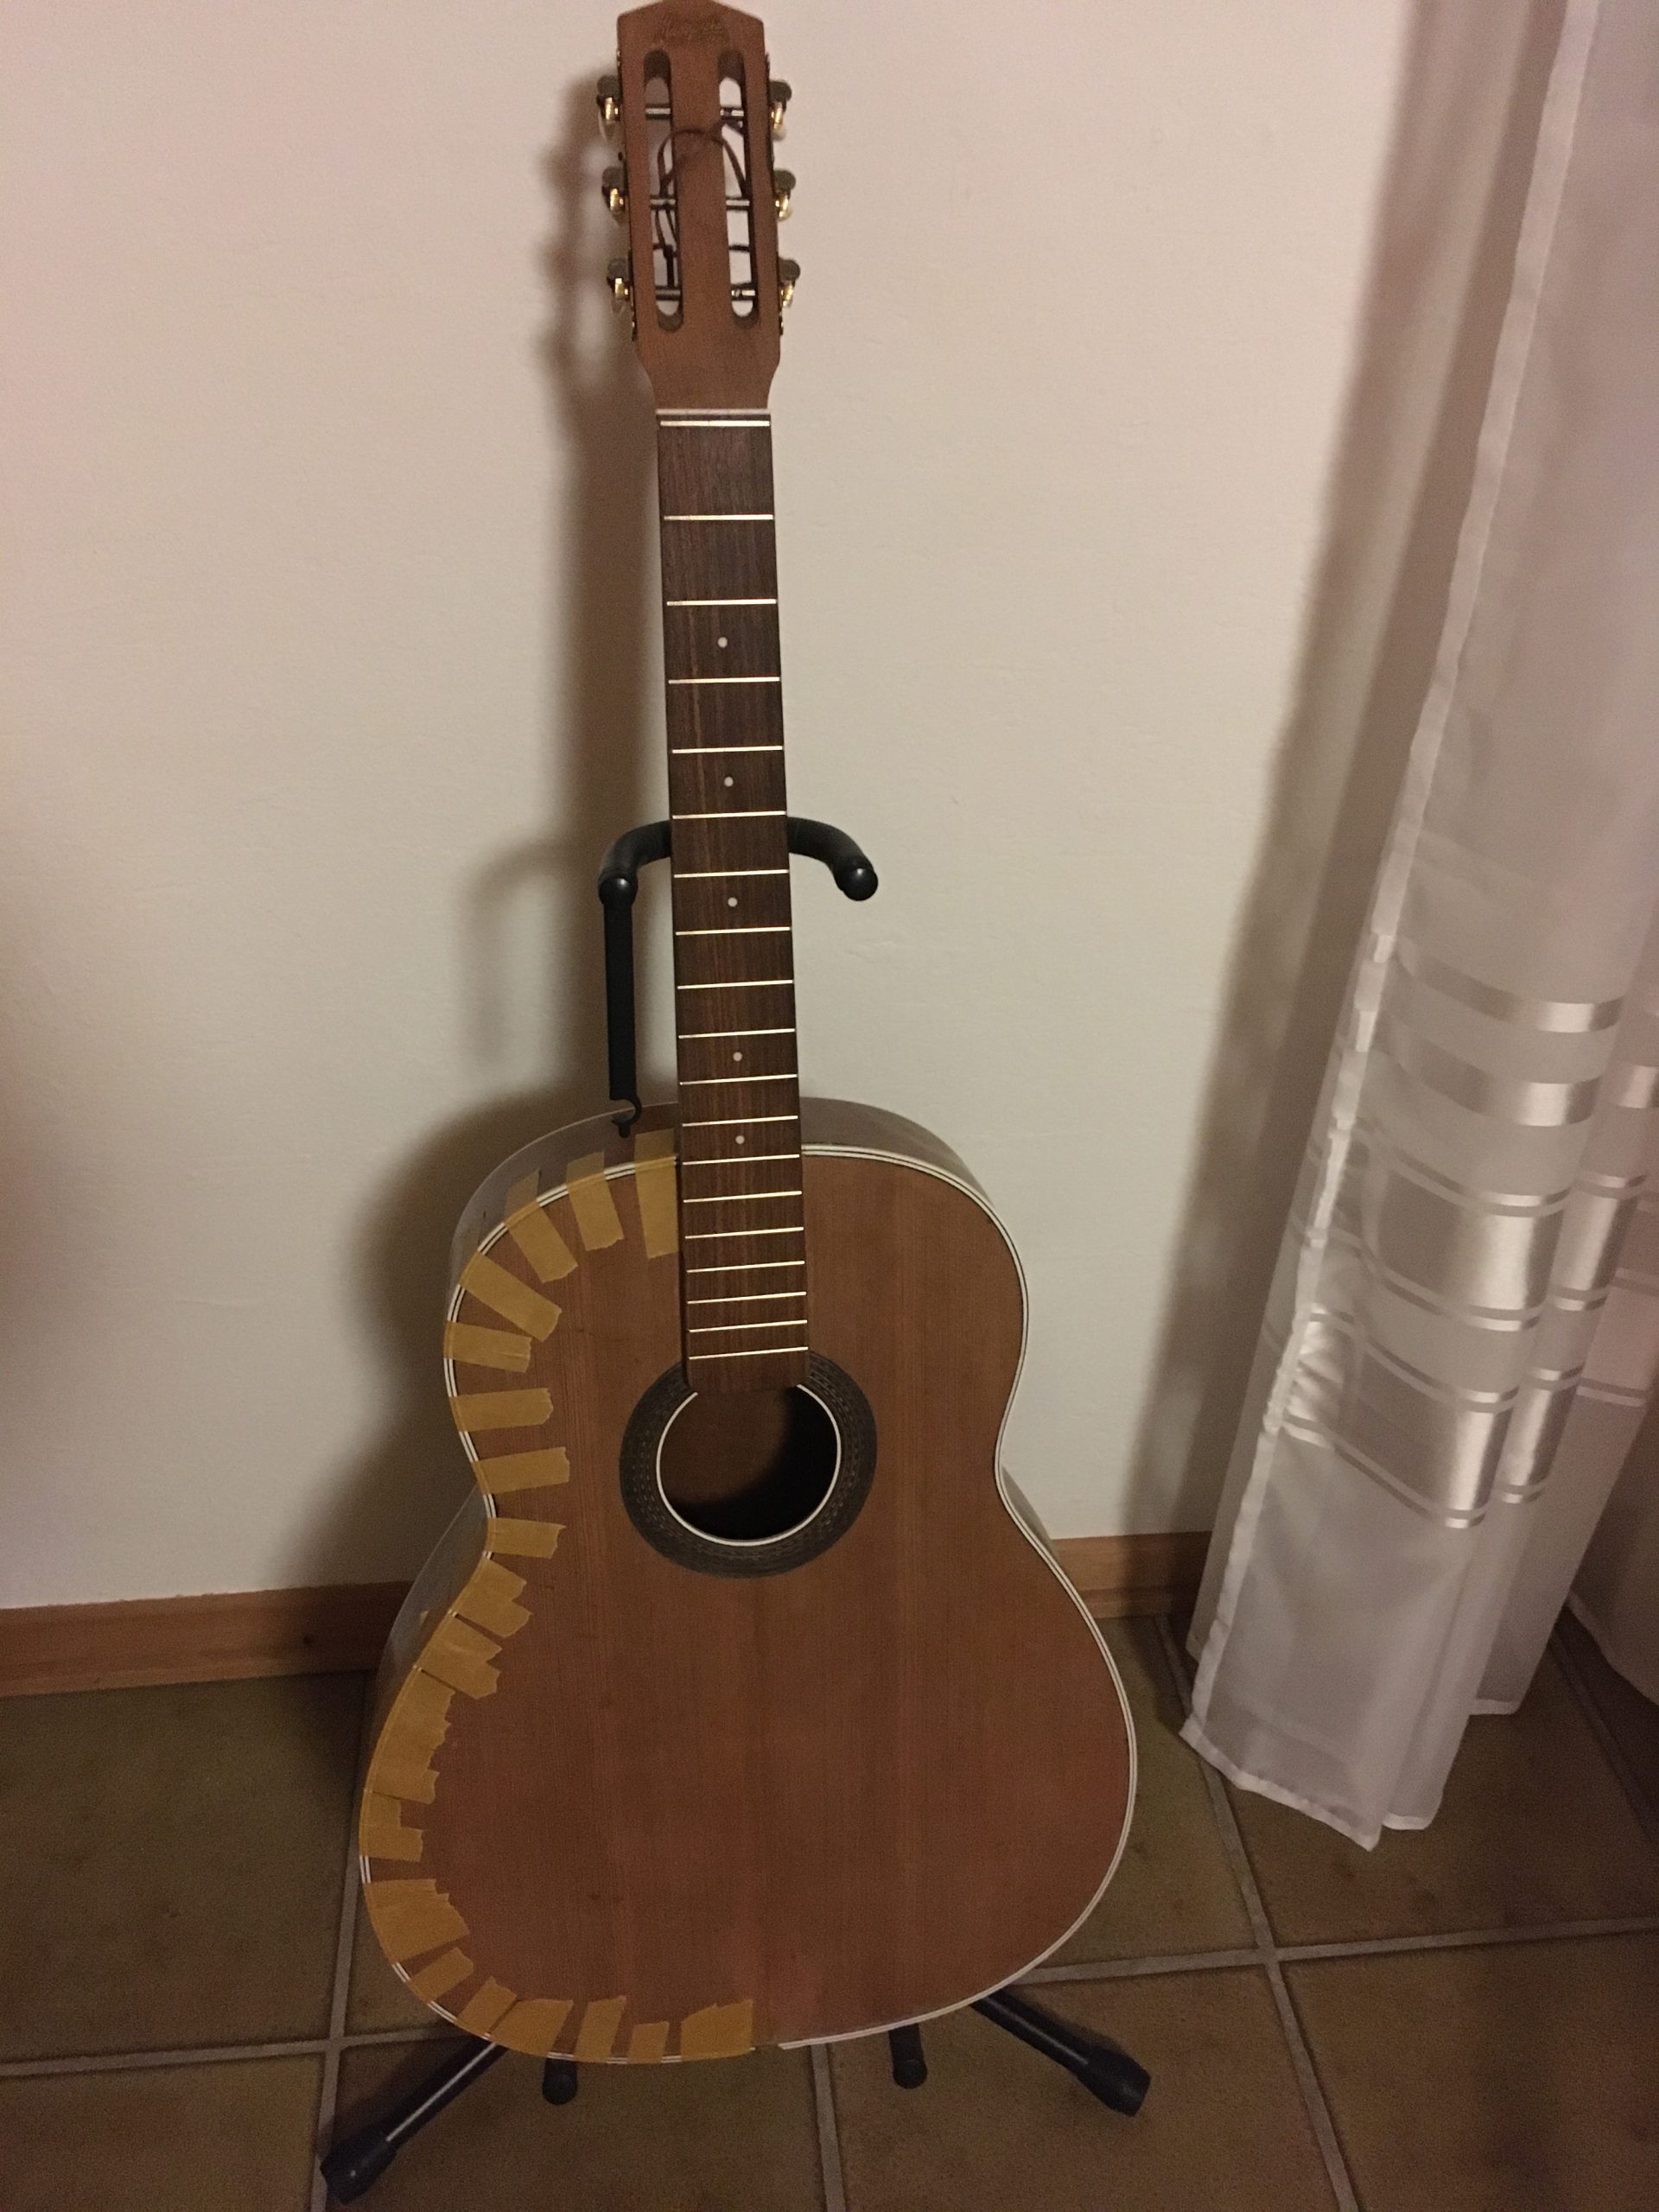
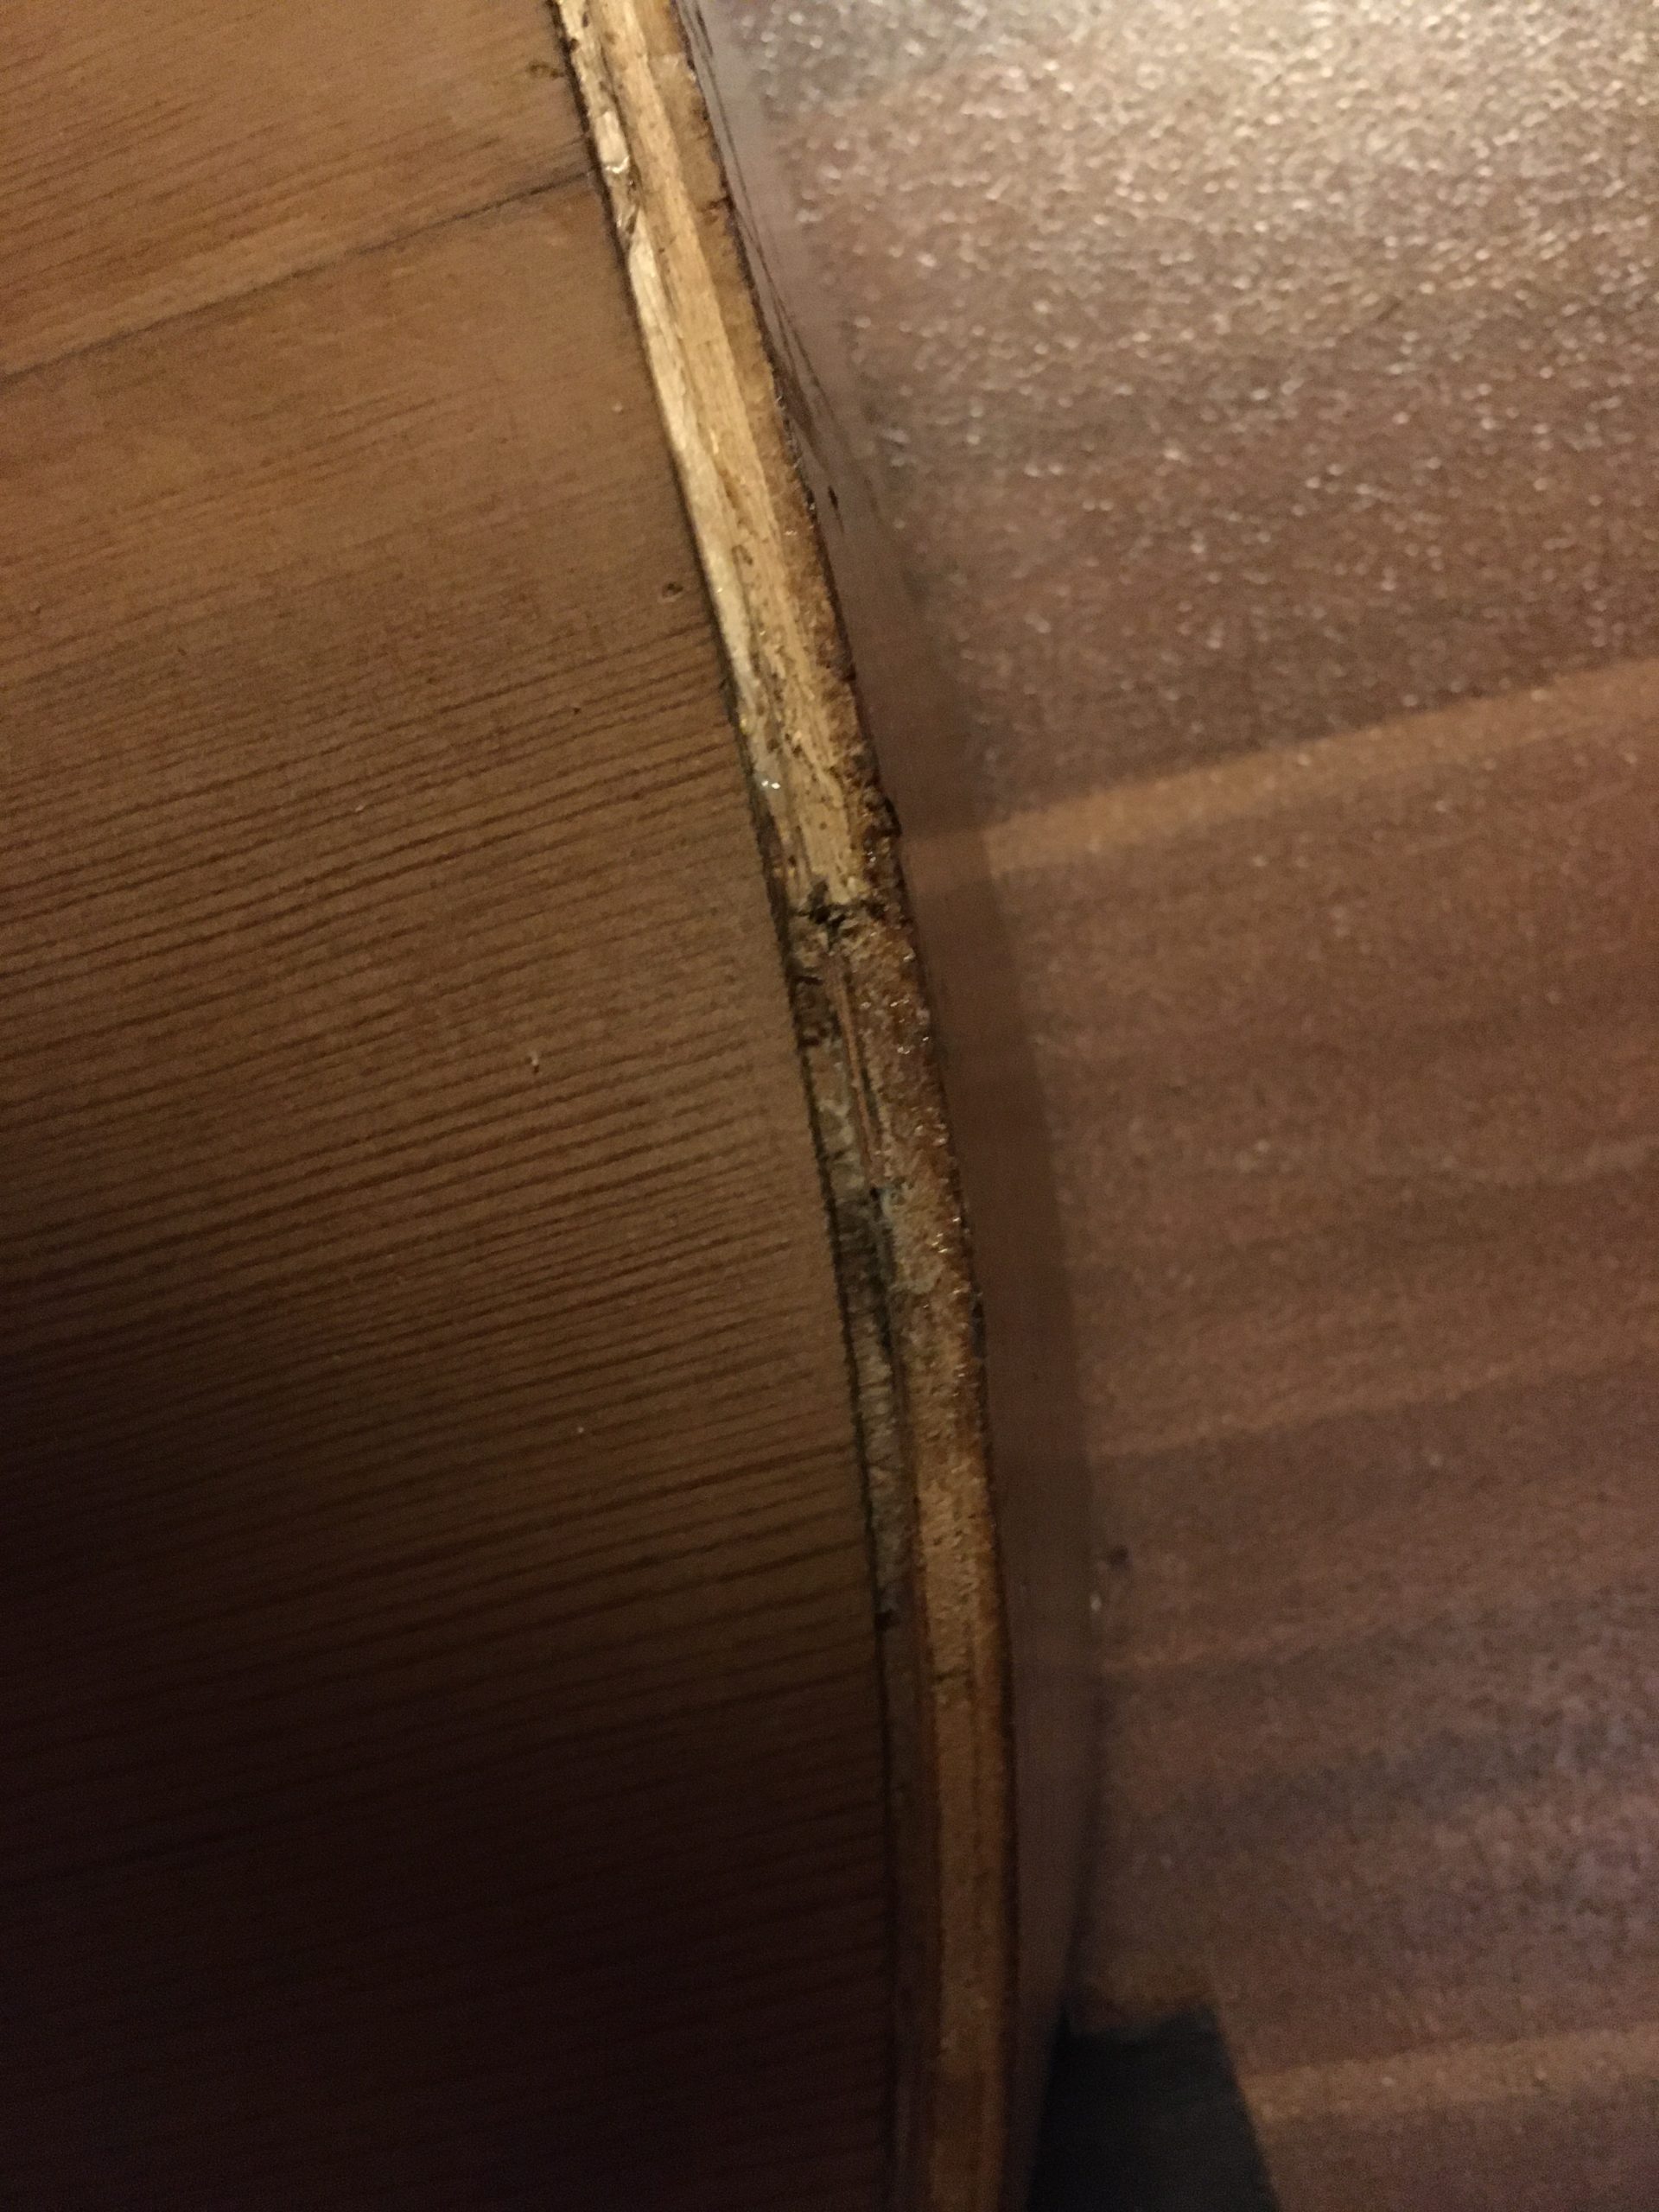
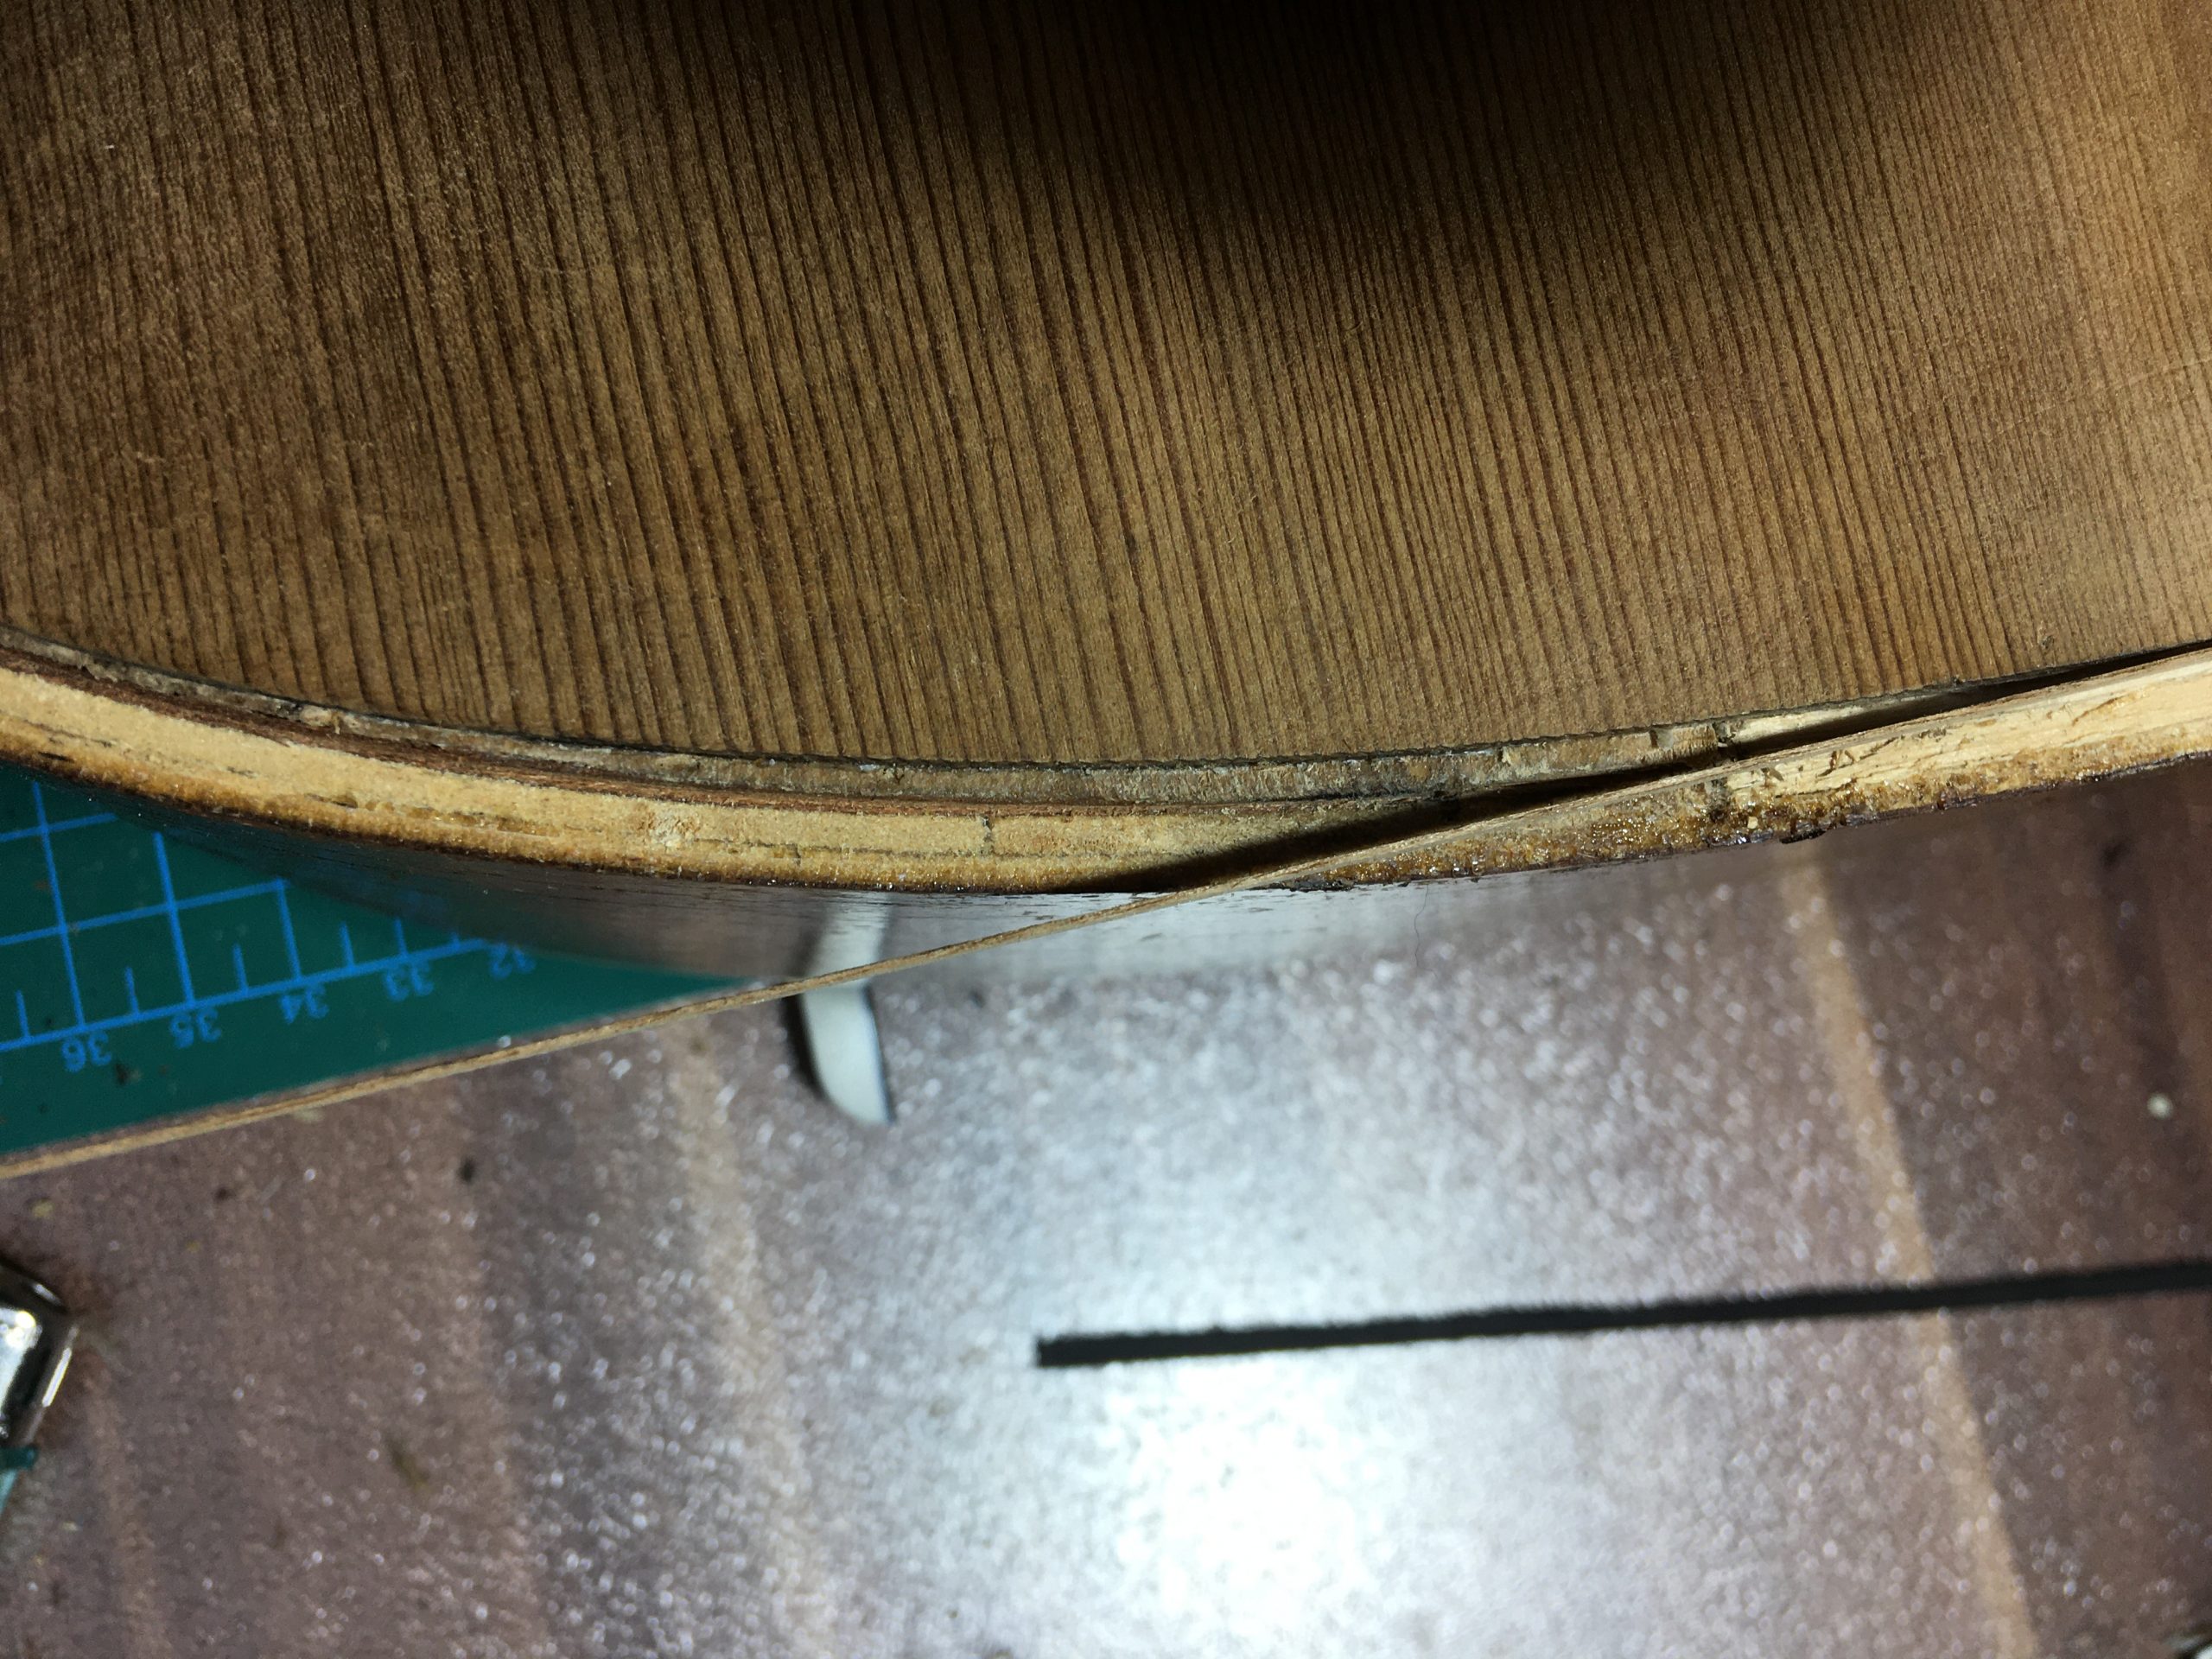
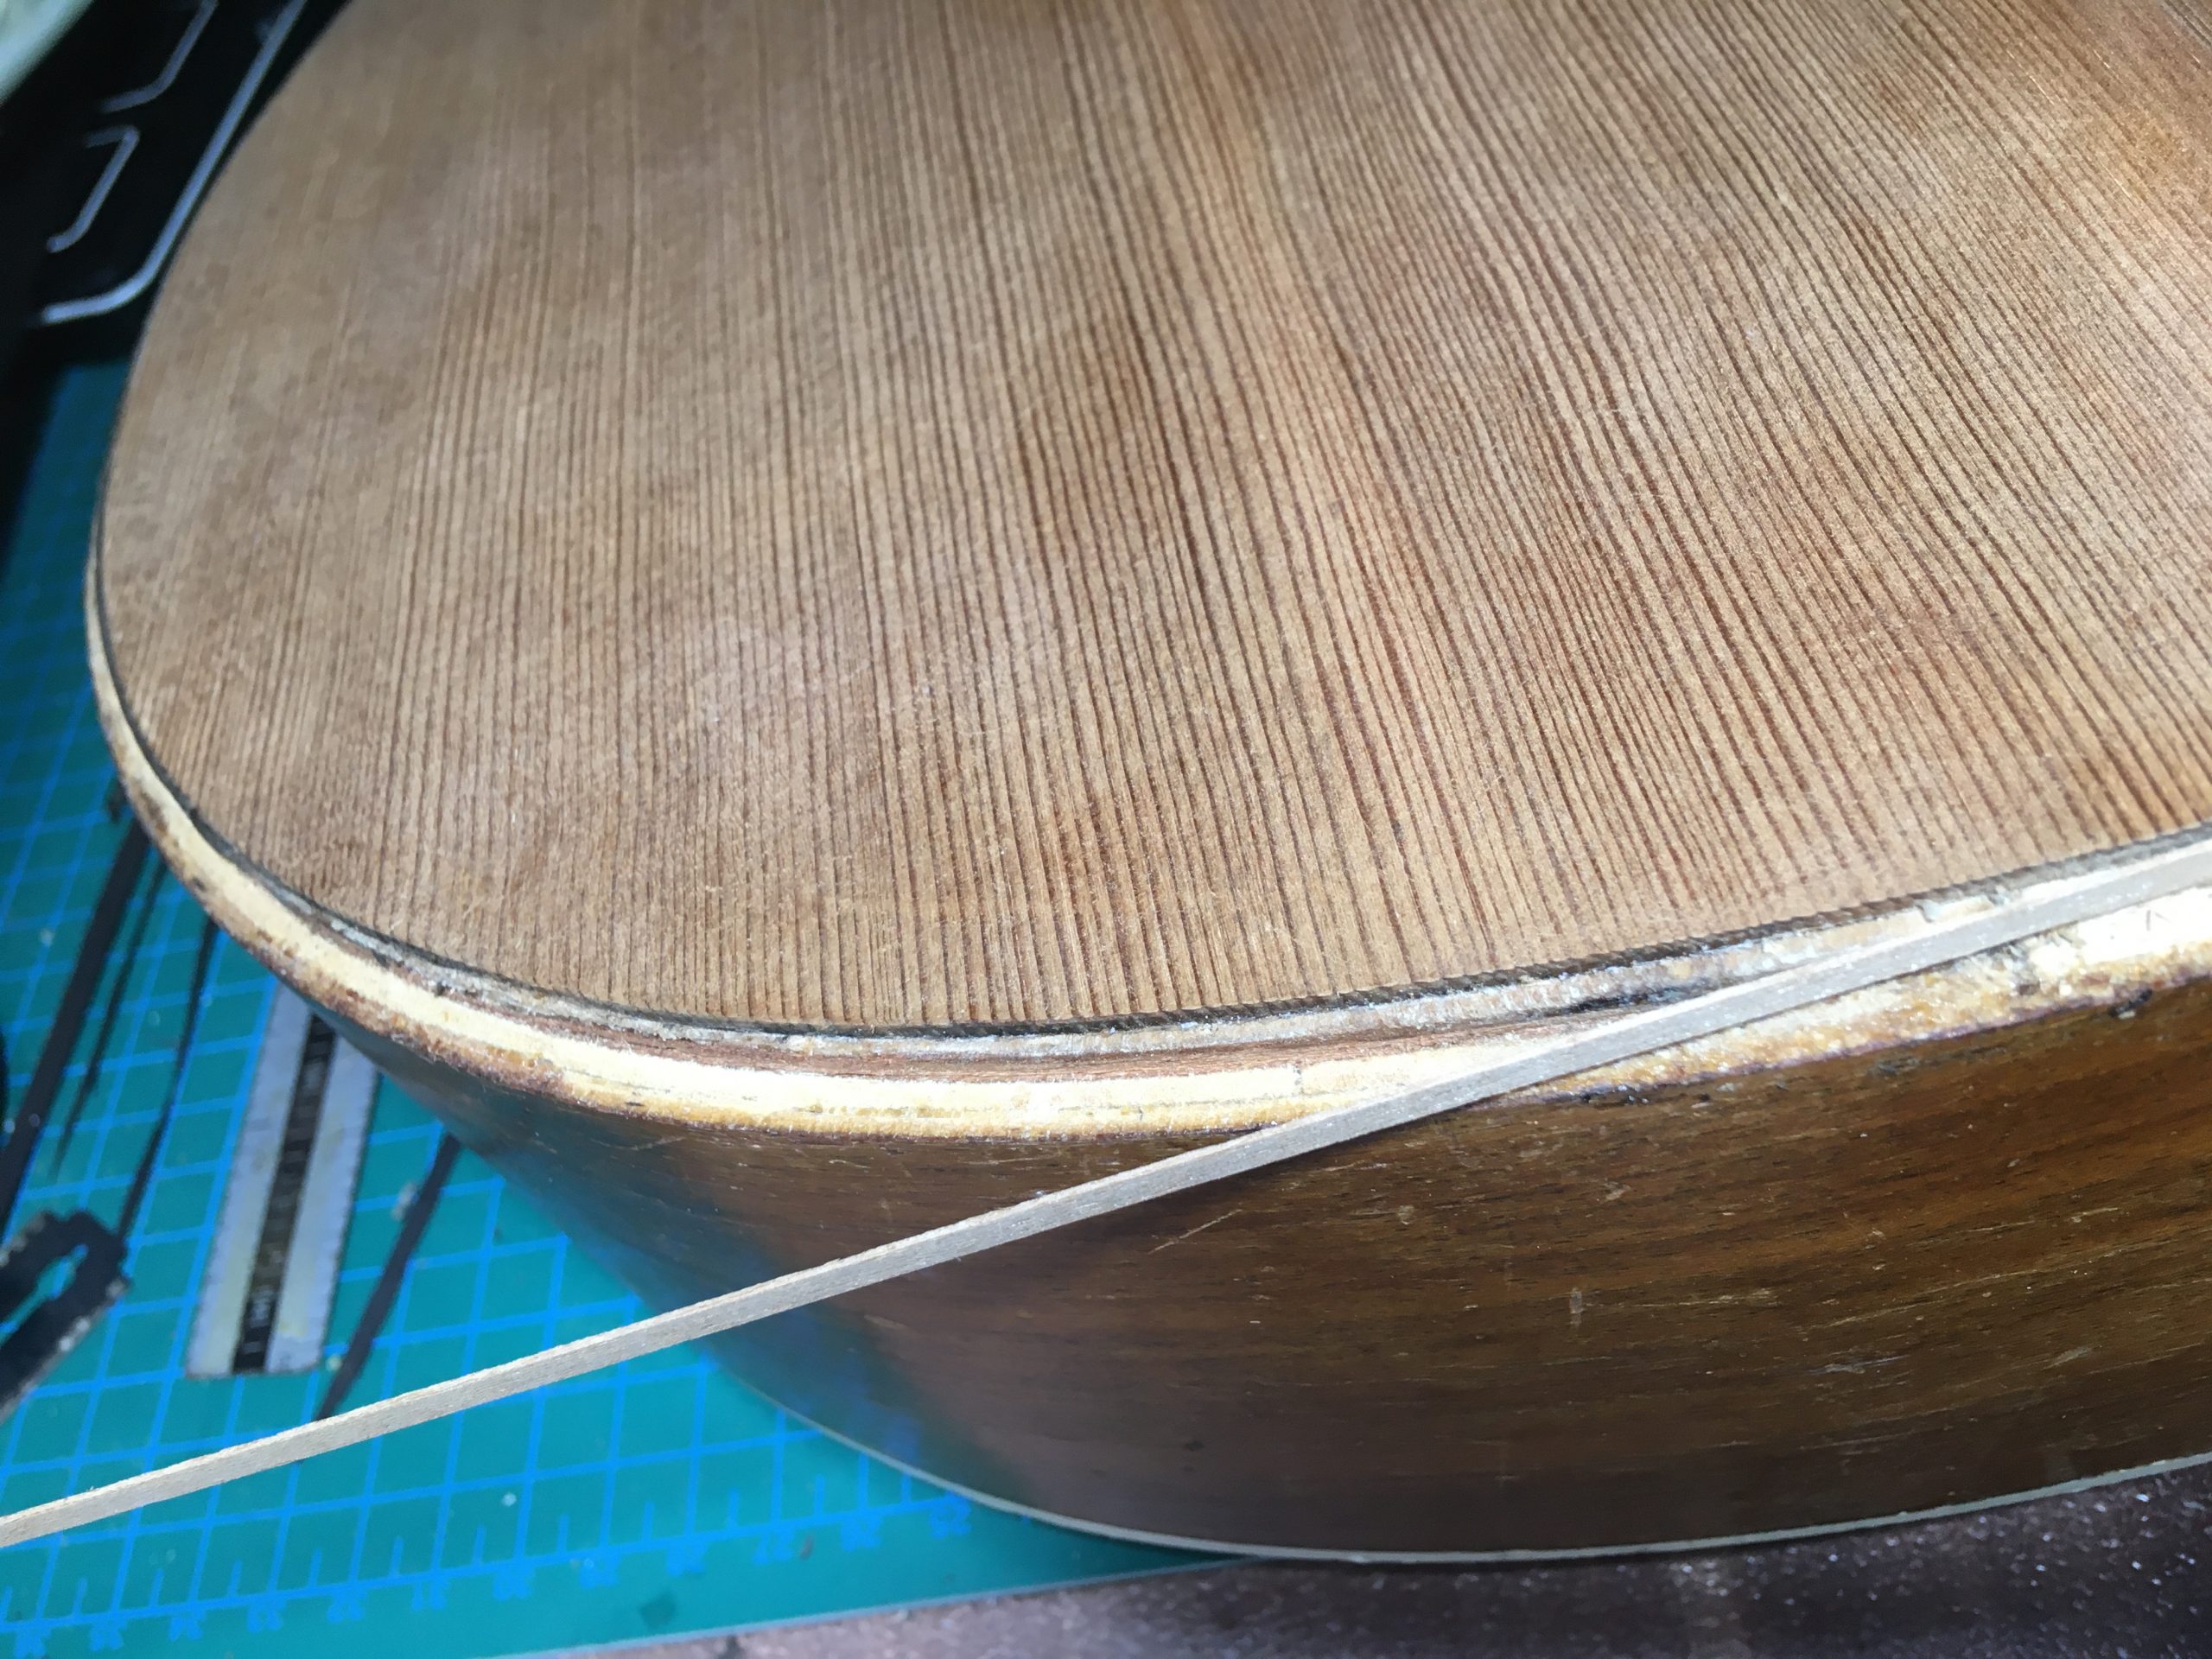
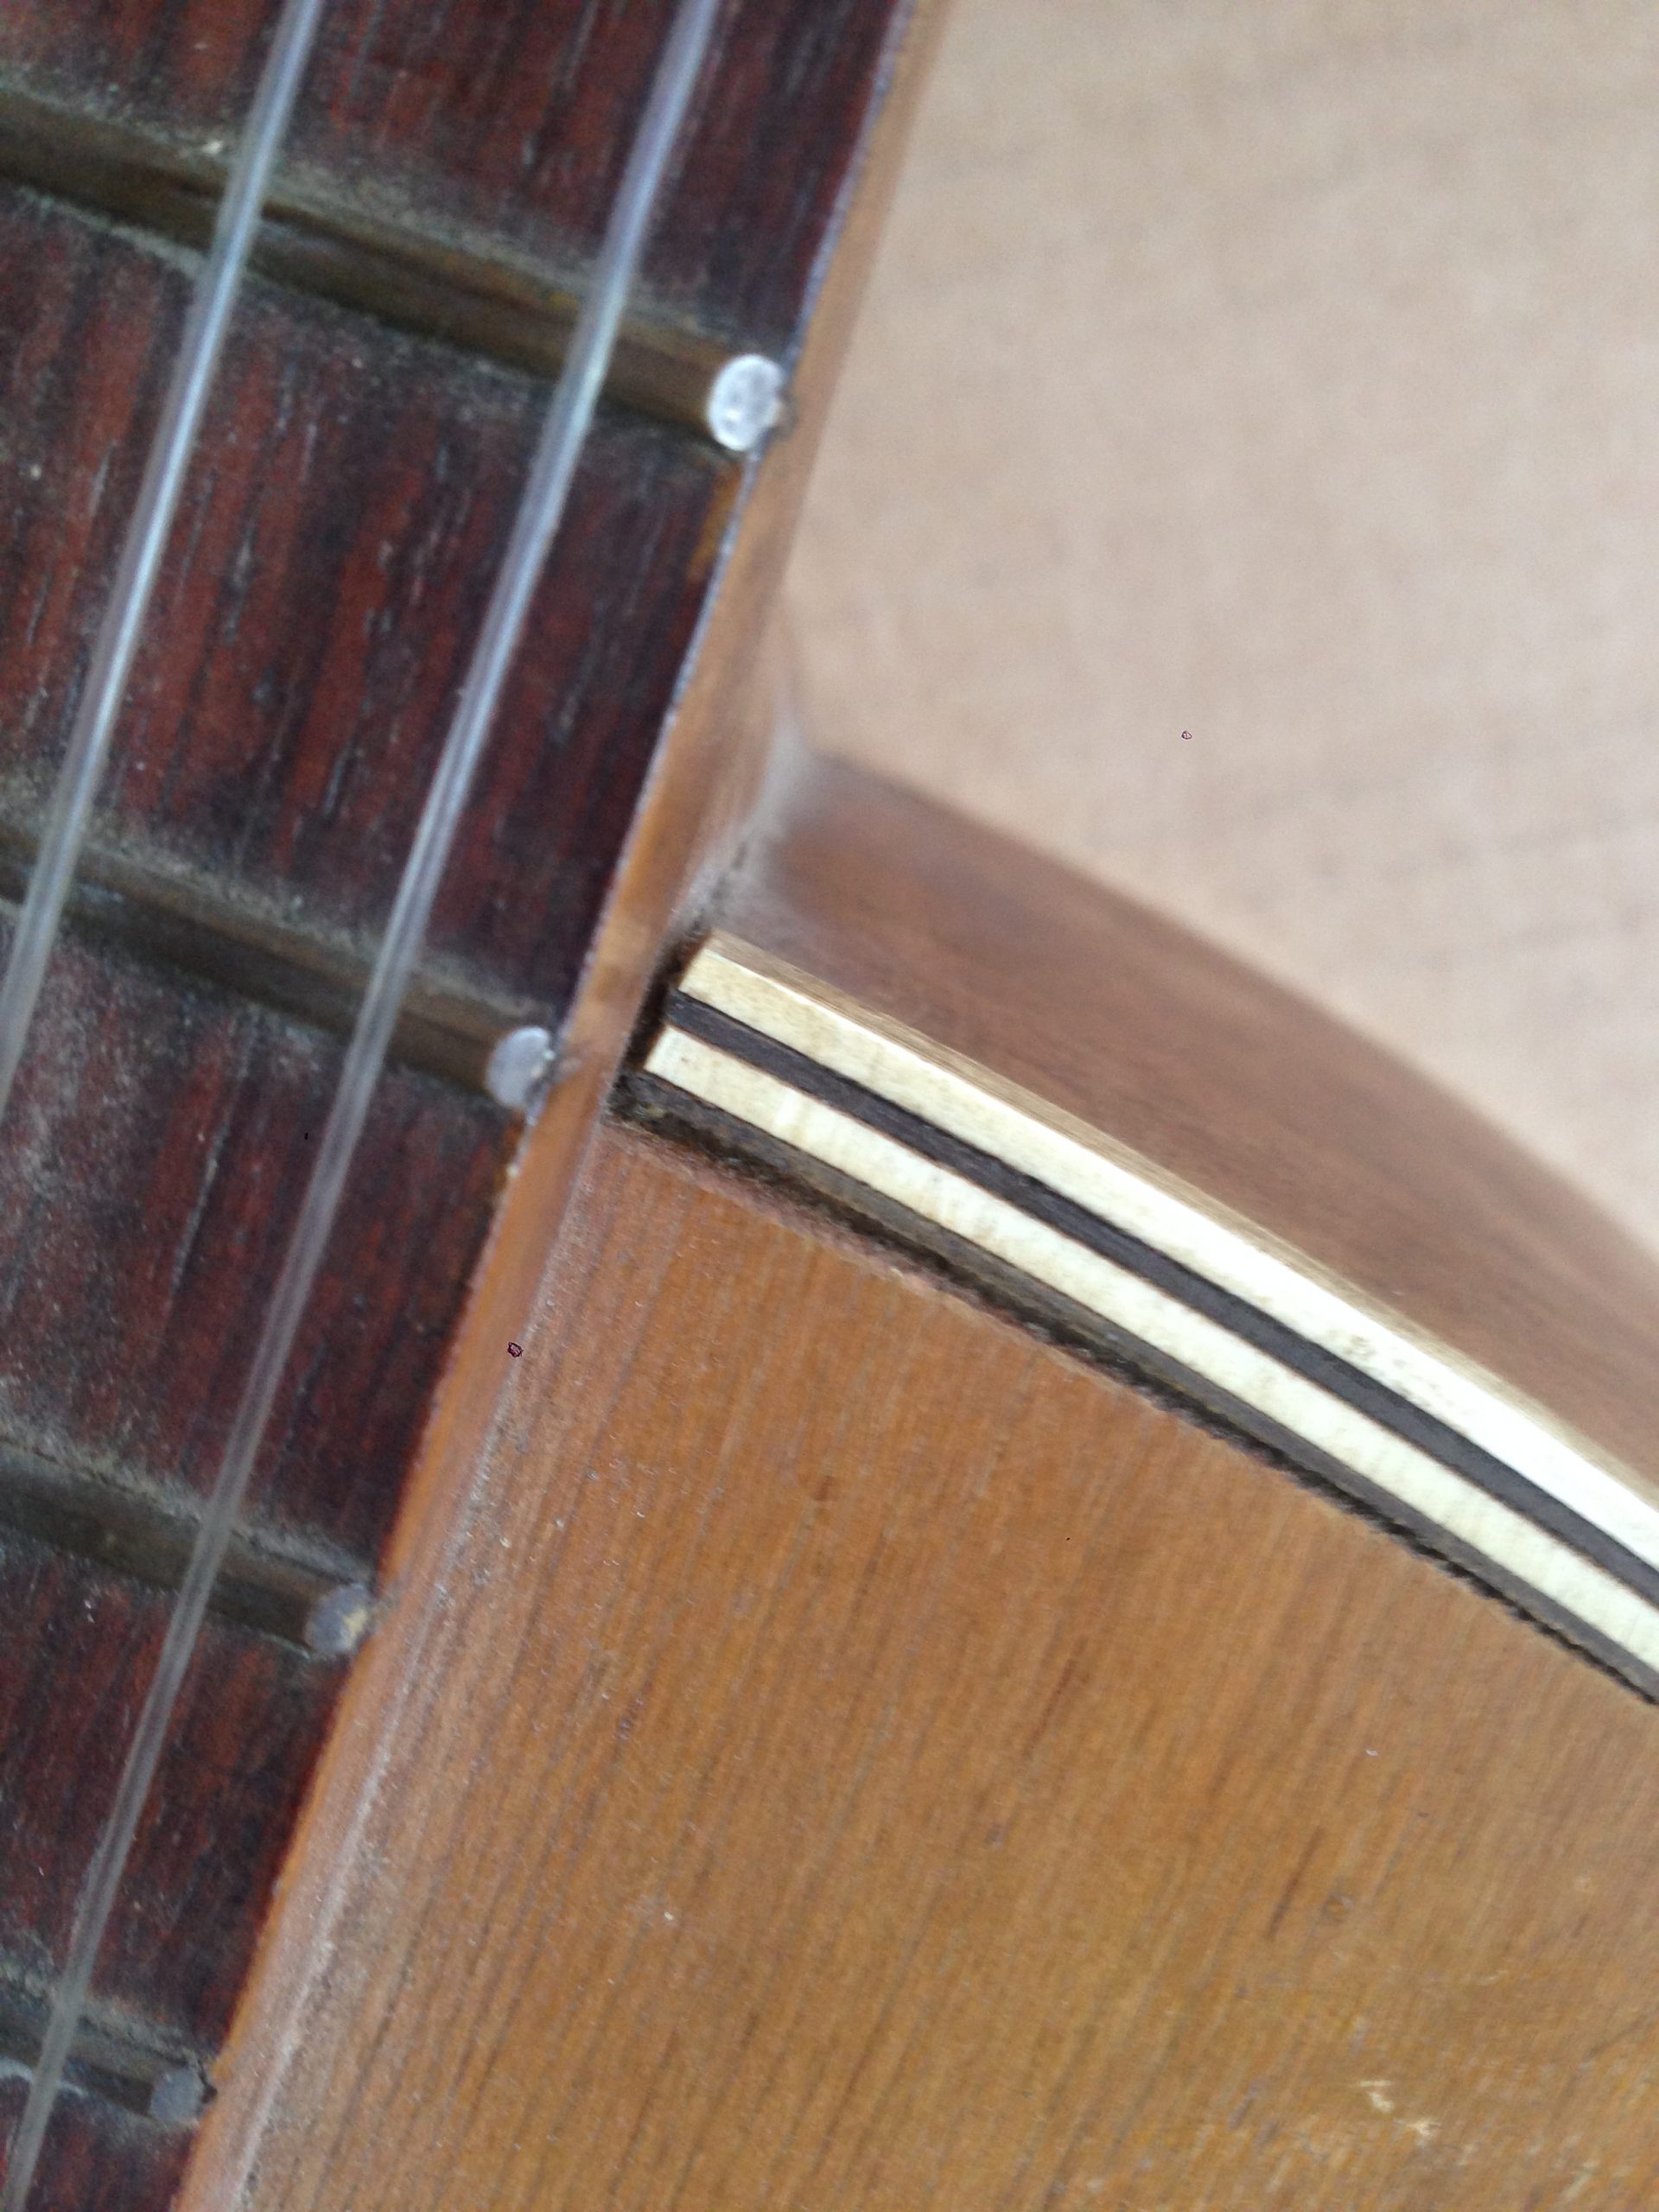
After fitting the bindings, all could be finally assembled… Here is the binding at the bottom showing the corrective build-up of veneer around the bottom end of the top. I can’t claim that it is invisible, but at ‘player’s distance’ hardly noticeable. It retains the the original top without replacement, retaining the idea of using as much of the original as possible. Putting a new top on would have defeated the object and to my mind, ruined the guitar.

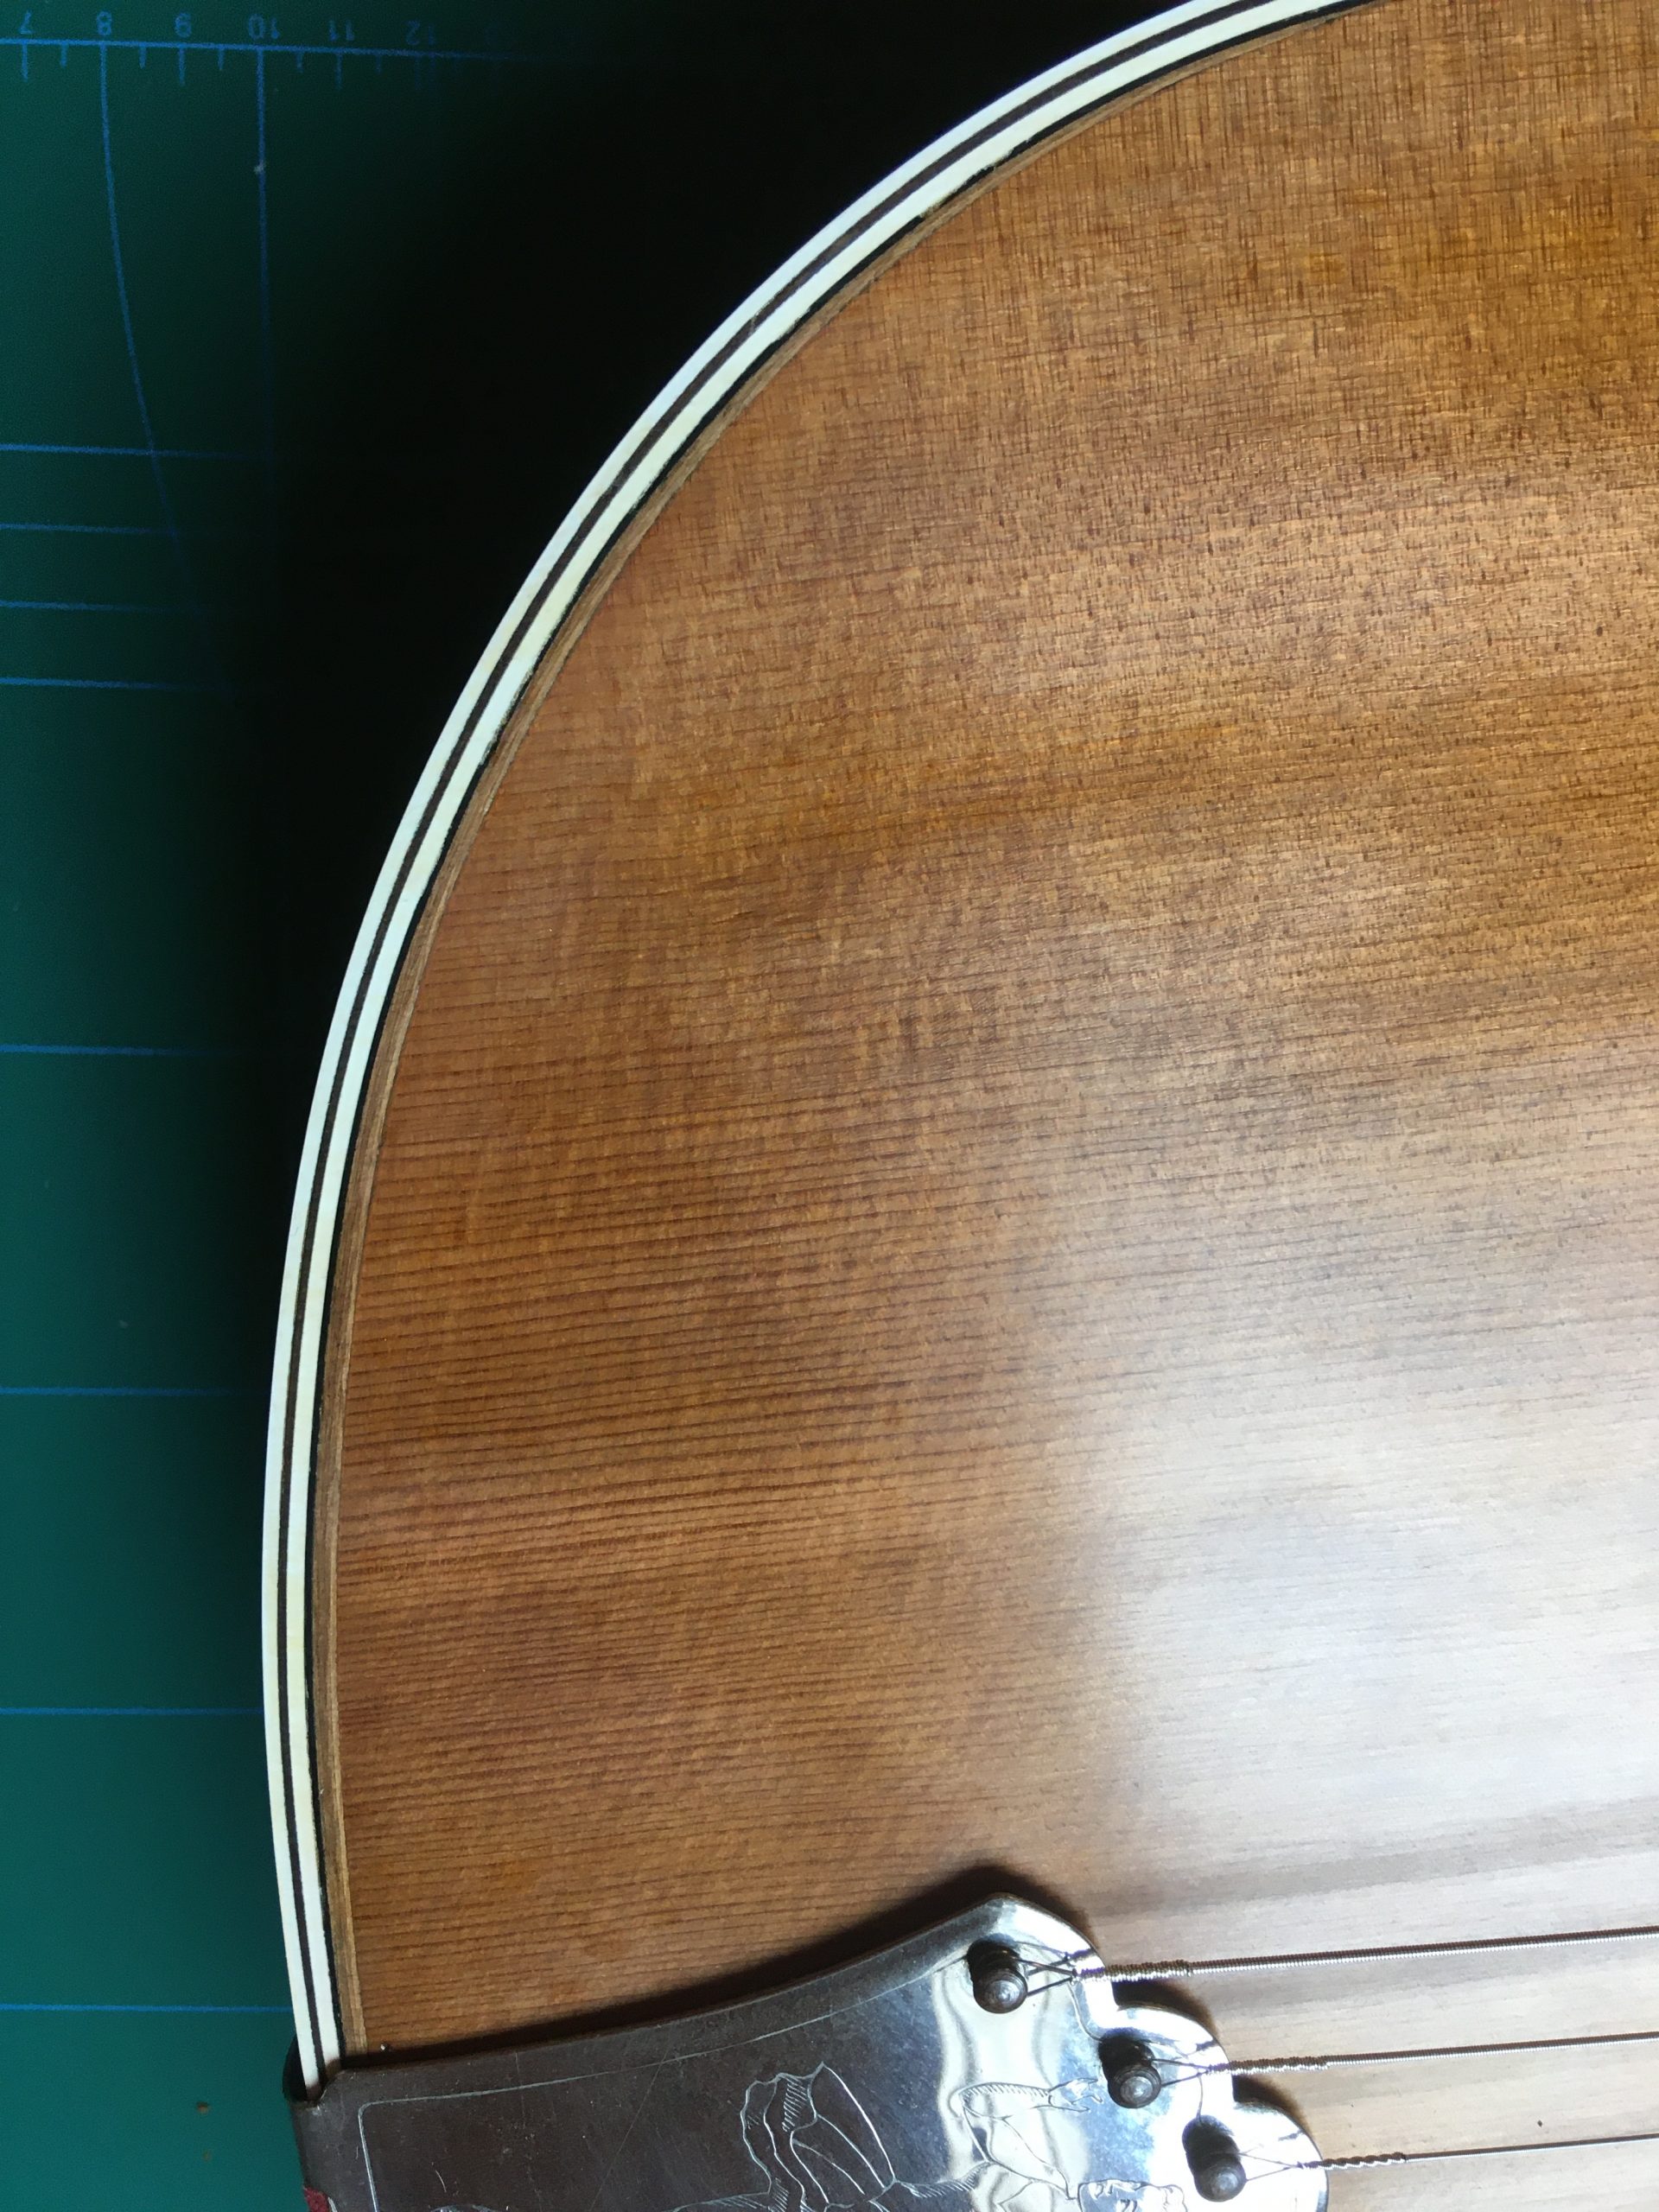
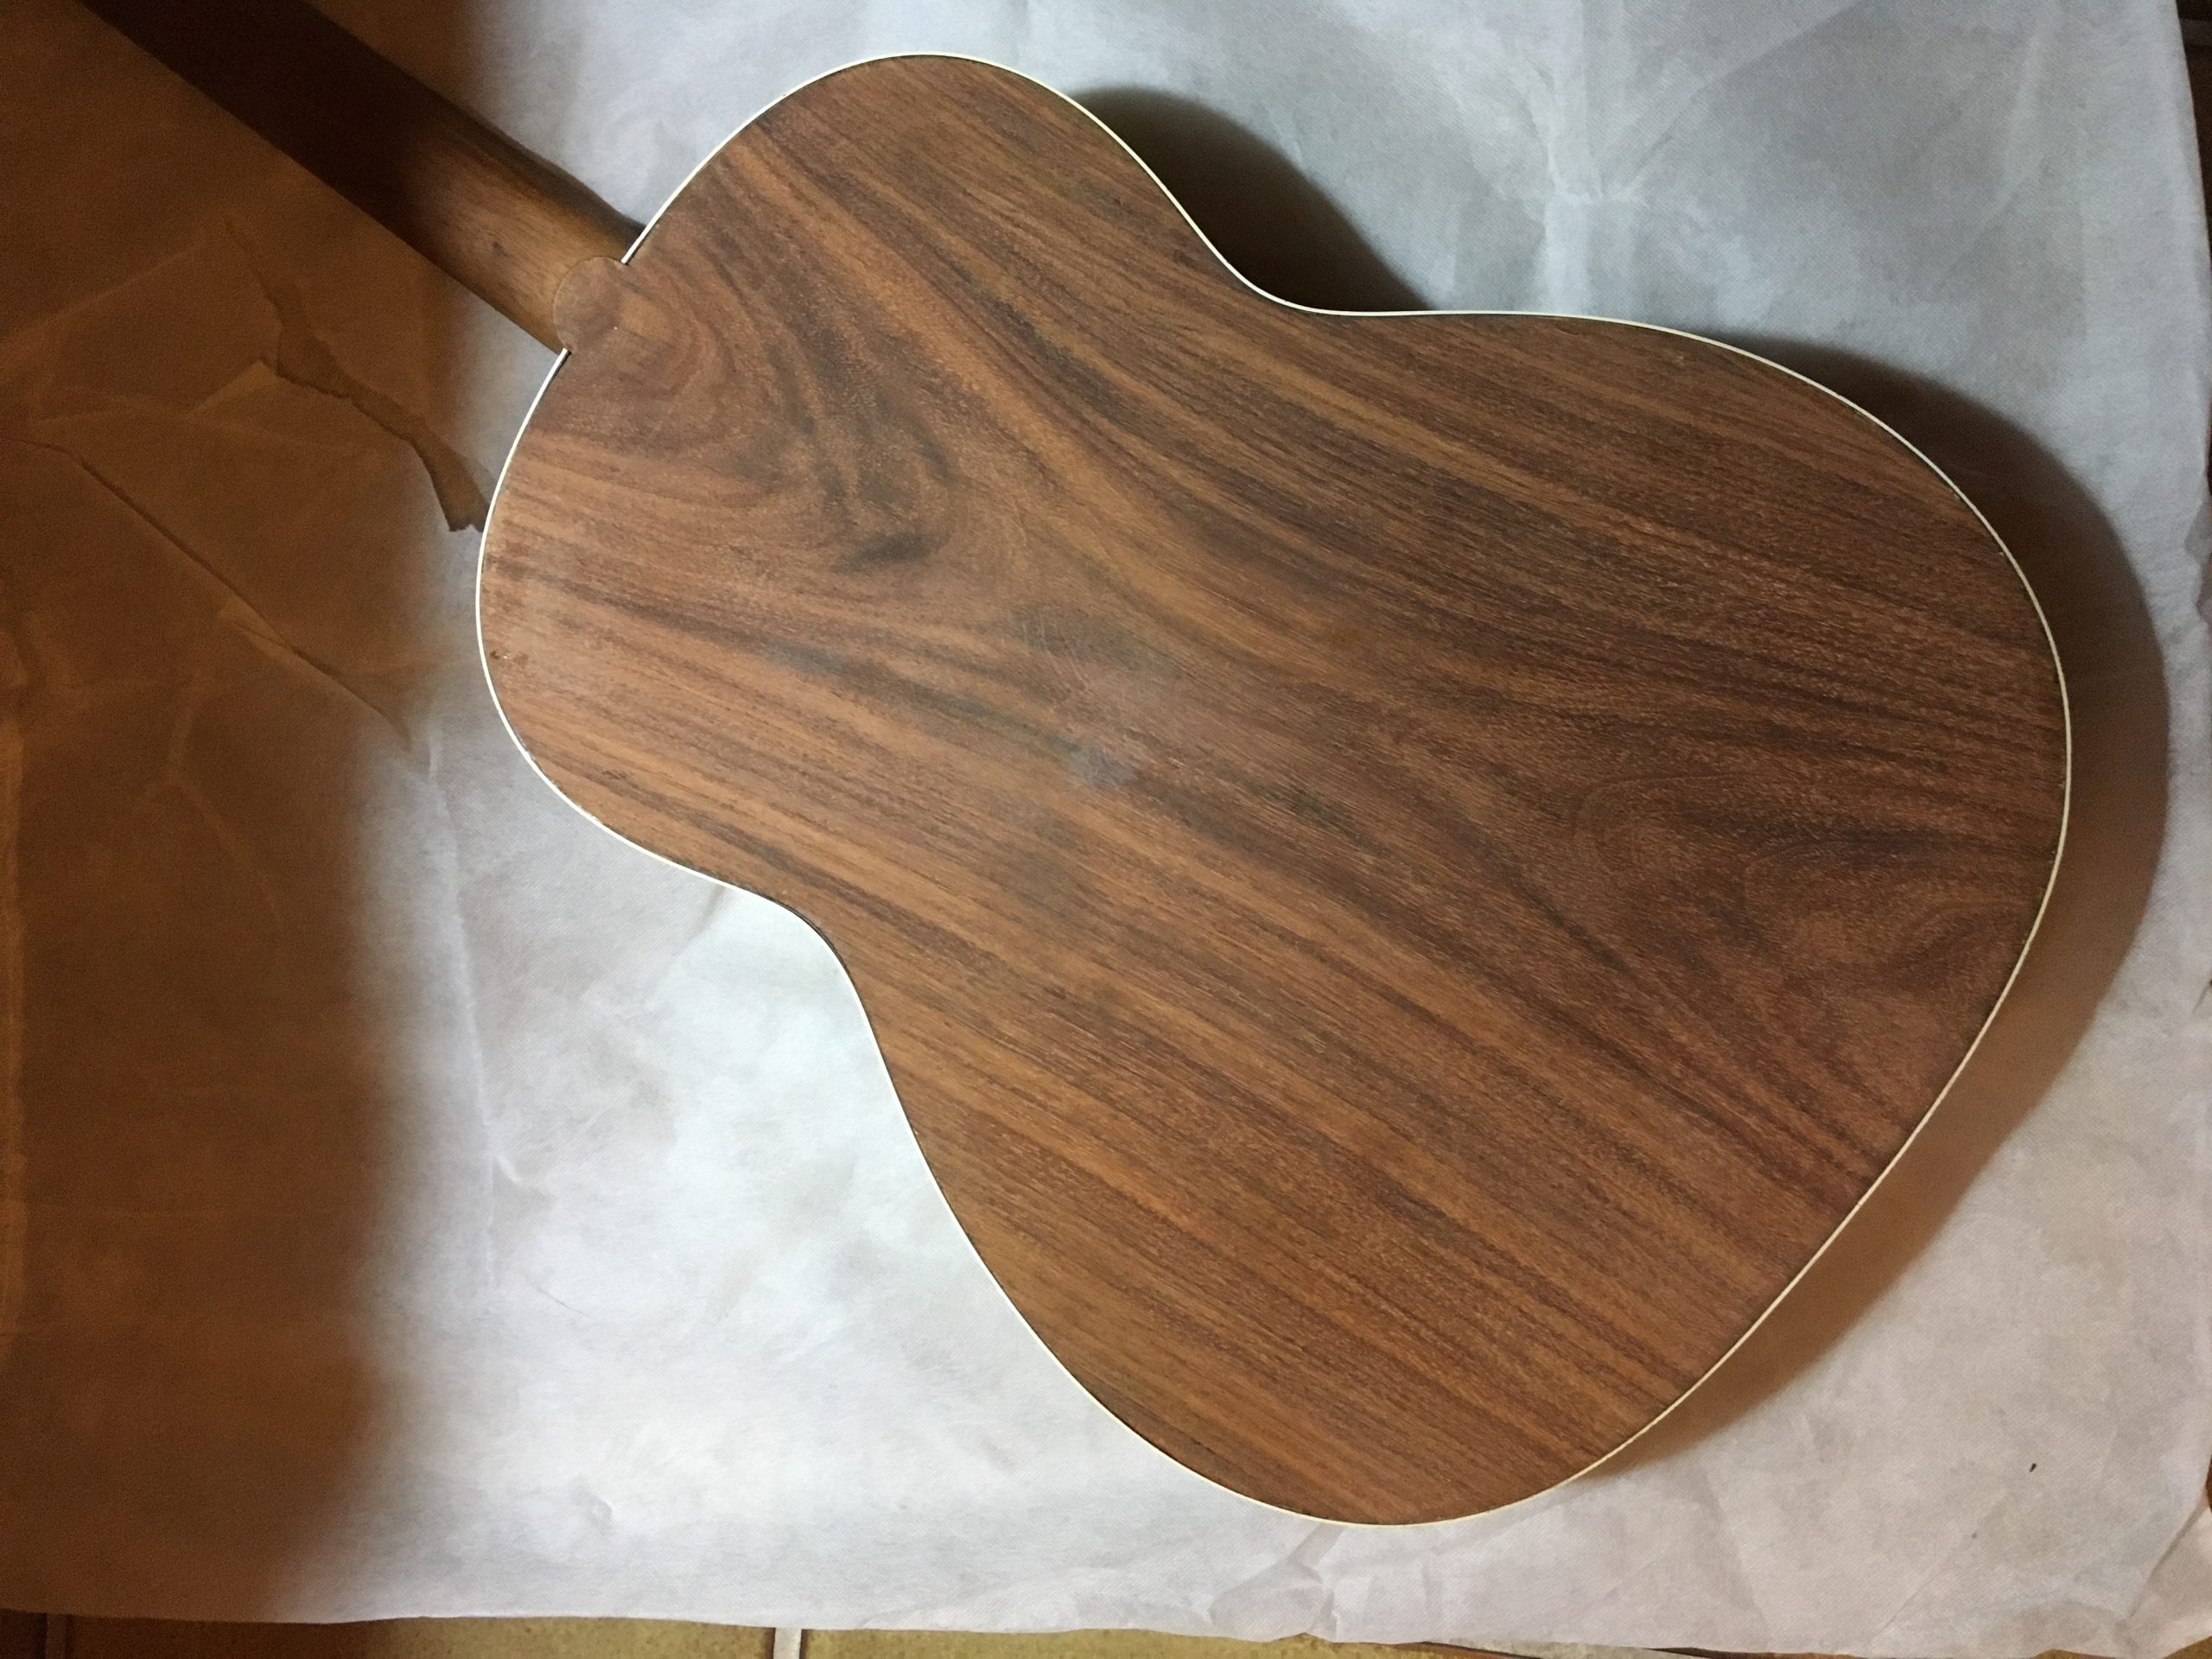
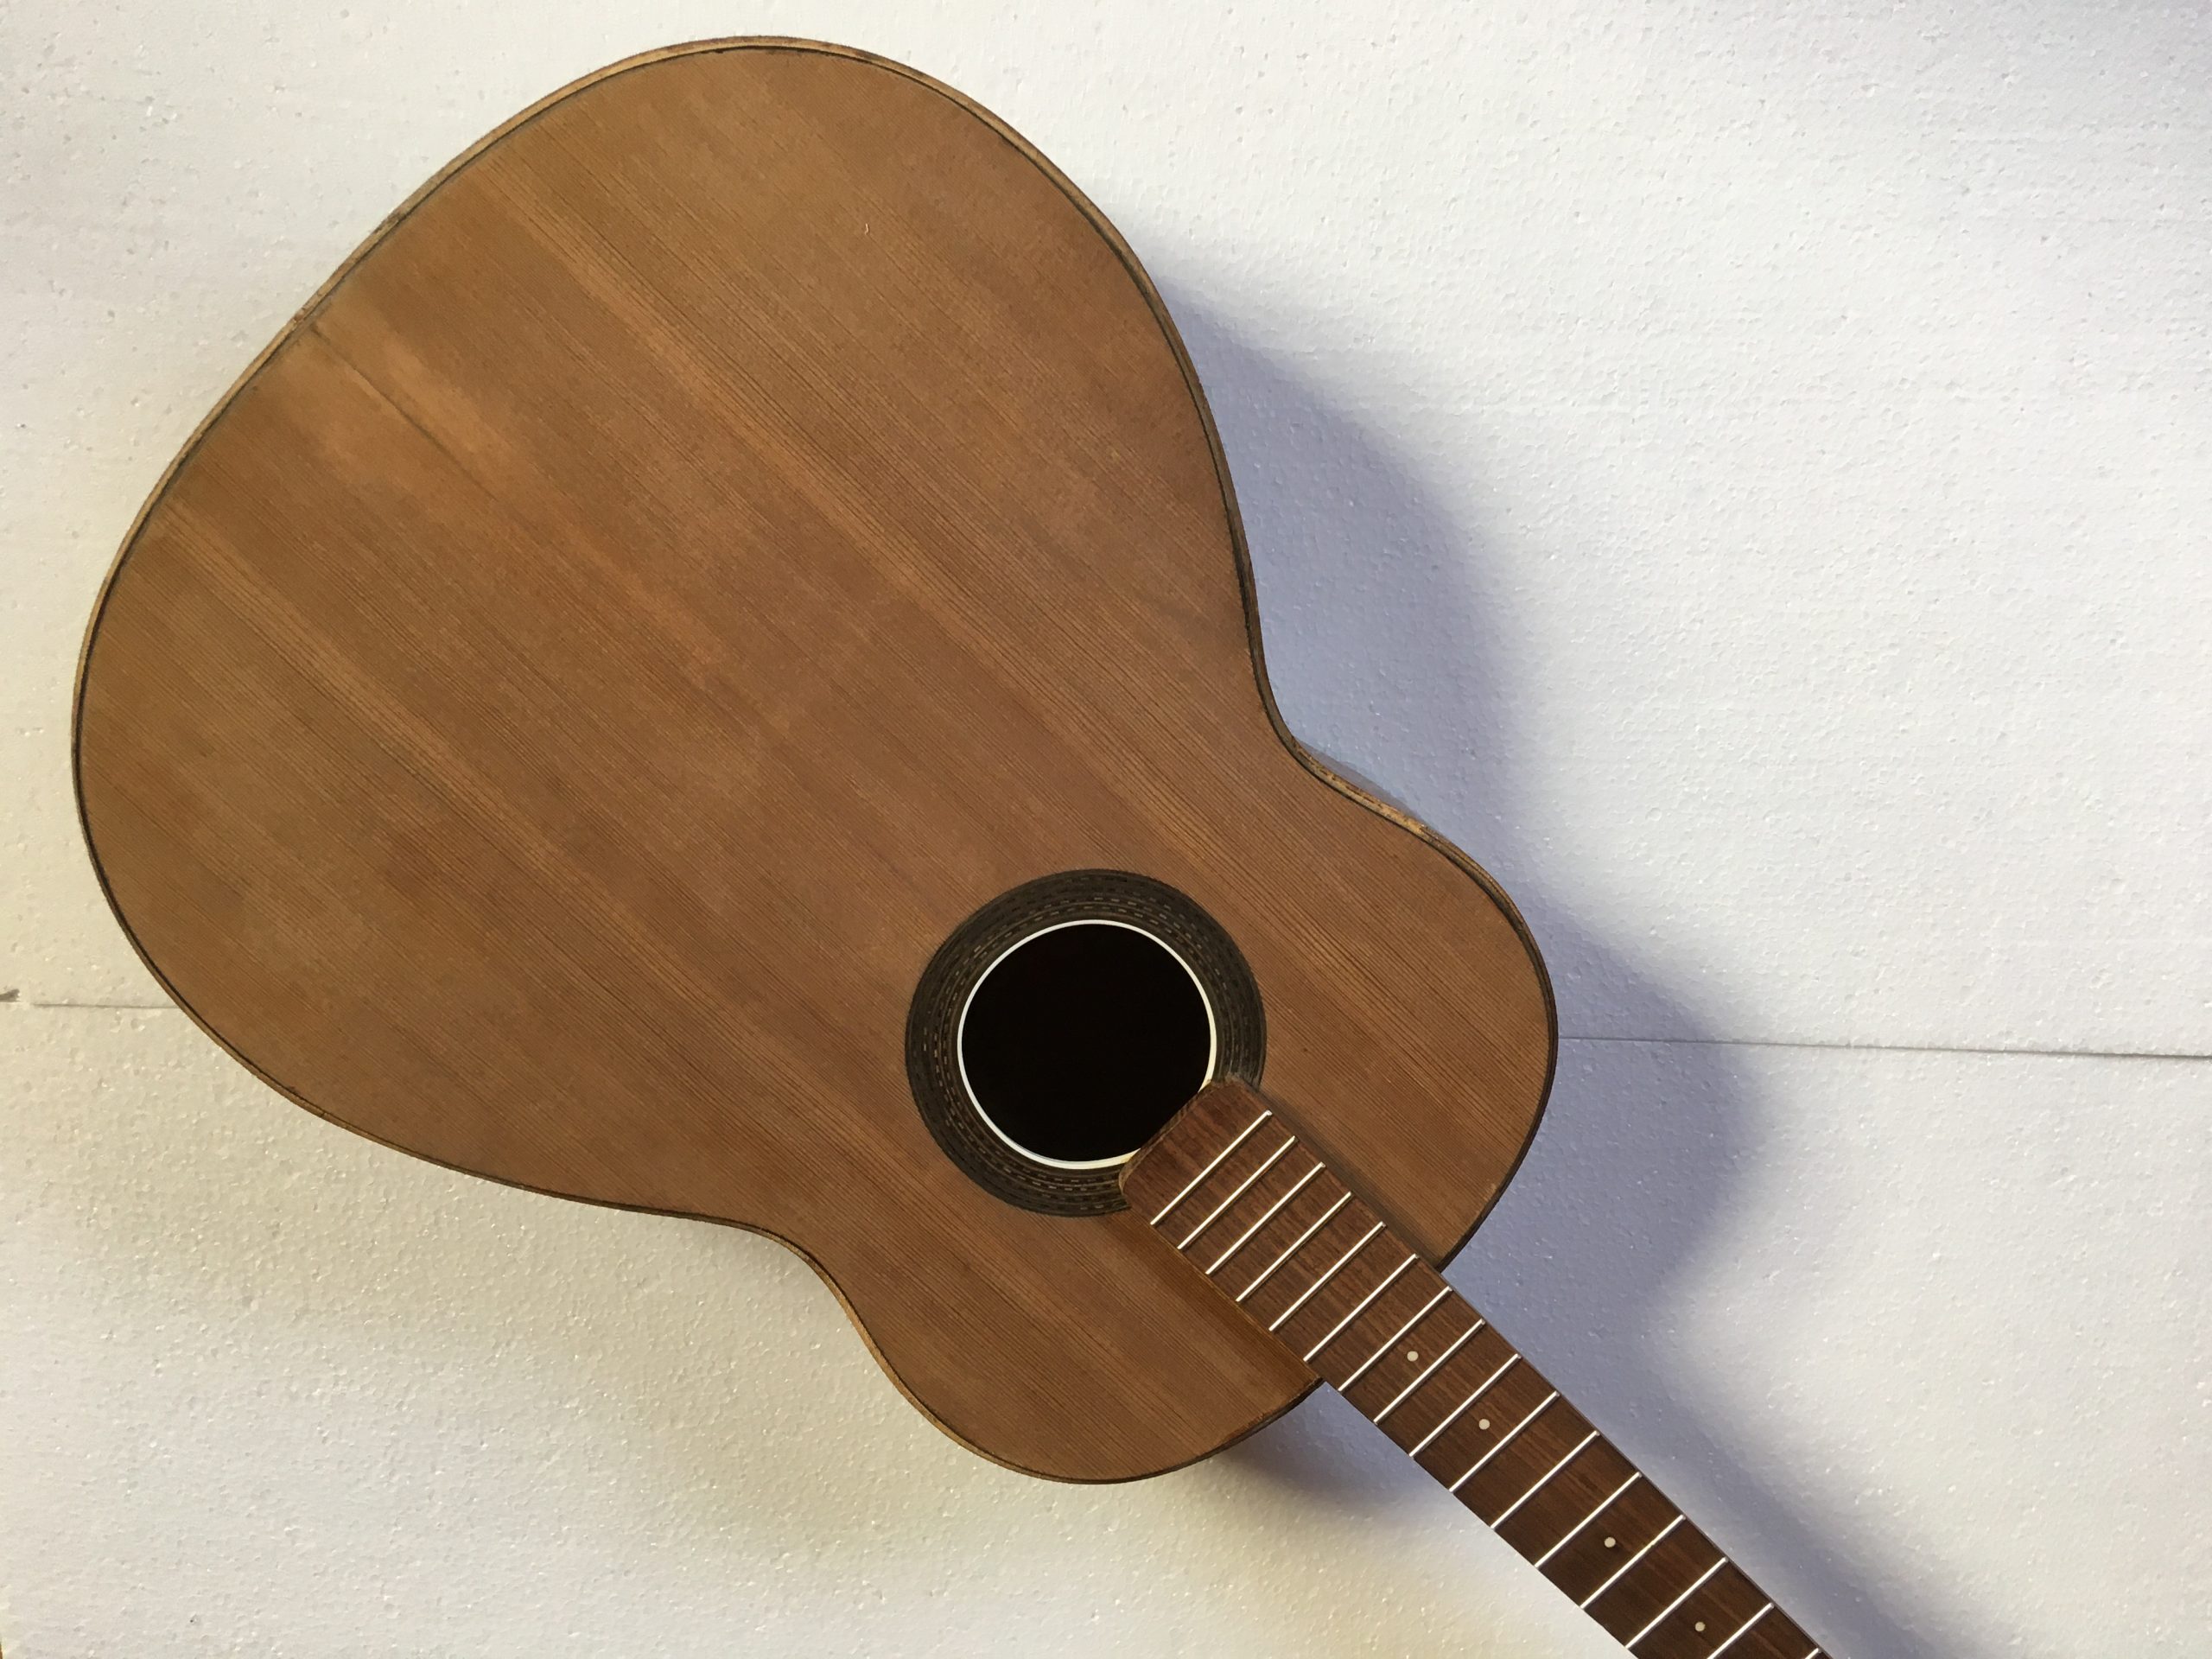
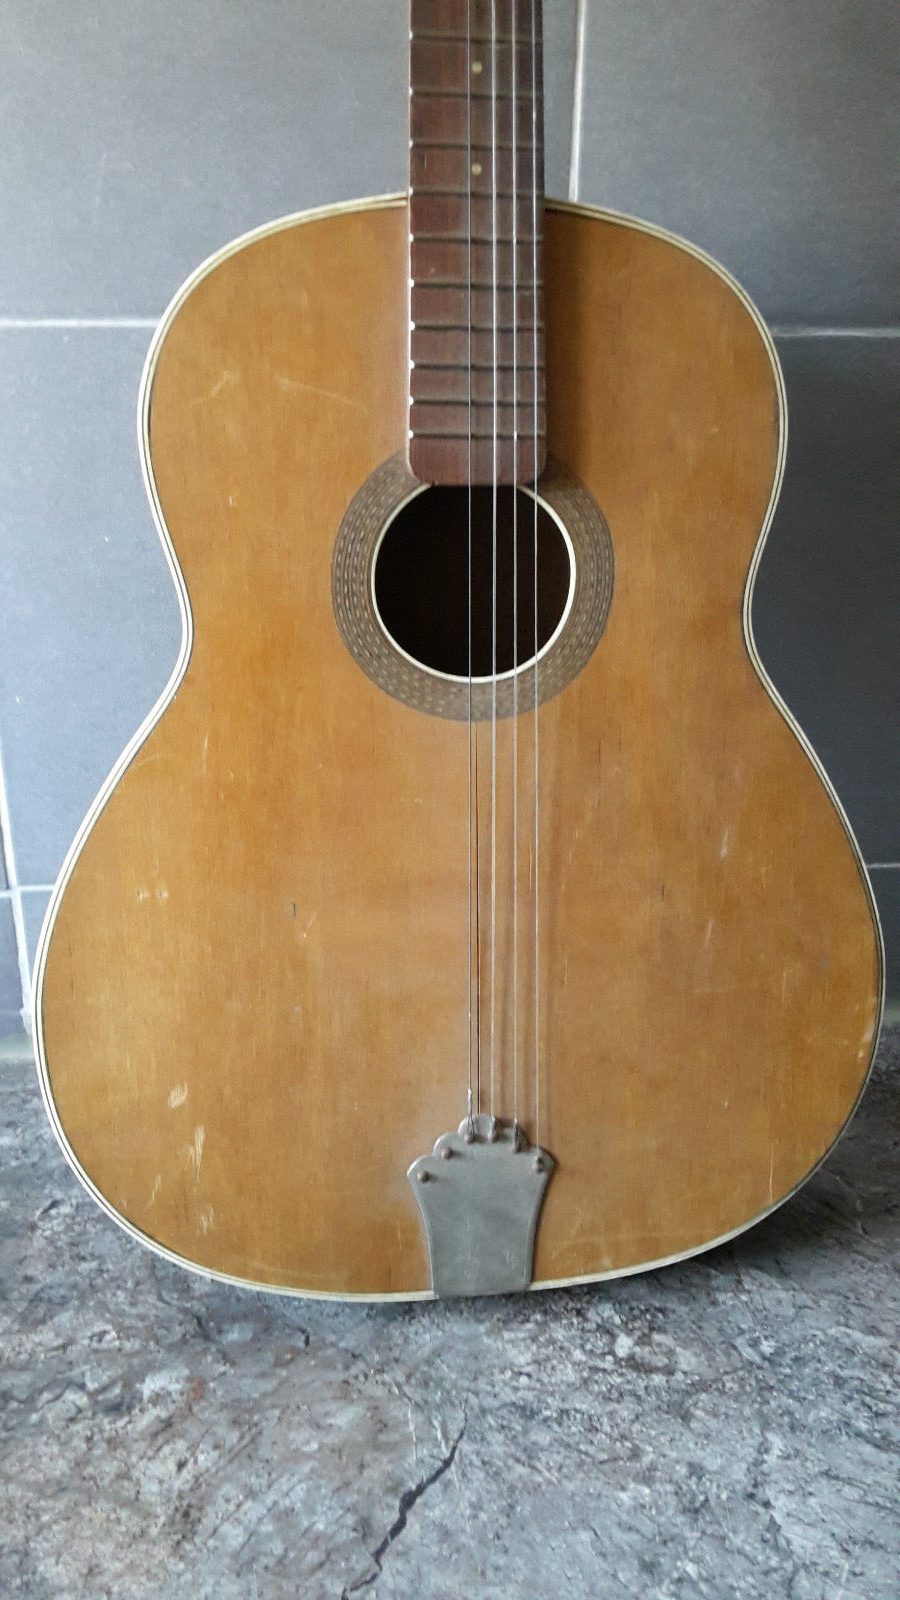
The finished article after shellacking and rubbing the front with 0000 wire wool and applying furniture wax. It will still need a little work and a few more applications of wax before it gets a proper sheen, but hey, this is a 100-year-old guitar and doesn’t have to look like it just rolled out of the factory!  
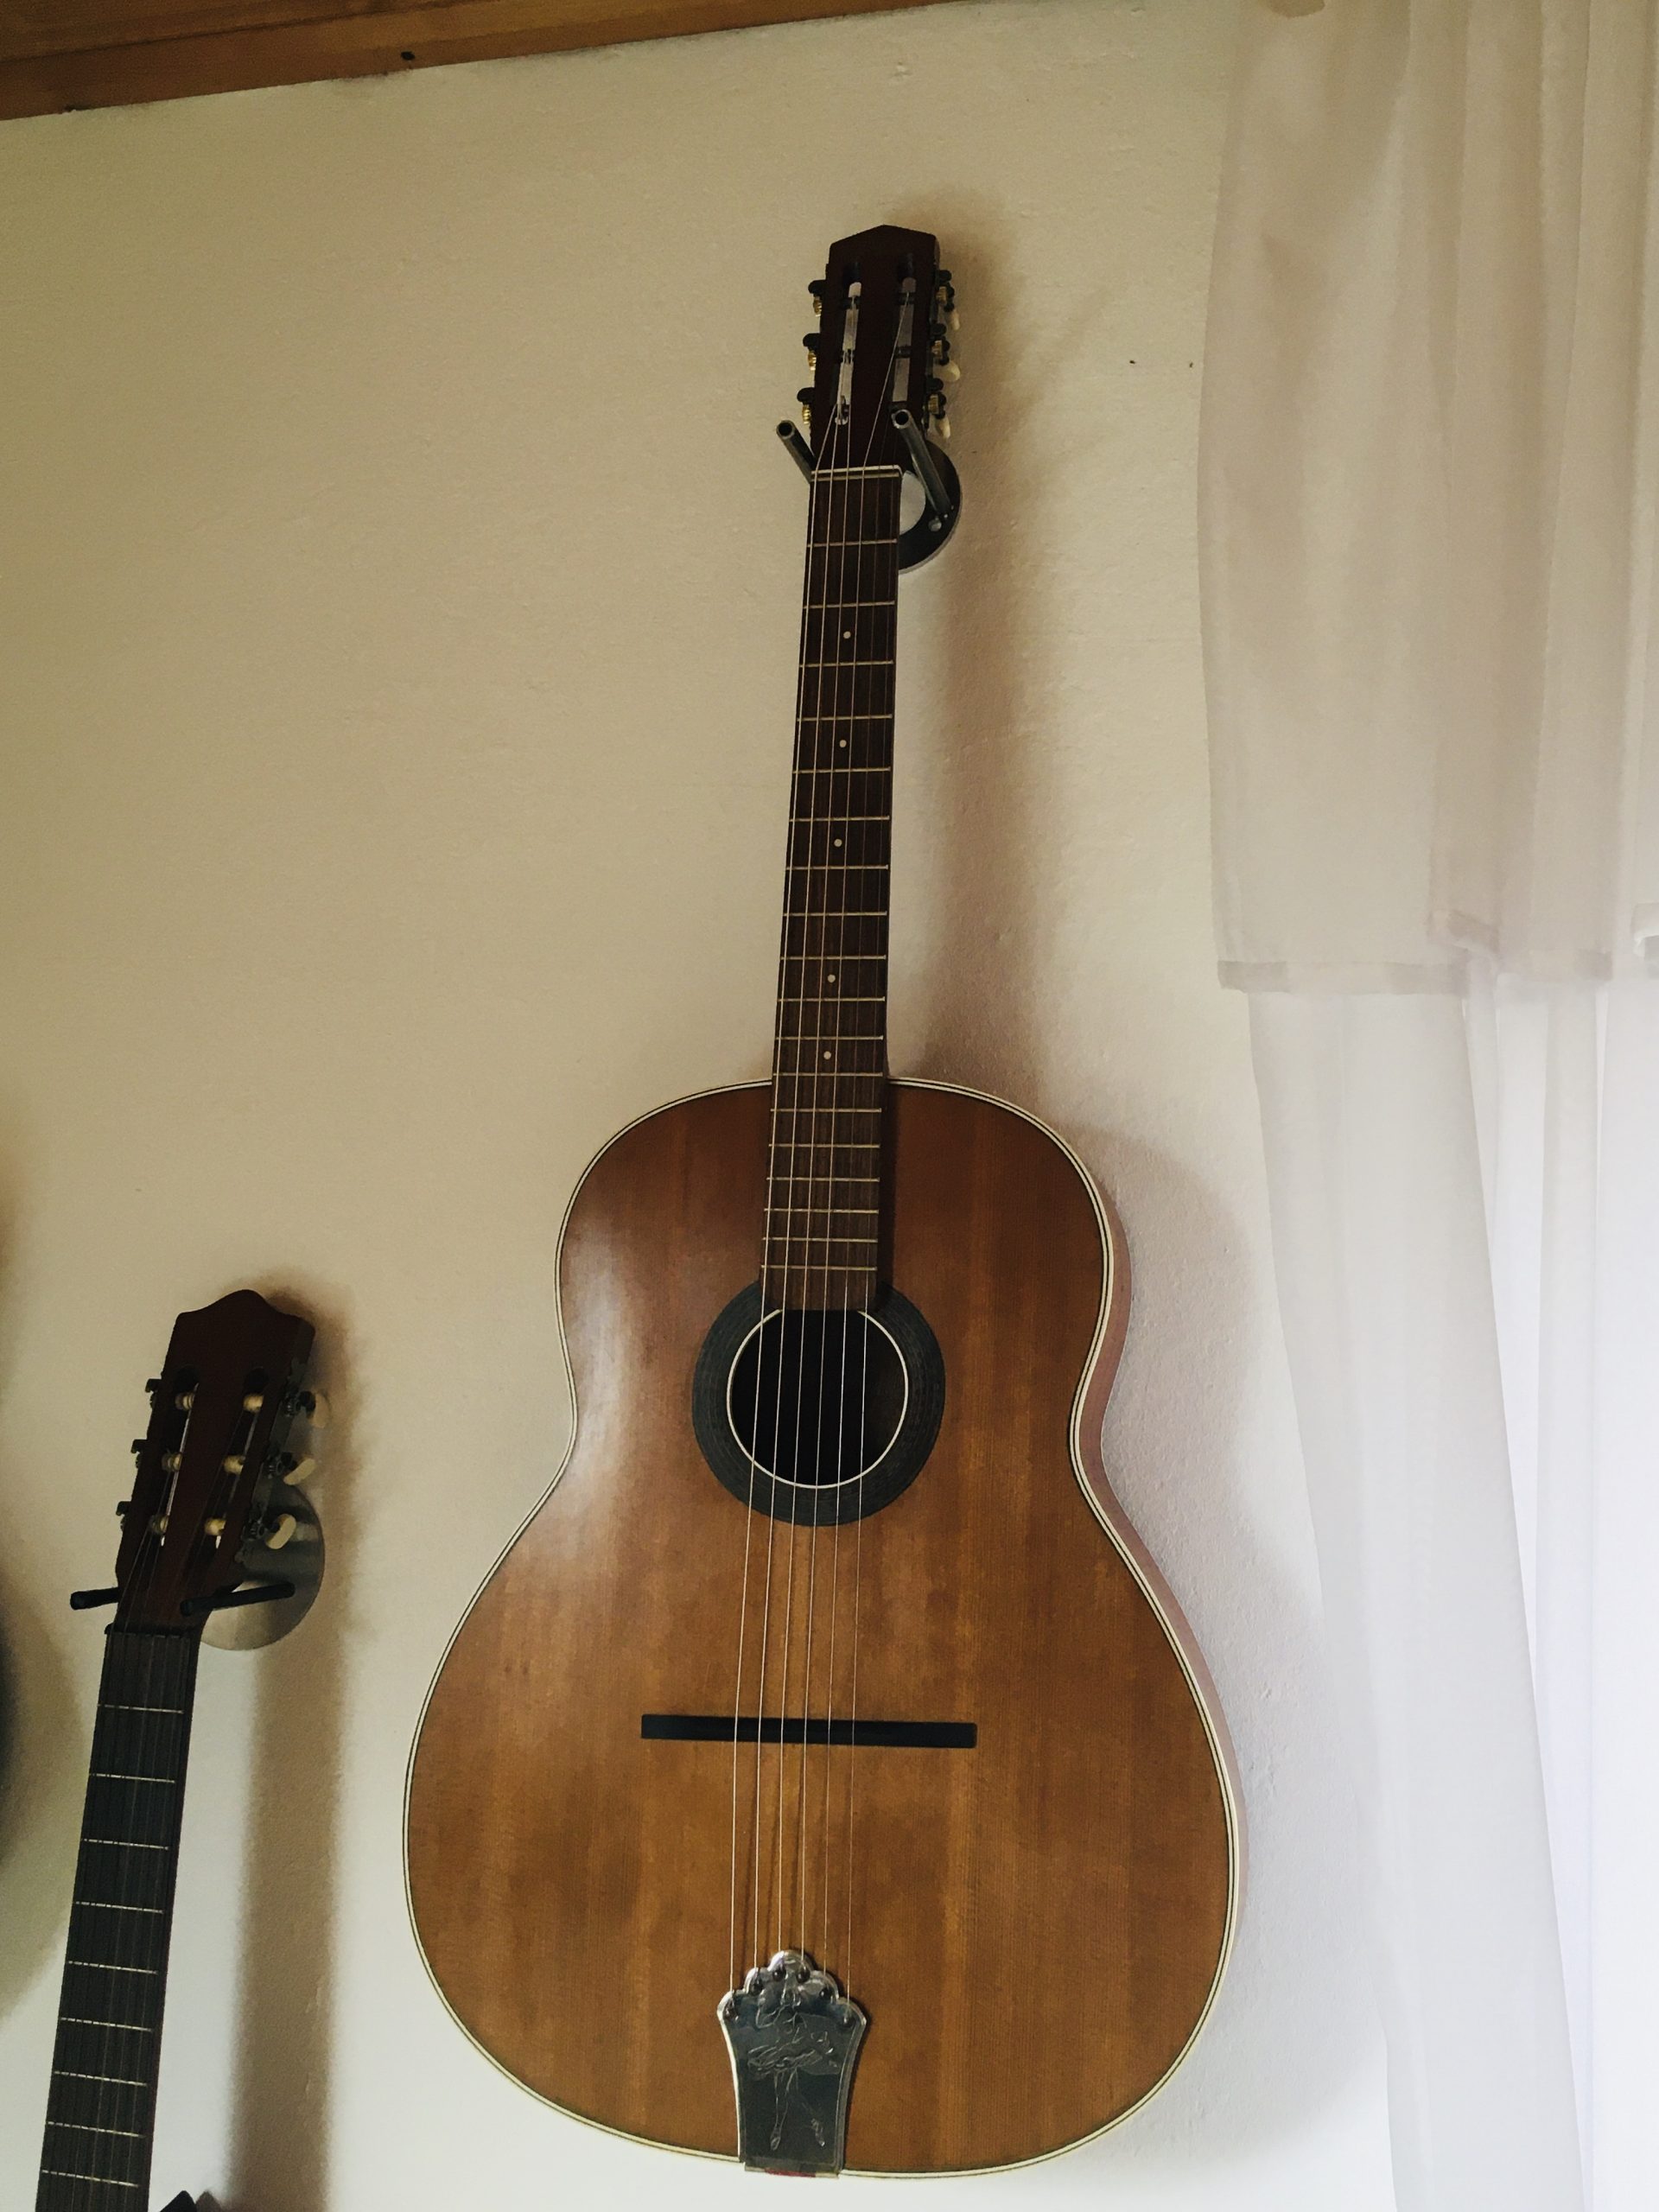
The back and sides were shellacked and de-nibbed with wire-wool and left in the gloss that remained

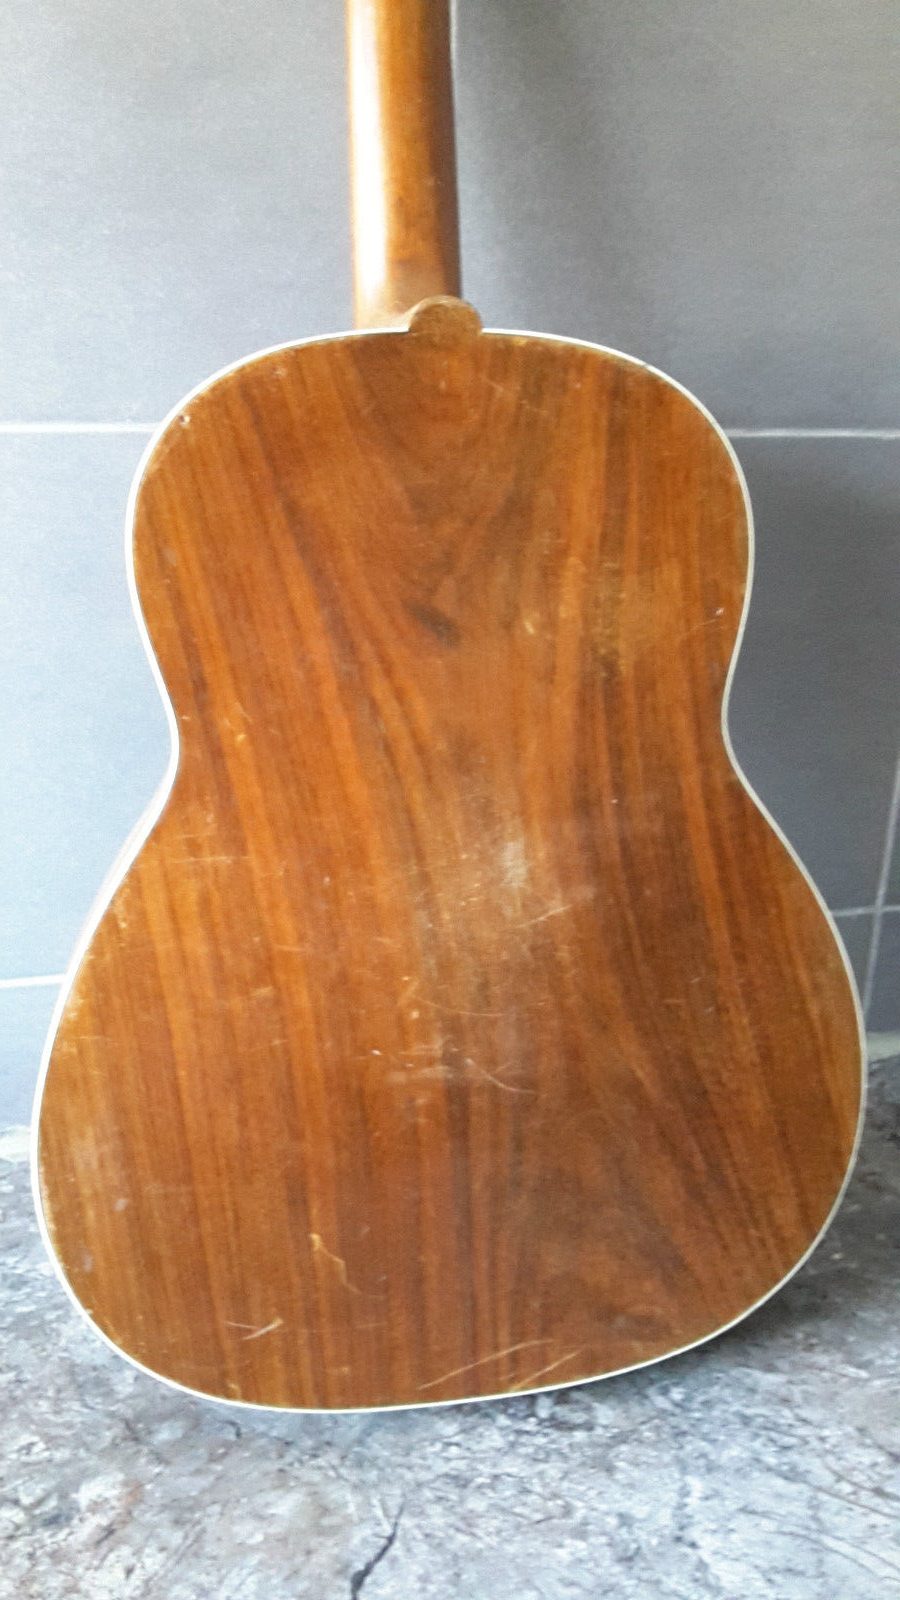
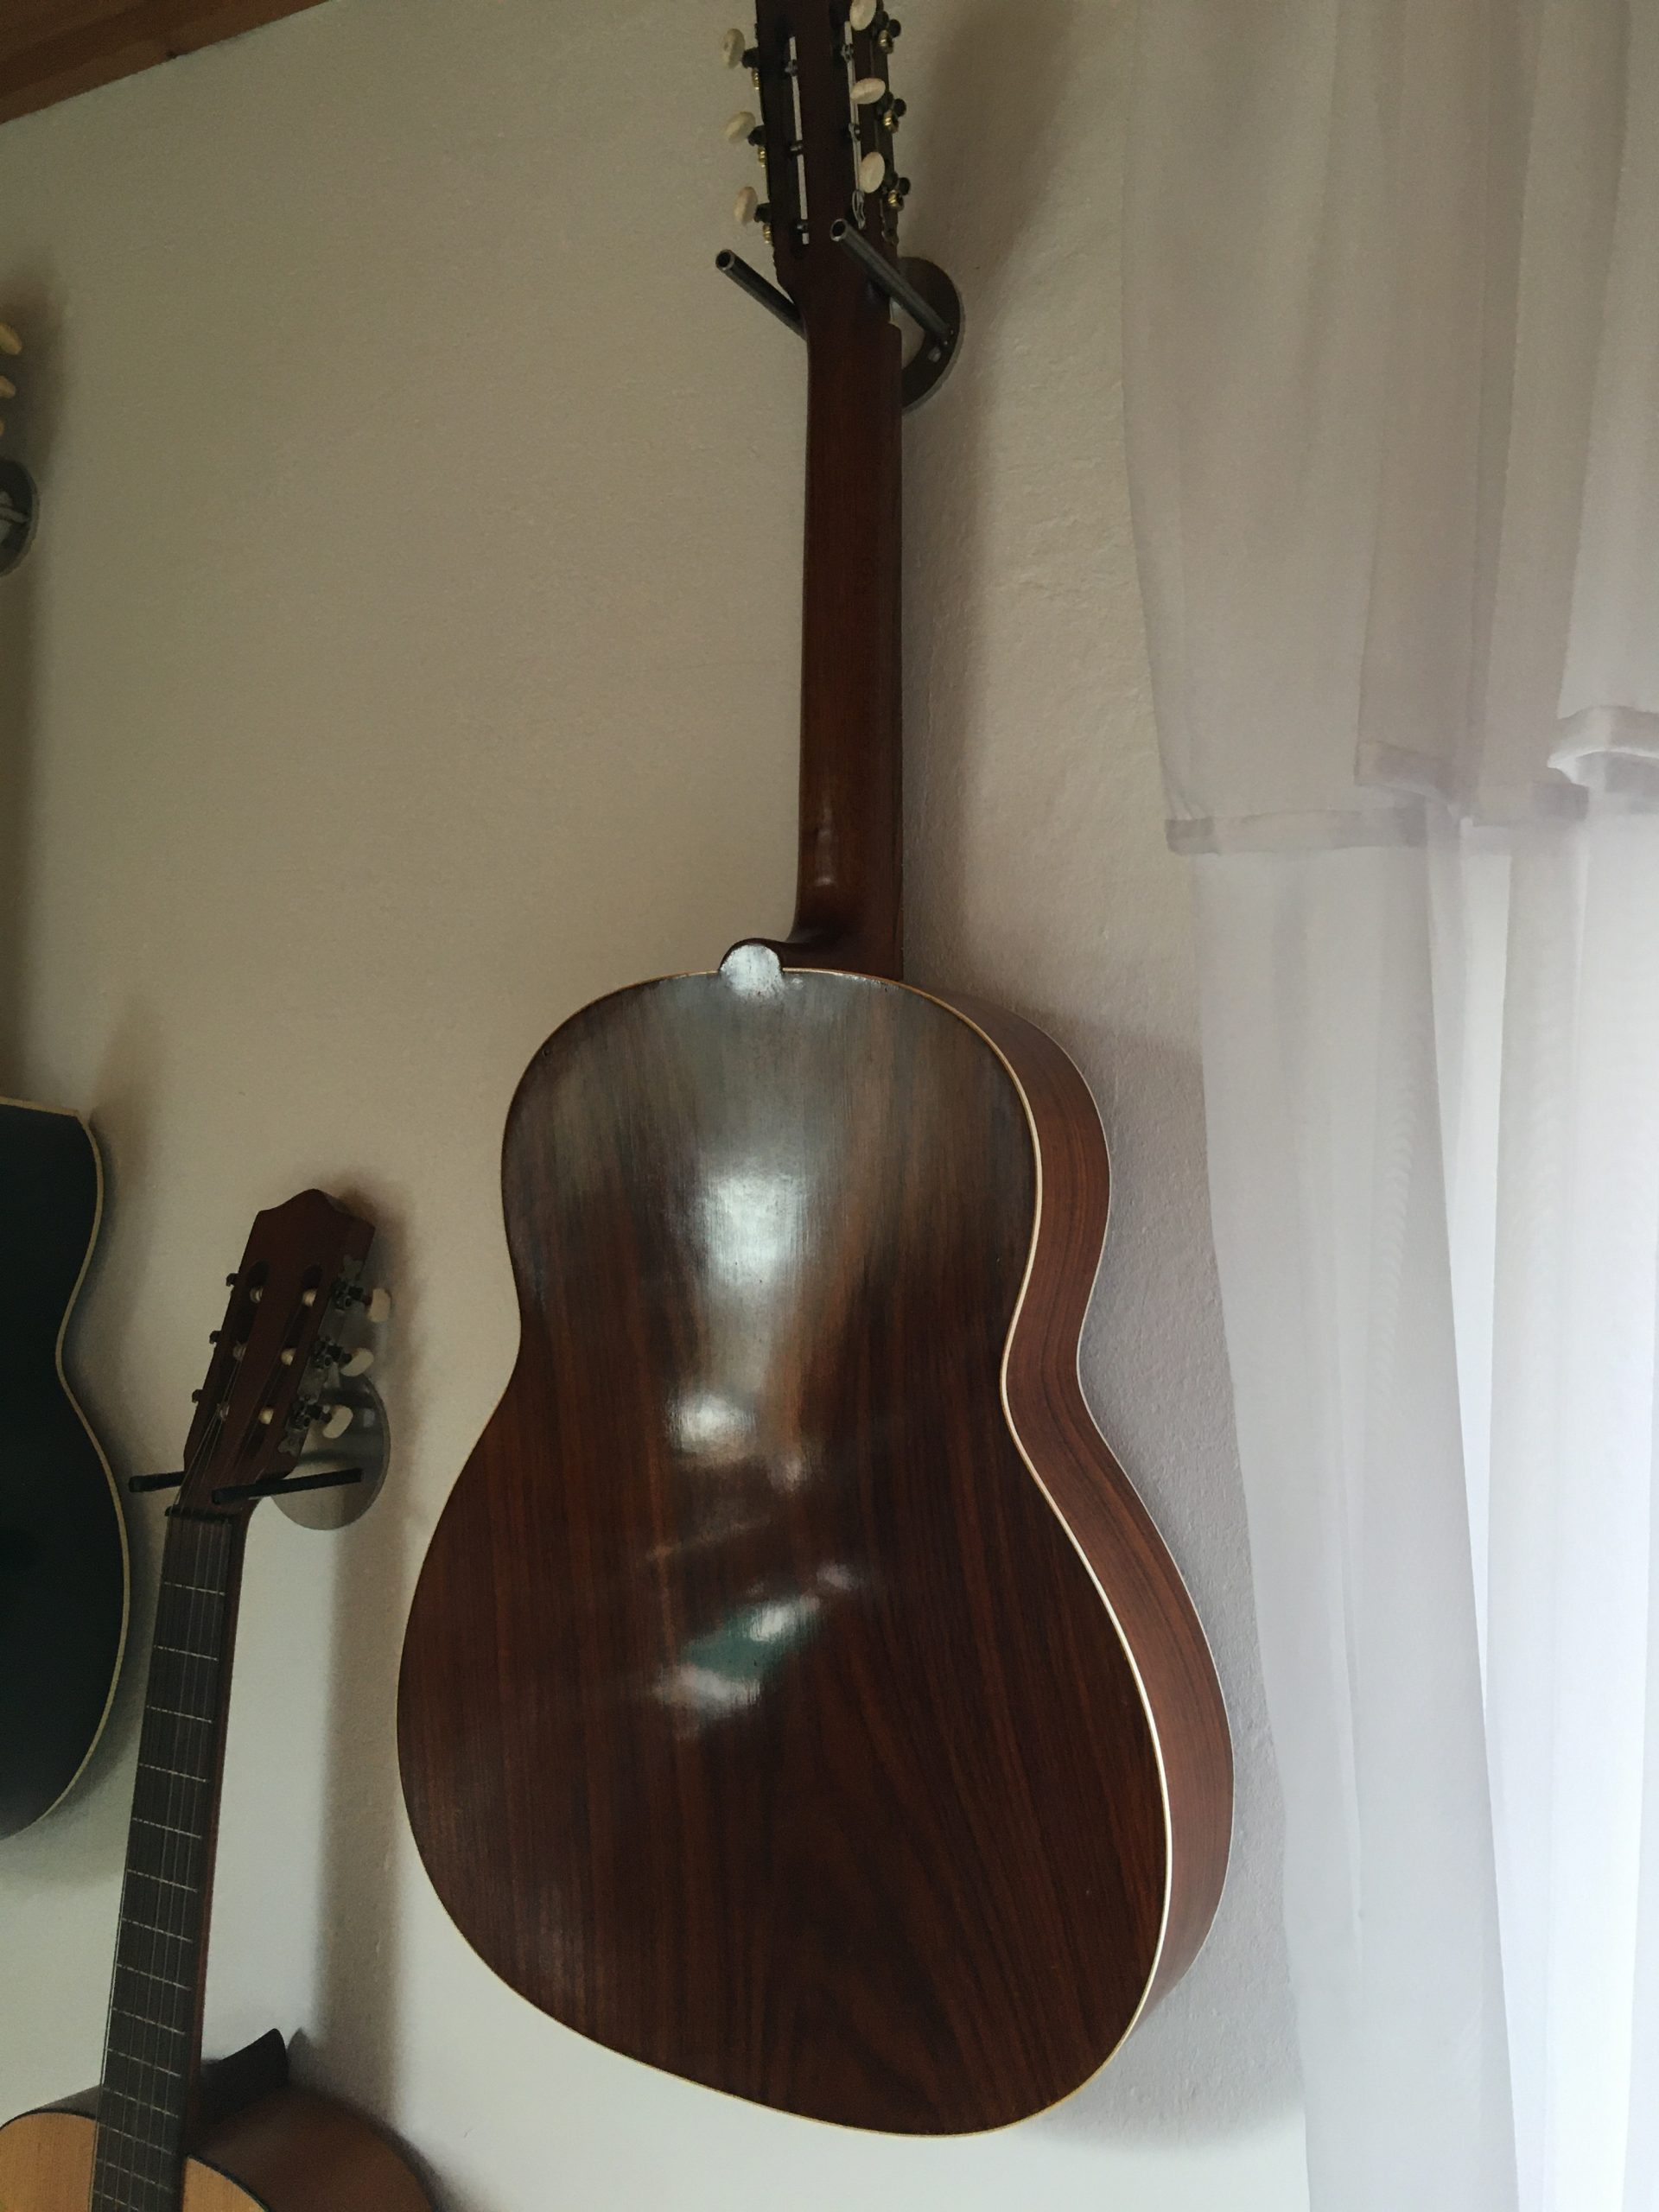
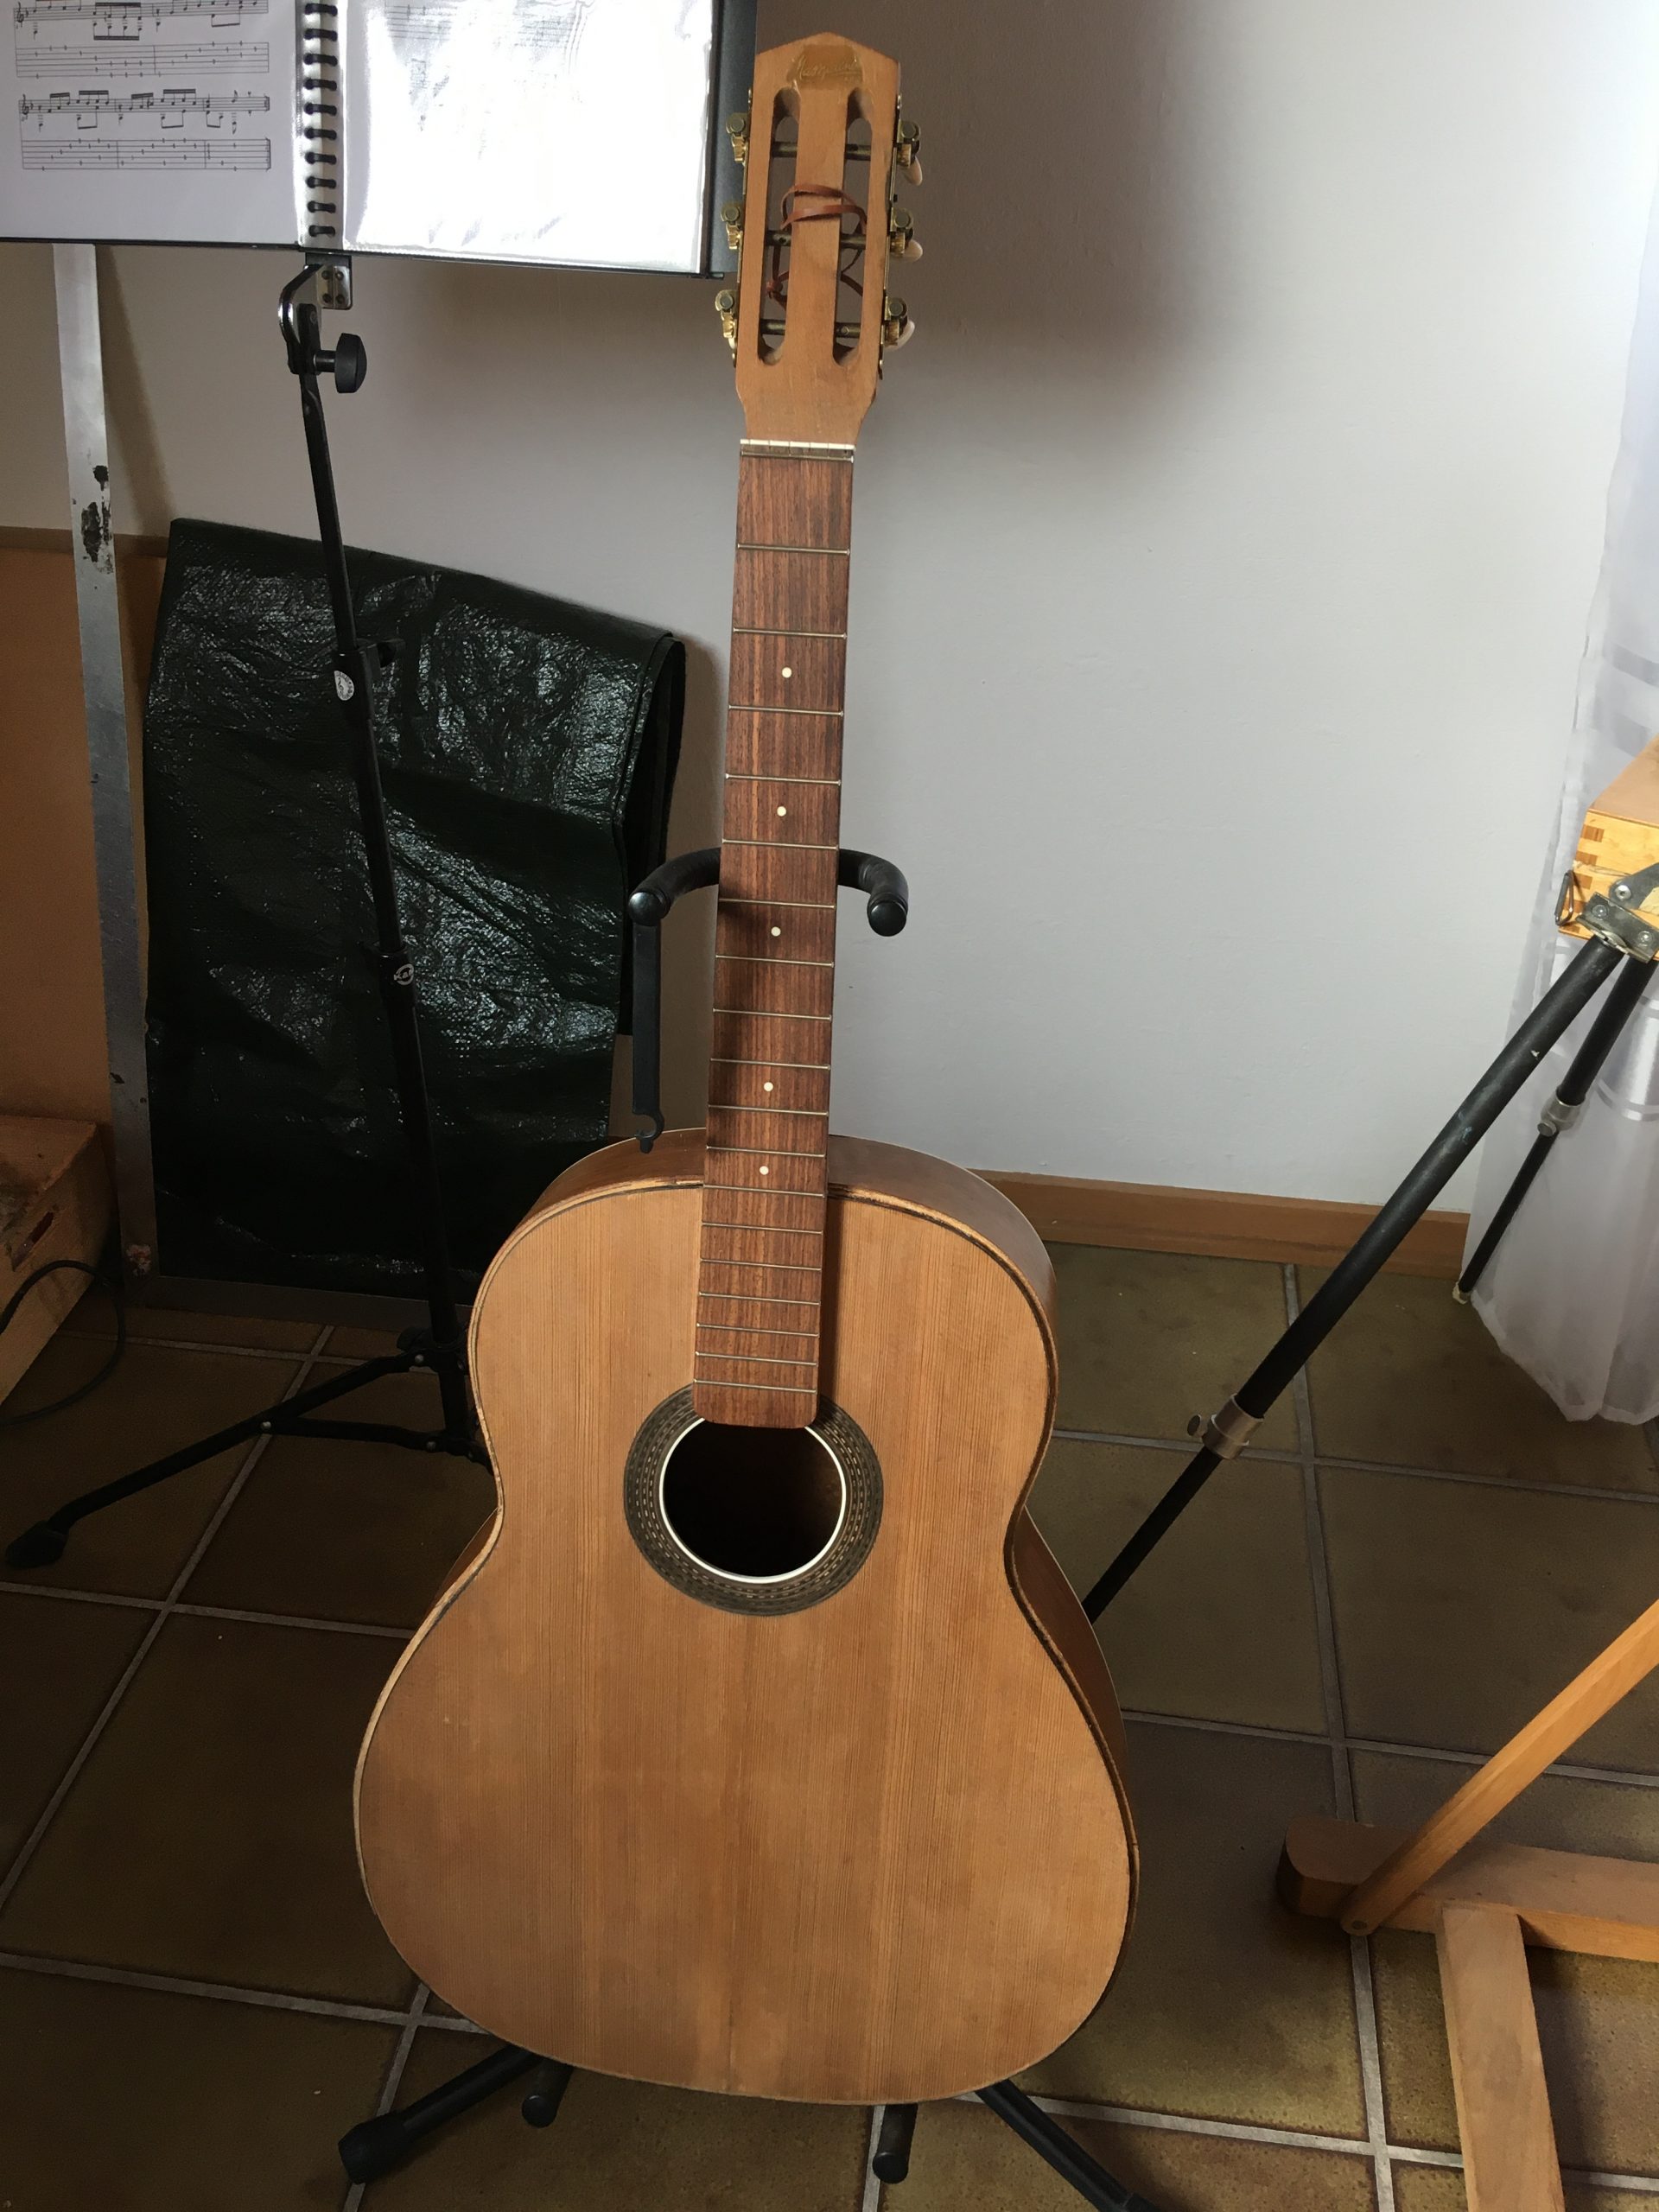
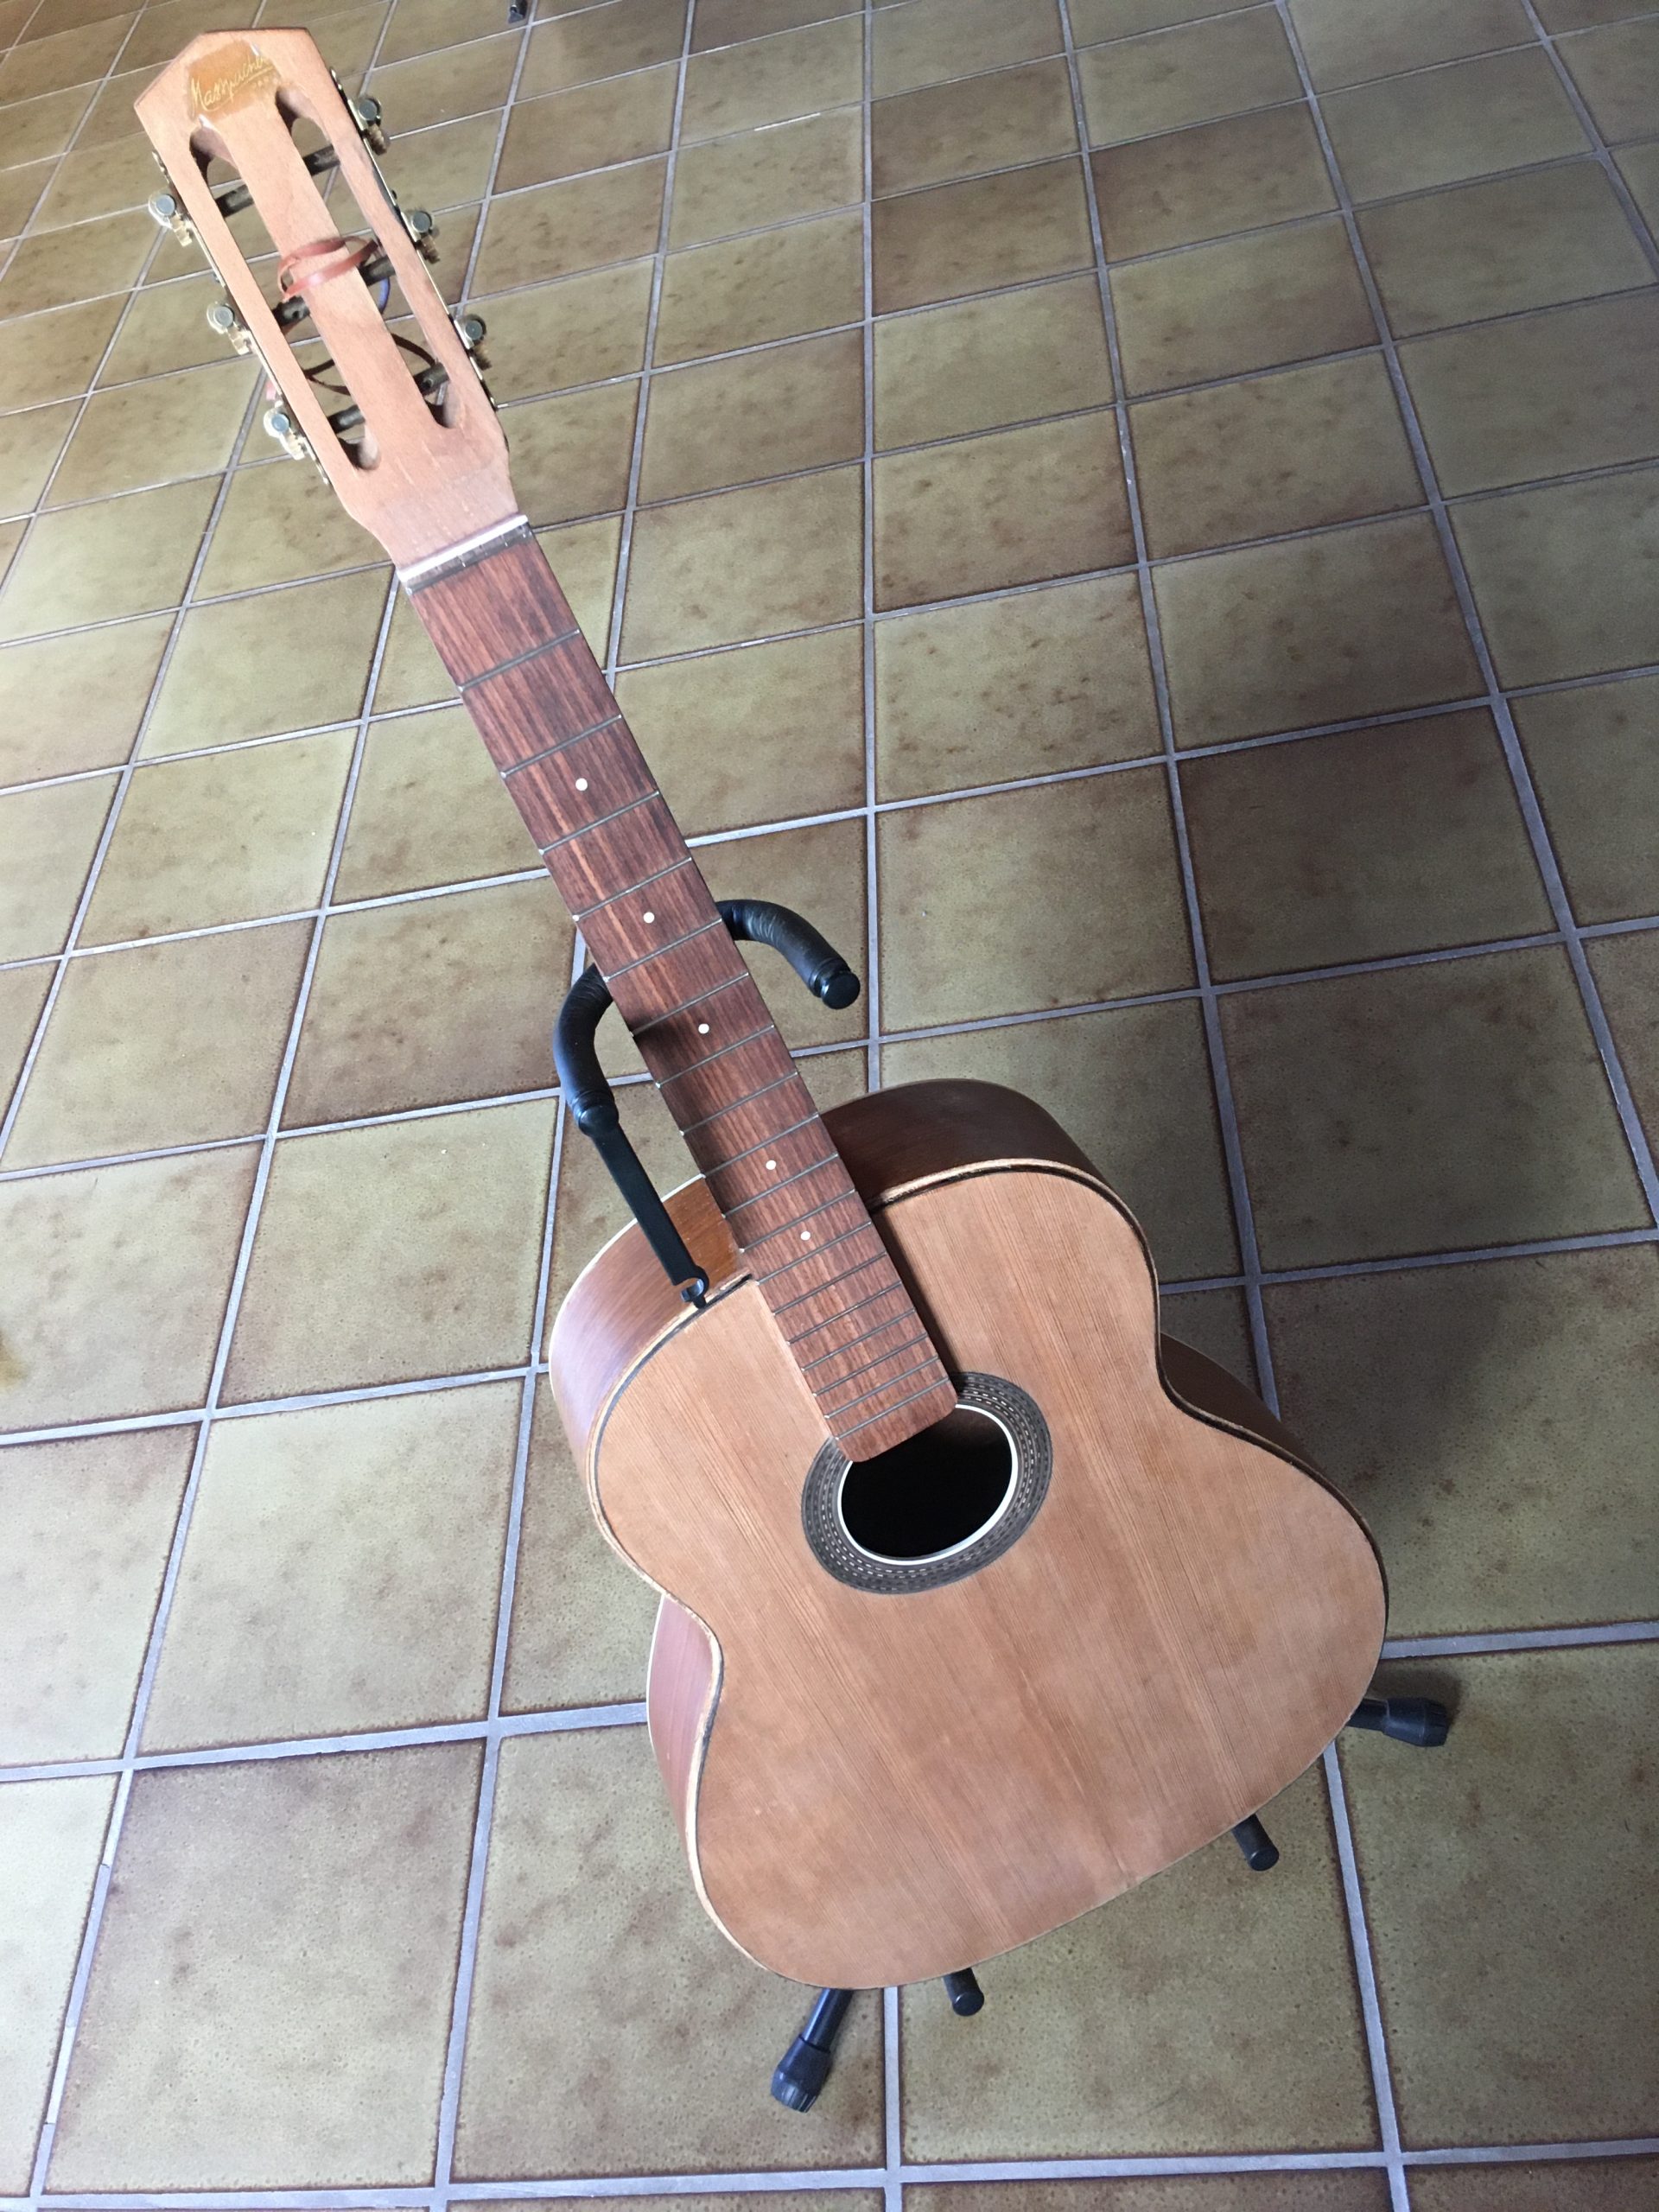
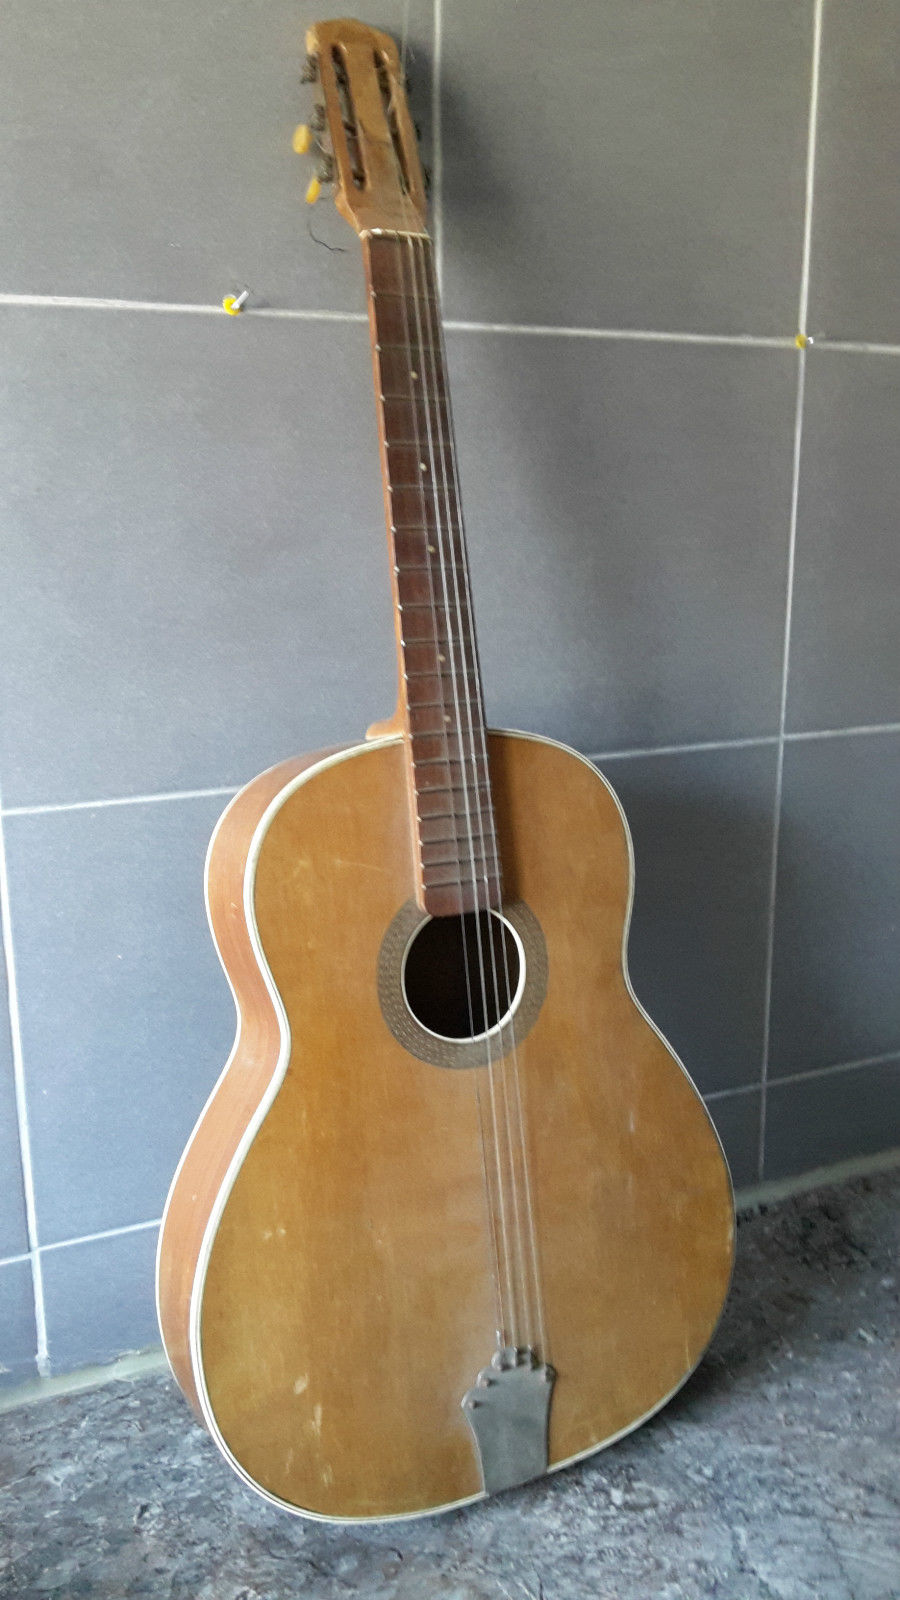
Its place on the wall at home (camera-distorted angle to the bridge, by the way!) next to an old Ukrainian ‘Trembita’ (Epiphone copy?) and a ’70s Höfner bottom-of-the-range (¾?) classical. The bass also (now) works active and passive, but was an electronic mess when I got it 🙂

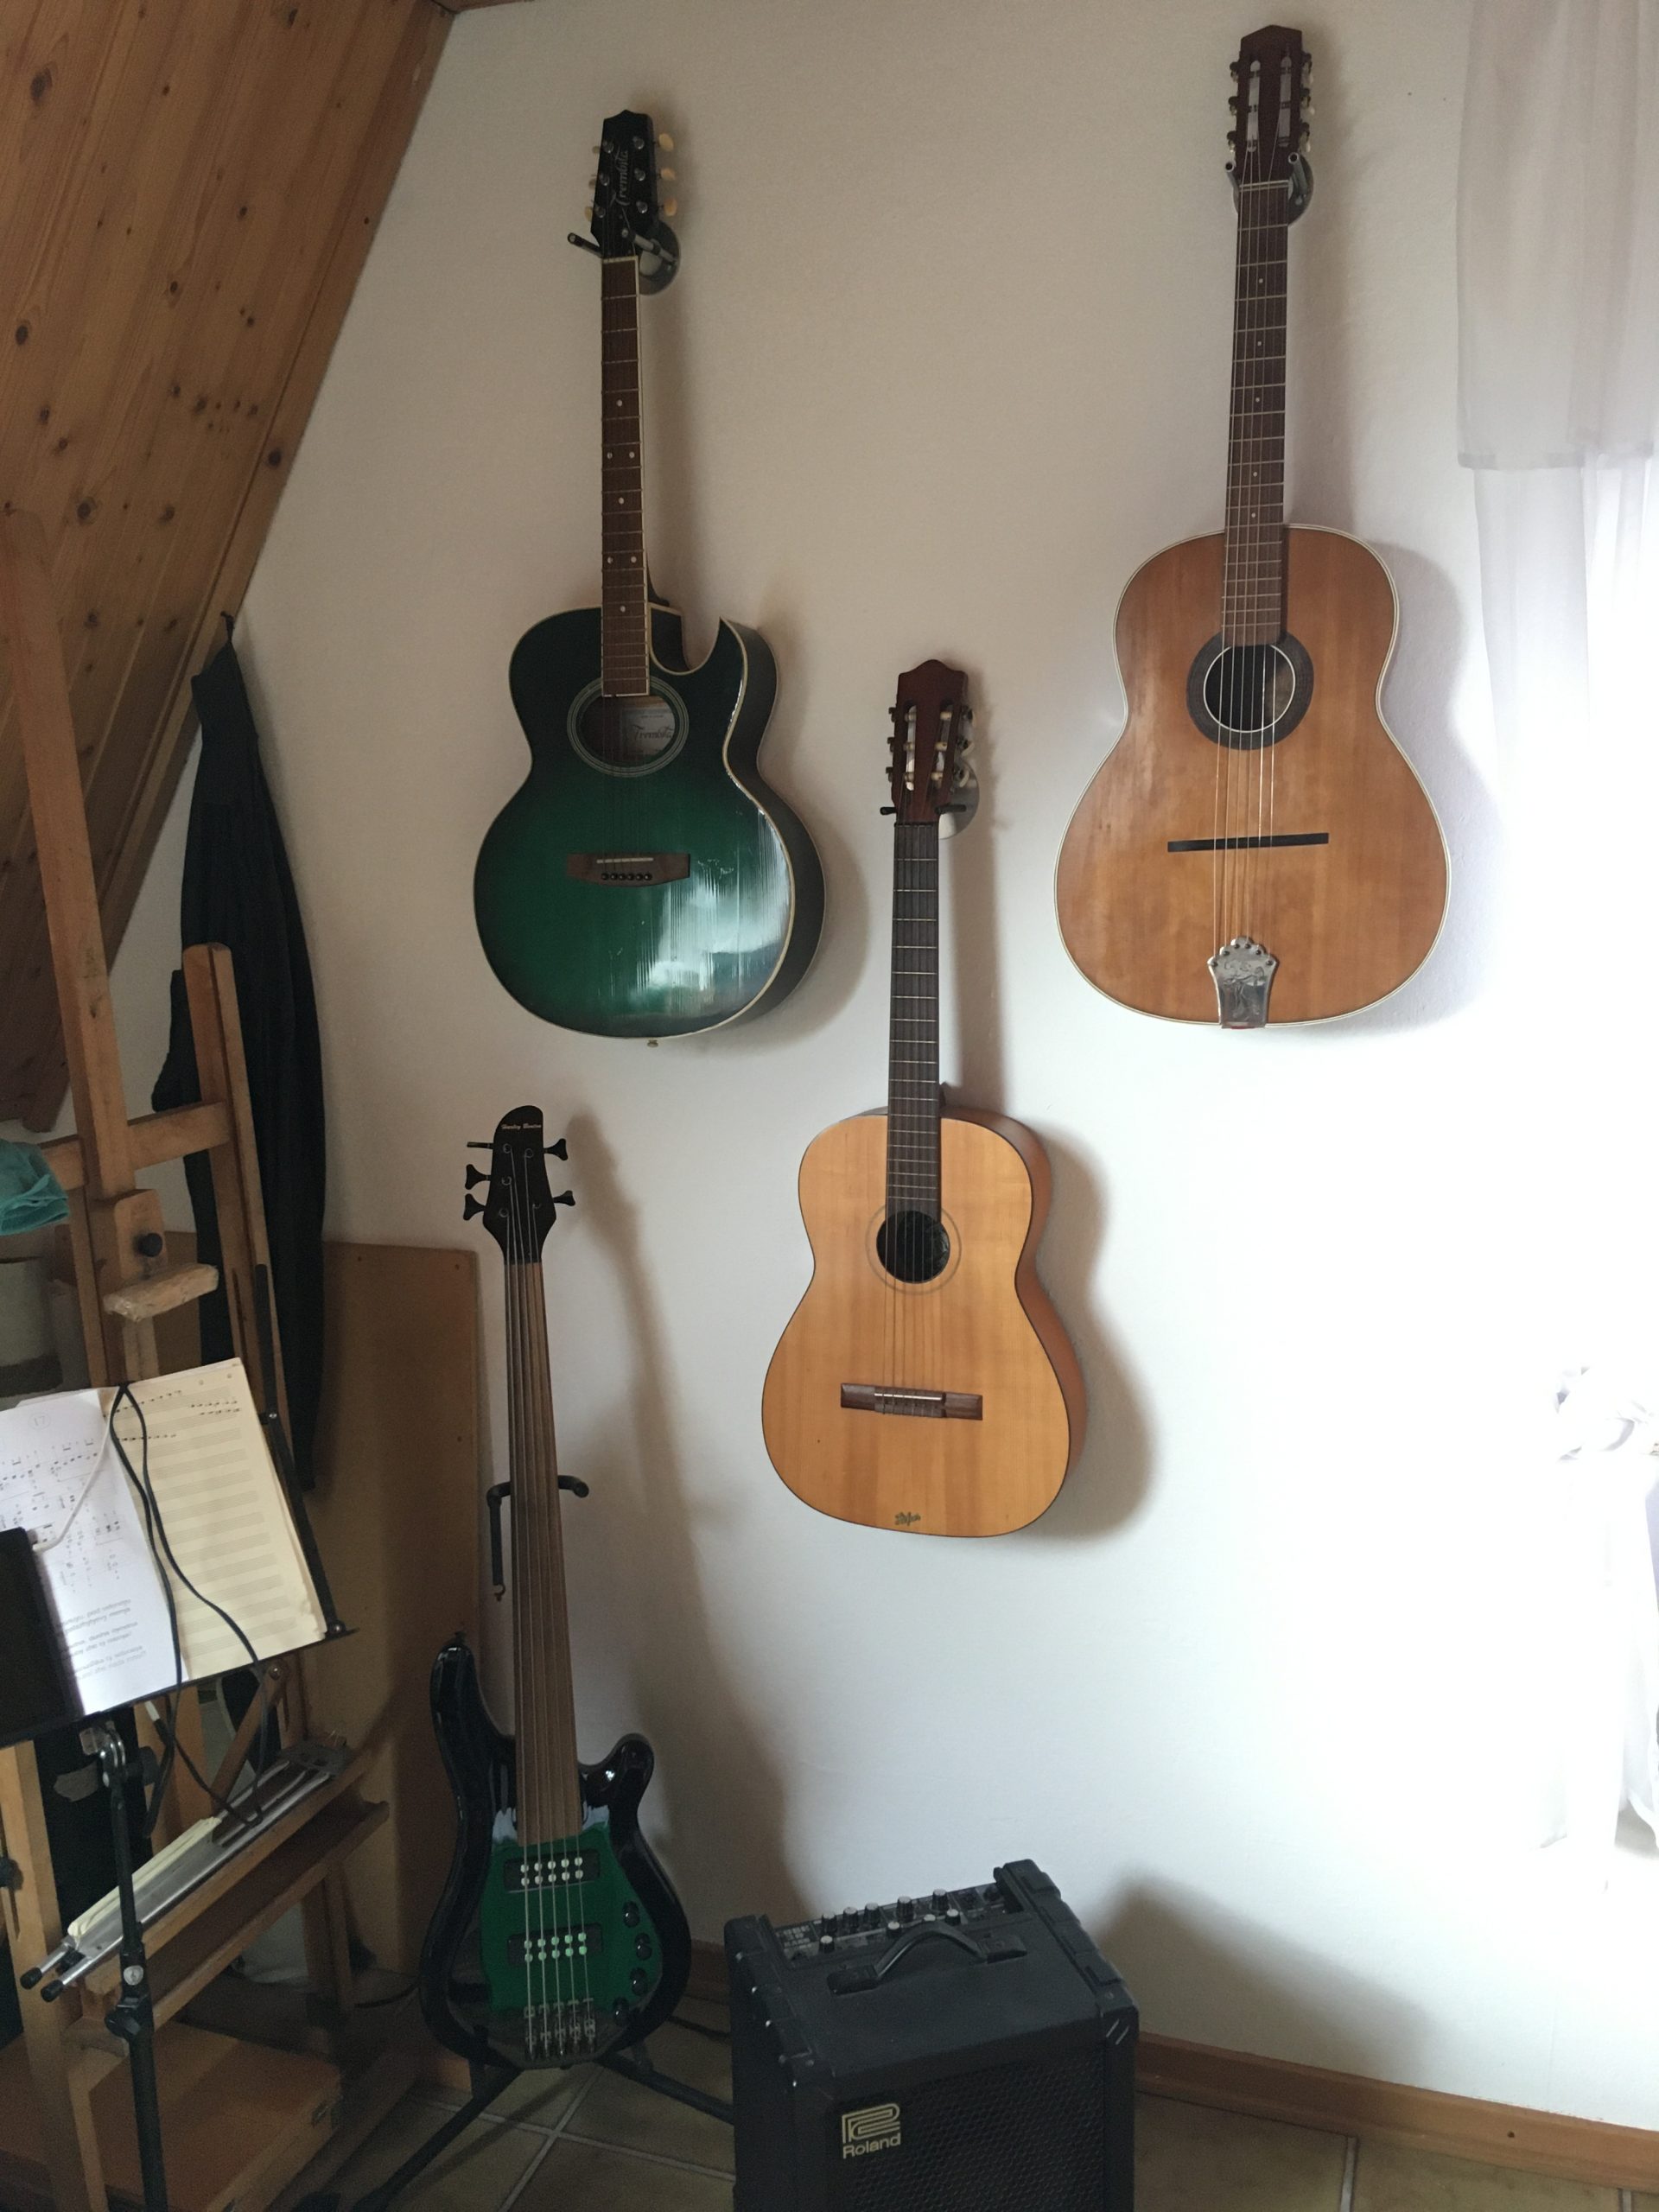
A new day dawns on the Masspacher which played very nicely from the word ‘Go!’. I may have to adjust it a bit as time goes by and it settles, but despite the gargantuan thickness of the neck, it plays with a light touch and strong tone – the sustain is great, of course!
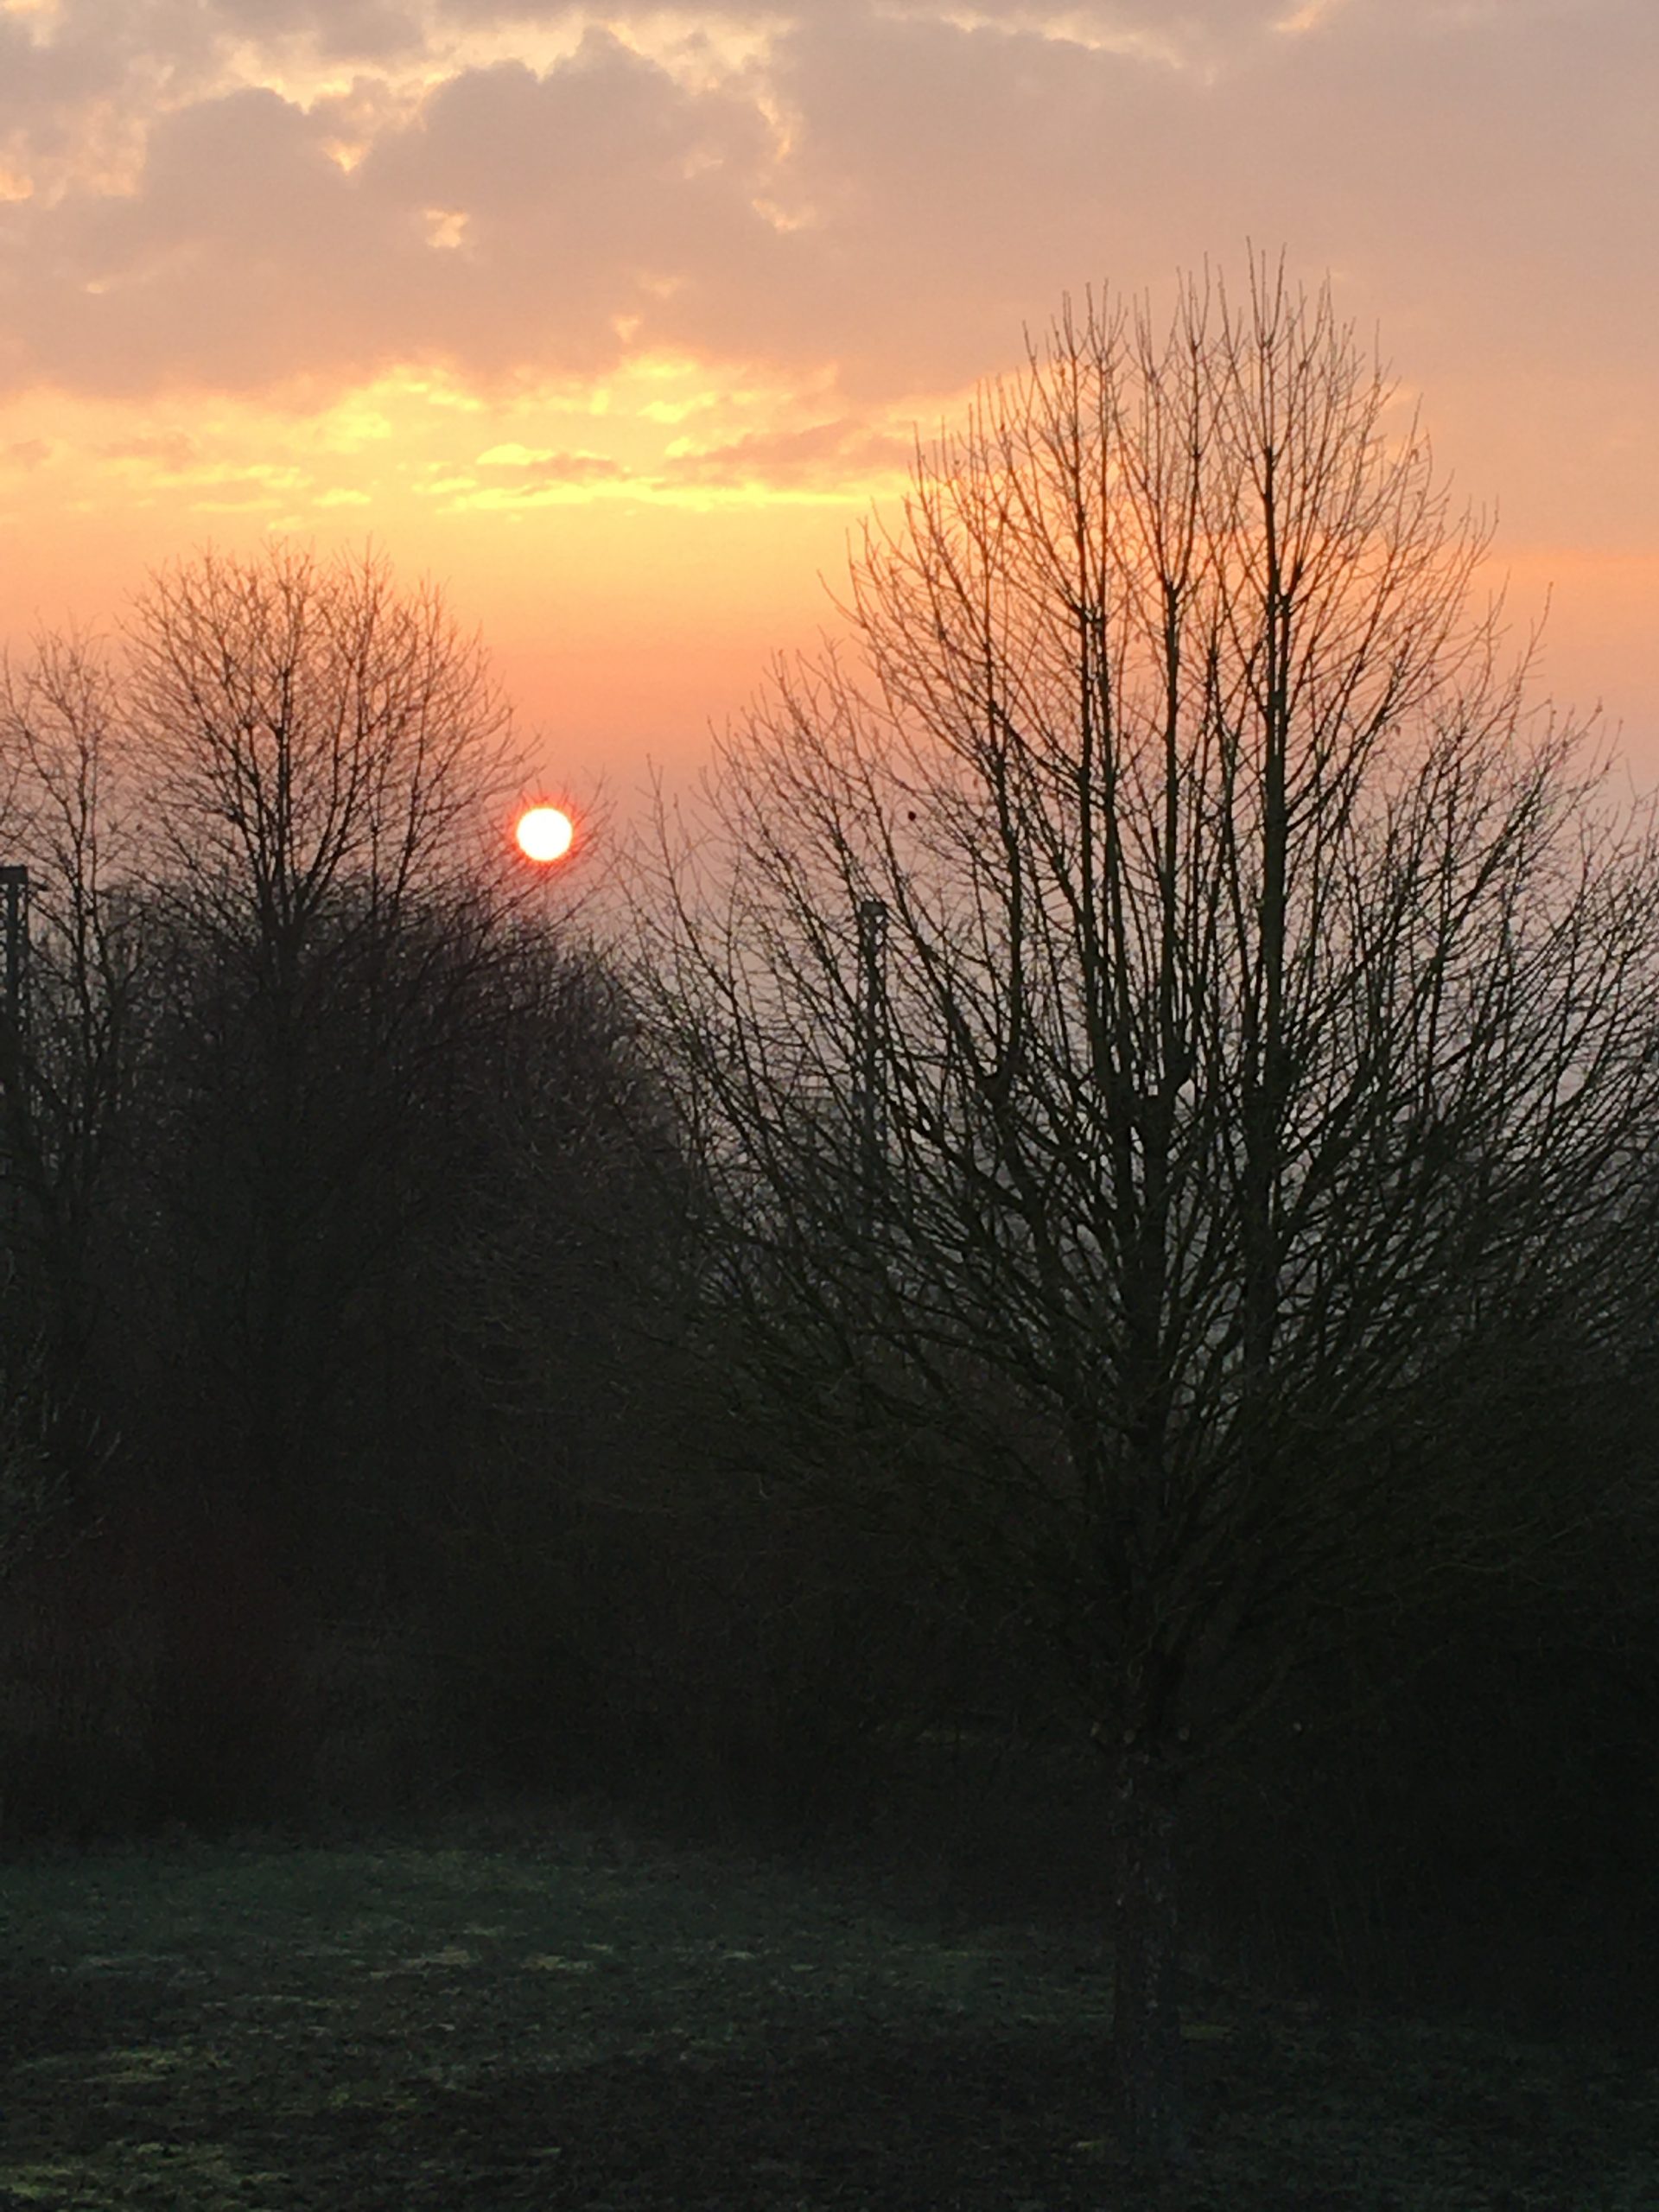
Maybe at a later date I will even post a sound sample, who knows!

Ca 1915 Masspacher guitar resto 2

And so it was, that Maryna and I went off to England on a false hope and the belief that we could settle there for my retirement. Well, that didn’t materialise (in retrospect I can only say ‘Thank God!’) and so we returned to Germany in August 2017 to Plön in the north and were there until the work (and the owner of the Boatbuilding yard) I was doing there proved unfruitful and so the die was set to return to the Bielefeld area, where at least three of my children were near. We landed here in mid March, just before lockdown – but that is another story!

Vincent had looked after the Masspacher for me and returned it soon after our arrival here and the original work restarted. It had neither deteriorated nor improved, so I scraped off all the old shellack to allow it to breathe and gave it a regular good soaking, inside and out. After a few weeks, that paid off and the width-dimension of the top and back were very close, but there was another problem: the length had hardly changed at all, so the top was about ⅛” or 3mm too short. Added to that, the cross-spars inside had to be shortened at the ends to compensate for the change in dimensions of the sides and edging, so the top had to be pried free and reglued after shortening the spars. Although it doesn’t show on the photos, the top was not just split down the middle, either.

Here is the back after the scraping – beautiful, even if ‘only’ veneer over ply 🙂

The soundhole after securing the loose pieces…

After carefully fiddling all that together without actually removing the top altogether, that was when the difference in the length of the top (along the grain) became really evident at the bottom and a plan had to made, to make the whole thing go back together playable again.

First the edging/purfling had to be removed as non-destructively as possible to ascertain the exact amount of ‘fill’ required. Thankfully a little gentle heating had the desired effect, even though the ebony had become very brittle and was showing the stress of the original bending around the curves of the body by being unfortunately rather flaky.

I decided to use some 40-year-old old spruce and ebony veneer that ‘I had lying about’ to fill the lost space, carefully feathering the ends and building up to the final dimension at the bottom of the curve of the top. The cut was lengthwise along the grain, as cross-cutting would have been very difficult to keep together and would never have matched the pattern and rhythm of the original grain anyway.

After having done that, it was time to carefully layer it all together while keeping the measurement close enough to put the original purfling back without steps in either direction – not quite always possible, but close enough. The white was celluloid, so easy enough to scrape down – carefully!

The difference can best be seen from the centre to the bottom of this photo, where the ply of the top and the sides is better revealed. That is the space that had to be ‘veneered-up’

Here are the first plies being tried. You can see how the gap at the bottom (on the right) is wider and narrows towards the sides, in this case on the left of the pic.

First one in place (on the other side):

Layered up and ready for the final check with the purfling.

Now have to turn my attention to the top near the fingerboard on each side and the ‘waist’, where the shrinkage of the sides was most apparent

Now pretty much ready to fix the edges back on

Taping the purfling on to double-check dimensions

The purfling at the top has separated, so needed special care when fitting, so as not to lose any of the brittle veneer in-between the celluloid strips

Here it is a bit more obvious, but the top is not looking bad for 100 years old! It can also be seen that the celluloid has lost some ‘length’, resulting in a gap in the middle, which will be covered by the rather nice (and typical of the French guitars of the period) tailpiece – or string-holder – 

Ca 1915 Masspacher guitar resto 1

The story of this guitar as far as my ownership is concerned, goes back about two and a half years. I bought it on eBay ‘for a song’ in France, where it was made – in Paris. As far as I can work out from research, it was made between 1915 and 1920, which makes it about 100 years old 🙂 Masspacher was a retailer and manufacturer, with a shop and workshop and was better known for its accordions. This particular guitar is unusual and quite rare, as they were made in their own ‘artisanal’ workshop and preempted the gypsy-jazz or manouche style, which they also made later on in ‘petit-bouche’ after the Selmer/Macaferri makers in the late 20s and 30s.

It was in a sad state when I received it, damaged from being too long in too dry an environment (centrally-heated?) and as such the wood of the top was split and had shrunk in all directions. I started by stripping it down as far as possible, also removing the frets and the varnish/laquer, so that it could breathe again and the top could take up some moisture from the atmosphere. I made a simple humidifier and hung it in the wash-cellar for months on end in an attempt to humidify it. Here are a few pics of it in it’s condition as I received it back then in 2017? It looks a lot better in the pics than it really was, as the shrinkage was everywhere…

There was a sponge inside the pot which was wetted every day and the whole thing was hung in the wash teller foe a few months, until we left for the UK…