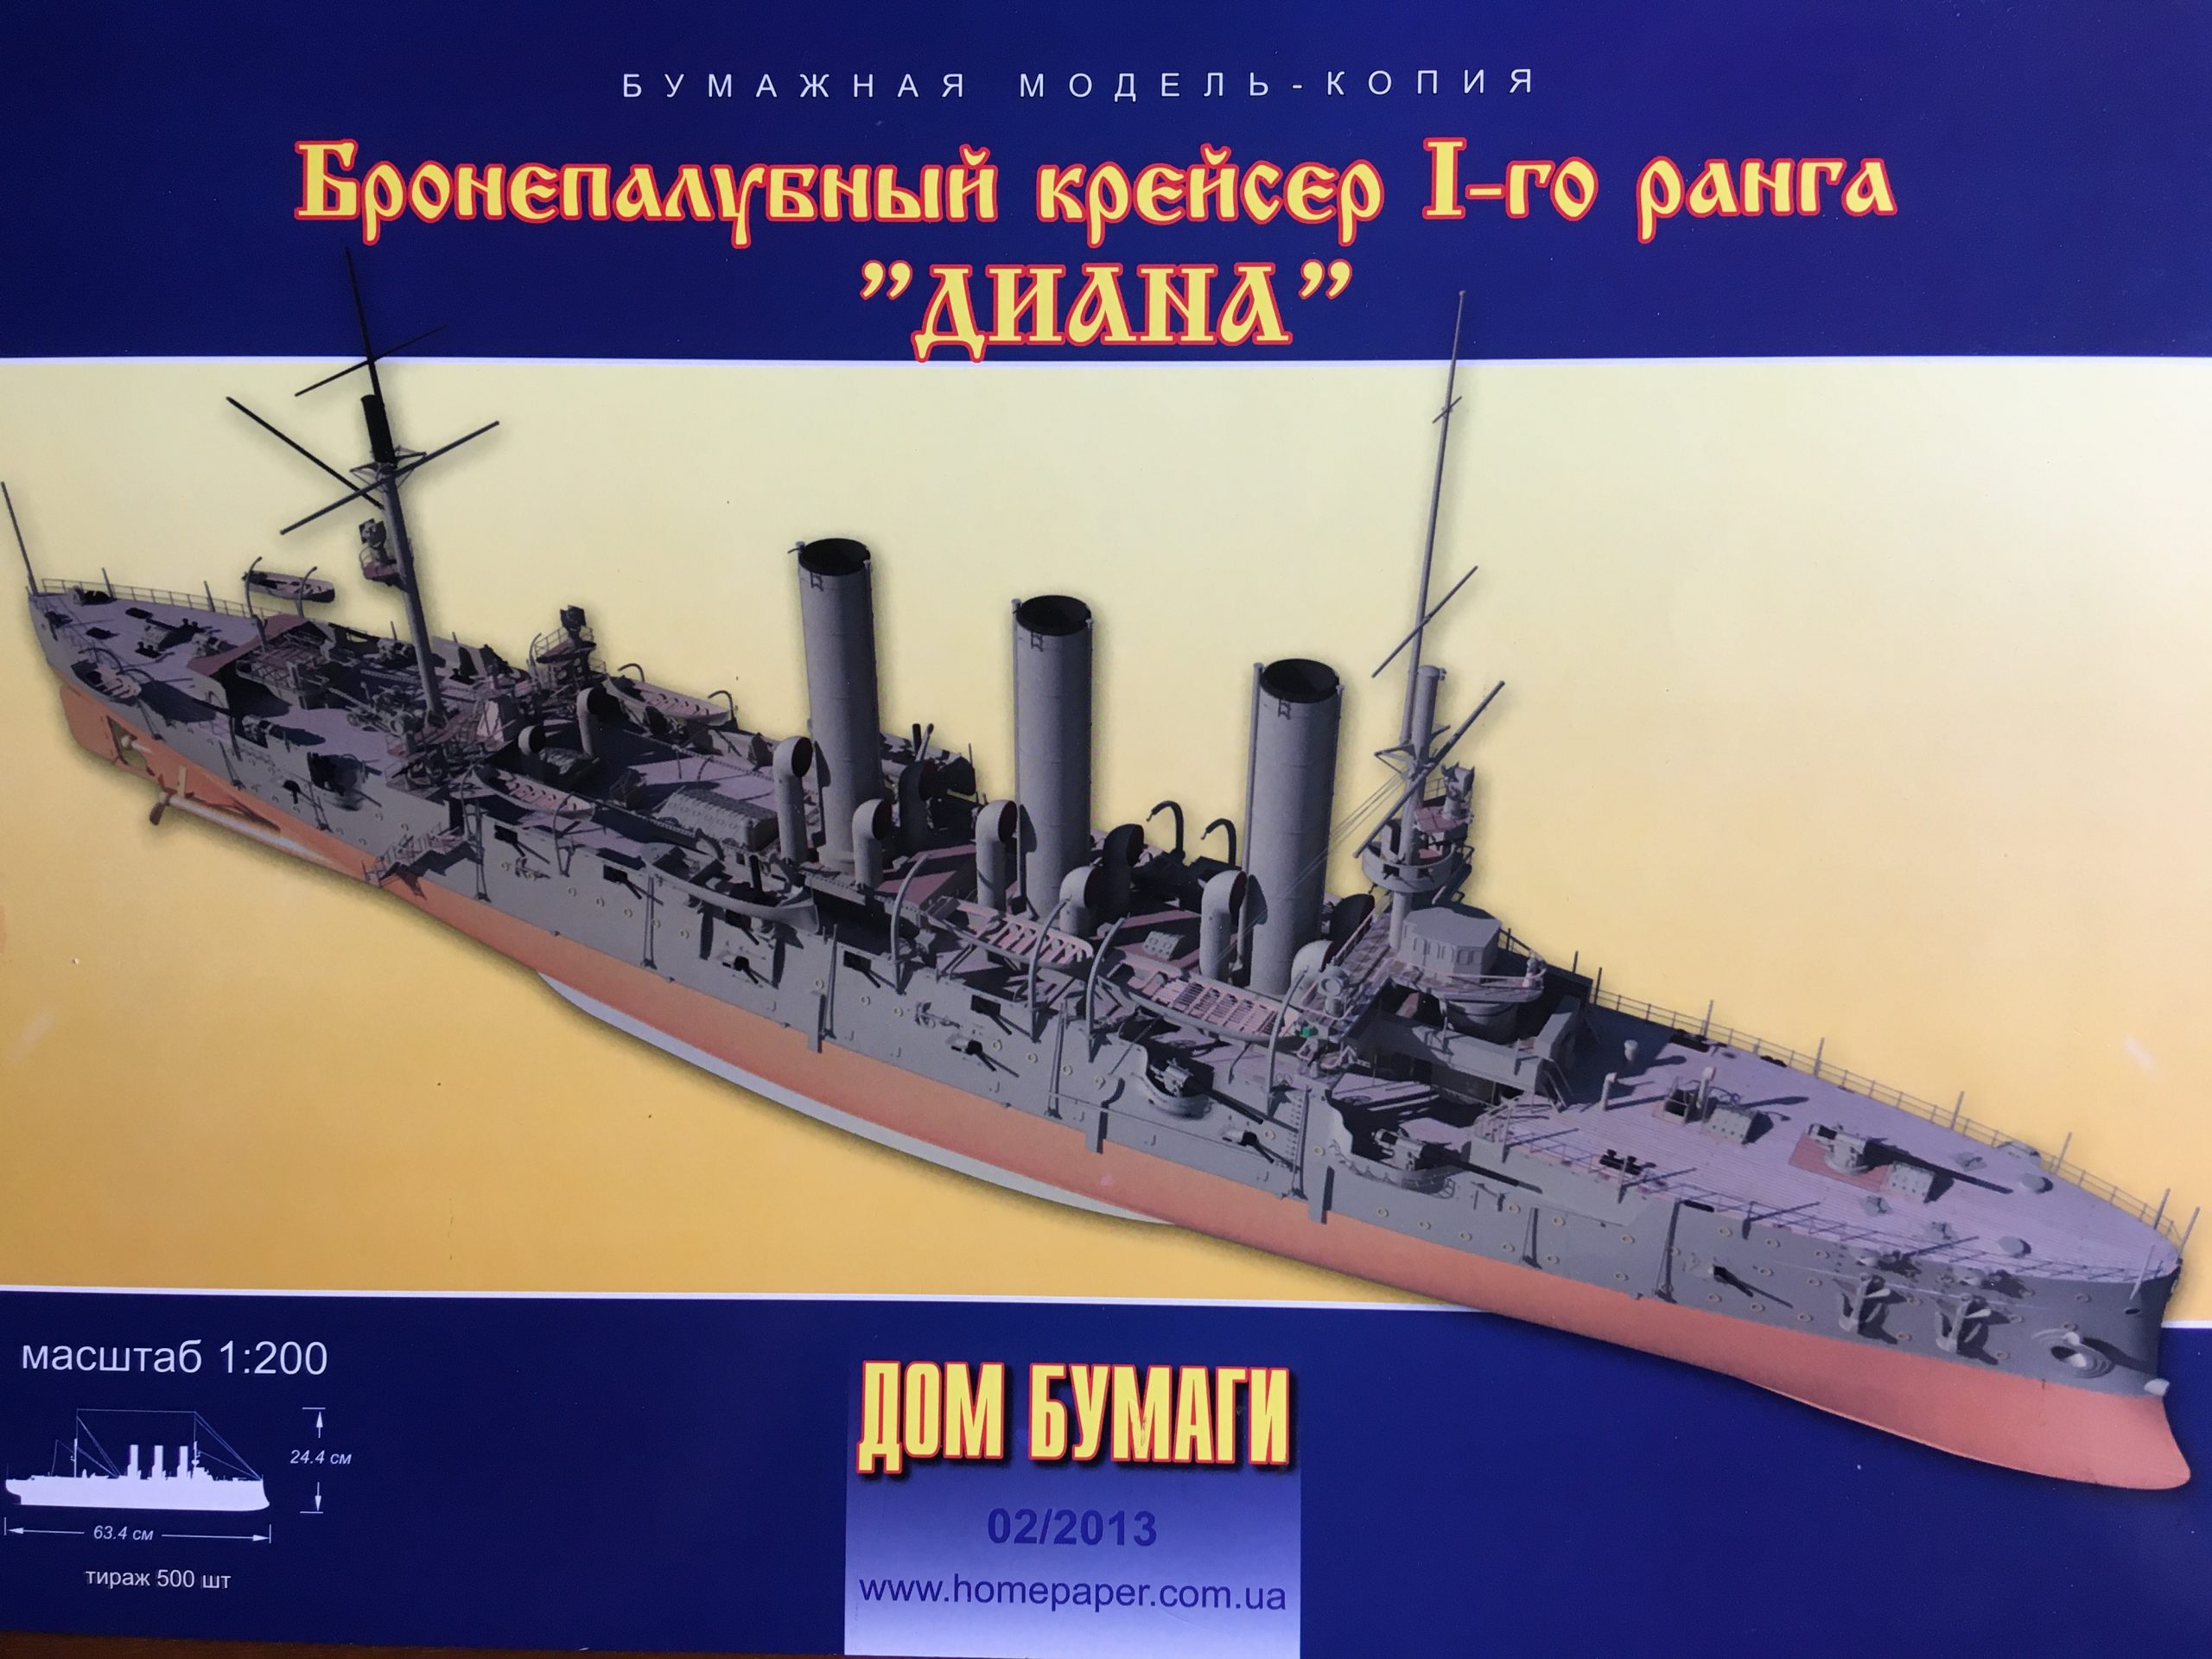
 I decided to get back into paper modelling at last and chose to start the ‘Diana’, which I bought while living in Ukraine in 2015. I have a number of (unmade!) models of the Pallada class In 1:200, the other ones are all of the Aurora depicted in different build years and by different companies, Polish, Russian and now this, Ukrainian, one.
Looks very impressive and I have not yet built one of their ‘super-detailed’ models, so here goes!
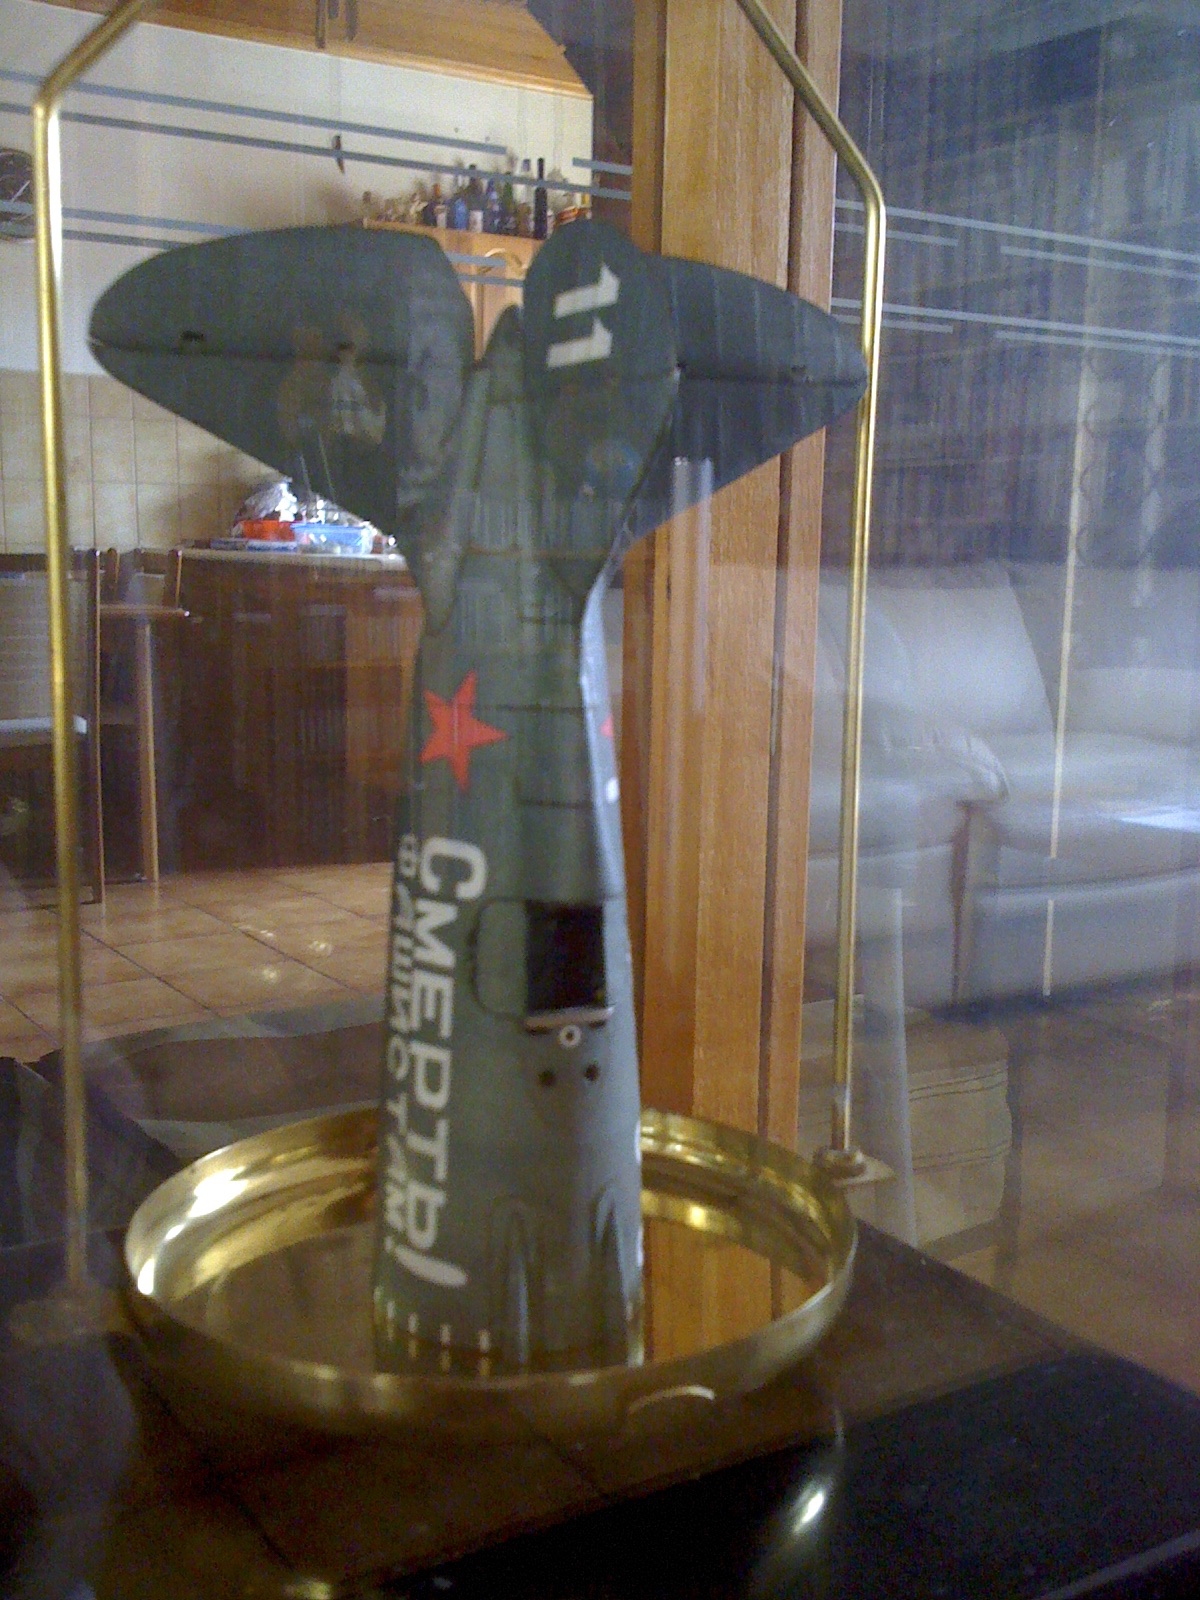
This is actually only my second warship in paper, my first having been the Ark Royal by ‘Maly Modelarz’ probably twelve years ago… a very satisfying build and an impressive display piece, despite its comparative simplicity. That one was stolen (!) during a break-in in 2010. I did have a go at another Russian ship of the line, Bogatyr, but that was damaged badly during the build and had to be scrapped last year 🙁 Up until now I had built quite a few aircraft, which made very pleasing models (but take up a lot of space ) and so I started a sailing ship , the ‘Coureur’ – still work in progress and the SMS Götzen, which is undergoing a conversion to it’s present livery and build state as still used in Africa.
Regarding the Diana, I’ll skip the history etc and go straight to the model.
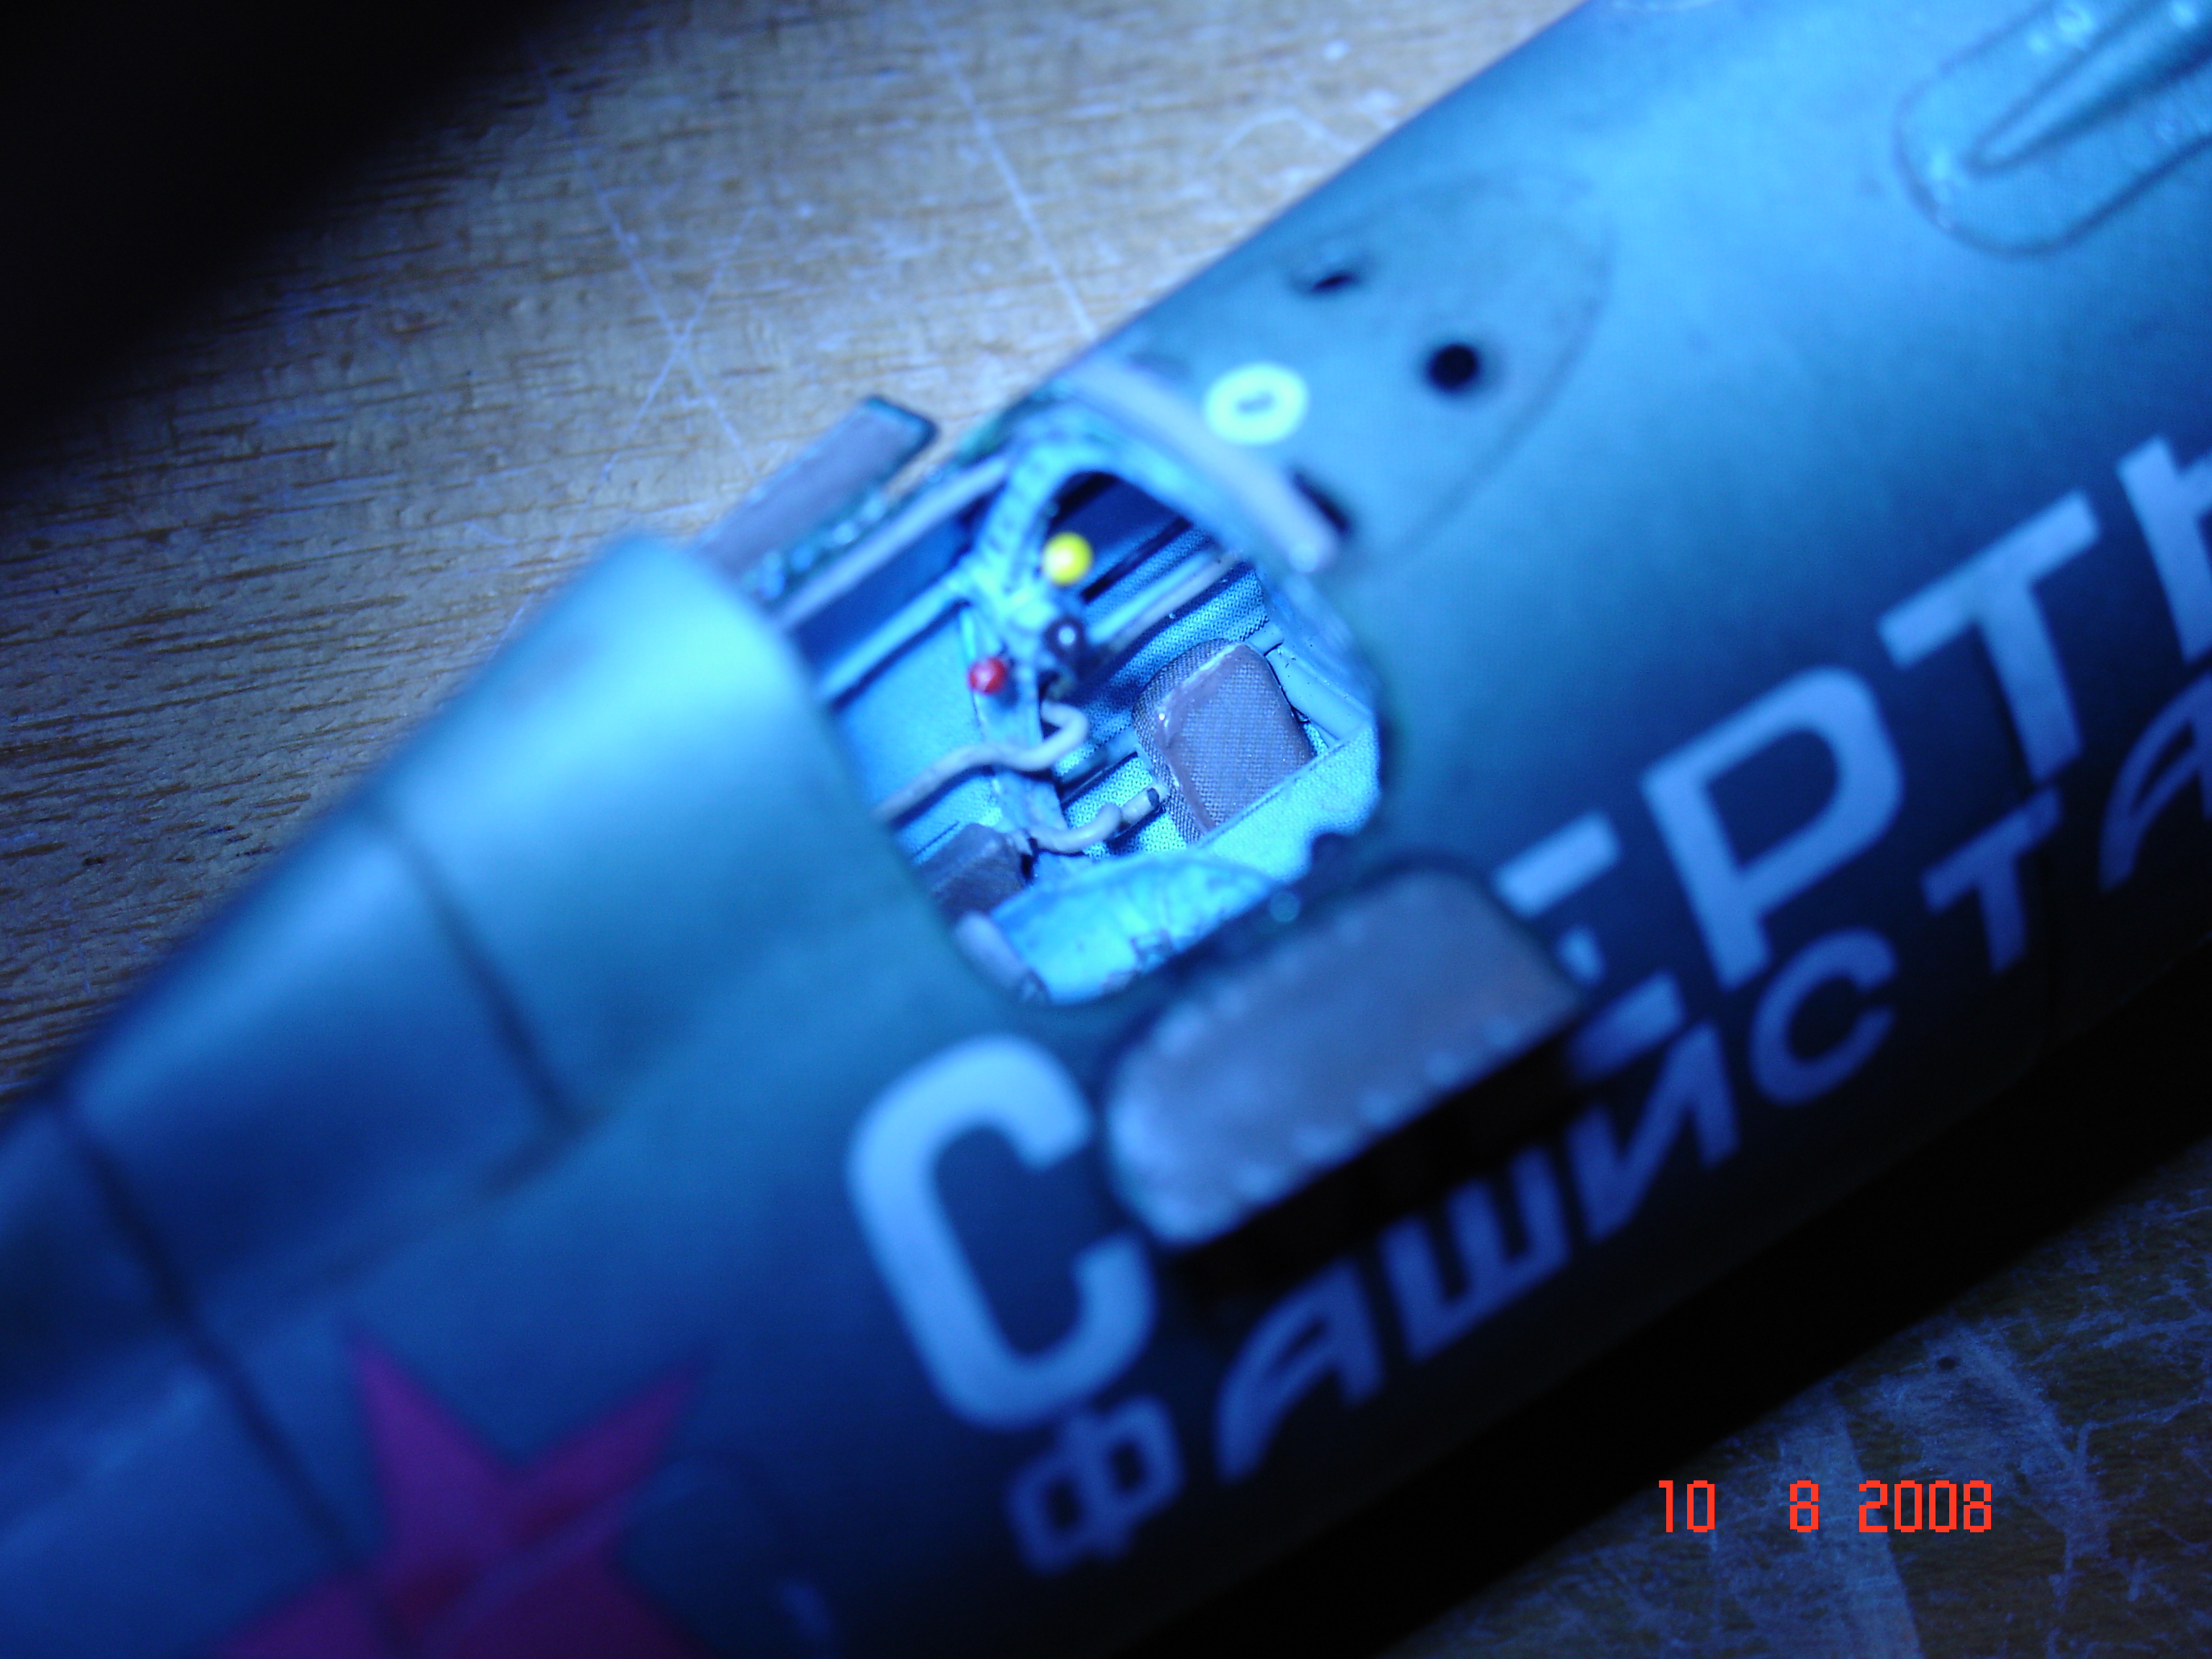
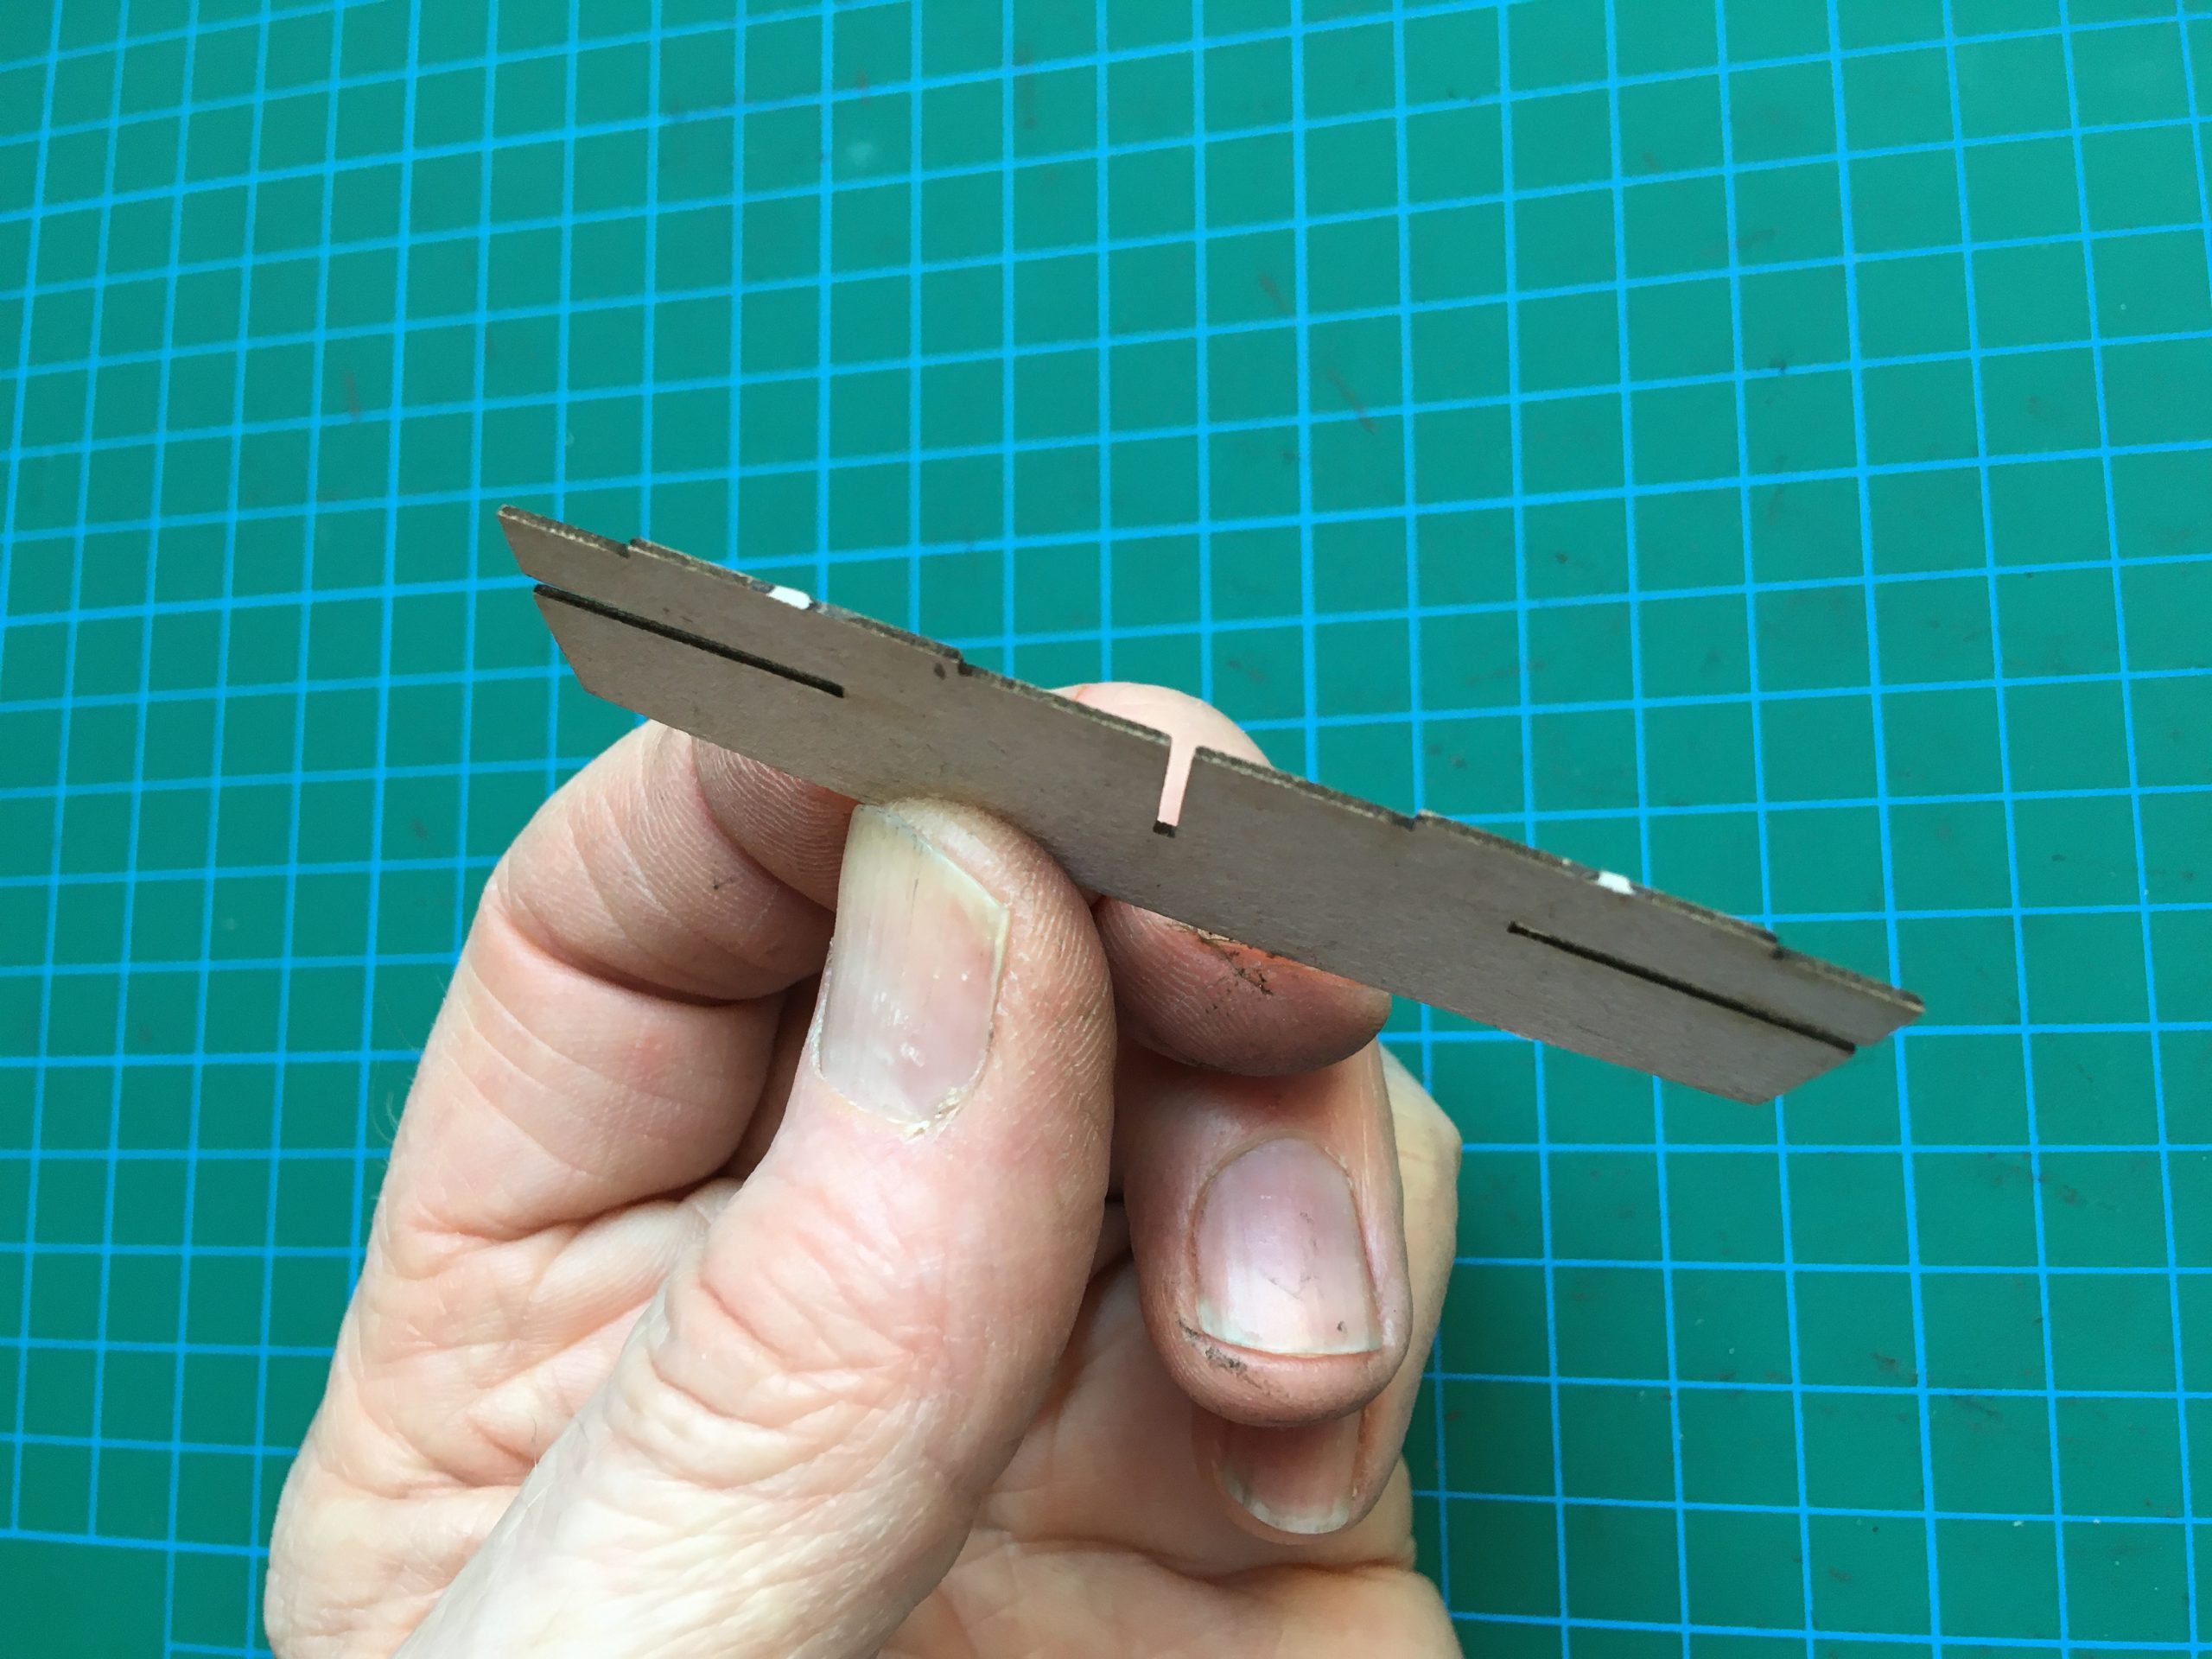
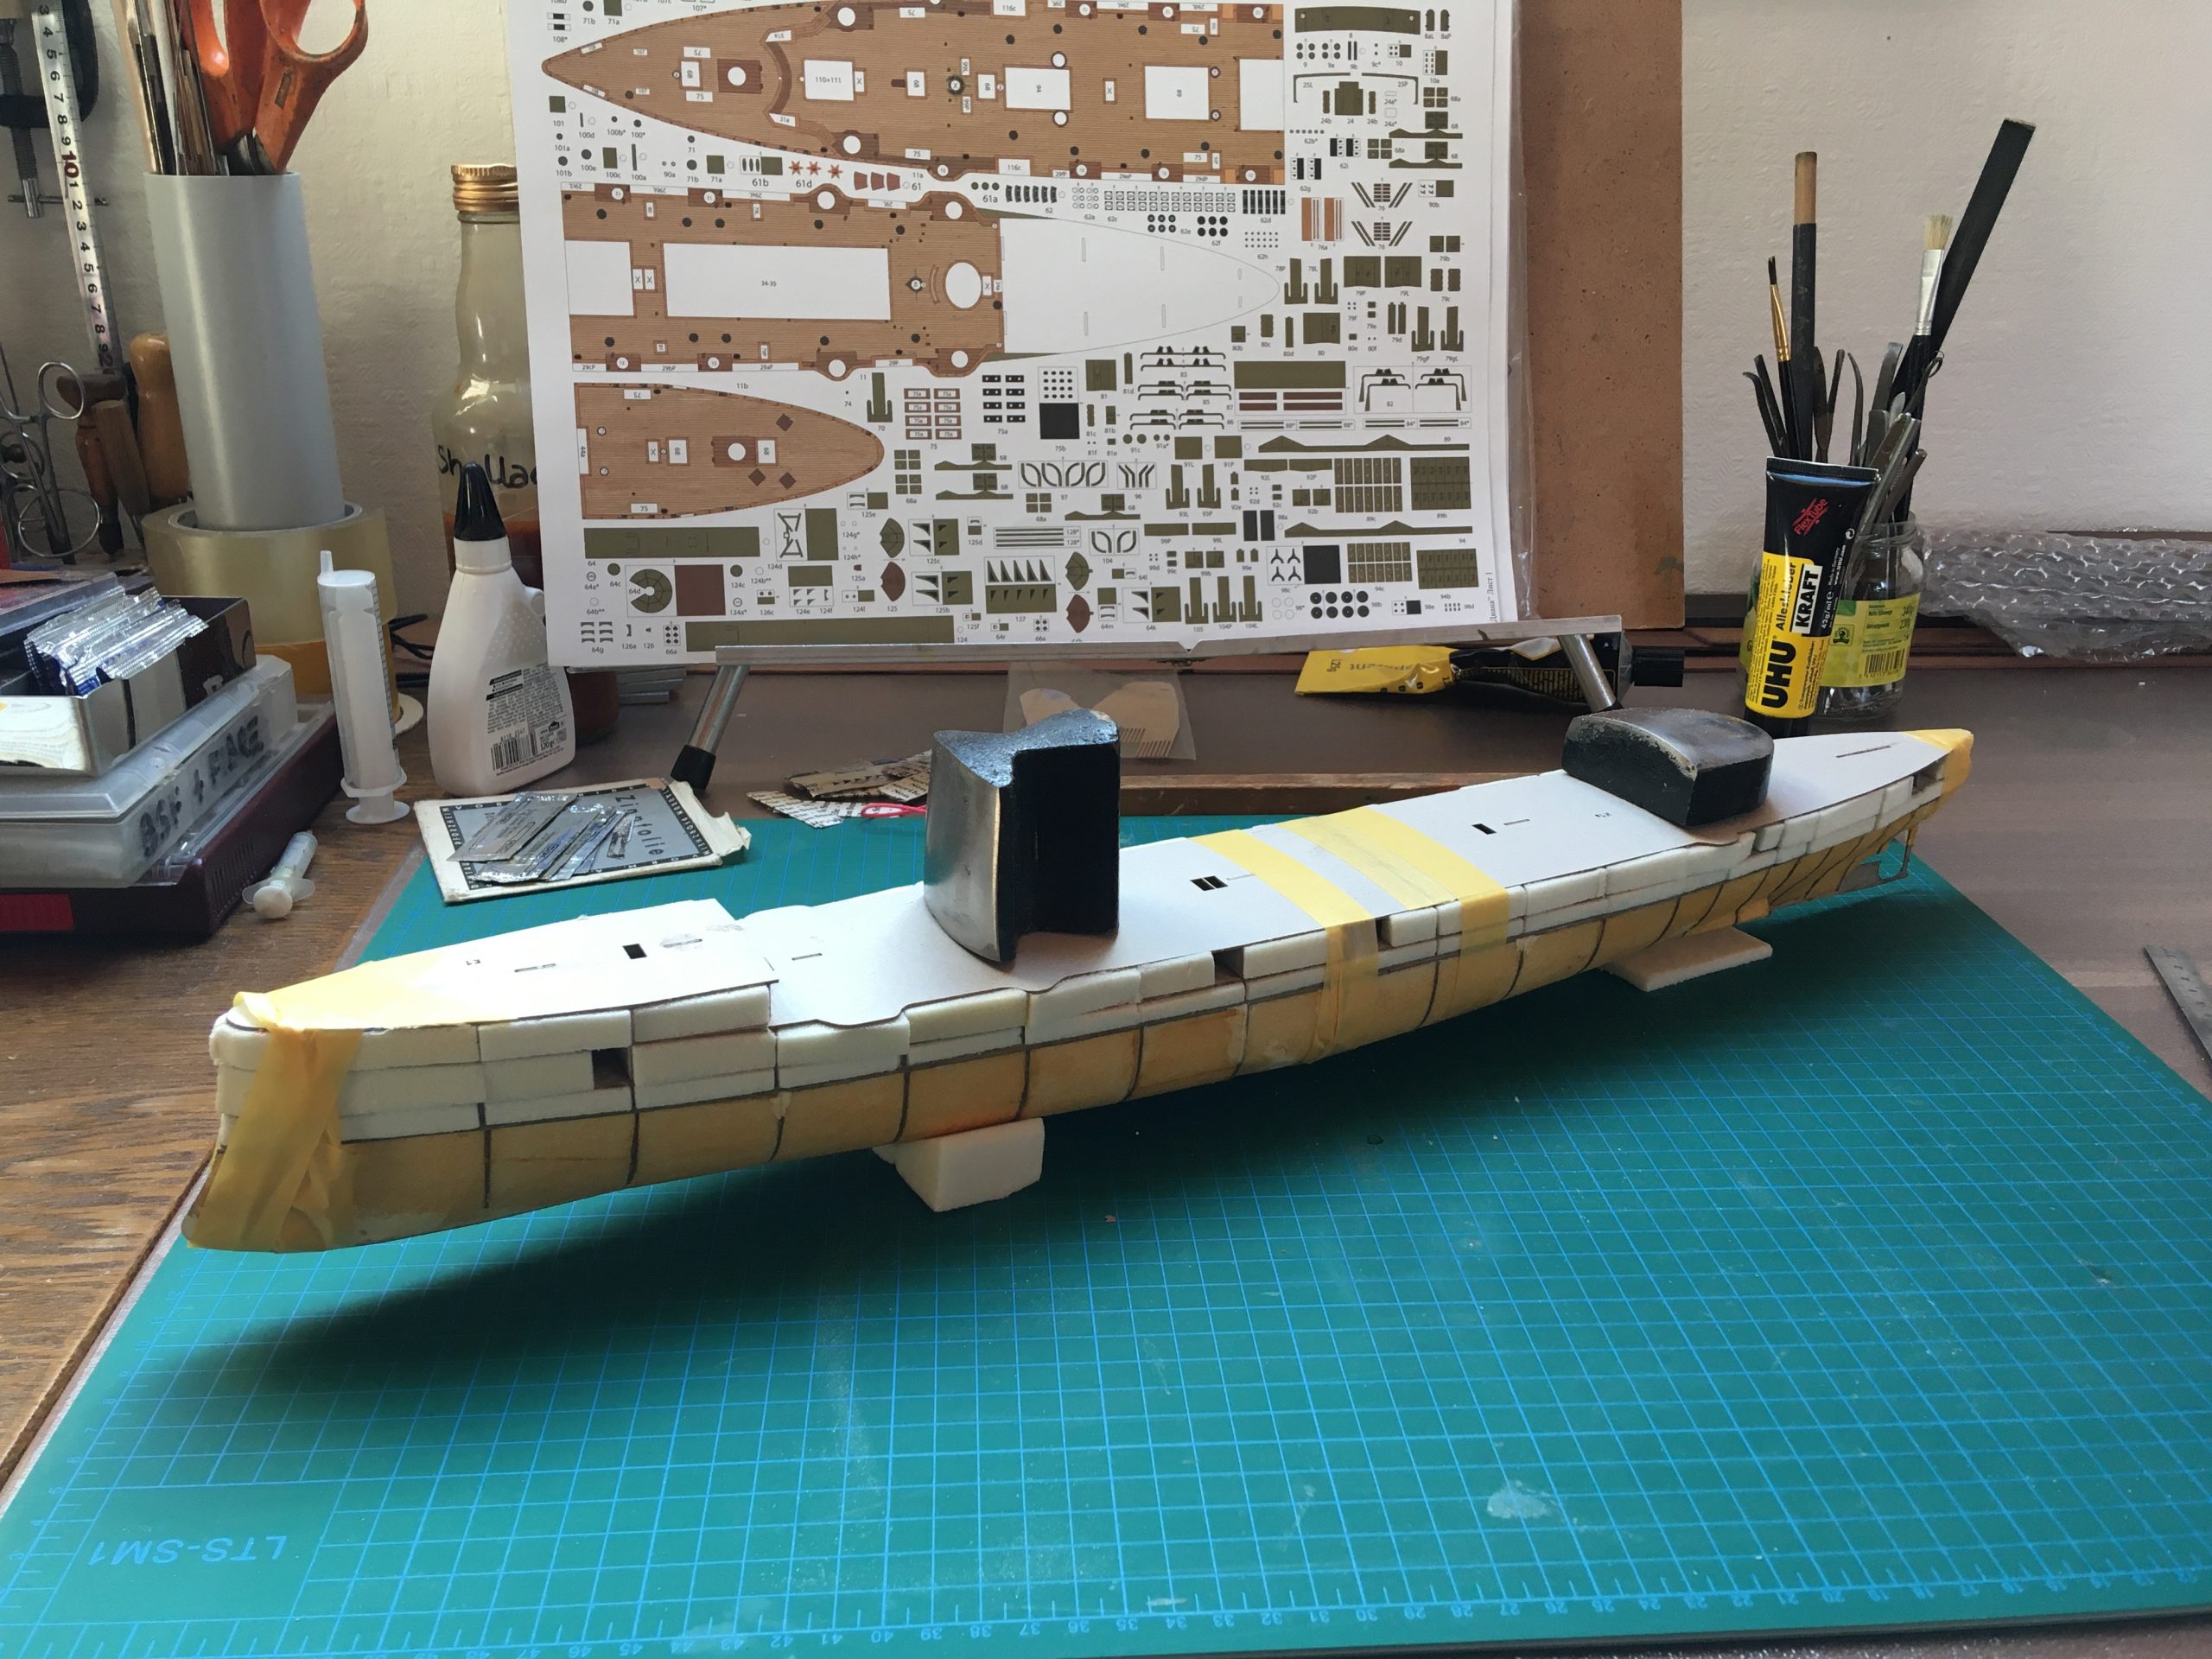
I decided to buy the laser-cut frames to save time. Nice is that it can be built either as a waterline model or complete with the hull below the waterline. I didn’t think to compare the laser-cut to those printed As templates in the sheets, I’ll definitely do it the next time, though. The reason I say that is, the width of the laser-cut profiles for the hull below the water-line was wider than the parts for the upper half. Not by a lot, but definitely so. A little less than 0.3mm all round, which is thicker than the card for the hull covering, which will leave an unsightly step? This also means probable trouble fitting the top half of the model? The frames fitted nicely together and were unproblematical, bottom and top halves being made separately, checking them regularly for squareness.
Each individual part of the frames is trimmed and sanded prior to assembly after cutting free, so there are no ‘nibs’ sticking out where they were cut from the card carrier-frame, which would possibly distort or ‘grow’ the assembly unwittingly.
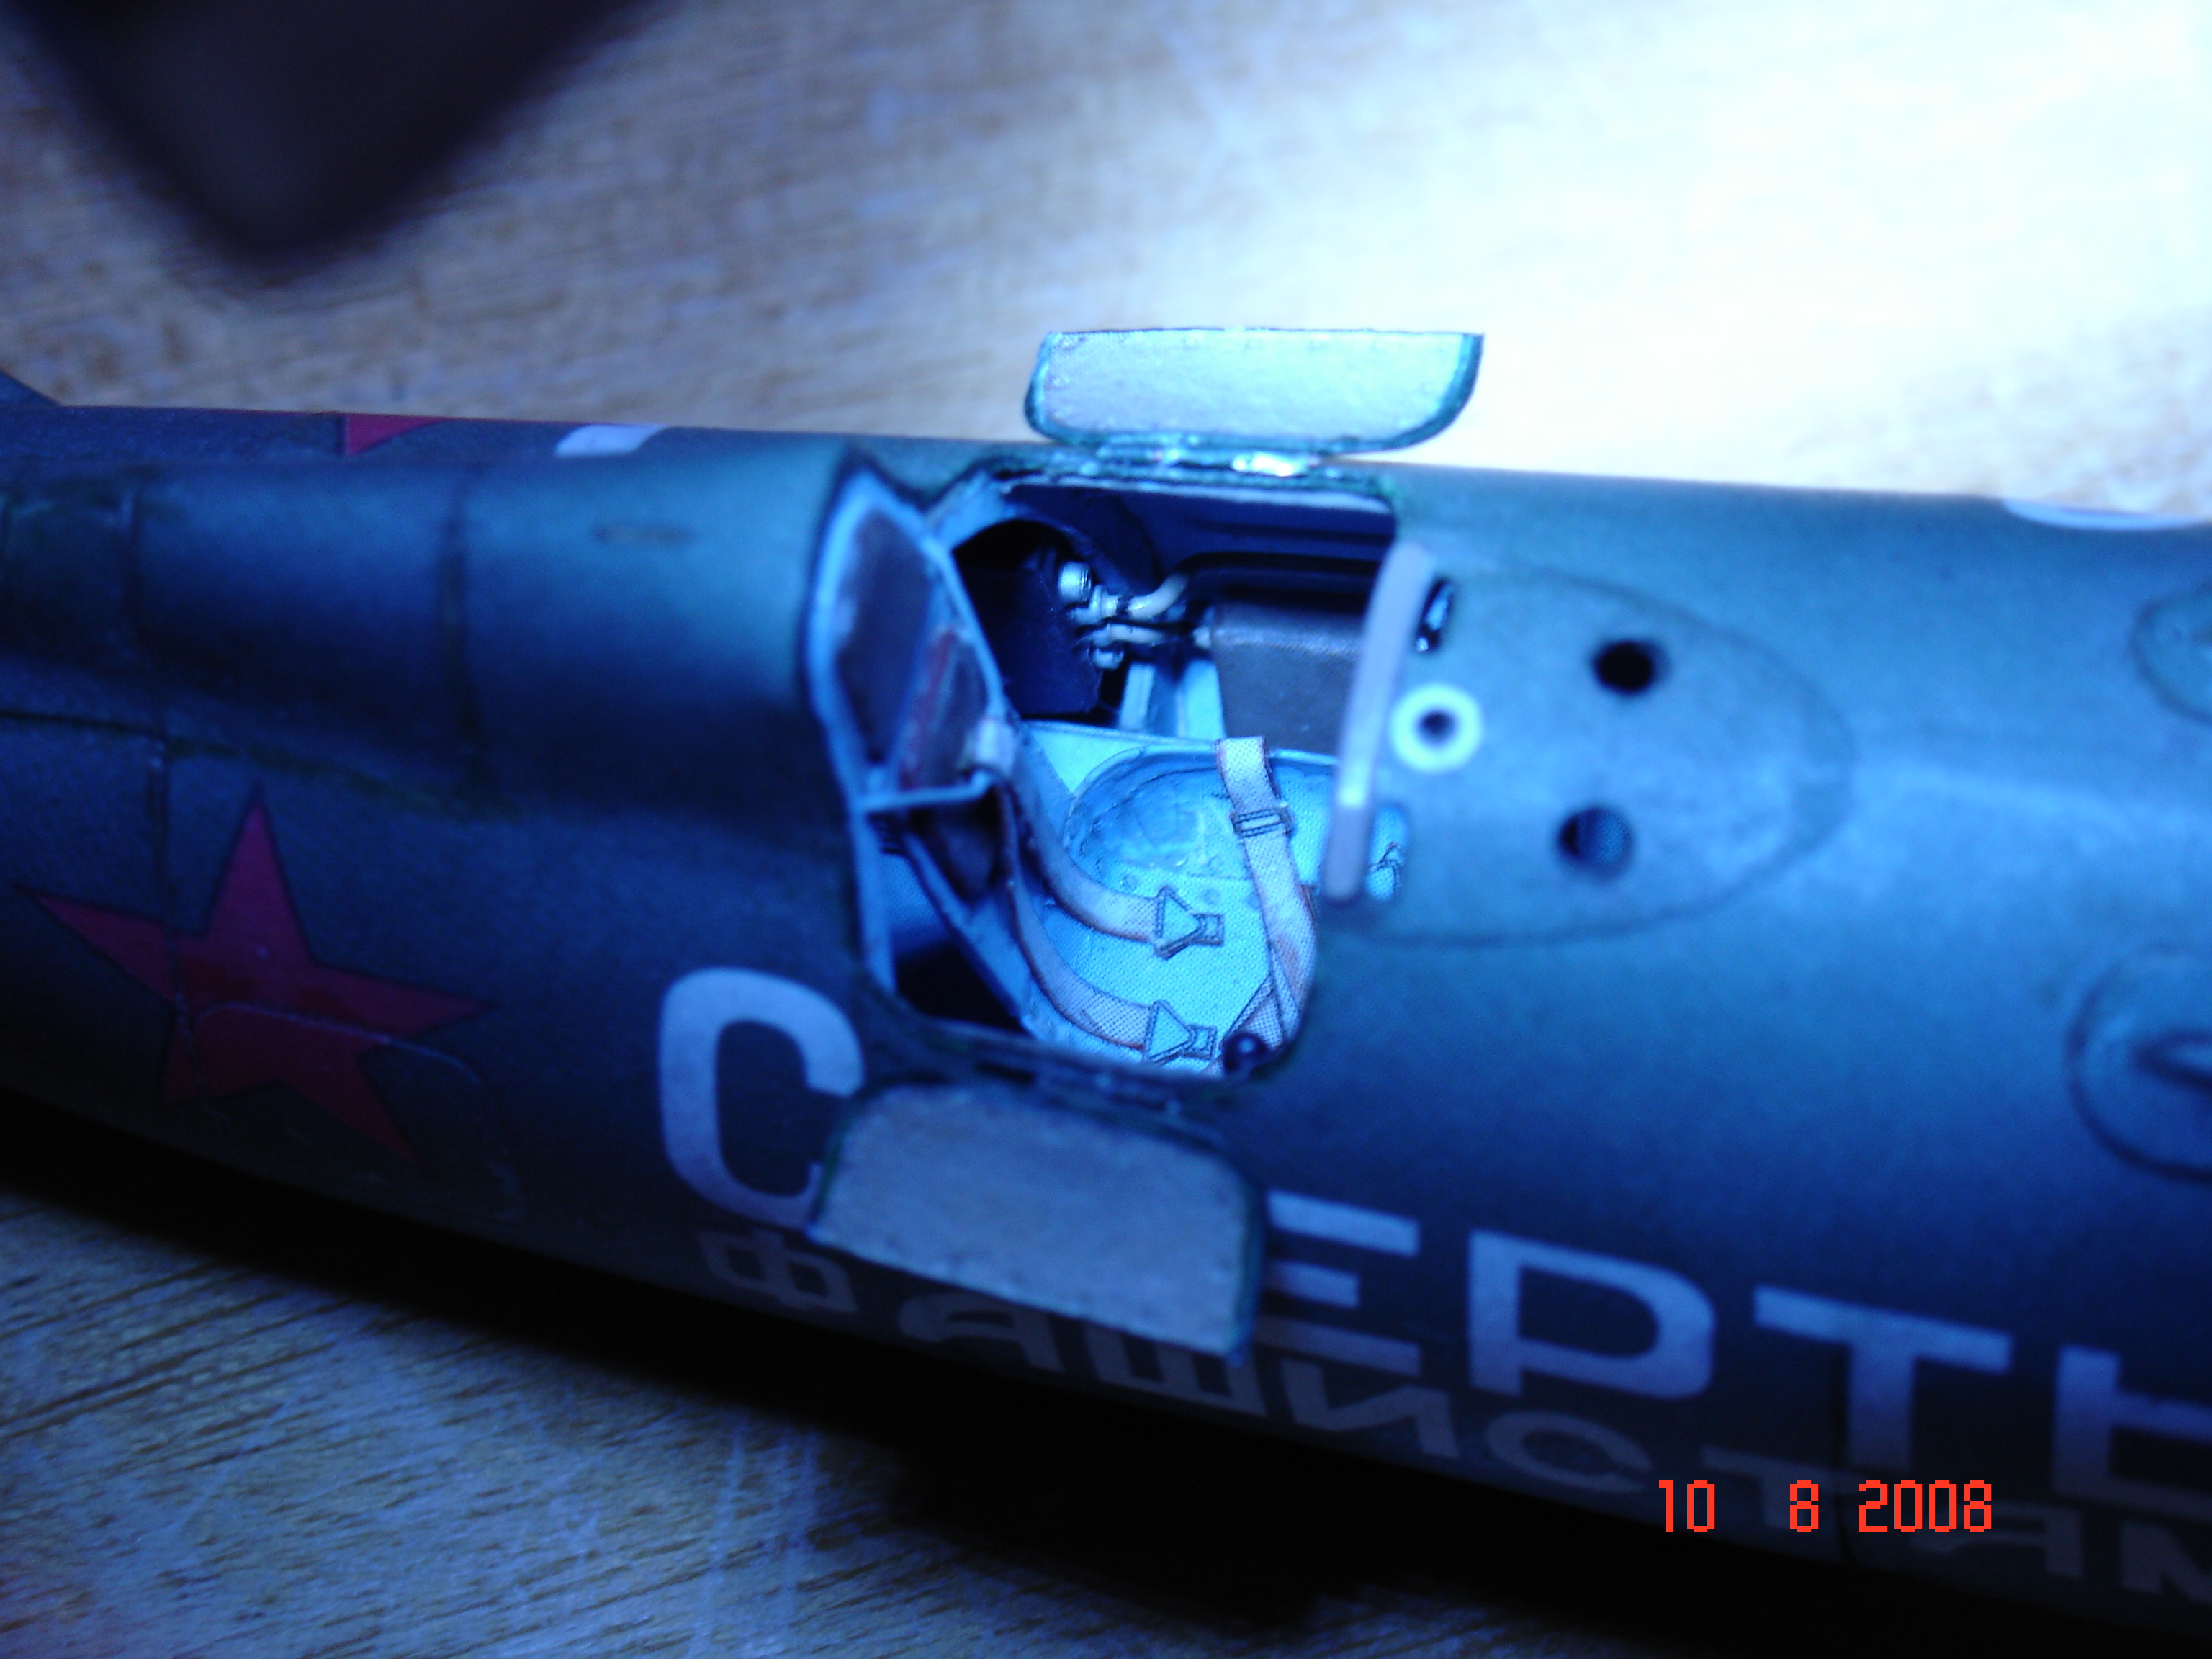
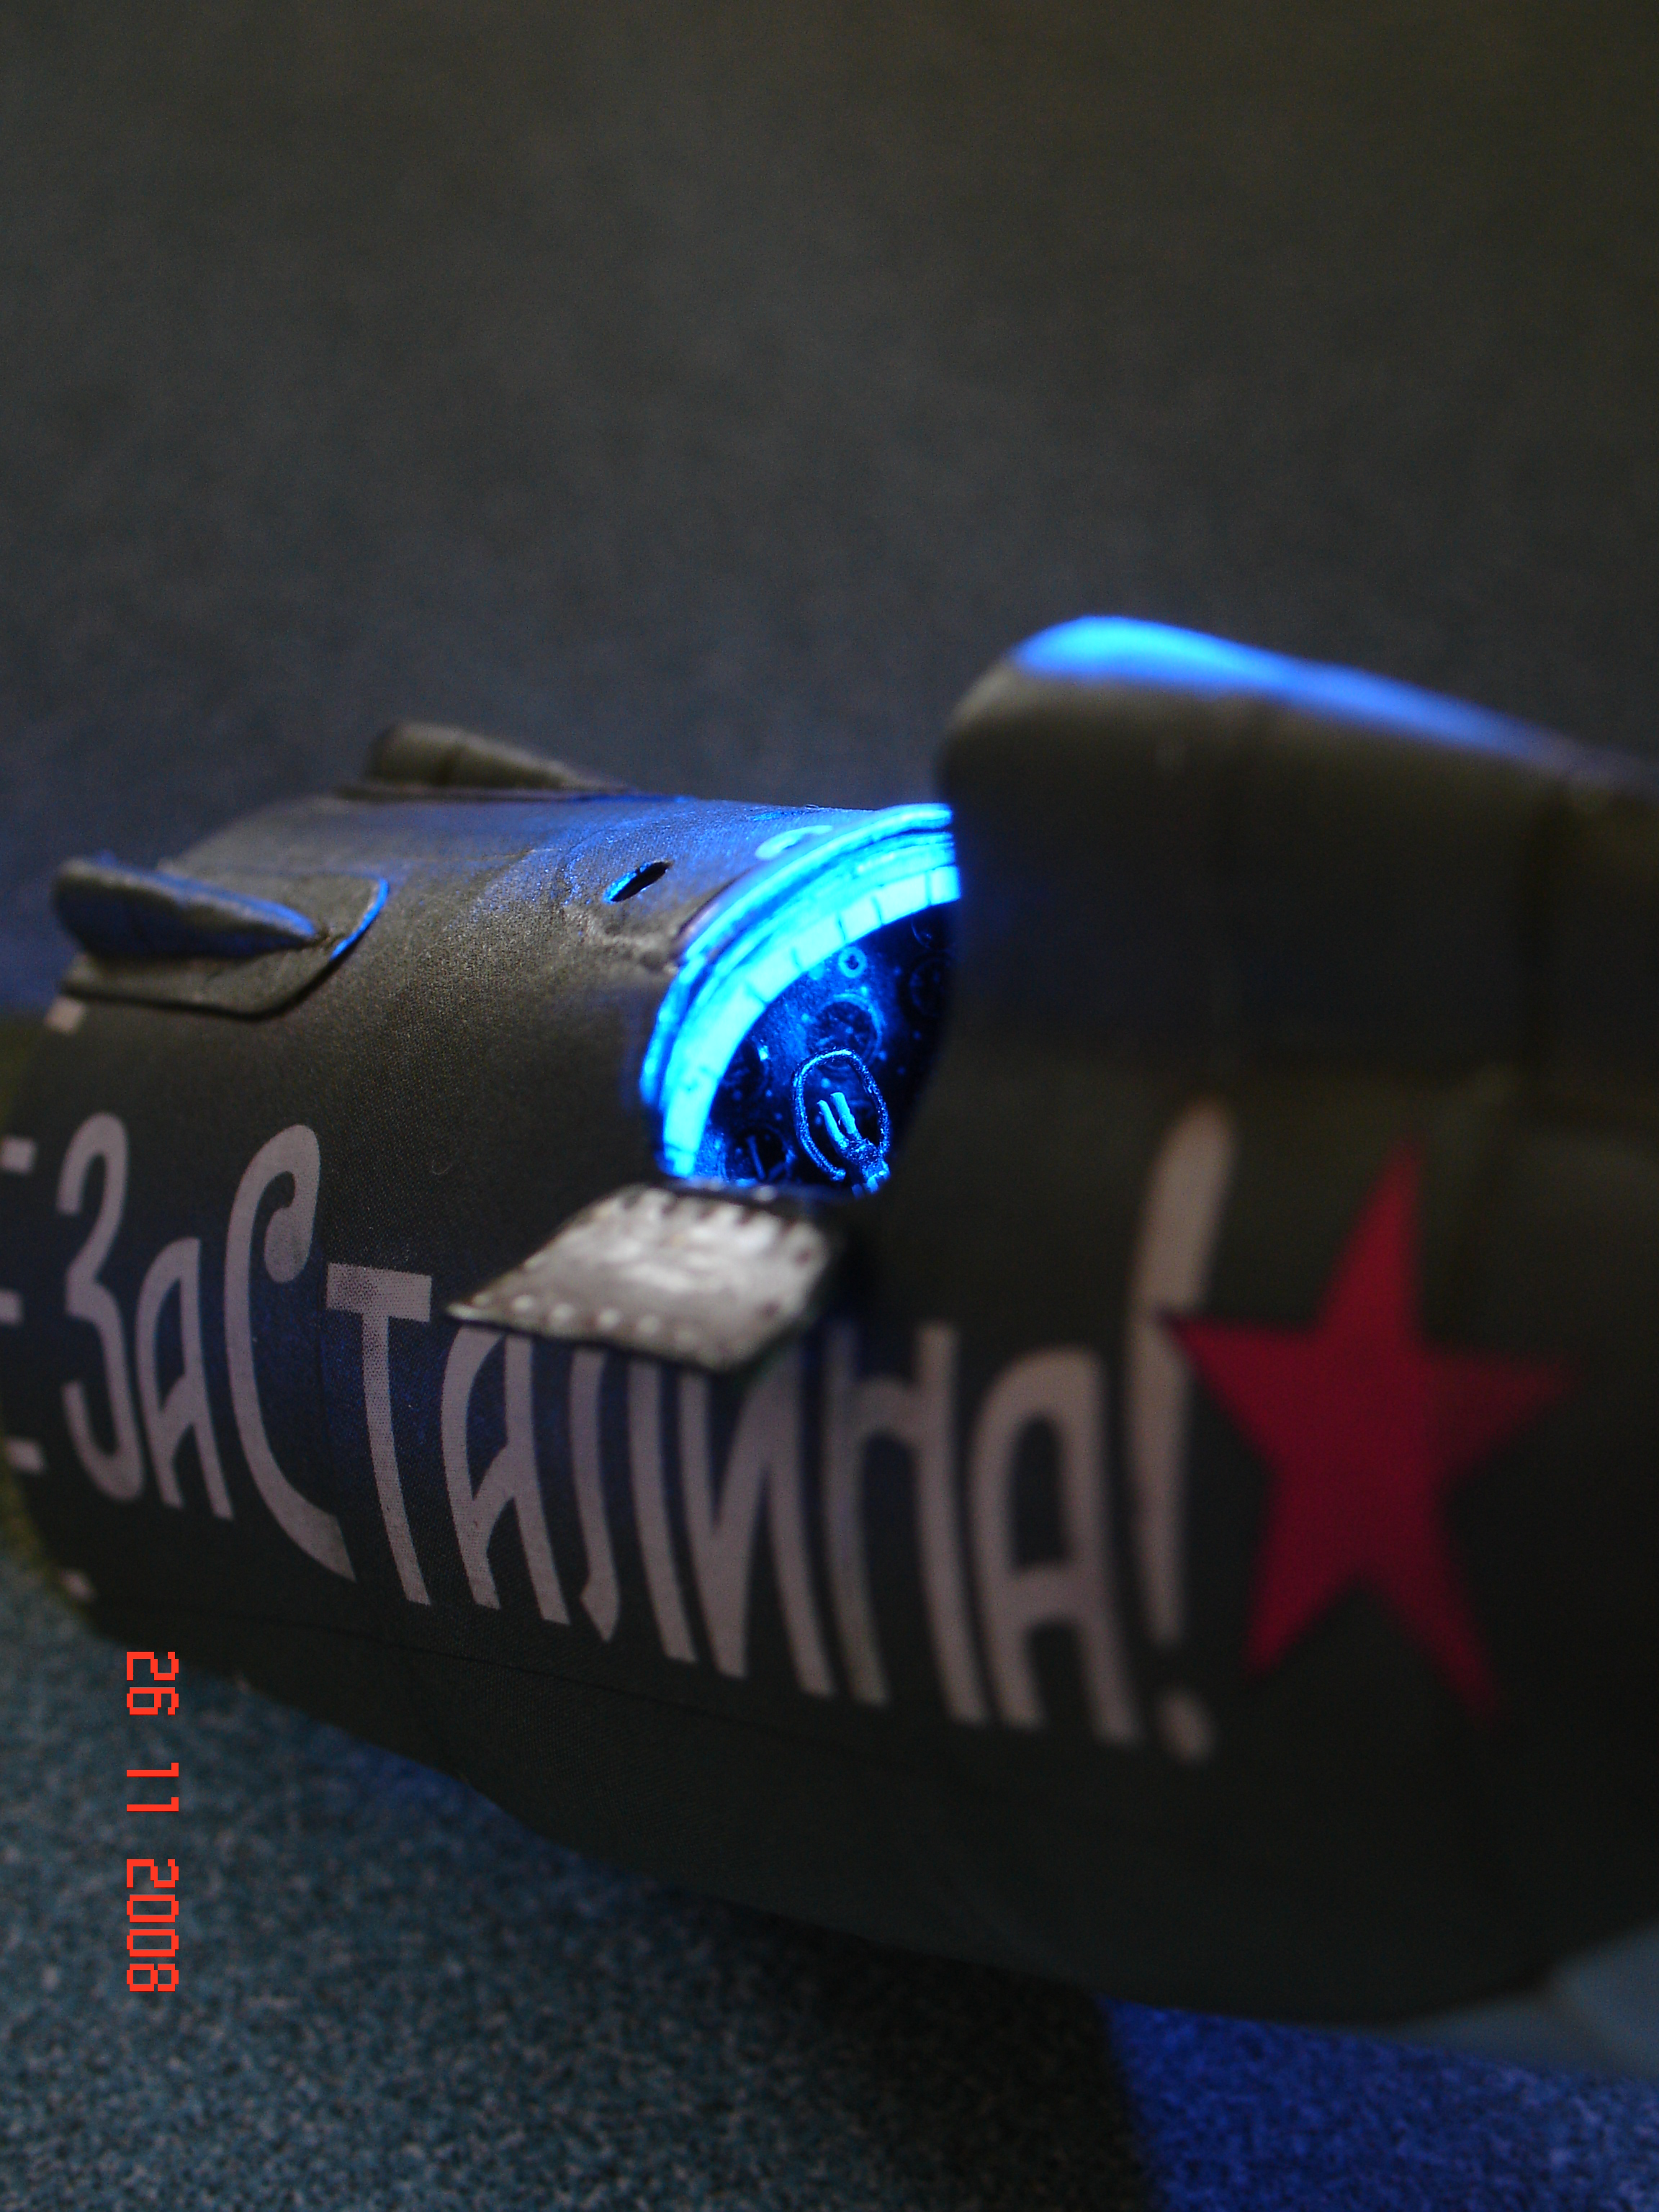
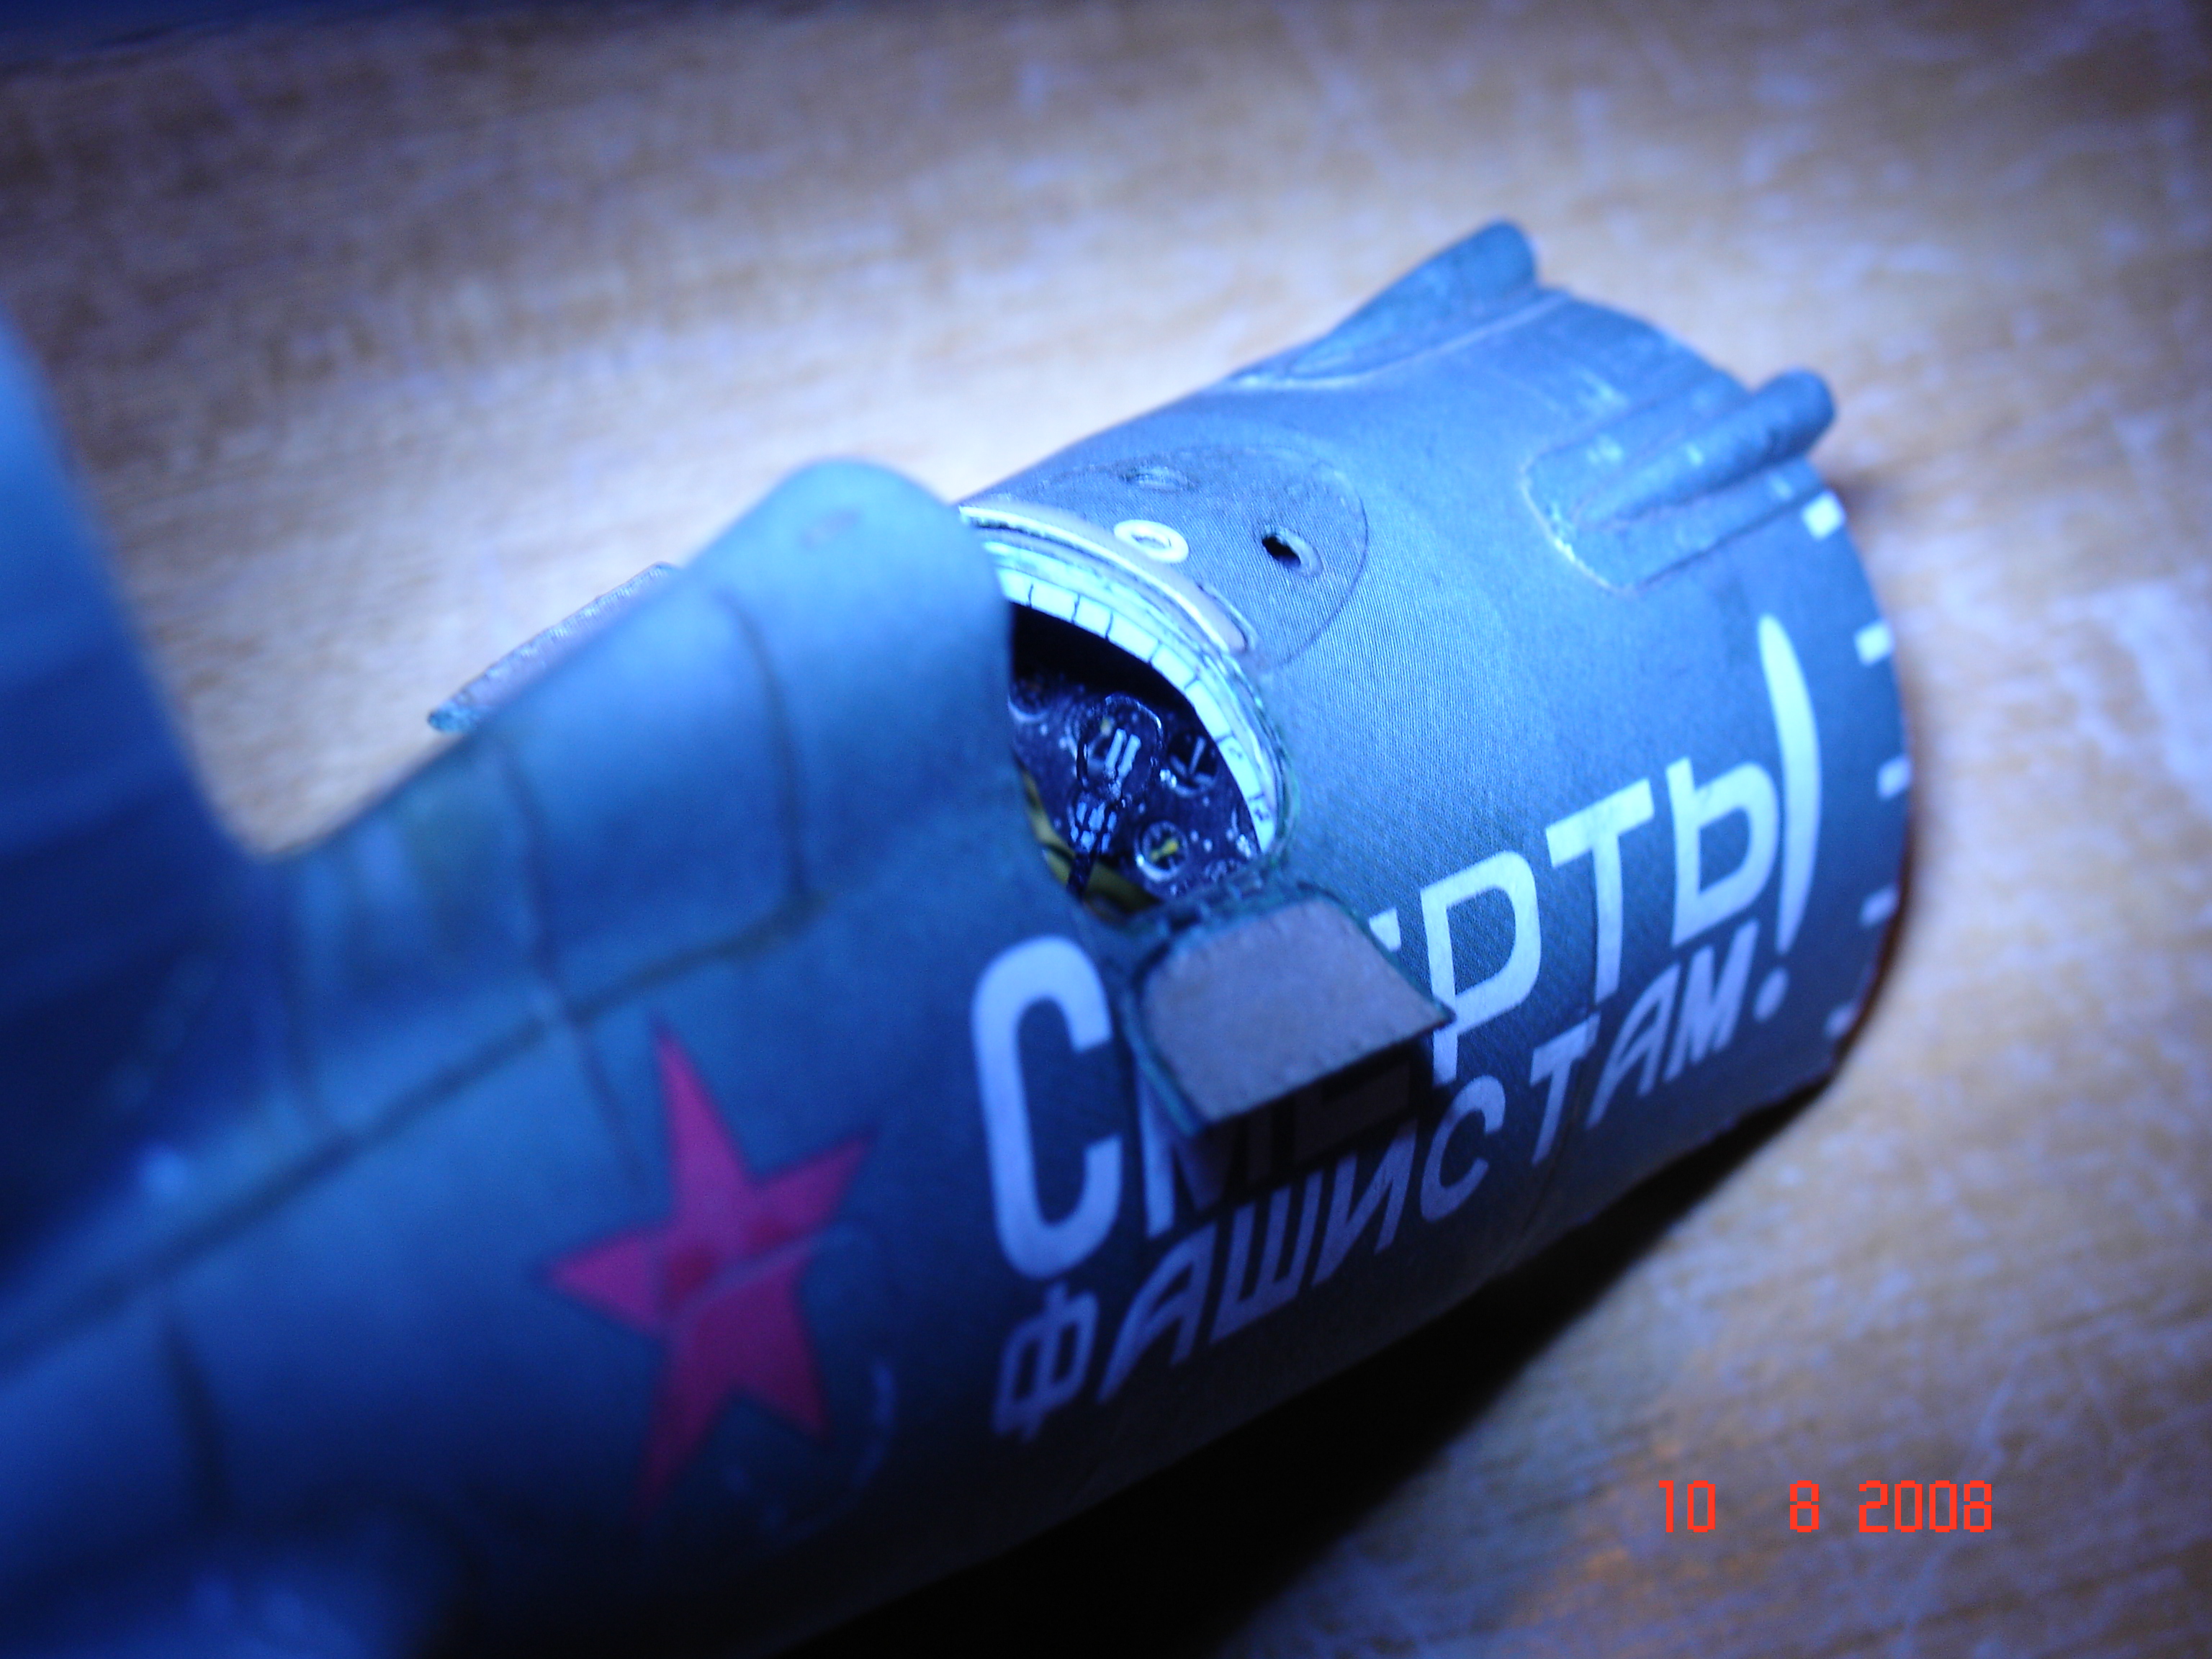
Having glued them up and left them to dry, I filled the hollow frame of the hull with a new material I wanted to try out, but which it turned out is very messy (it leaves a fine dust which sticks to everything) and is too soft. Can’t even remember what it is called, but it was used at the wharf for coring out the reinforcements in the hulls. I shan’t be using it again. Below, you can see that the left hand side is finished and the right is not! It is also visible that it is subject to crushing and therefore difficult to glue.
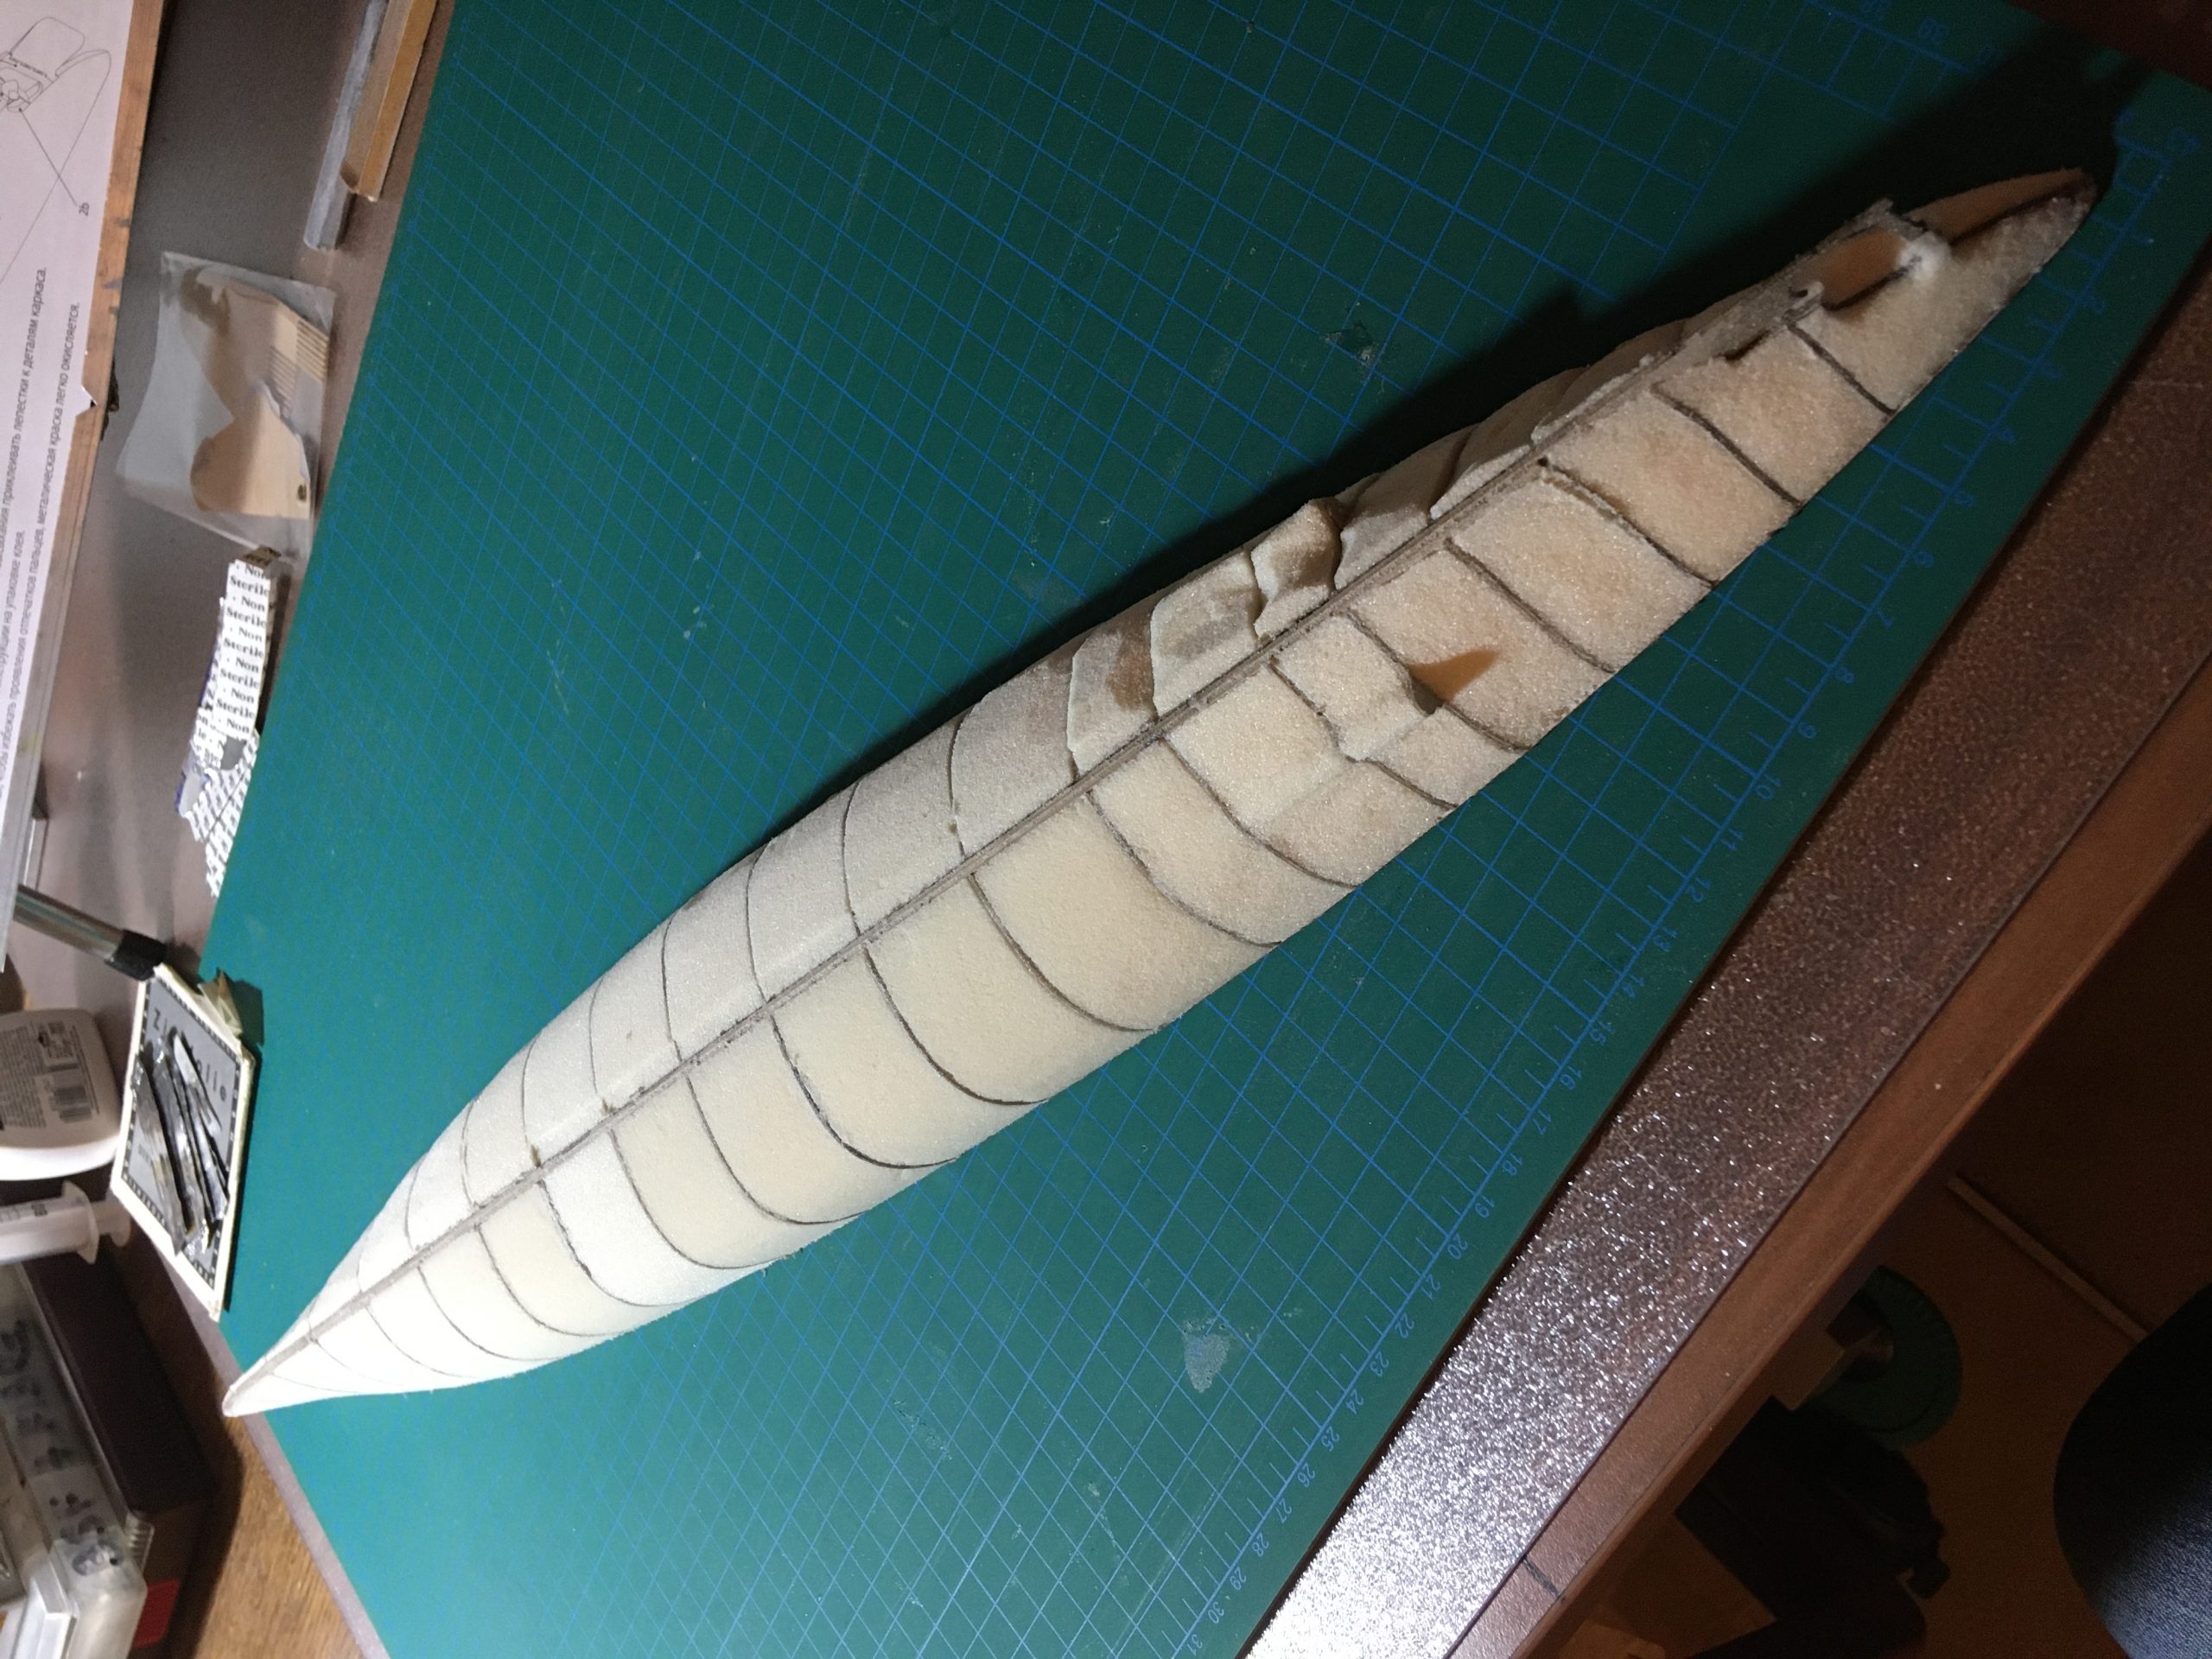
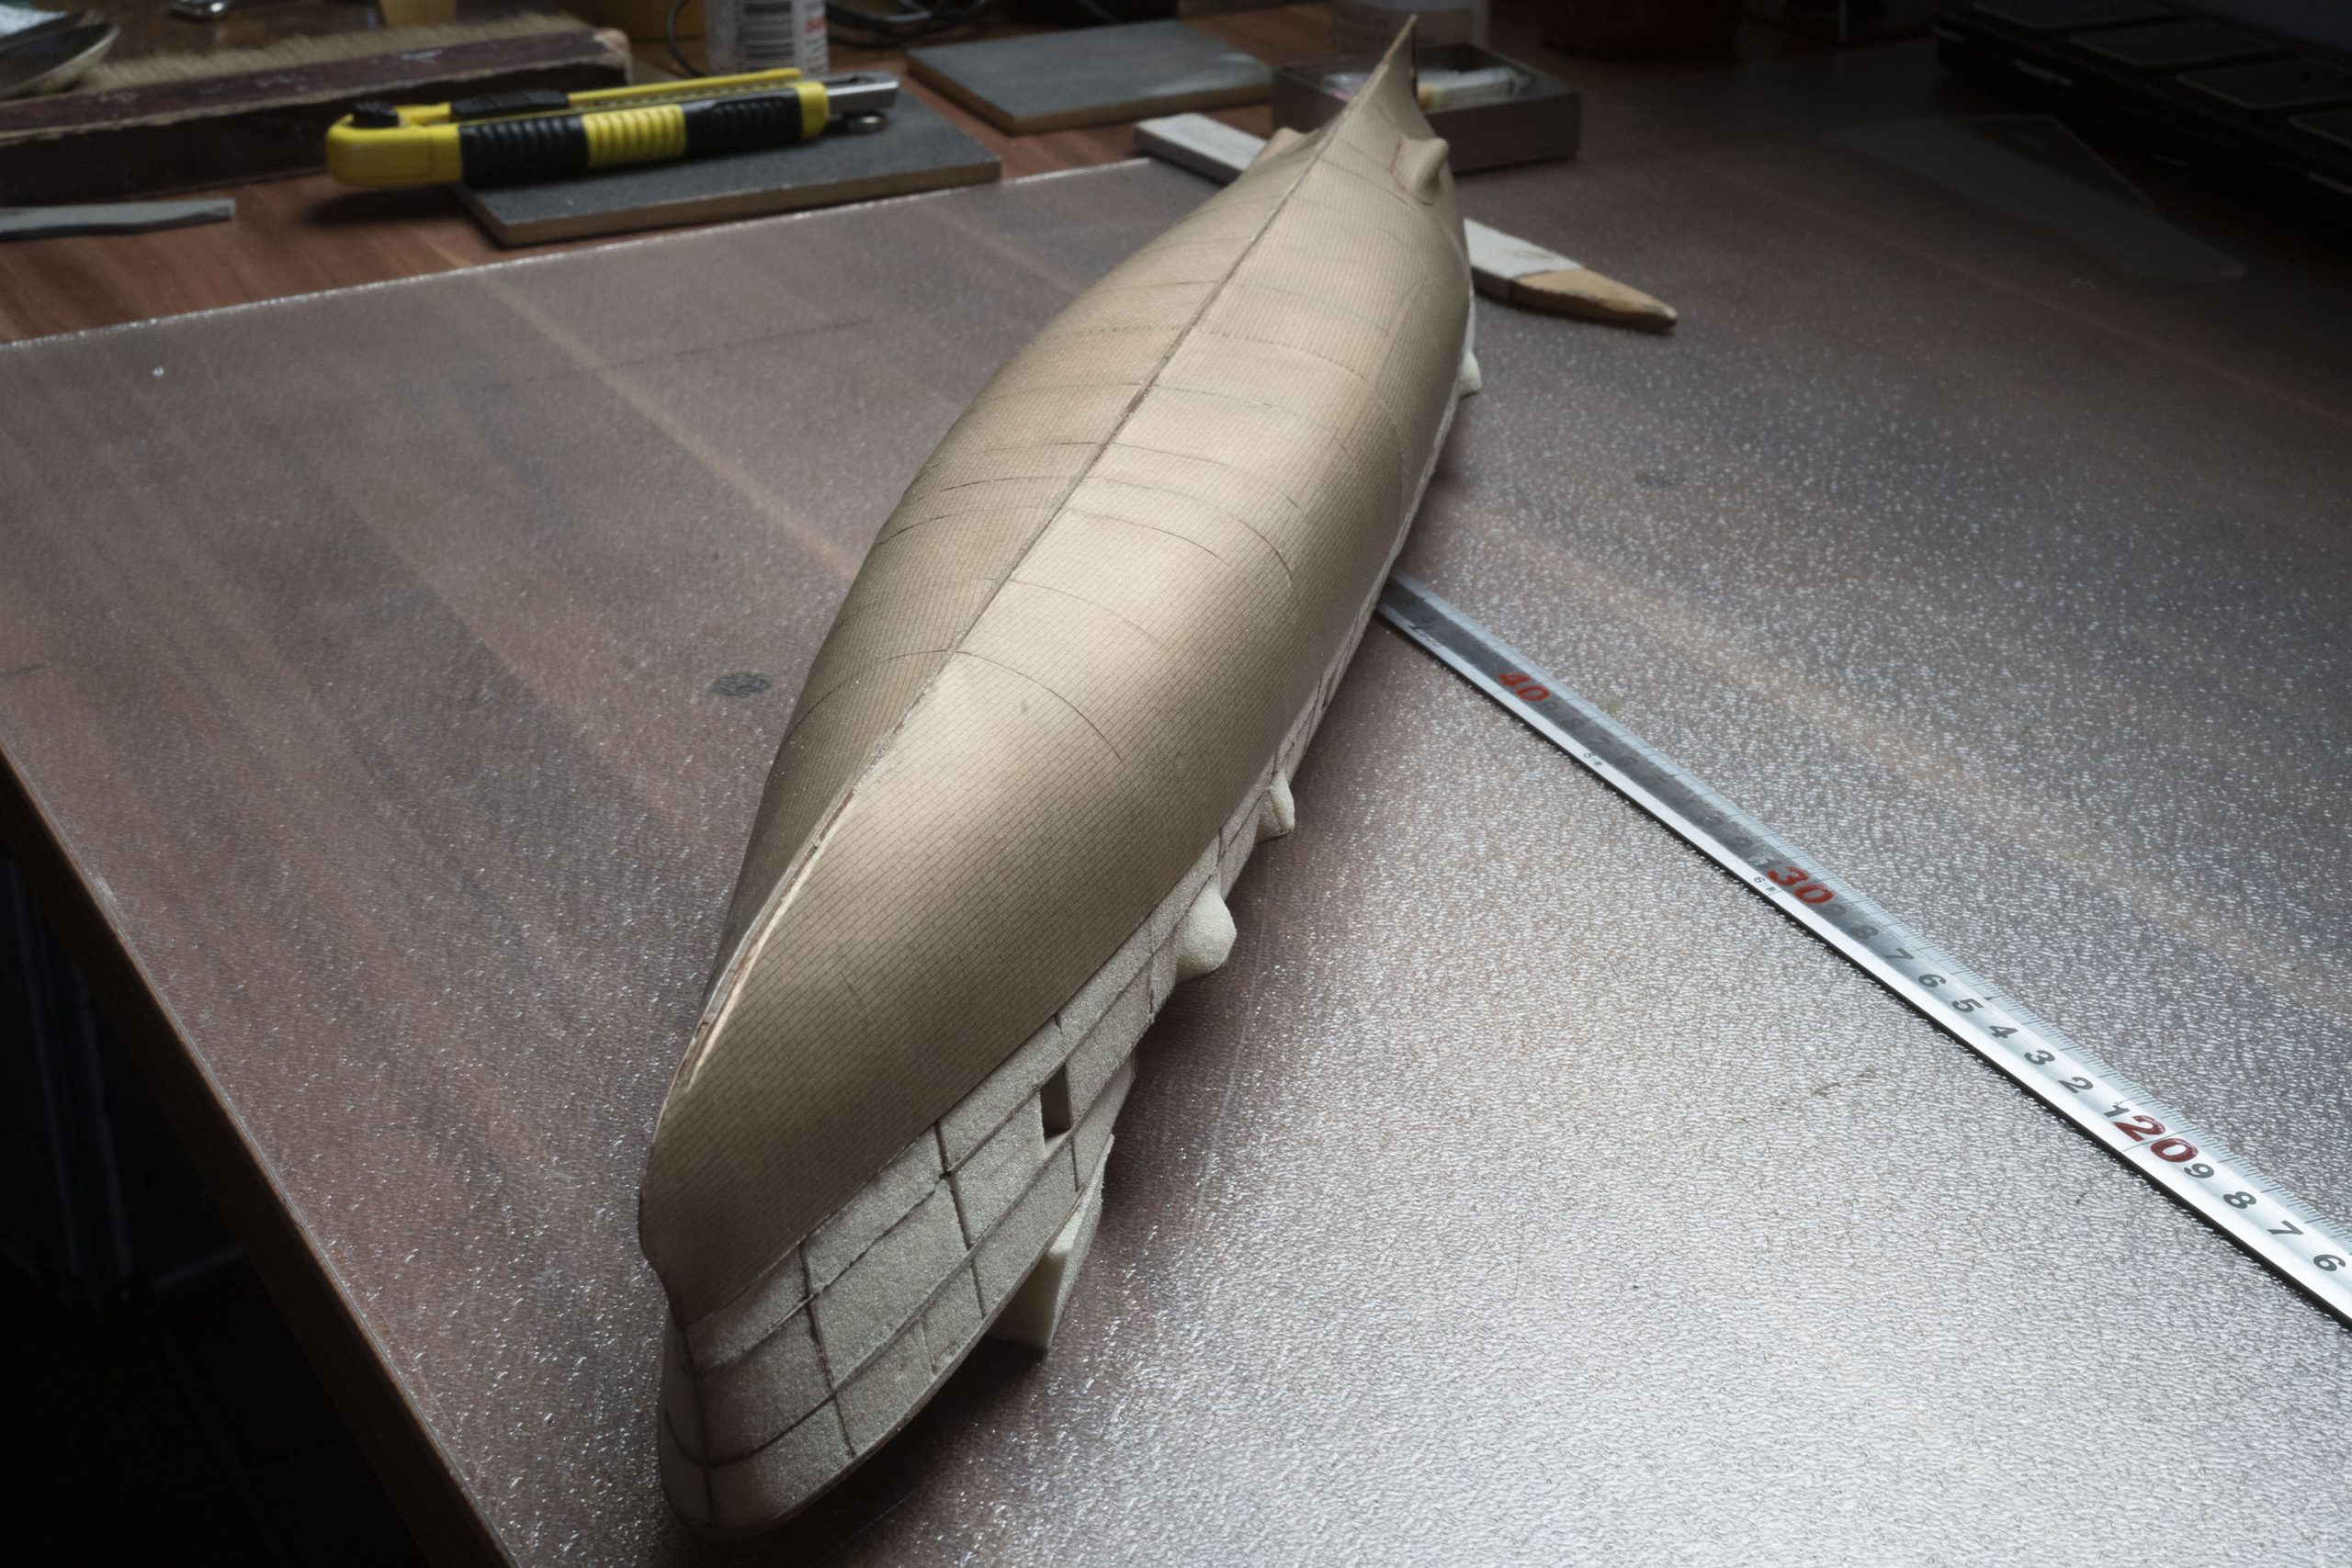
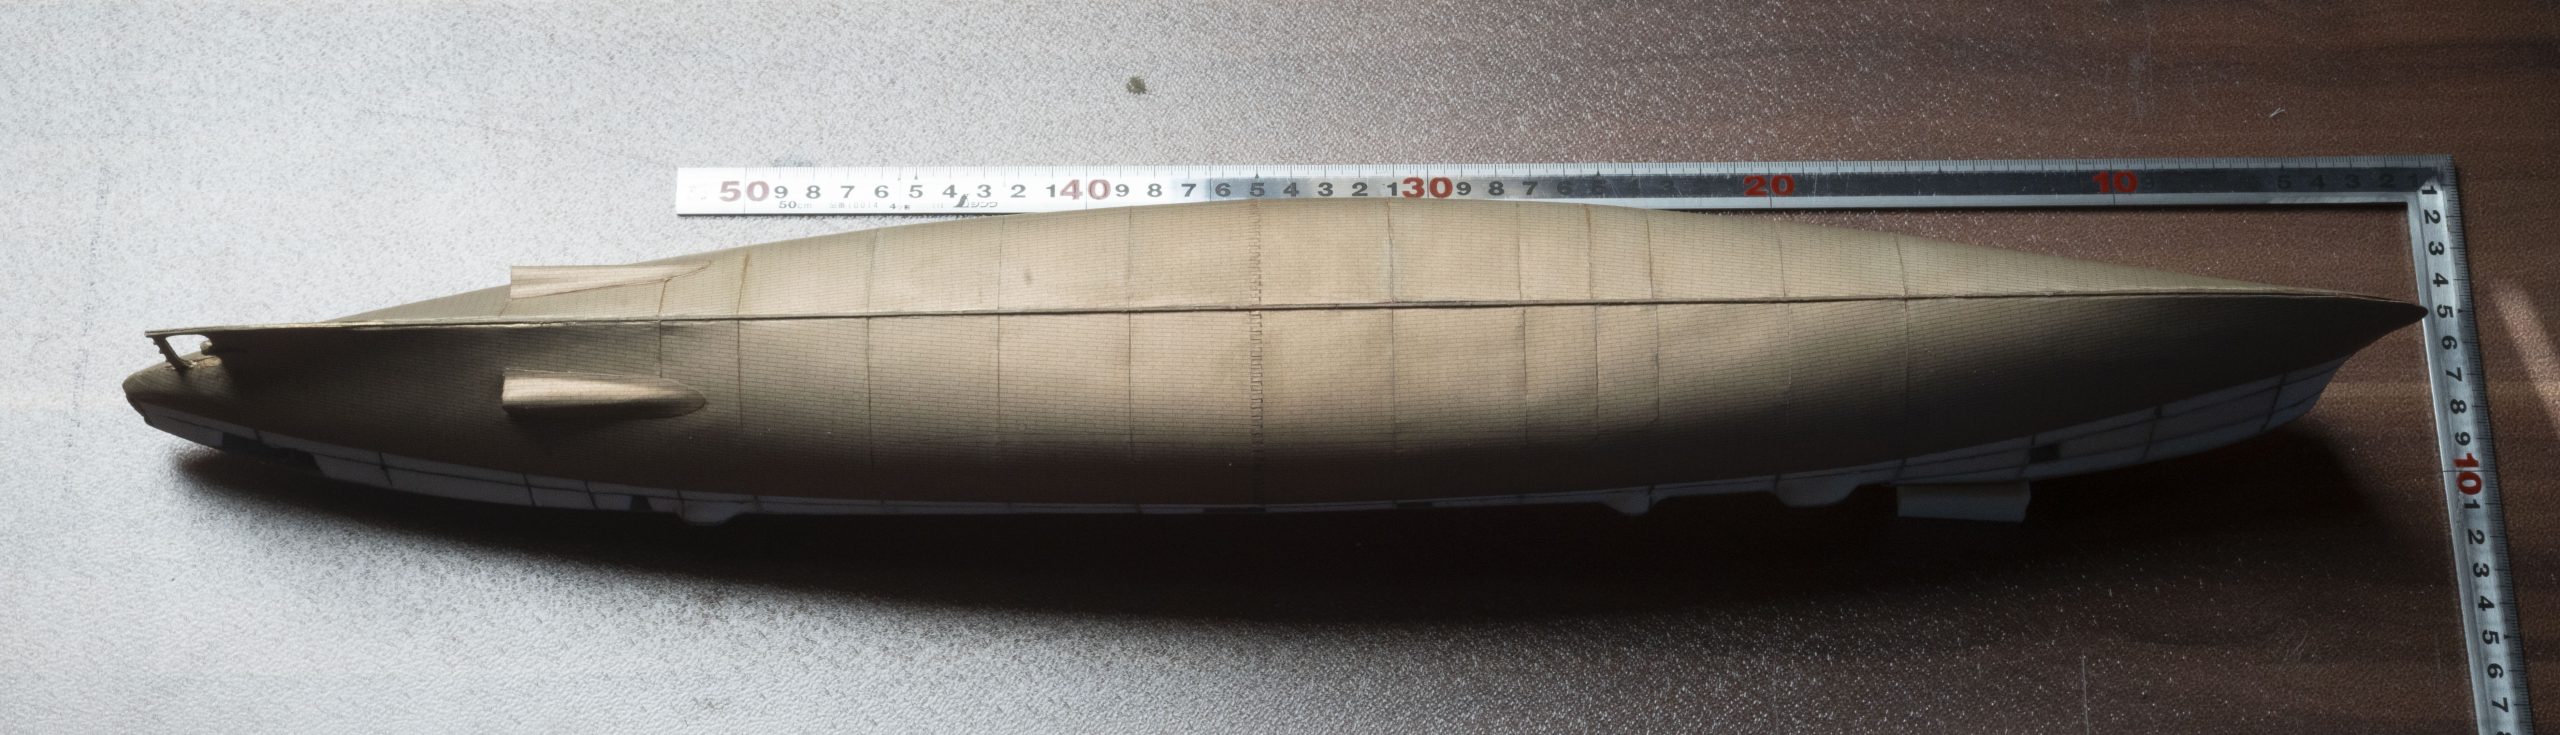
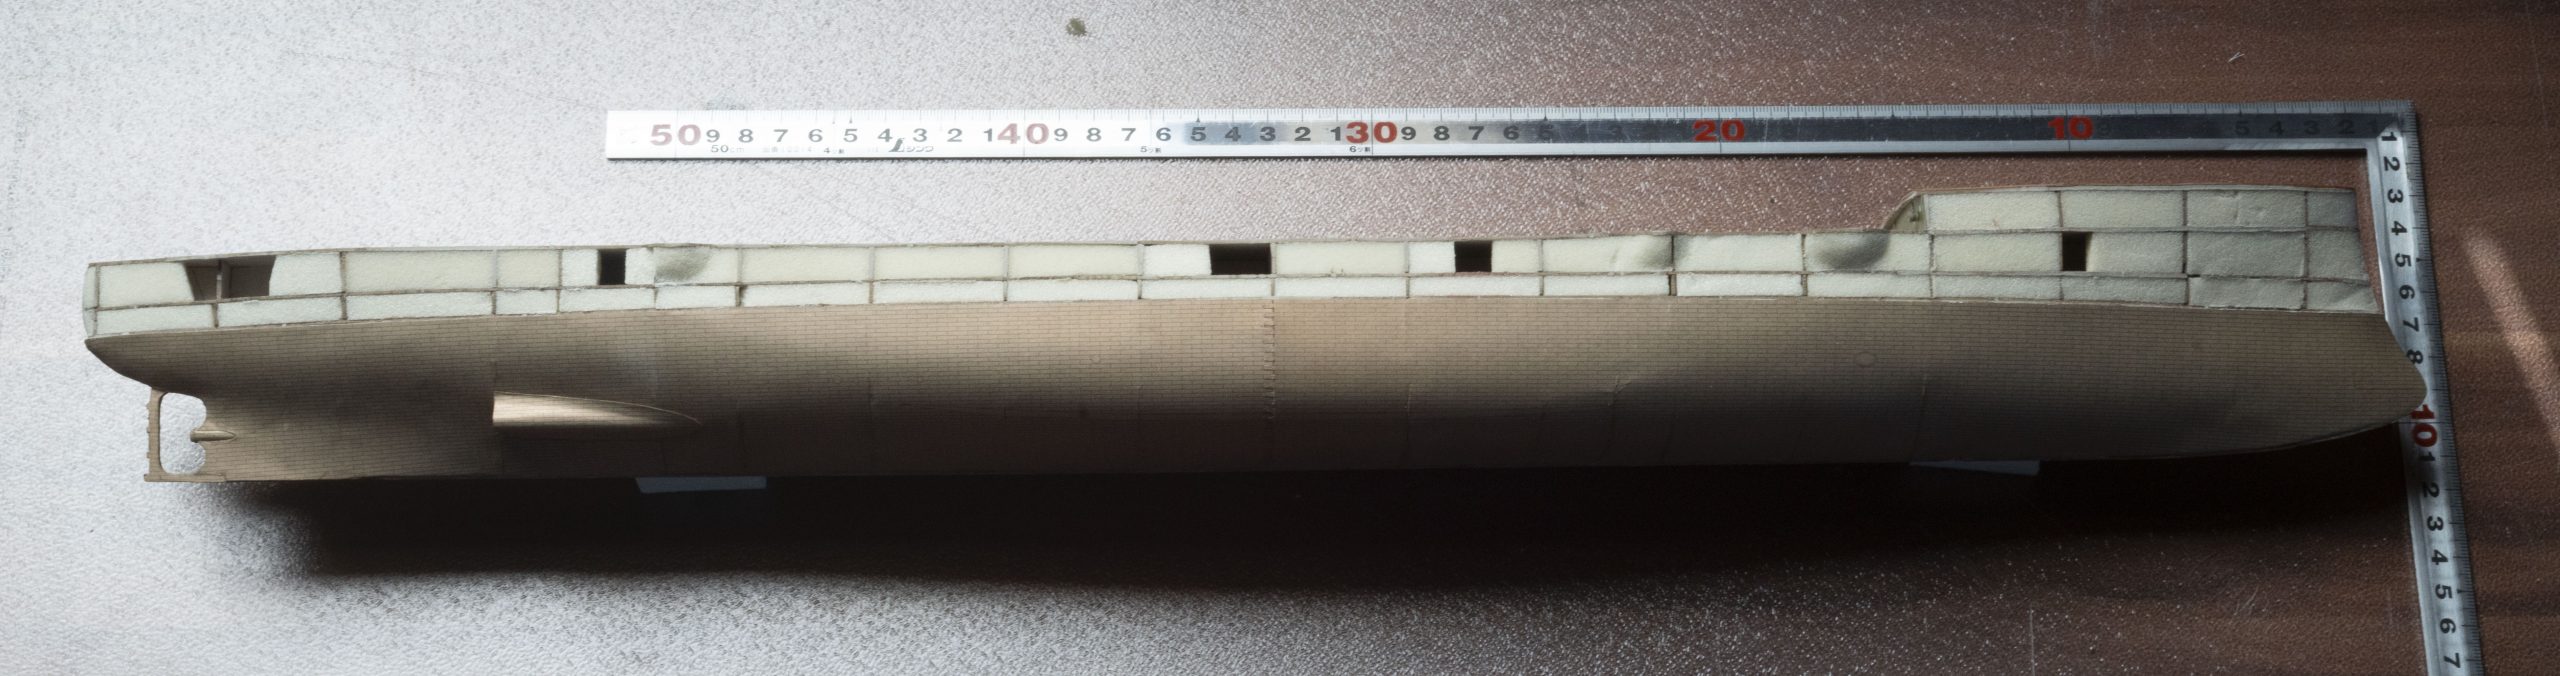
After sanding the hull to shape, I then filled out the upper half above the waterline (NOT sanding it to shape yet), glued the upper and lower parts together put it all aside to dry and settle:
The next stage is the ‘copper’ hull: Not perfect, but doesn’t look bad either 🙂
For the full report, please go to https://thingummybob.com/modelmaking/building-dom-bumagis-diana/